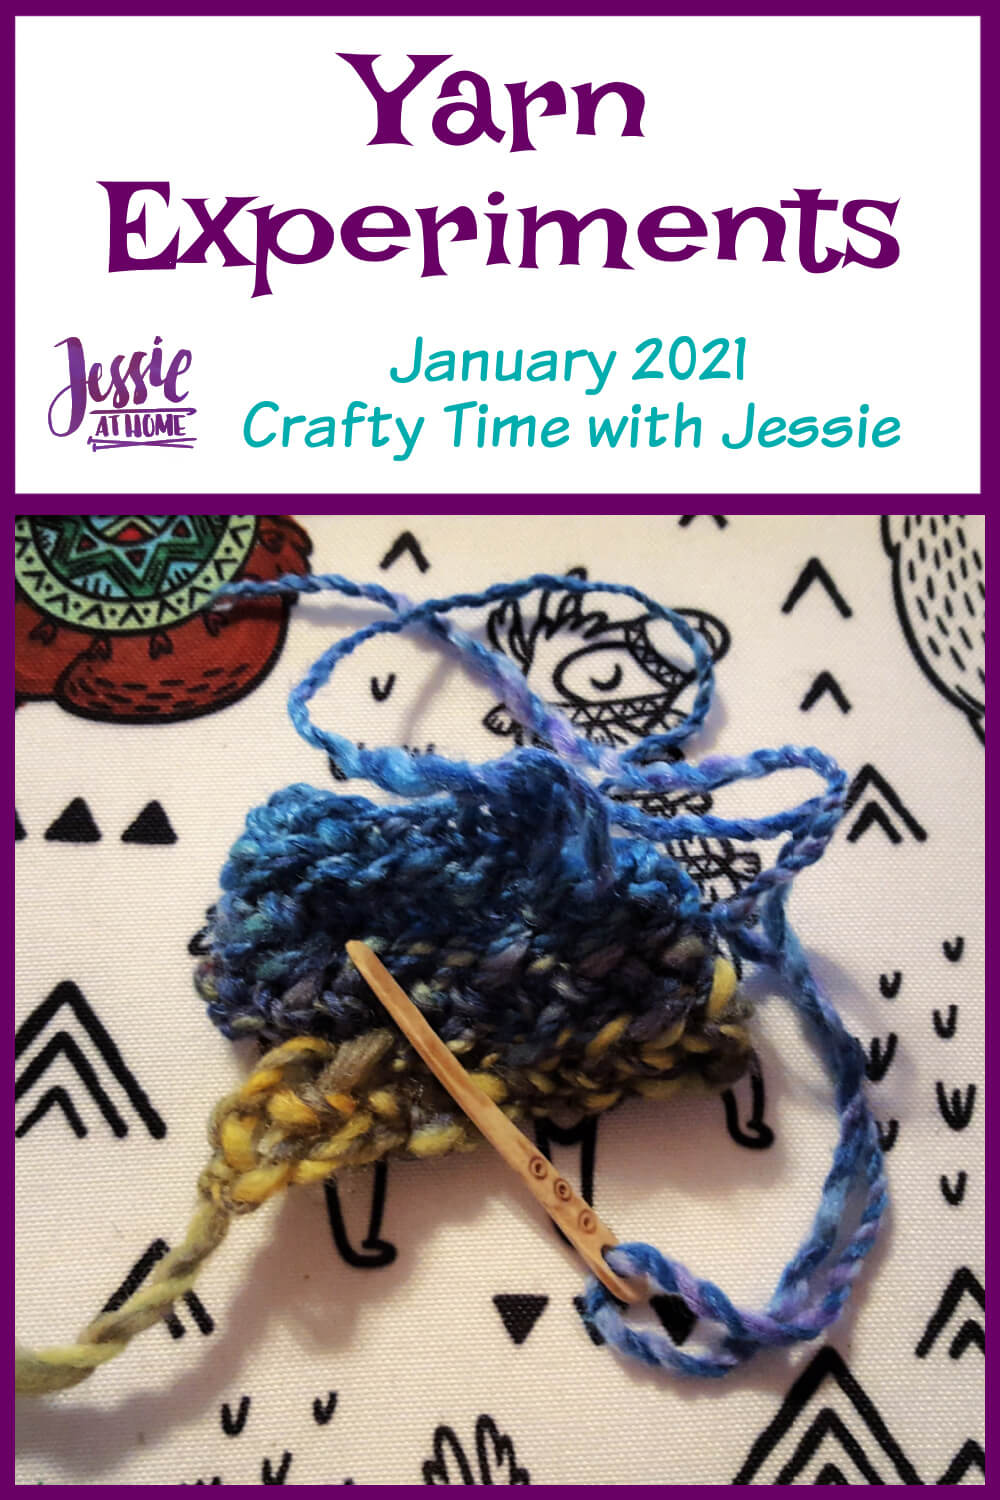
Yarn experiments took over the Crafty Time with Jessie videos this month. We experimented with weaving, spinning, and nalbinding.

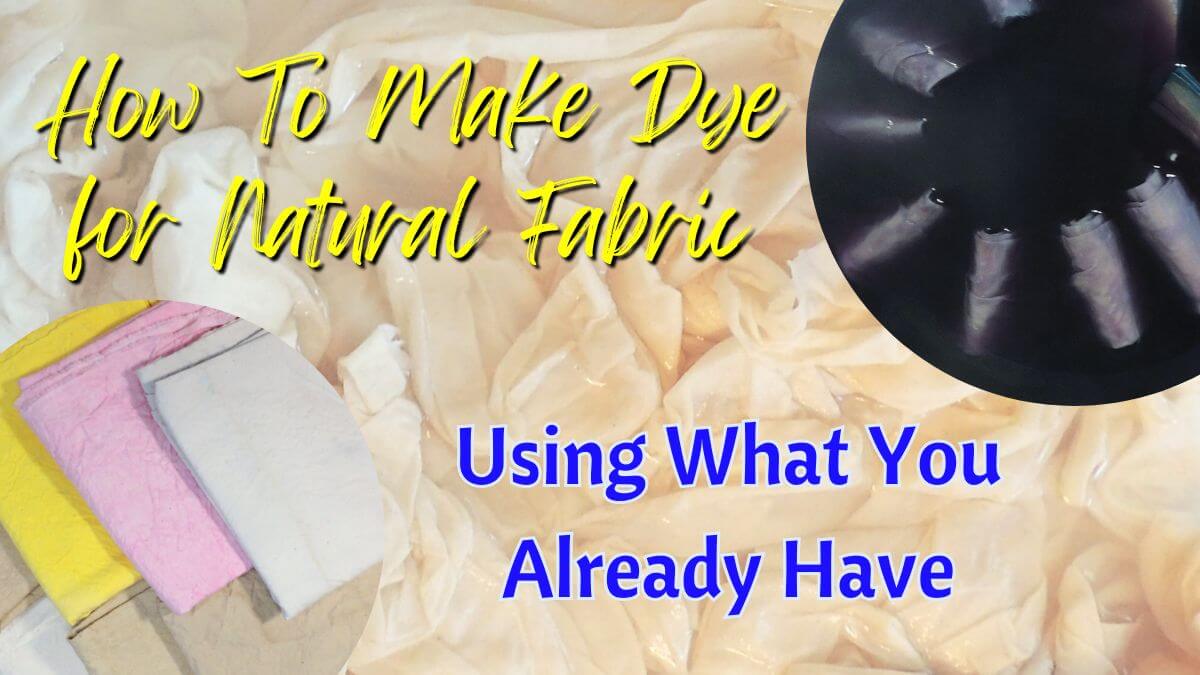
Learn how to make natural dyes and how to dye fabric or other natural fibers at home with household products.
Yarn experiments took over the Crafty Time with Jessie videos this month. We experimented with weaving, spinning, and nalbinding.
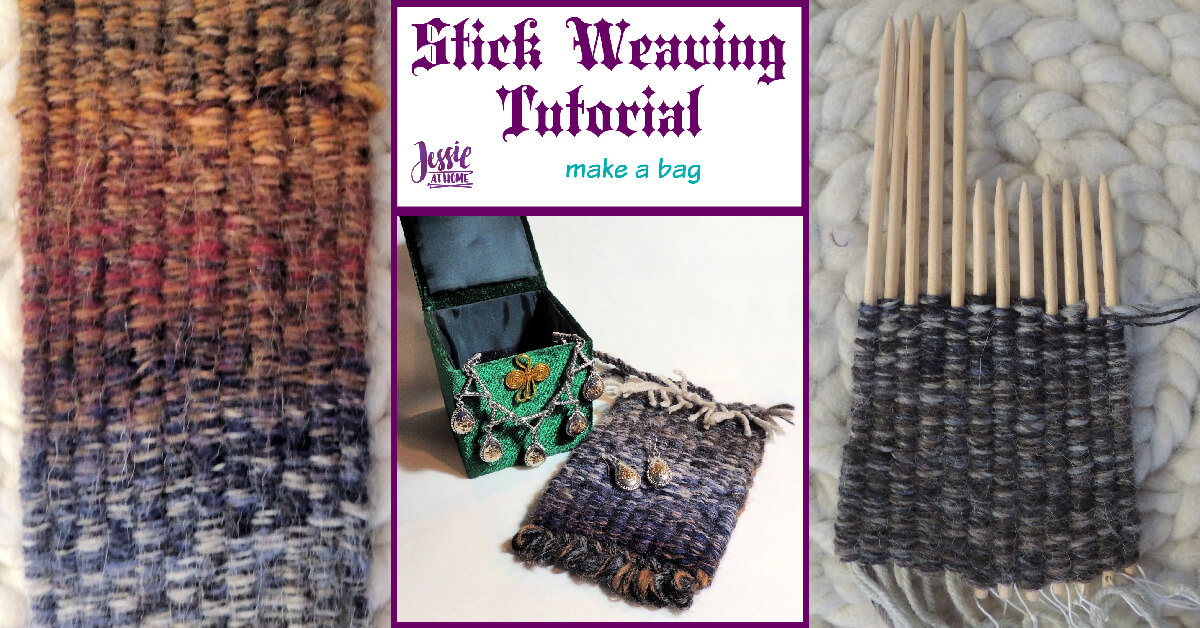
Stick weaving makes thin strips of woven fabric. This stick weaving tutorial will show you how to make a pouch as your first project.
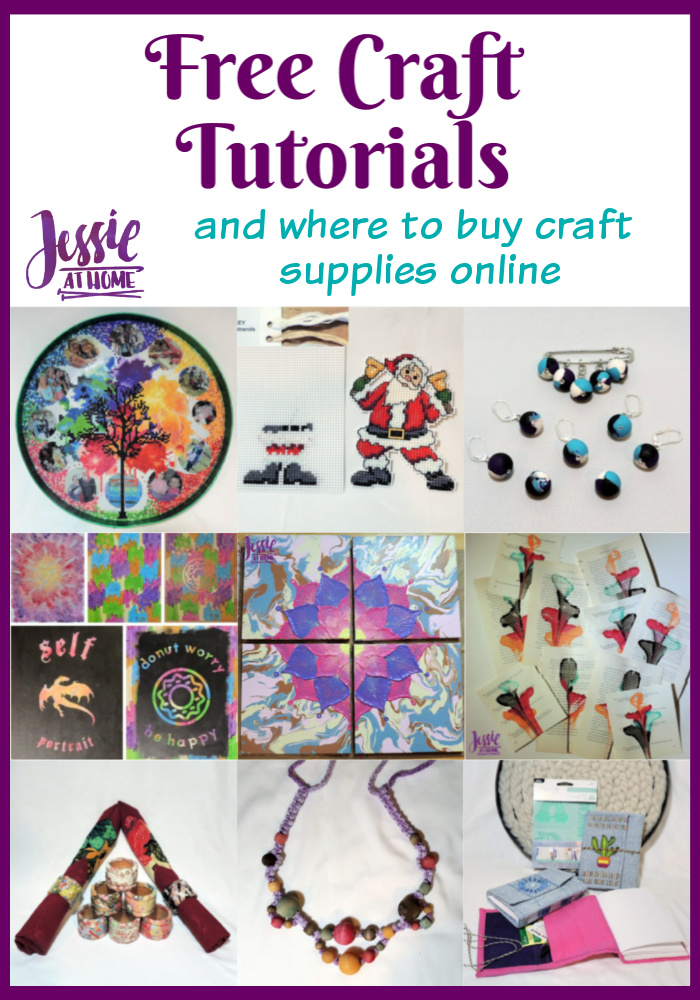
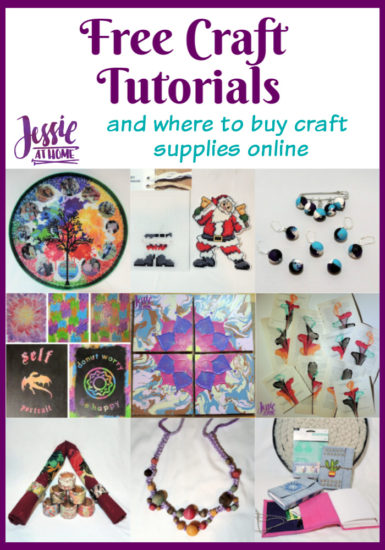
Here are some awesome free craft tutorials to fill your time, help you de-stress, and keep the kids entertained. Plus, some places you can order craft supplies online and have them delivered to your door, and even a mystery crafty giveaway! This post will not include knit and crochet items, as those were part of a post a few week ago that you can find HERE.
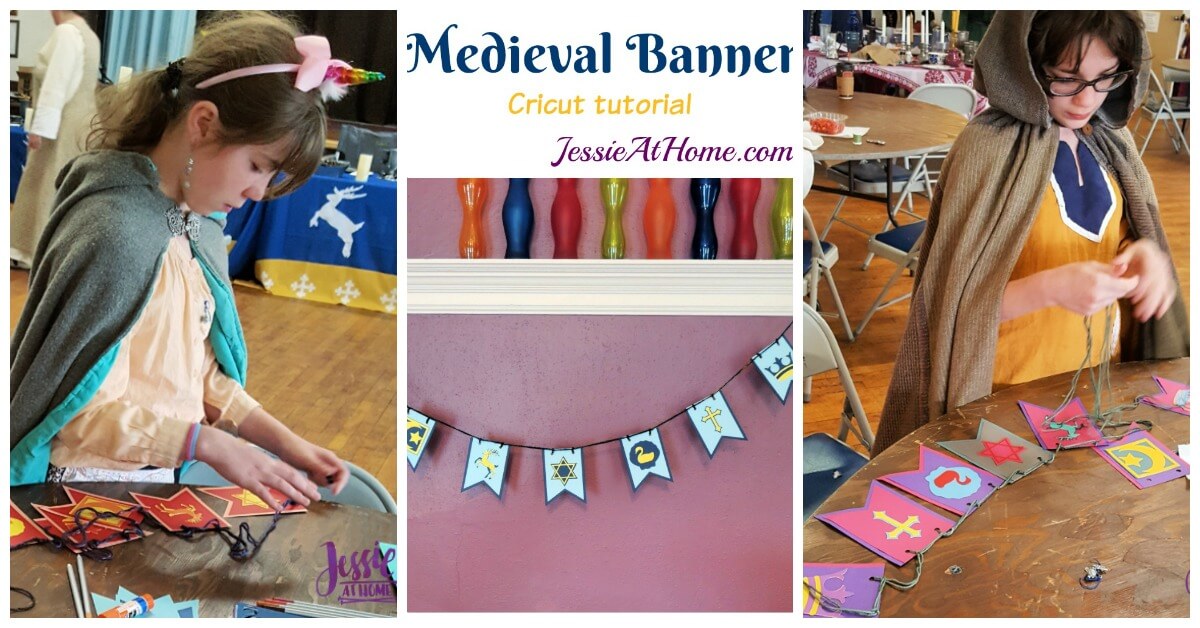
DIY medieval banners make a fun craft for a themed party, a rainy day, or a medieval reenactment event. Kids and adults alike will love this craft!
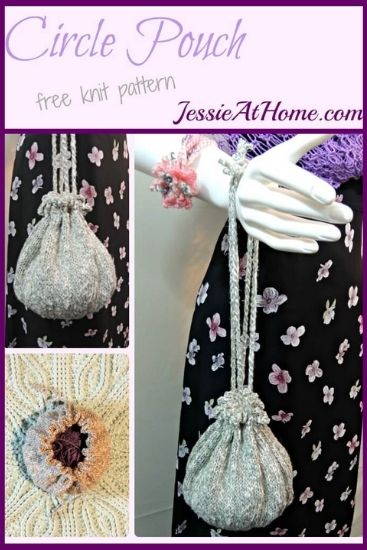
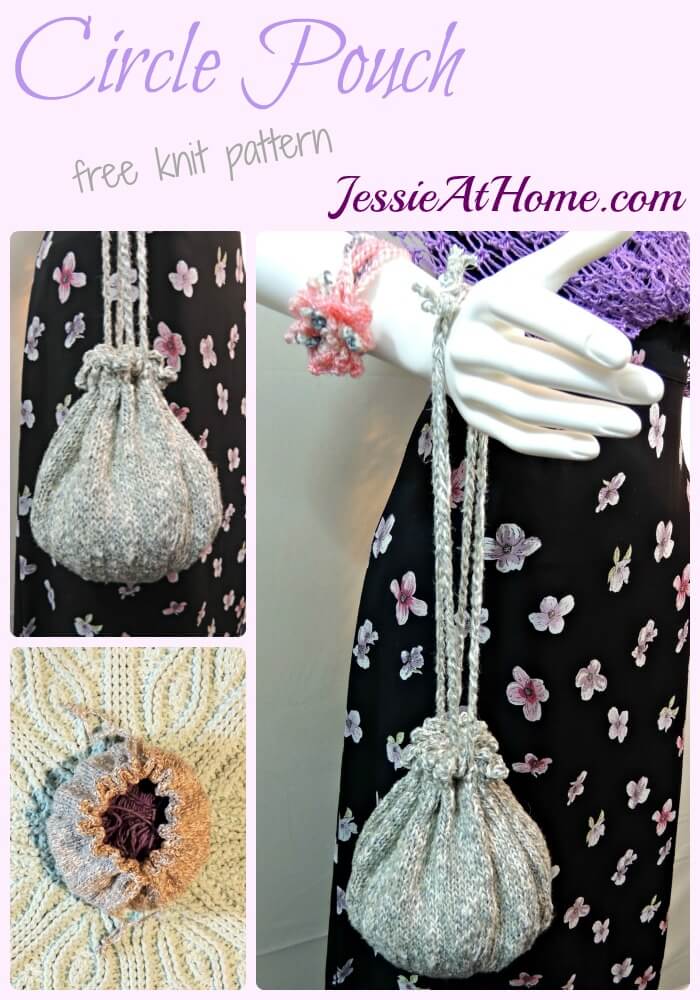
I’ve wanted to design and make a knit circle pouch for quite some time, but the right yarn never came along. I wanted something that would work when I went to Medieval reenactment events with my knight in shining armor, aka my husband Doug, so I needed a yarn that looked like it fit into the time period, but also a yarn that I liked and that would hold up to the stress of being a belt bag. I found that yarn with Kraemer Belfast Linen Blend yarn!


This Saturday I will be teaching a class on Medieval Limp Binding. There are many wonderful tutorials online, some with all the history and sources for all the supplies. Here I will simply post a bit about how to actually do the binding. Please note that I am not using the proper supplies for this journal to be true to period, or even archival. The purpose of this free tutorial is simply to learn the steps of how to do the binding. I will be using this as my class handout, so it will make more sense to those who are in the class or who just need a reminder. If there is not enough explanation here for you, you may want to find a more in depth tutorial.
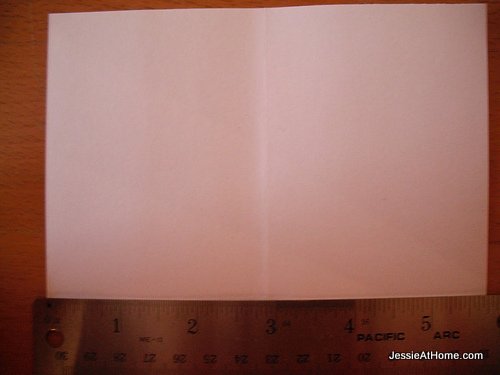
I start with the pages. As you can see, my pages are 5 3/4″ by 3 3/4″.

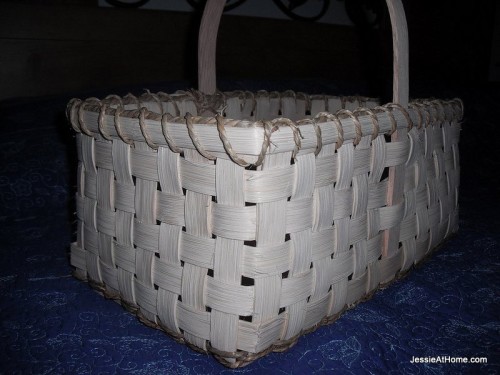
The subject of my last two posts, that is. This is only the fourth basket I have made, all of them have been similar to this one, but this is the first that actually ended up the shape I intended. The others have round or rectangular bottoms, and oval tops.
*~* I have listed this under my tutorials, but it is really not a step-by-step for beginners type of tutorial. It is more of a visual aid and reminders for someone who has the base knowledge and is just looking for a bit of a nudge along. *~*
The boxes were full of reeds and other basketry supplies. All from a wonderful shop in Pennsylvania.
After a bit of a soak in the tub, I transferred some of the reed to a bin in the living room, next to my towel-covered coffee table. Not really sure why I tossed the handle in there, it doesn’t get shaped. There isn’t always a good reason for many of the things I do…


