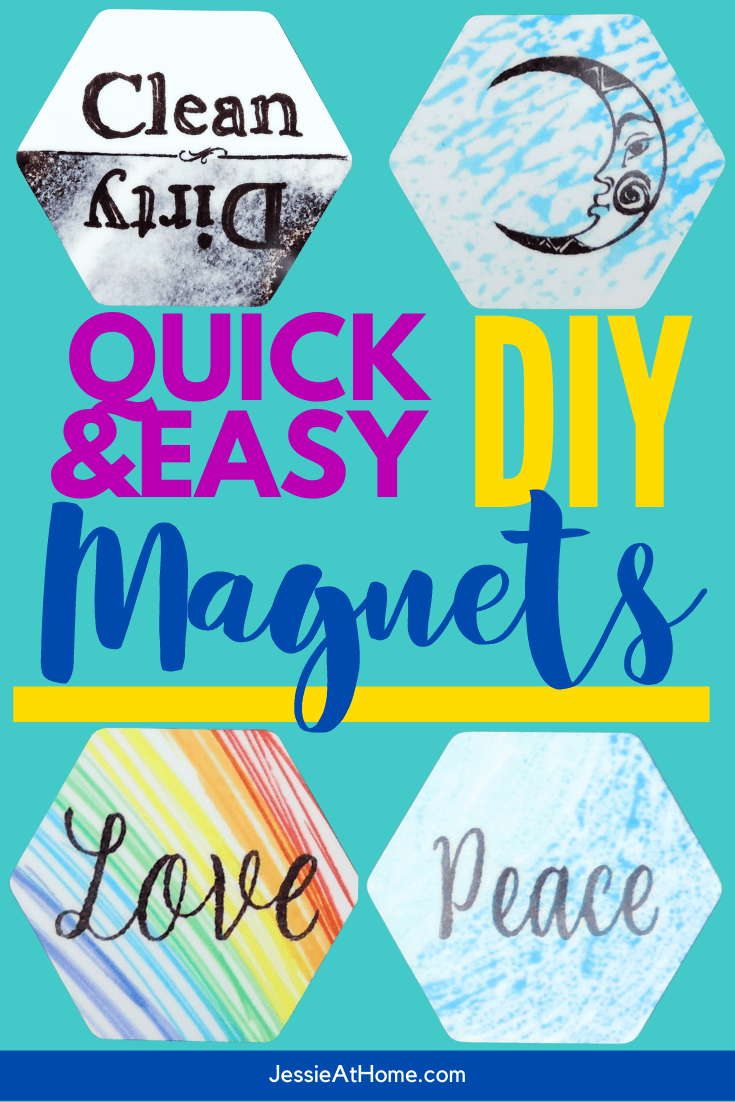
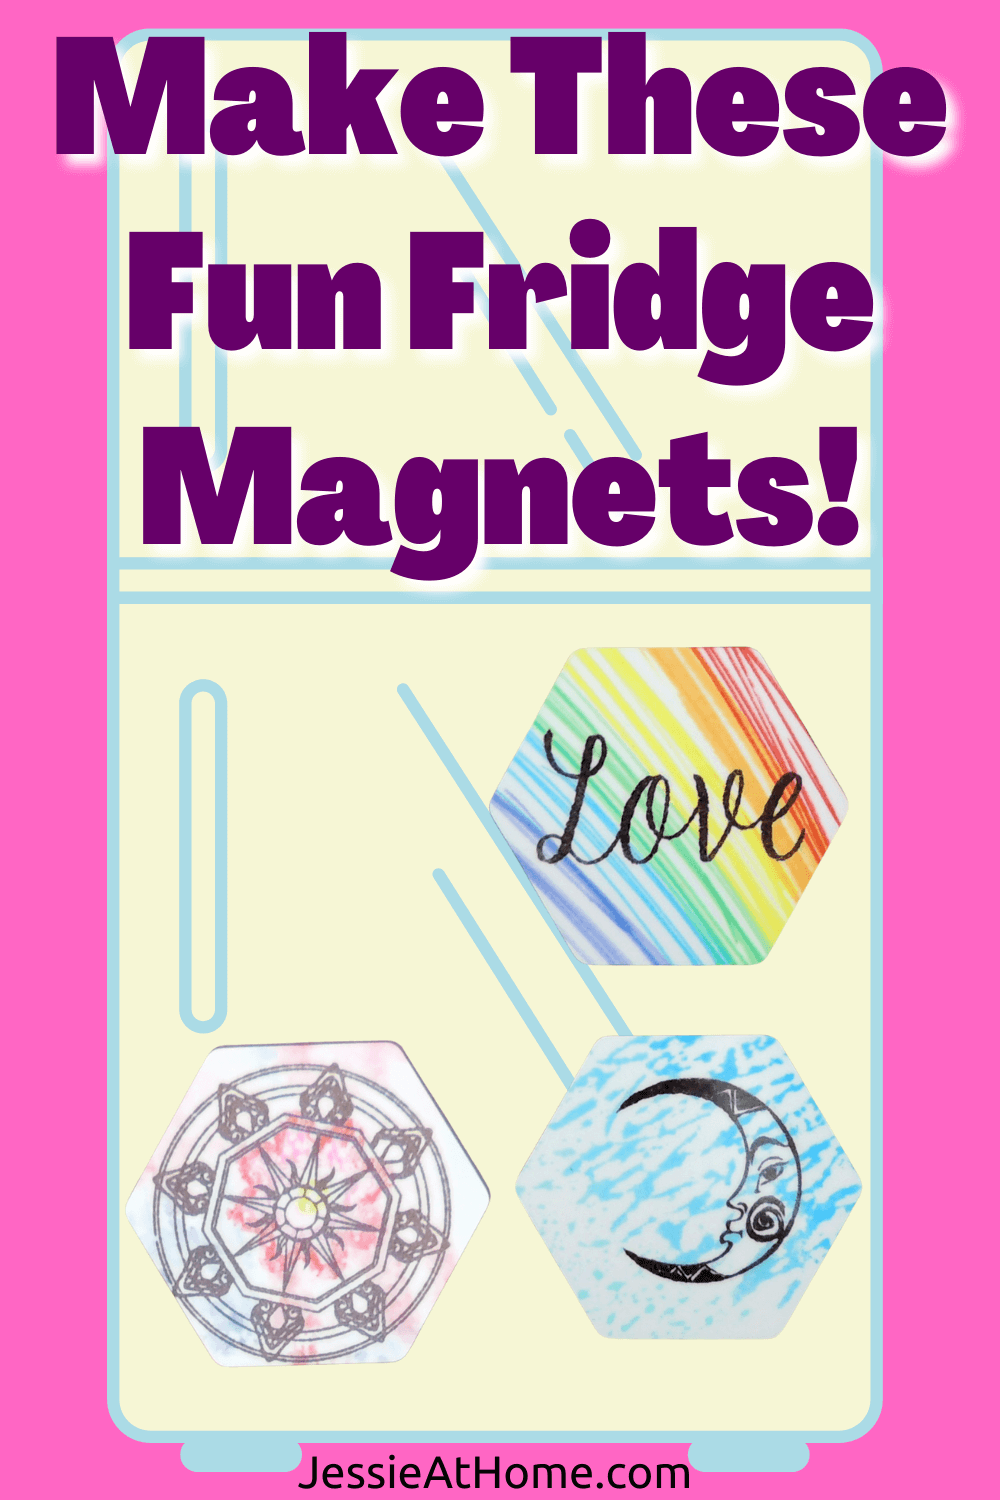
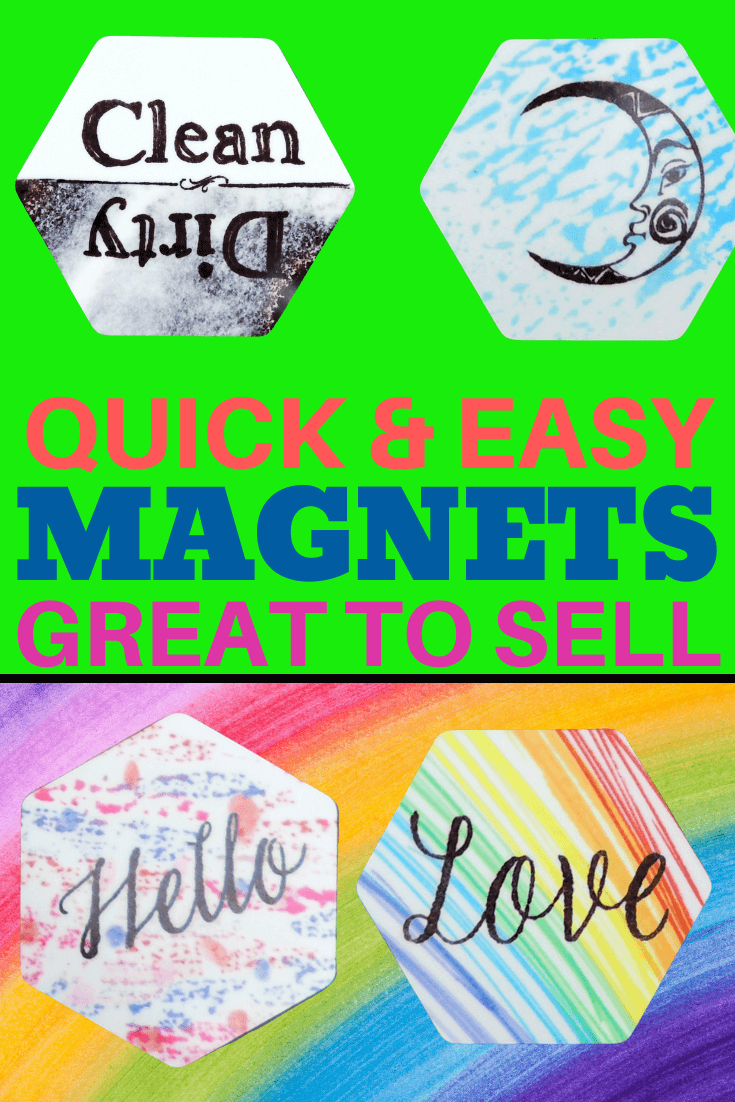
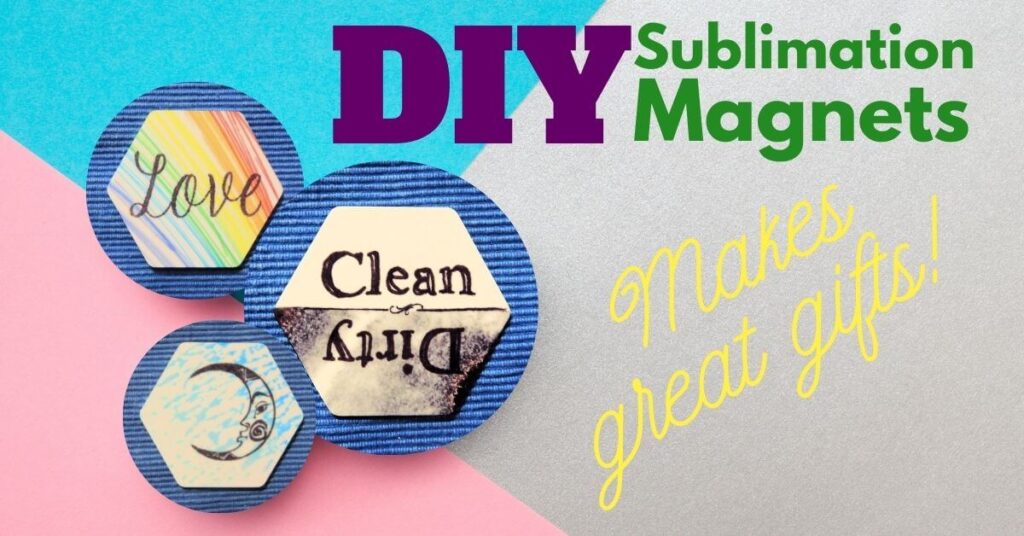
DIY magnets are quick and easy to make with sublimation markers and a little creativity. Let me show you how!
Some products in this tutorial were provided by Artesprix. All opinions are my own.
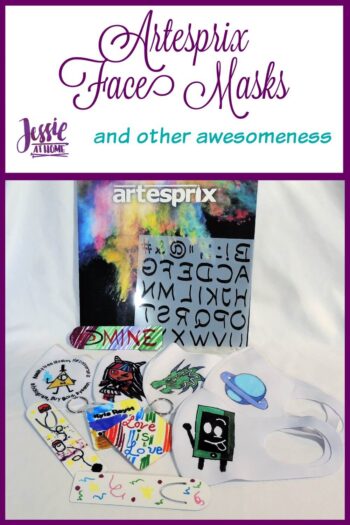
The Artesprix July 2021 Blank of the Month is: 4 count Magnets (hexagon)!! Use code Jessie10 to get 10% off.
I got experimental with the Artesprix ink pad refill and various background techniques this month. I’m going to share what worked with you, and I even have a video to help you along.

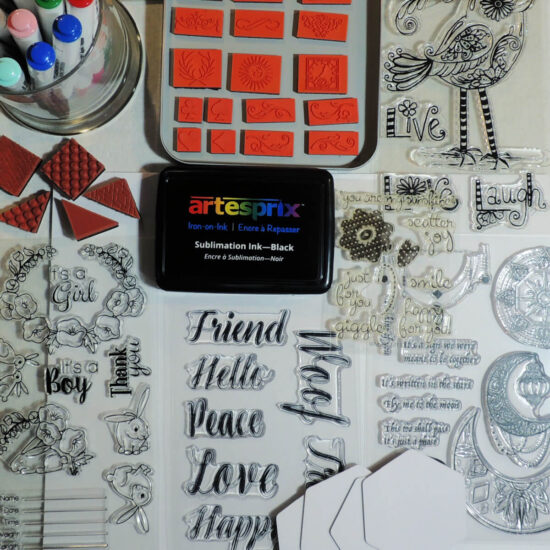
DIY Magnet Supplies
Use code Jessie10 to get 10% off your Artesprix order – not valid on the Heat Press or sale items.
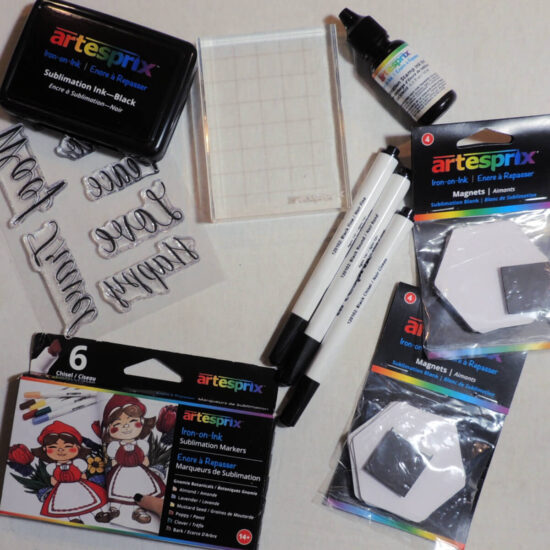
- July 2021 Blank of the Month: 4 count Magnets (hexagon)
*This is no longer the blank of the month, however you can find many awesome magnet sublimation blanks on Amazon HERE. - Sublimation Markers
- Heat Tape
- Protective Paper (silicon)
- Artesprix Ink Pad
- Artesprix Ink Pad Refill
- Mirror Image Word Stamps
- Stamp Block
- More Stamps!
- EasyPress, Heat Press, Iron, or Similar
- Lint Roller
- Heat Safe Surface
DIY Sublimation Magnet Video Tutorial
If you can’t see this video, try watching it on YouTube HERE.
DIY Sublimation Magnet Tutorial
Backgrounds
I used a few different techniques to make the backgrounds of my magnets. You can see them all in the video tutorial, and find descriptions of them below.
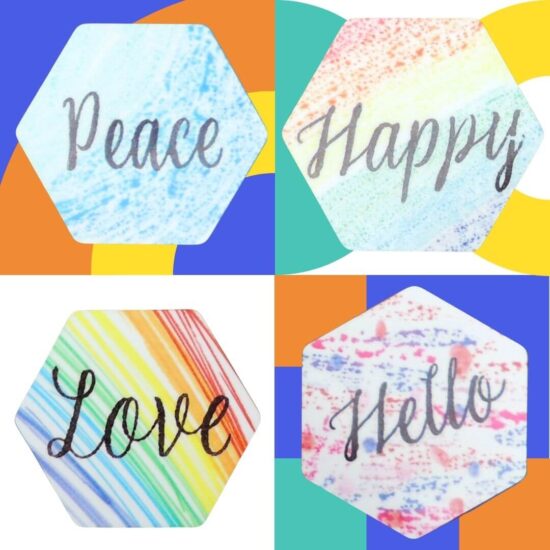
For my “Love” stamp, I simply colored/scribbled with my Artesprix markers. I traced the magnet blank in pencil, then scribbled in a rainbow. Finally I stamped the “Love” mirror image stamp on top of the background.
For a few more of the magnets, I colored on plastic. I used the plastic bag section of the packaging for the magnet blanks, but you could also use plastic wrap. After coloring a background I liked, I flipped the colored plastic over onto the paper and pressed it with the acrylic block or my fingers. I used one of these for the “Hello” magnet.
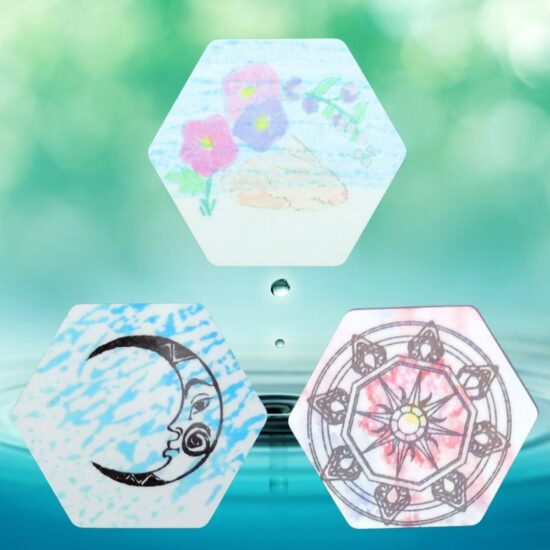
I also tried the plastic technique with spraying it with water just before flipping it over. This really made the colors blend together more. The moon magnet has one of these backgrounds.
After all that, I thought I should try out some freezer paper. I colored on the shiny side of the freezer paper, then flipped it onto regular paper and pressed it with my fingers. It worked awesome! You can see how great it worked on the “Happy” magnet.
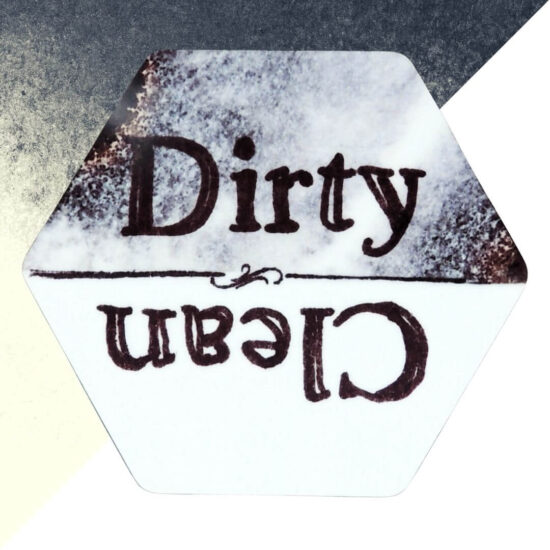
The ink pad refill ended up being super fun to play with. First I sprayed the paper with some water, then added one drop at a time to the paper. I then added a bit more water and a few more drops, and resprayed the original drops. Finally I put some drops on the dry part of the paper and then sprayed those.
Each technique came out with a different look, and I loved them all. It’s certainly worth experimenting on your own. I used this background for the “Dirty” half of my dishwasher magnet.
Stamps and Letters
I made the “Clean” and “Dirty” for the dishwasher magnet the way I often do, I printed the words with my printer, and then flipped the paper over and traced the words with my sublimation markers so they were backwards.
The rest of the black ink images on the magnets were made with stamps and the Artesprix ink. Some of them I stamped right on the background, and others I stamped on blank paper and then sublimated in layers.
For the sleeping bunny under flowers, I used a stamping trick I love. I colored the raised sections of the stamp with my Artesprix markers. Then I breathed on the stamp (this warms up the ink a bit in case it has dried out at all while coloring), and then stamped it on the paper.
As you can see, the stamp worked and the various sections are each in different colors. After stamping, I colored in the image as well.
Sublimation Time!
Of course, once I was done with all the background and stamping fun, it was time for sublimation! Some of my magnets were made with just one layer, and others had two or three.
First I taped all the bottom layers to the magnets. When taping the paper to the blank, be sure the tape is not over any of the image that needs to transfer. The best way to do this is to have the paper larger then the blank and to lay the paper ink side up, then put the blank face down on it, and tape it all from the back. Be sure to flip it over before sublimating.
Next I layed some protective paper down on my heat-safe surface, then put down the blanks with the paper, paper side up, and lastly I covered it with more protective paper. I pressed it all at 400 degrees for 75 seconds with my Cricut EasyPress.
I repeated this process for each addition layer on the magnets that had multiple layers. Now I have the prettiest fridge in the neighborhood!
The hexagon magnet blanks will only be available from Artesprix this month (July 2021) so be sure to grab them before they are gone!
Don’t forget to use code Jessie10 to get 10% off your Artesprix order – not valid on the Heat Press or sale items.
Happy sublimating my crafty friends!
Did you enjoy what you found here at Jessie At Home? Then sign up for my newsletter and like my Facebook page, so you’ll get all the updates on new tutorials, other posts, sales, and coming events.
If you have any questions, want to share pictures of your work, or just want to chat with Jessie and other crafty individuals, than join my Facebook group.

© Copyright 2021 Jessie Rayot / Jessie At Home All my videos, patterns, charts, photos and posts are my own work, so you may not copy them in any way. If you want to share this information with someone, then share the link to this post. If you want to share on your own blog / website, then you may use the first photo in this post and link back to this post. Also, you may not give away printed copies of this post.