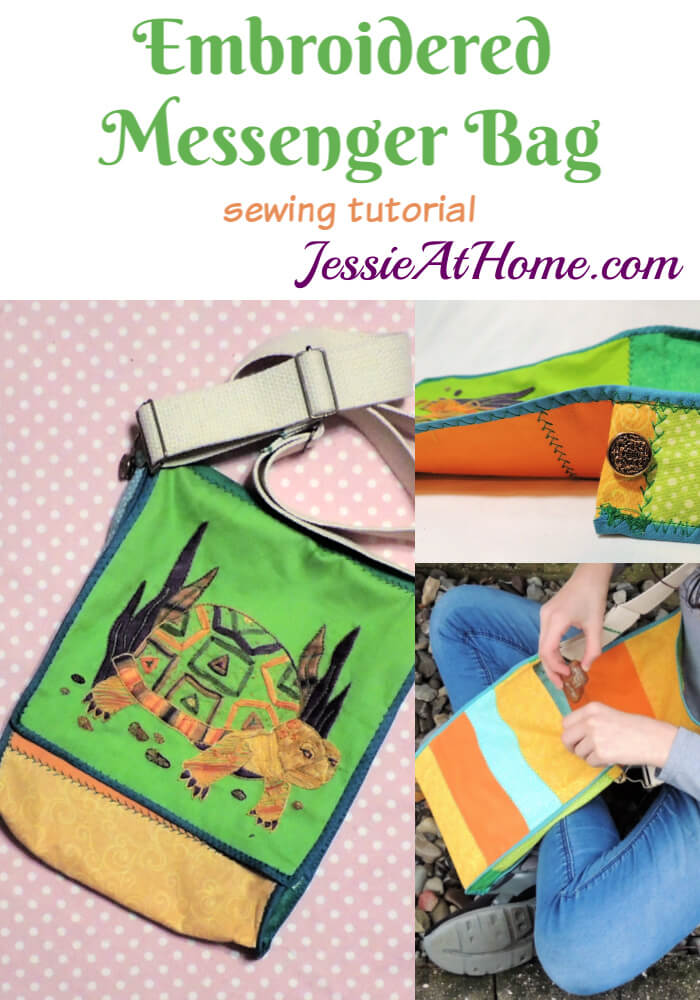
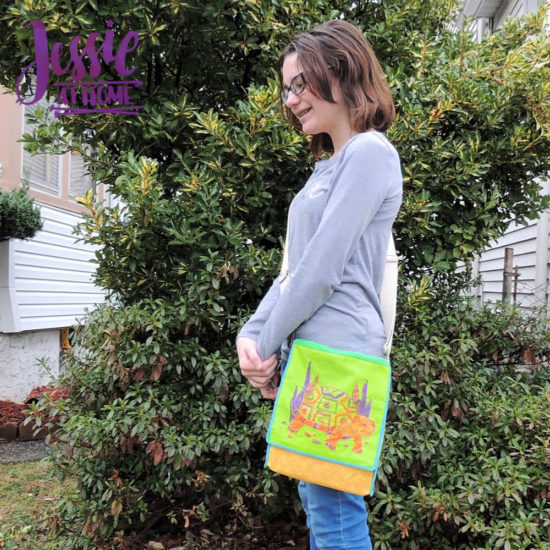
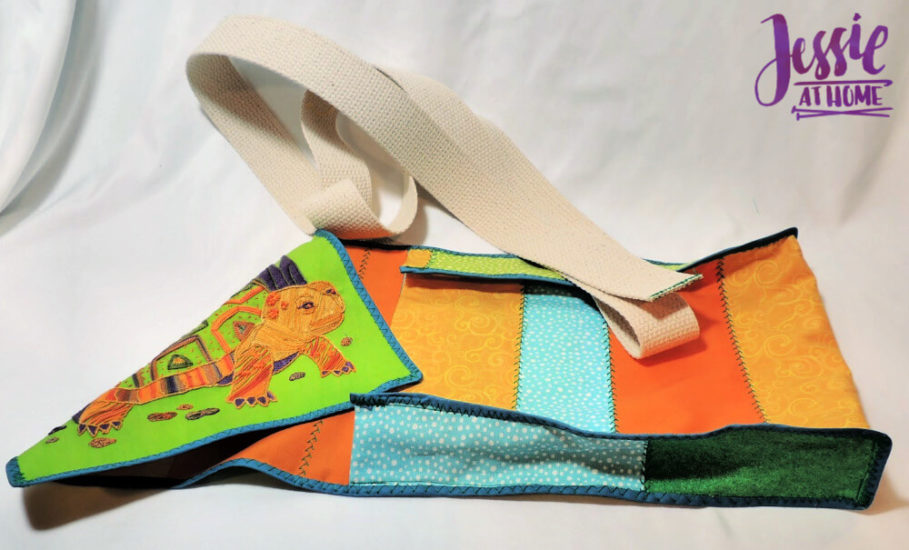
This embroidered messenger bag was inspired by the embroidered turtle I made last year from a Global Artisan kit. I knew I needed to make it into something for Vada, because she’s my turtle-loving child. Vada’s in middle school this year, and is getting more social. I thought of making a petite messenger bag for her because it’s a great way to show off the fun little turtle, and she’s not into purses. She loves it, and I hope you do too!

The finished bag is 8″ x 10″ x 1.5″. You can read all about the embroidery I used for the bag HERE. You’ll find a link to where you can get the turtle kit in addition to many other kits in that post, along with a coupon code. The kits use fabric that is perfect for this project.
Embroidered Messenger Bag Supplies
- 4 – 8 fat quarters of various quilting fabrics
- 1 embroidered design on quilting fabric, no more then 8 1/2″ square (see note above)
- 2 yards of 1 1/2″ cotton strapping
- 1 set of overall buckles and buttons
- thread in choice of accent color
- 3 yards of 1/4″ double fold bias tape (make your own with THIS)
- sewing ruler
- fabric pencil
- fabric scissors
- iron
As you may know, I’m a fan of Clover sewing supplies, so I recommend using them when you can. You can find them on Amazon from the link below, so you can get all your supplies in one “stop”.
Embroidered Messenger Bag Tutorial
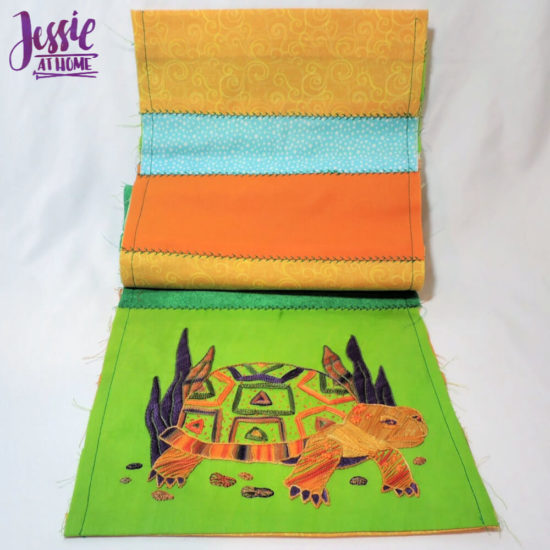
The main bag (front, bottom, back, and flap) is made from a 9″ wide by 61″ long pieced strip of fabric sewn into a tube and then pressed into a 9″ by 30″ rectangle.
- Cut a rectangle around embroidered piece that is 9″ wide, 1″ below the bottom of the embroidery and 1-2″ above the top of the embroidery.
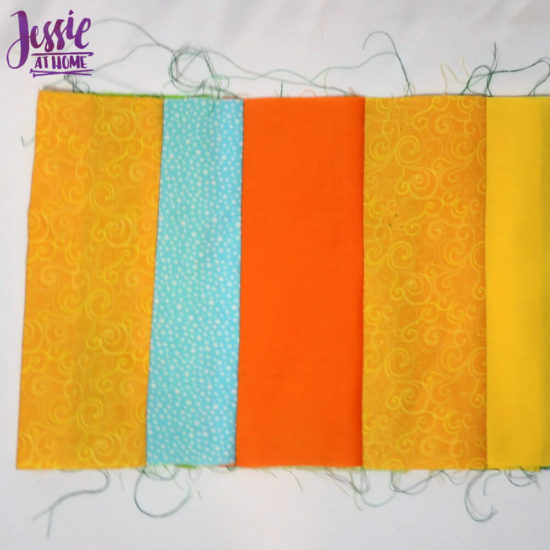
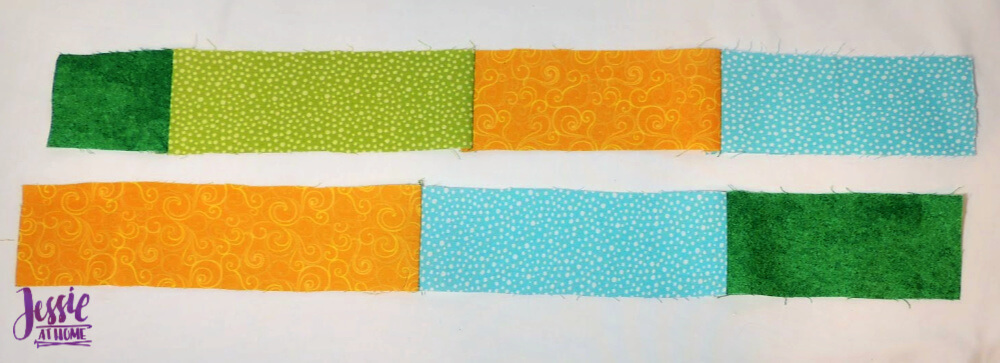
- Next cut quilt fabrics to 9″ wide.
- Cut the 9″ wide fabrics to pieces between 2-6″
- Sew pieces together with a 1/2″ seam allowance, starting with the embroidered piece on top, until the strip is 61″ long.
- Sew the strip into a tube with a 1/2″ seam allowance.
- Press all seams in the same direction.
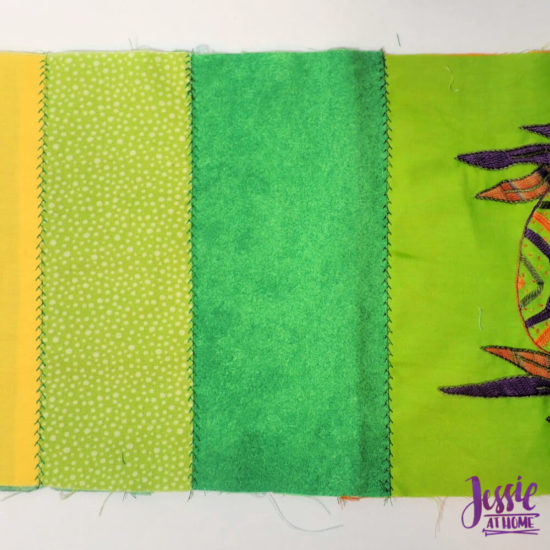
- Press tube into a flat rectangle. The bottom of the rectangle should be the seam at the bottom of the embroidery, the side of the rectangle with the embroidery is the right side. Sew a decorative stitch (by machine or by hand) over each seam on the right side.
- OPTIONAL – sew a decorative stitch over the seams on the wrong side as well, taking care that they look good on both sides of the rectangle. (I did not do this)
- Top stitch along each long side of the rectangle 3/8″ in from the edge.
The sides of the bag are made from two 2 1/2″ wide by 21″ long pieced strips of fabric folded in half and pressed into 2 1/2″ by 10 1/2″ rectangles.
- For the sides, make 2 strips of pieced fabric that are each 2 1/2″ wide by 21″ long, using 1/2″ seam allowances for piecing.
- Press all seams in the same direction.
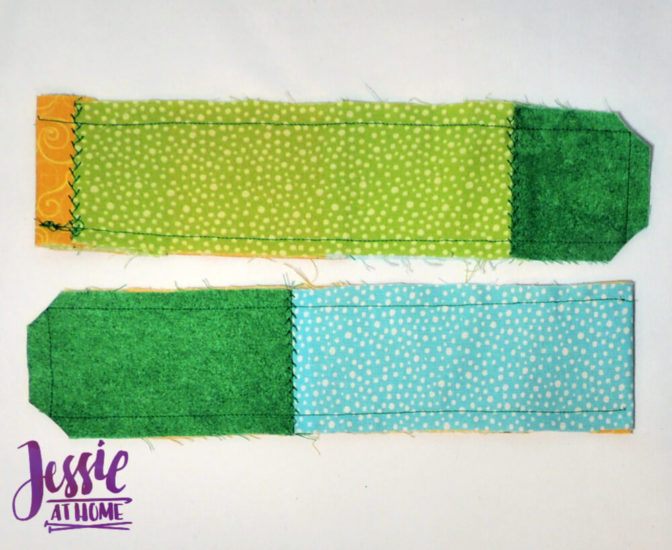
- Fold strips in half so they are 2 1/2″ wide by 10 1/2″ long.
- Choose a right side for each strip and sew a decorative stitch over the seams on the right (and optionally the wrong) side of the fabric.
- Top stitch along each long side of the rectangle 3/8″ in from the edge.
- Top stitch along the bottom (not folded) side of the rectangle 3/8″ in from the edge.
- Clip the bottom two corners of the rectangle at the intersections of the top stitching (as seen below).
- Measure up 10″ and 11 1/2″ on both sides from the end of the main bag rectangle that does NOT have the embroidery.
- Clip the fabric straight in to the top stitching at those points

Sew the sides to the main bag body WITH WRONG SIDES TOGETHER and using a 1/2″ seam allowance as follows. This will put the seams on the right sides, do not fret!
- Start from the end of the main bag sections without the embroidery and the folded end of the sides, and continue to the first snip of the main bag sections and 1/2″ up from the bottom of the sides.
- Continue seaming the main bag sections to the next clip with the bottom of the sides to 1/2″ in from the side.
- Continue seaming the main bag section for another 10″ to the top (fold) of the sides.
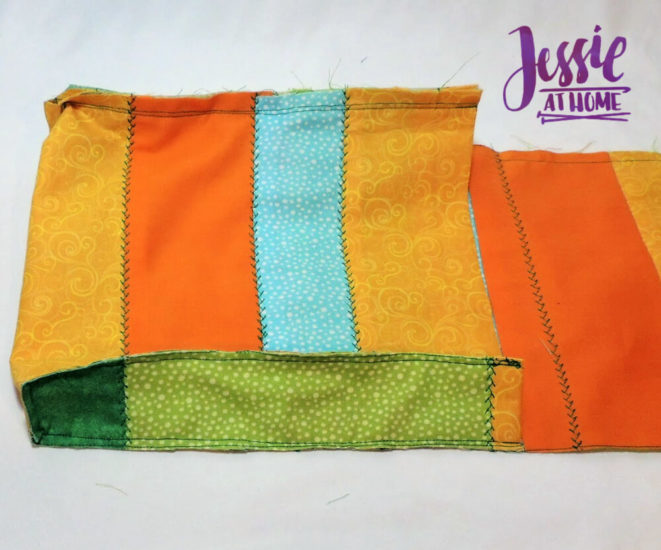
- Clip seam allowances to just barely past the top stitch lines. In the photo above the top seam allowance is not clipped and the bottom seam allowance is.
- Sew the bias tape on enclosing the seam allowance and using a zigzag stitch (or a straight stitch, I used zigzag for decoration) starting at the top front of the bag on one side and working around to the top front on the other side.
- Decide how long you want your strap to be and add 12-18″ to that number, then cut the strapping to that length.
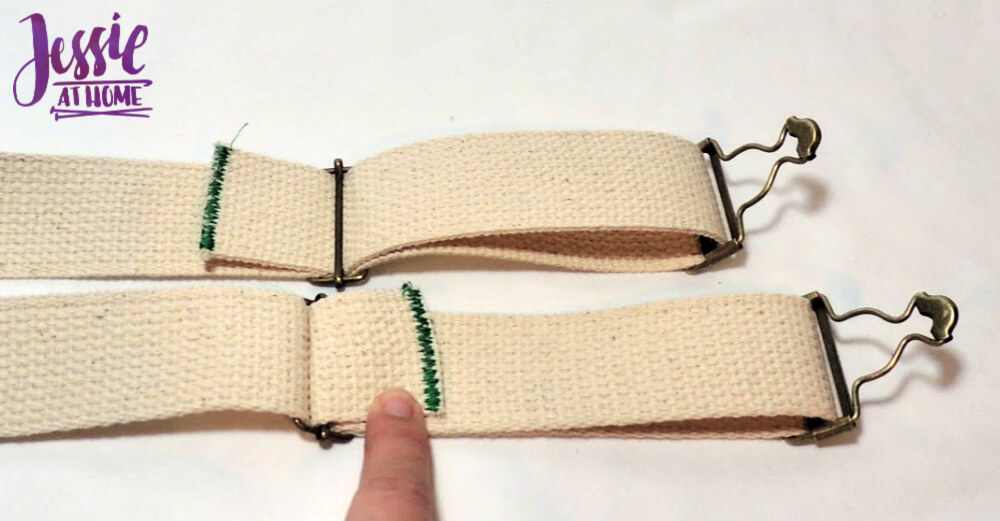
- Zigzag over the cut ends of the strap so they won’t fray.
- Slide the overall pieces onto BOTH ends of the strap.
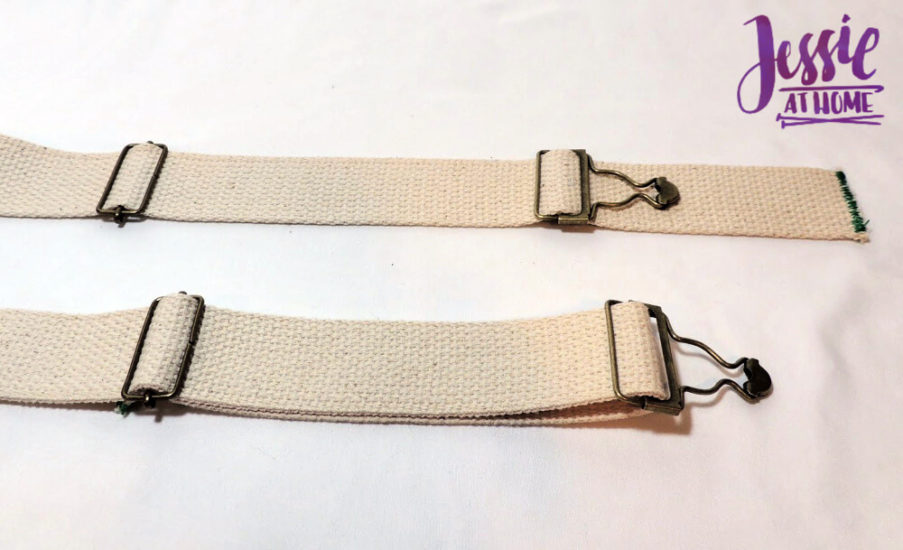
- Machine or hand stitch the cut ends over the slider and to just ONE layer of strapping.
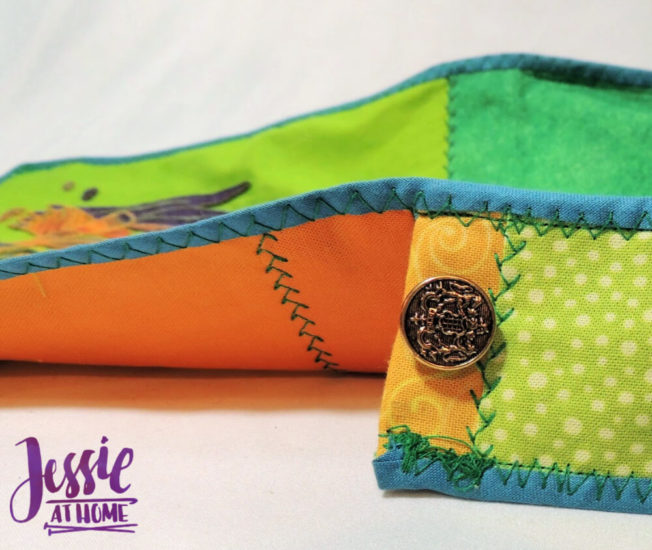
- Add overall buttons to sides of bag. My overall buttons just did NOT work, so I had to sew on shank buttons I had in my stash.
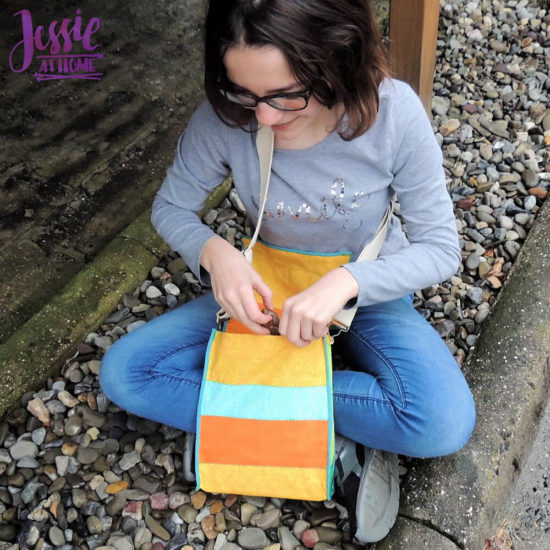
Ta-da!! You have an embroidered messenger bag! My bias tape was a bit thinner then 1/4″ so yours may have more edging on it. You can adjust the straps so the bag can fall just where you like it. Also, if you made it for a little one, the adjustable straps let it grow with them. They look cool, too!
Happy crafting my fiends!
[signature]