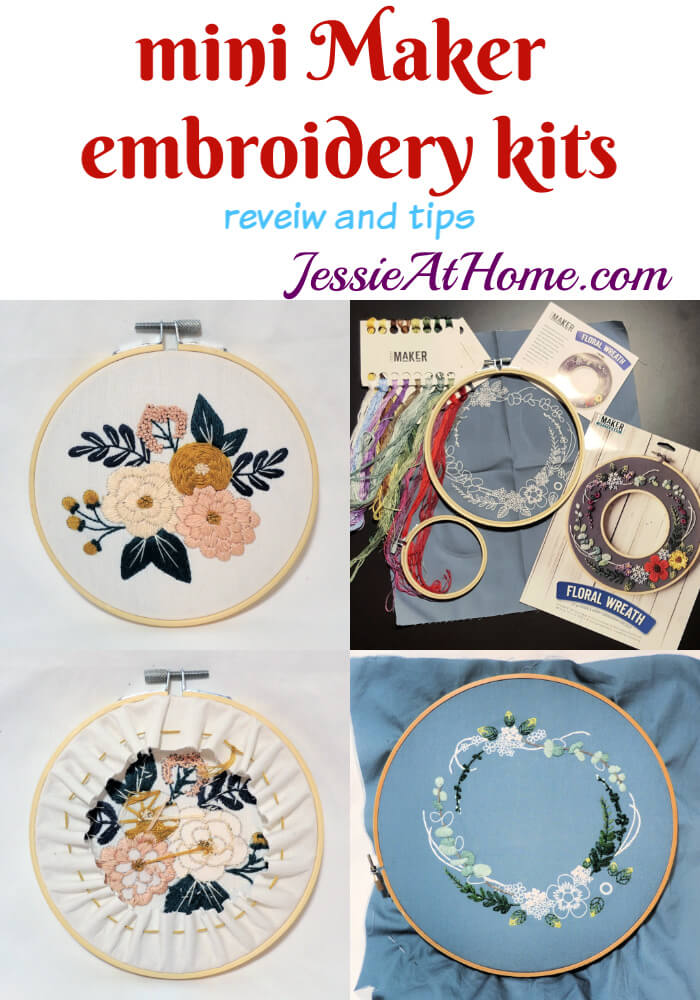
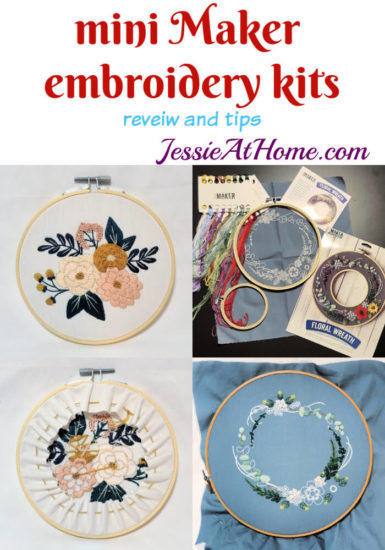
Mini Maker embroidery kits from Leisure Arts are a great way to get your embroidery fix. The designs are modern, beautiful, and full of a variety of stitches. Instructions with images are give for each stitch. Also, the thread is comes tied onto a card, ready to go.
Today I have a review of two of the kits I tried out, a few tips for you, and even a giveaway at the end of this post. The giveaway ends on March 16, 2020, so be sure to enter in time!
The kits reviewed in this post were provided by Leisure Arts. All opinions are my own.
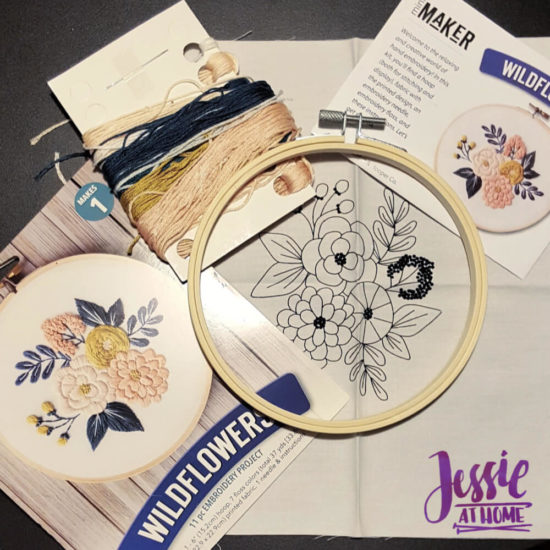
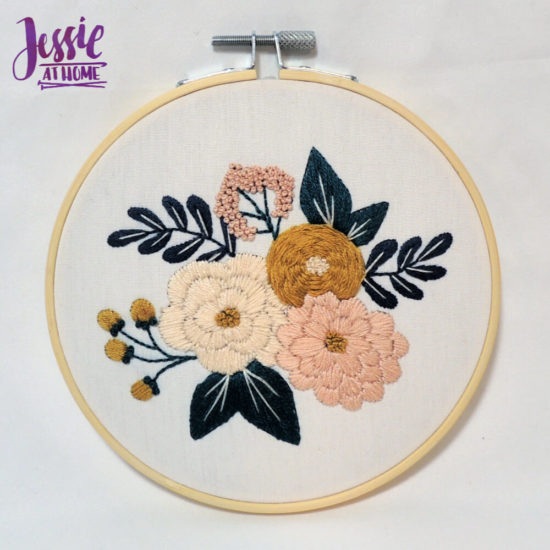
Upon opening my mini Maker embroidery kits I found what I am accustomed to finding with Leisure Arts kits: everything I needed was there and was of good quality. The fabric the designs were printed on was sturdy and was large enough to fit in the hoops without worry of popping out. The instructions were complete. There were clear pictures of the finished items.
I was very happy to see that the embroidery thread was already separated by color and tied onto a color card. This is where my first tip for working with the mini Maker embroidery kits comes in. Before starting, write the names of the colors next to each bundle on the cards. Some of the colors are similar, and some of the color names could work for multiple colors. Look at the colors on the line drawing of the design and on the photo of the finished project to determine which color is which.
Always pay attention to how many strands are used in each section. The line drawing is labeled to show which stitch is used in each section, and how many strands are used. Embroidery thread comes with 6 strands, however, some sections use only 2 or 3 strands.
The mini Maker embroidery kits do include instructions for each stitch. These instructions were great for me. I had no problem following along. If you are a novice and need a little more help with any of the stitches, don’t fret! The stitches are all labeled with their proper names so you can just plug them into your search engine and find some video tutorials.
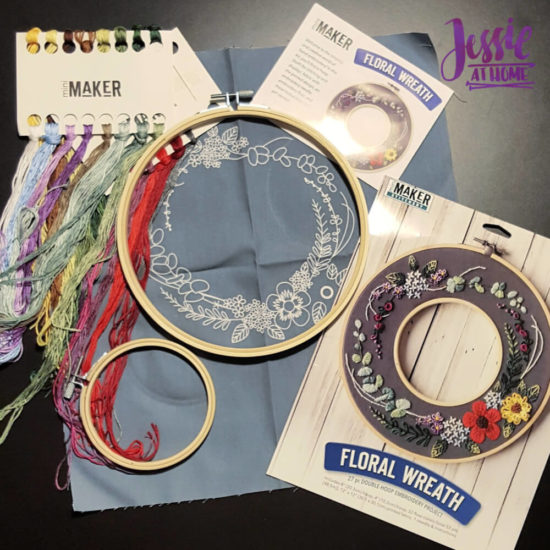
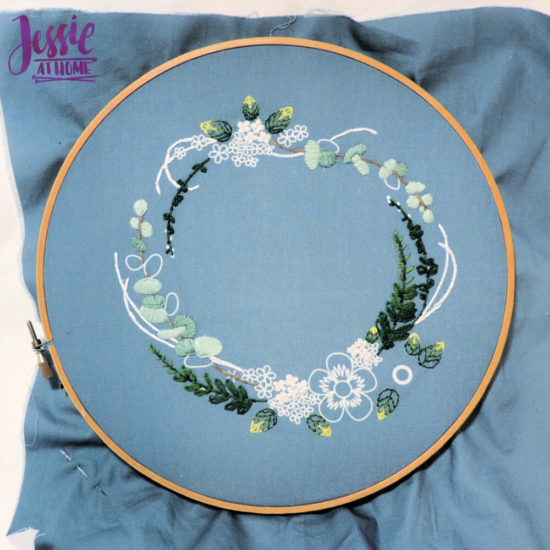
I used the hoop that came with the kit when I embroidered the design on the smaller kit. However, for the wreath kit I grabbed a larger hoop from my stash. This was because the design on the wreath kit goes really close to the hoop and I like to have a little extra work room. I always keep a stash of a variety of hoops for this reason.
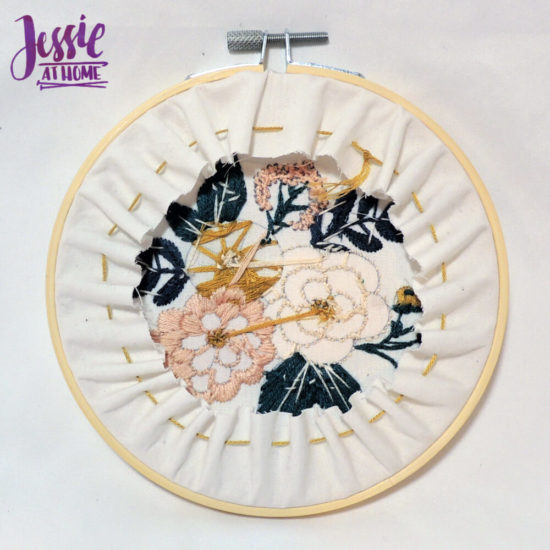
When I completed my first kit, I decided I wanted to display it in the pretty hoop that came with the kit. I made orientated the image how I wanted it, and that made it tight in the hoop. Next I flipped it over and cut the excess fabric about 1 inch from the hoop. I used some of the embroidery floss to make a running stitch about 3/8″ in from the cut edge around the excess fabric.
Lastly I pulled both ends of the thread to get the fabric tight and tied the ends together. This keeps it neat and tight inside the hoop. You can then sew or glue felt to the back to cover everything and make it look neat. Try leaving a little note on the felt if it’s a gift!
I haven’t completed the wreath kit yet. When I do I’ll be sure to share it on my Facebook and Instagram, so make sure you’re following me. You can pick your favorite mini Maker embroidery kits on Amazon HERE and HERE.
Did you enjoy what you found here at Jessie At Home? Then sign up for my newsletter and like my Facebook page, so you’ll get all the updates on new tutorials, other posts, sales, and coming events.
If you have any questions, want to share pictures of your work, or just want to chat with Jessie and other crafty individuals, than join my Facebook group.

© Copyright 2020 Jessie Rayot / Jessie At Home All my videos, patterns, charts, photos and posts are my own work, so you may not copy them in any way. If you want to share this information with someone, then share the link to this post. If you want to share on your own blog / website, then you may use the first photo in this post and link back to this post. Also, you may not give away printed copies of this post.


Do you know if these designs are washable? I have one I’m doing but the lines don’t quite match up because of lazy daisy stitches etc and I want to get rid of the lines but I’m not sure how.
I don’t know, you may want to contact Leisure Arts, they usually have great customer service.
I bought the kit but have lost the instructions, do you have any pictures or lists of how many strands for each section?
Which one? You can also contact Leisure Arts on their Facebook page and ask, but they will also need to know which kit.