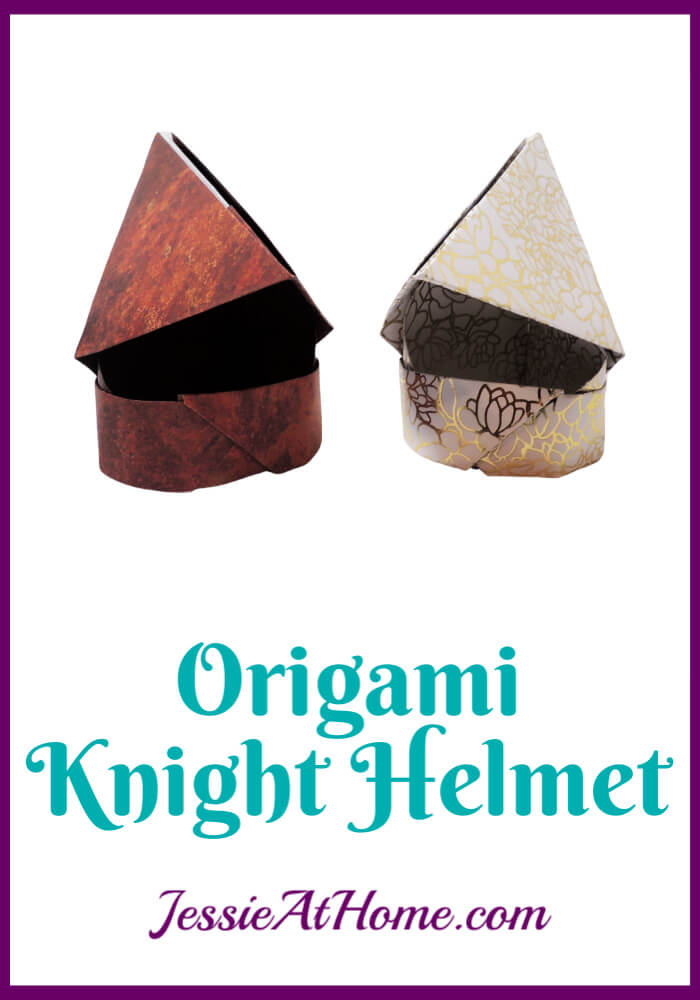
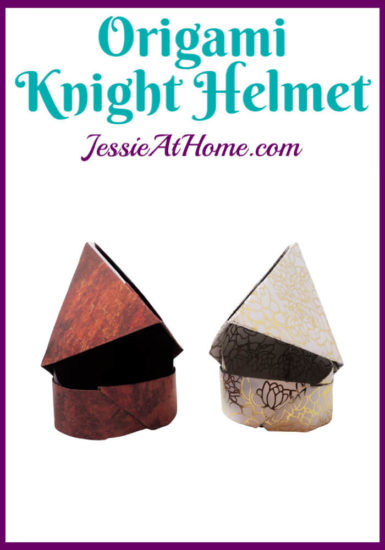
The Origami Knight Helmet is so versatile! You can make it with printer paper and it will be about 3.5″ tall, which would make nifty place settings. Use bigger or smaller rectangles to make different size helms. You could even have a medieval party and first decorate your paper, then make the Knight Helmets out of the paper! So many ideas.
You will find the written and pictorial pattern for the Origami Knight Helmet below.
Origami has been one of my hobbies since I was 8 years old. My grandmother introduced me to origami and it remains something that keeps her close to my heart. I’m pleased to be able to share this ancient art form with you! You can find more Origami Pattern Tutorials here: https://www.jessieathome.com/origami-patterns/
Origami Knight Helmet Tutorial
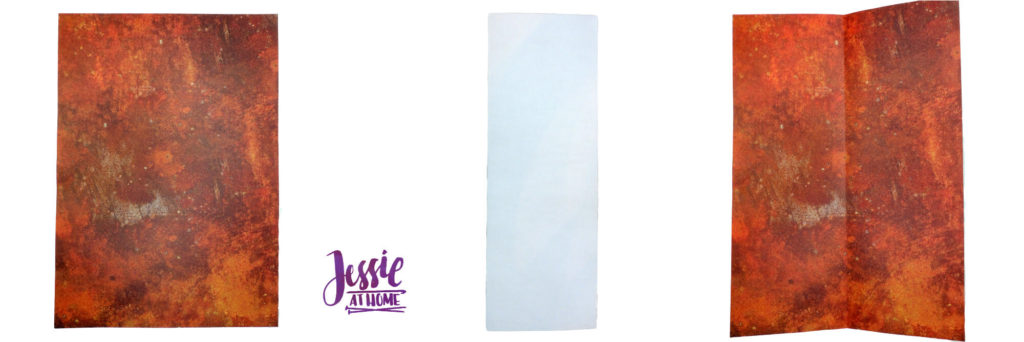
In the finished creation, only one side of the paper will be visible.
Use rectangular paper, such as printer paper, or a similar ratio (8.5:11 ish)
Be sure to crease well after each fold.
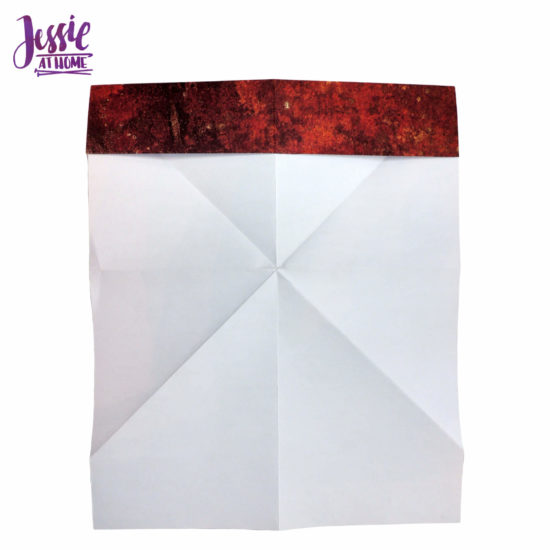
Step 1: Fold long sides together so the wrong side is on the outside, then unfold.
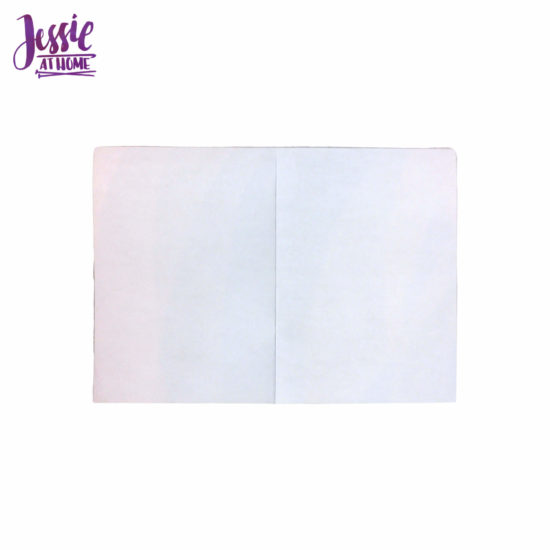
Step 2: Fold short sides together so the wrong side is on the outside, keep fold at top for next step.
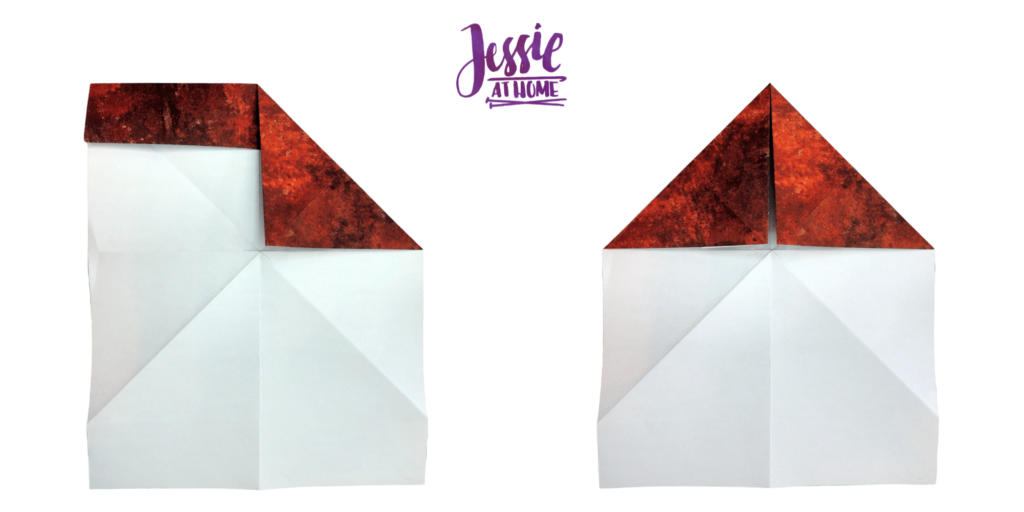
Step 3: Fold both top corners in to the center fold line.
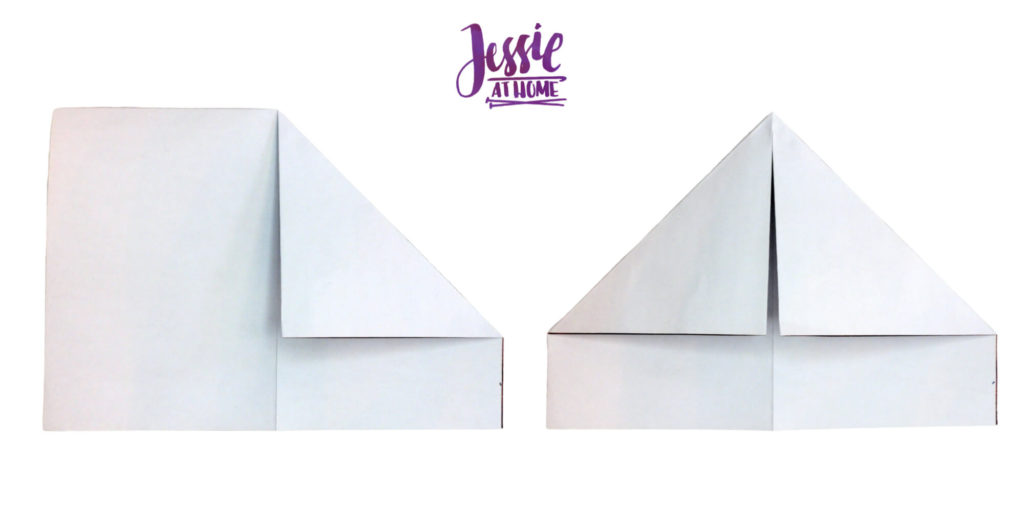
Step 4: Fold just the top layer of the bottom flap up at the base of the triangle just made. Unfold entire piece.
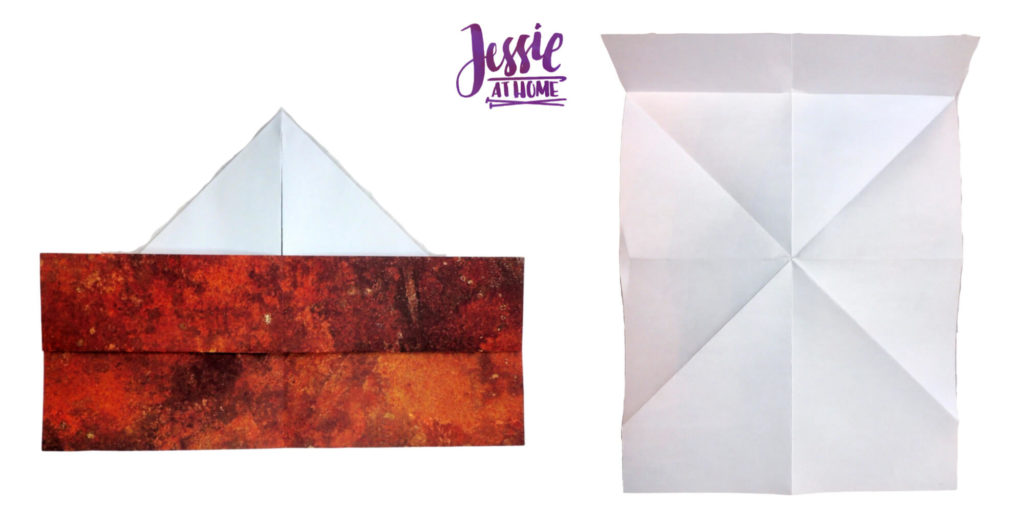
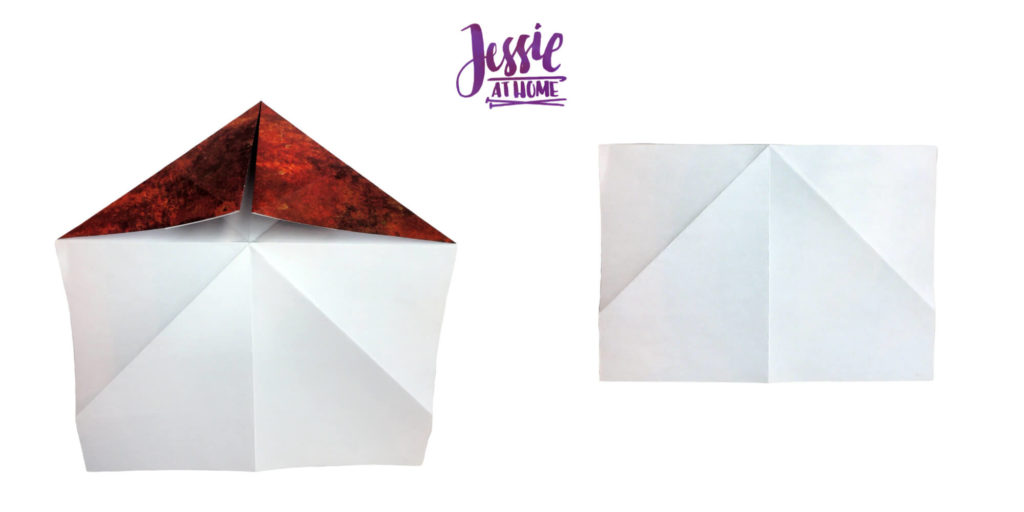
Step 5: With wrong side up, refold the last fold made, keep fold at top for next step
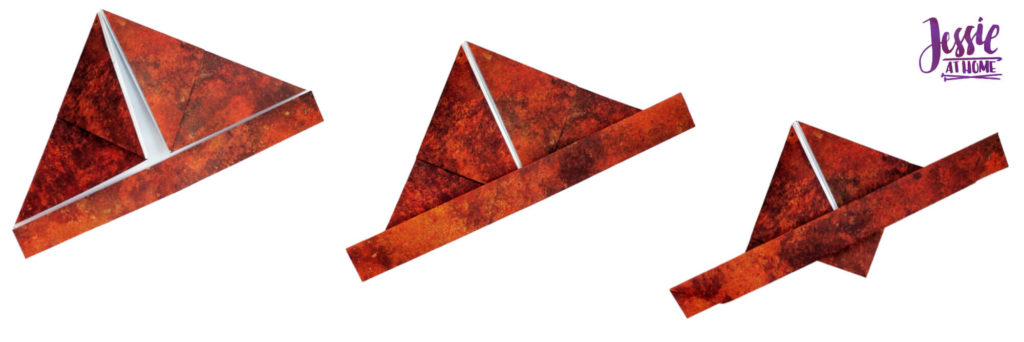
Step 6: Fold both top corners in to the center fold line.
Step 7: Fold the triangle just made at the top towards the back.
Step 8: Fold both top corners in to the center fold line.
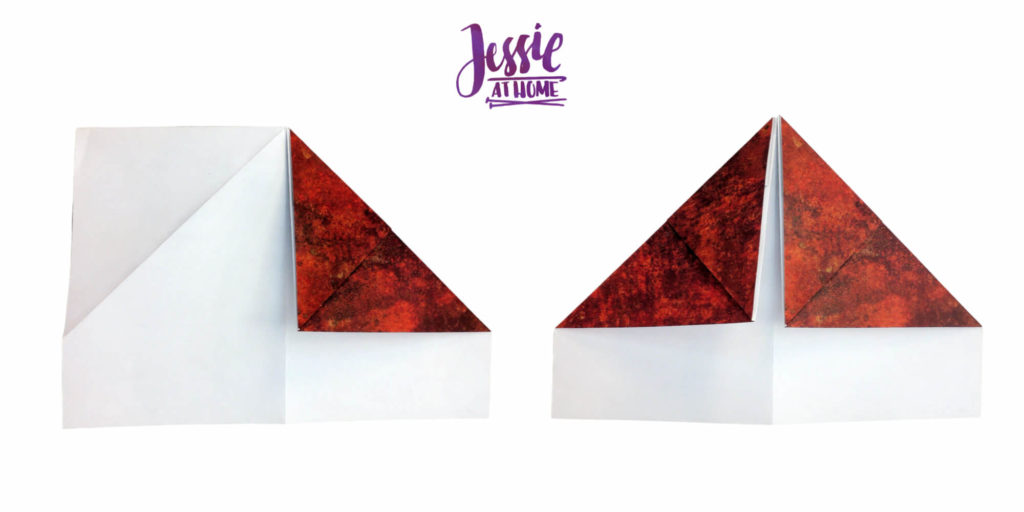
Step 9: Fold the bottom flap up to the bottom of the triangle just made, then fold that section over itself 2 times.
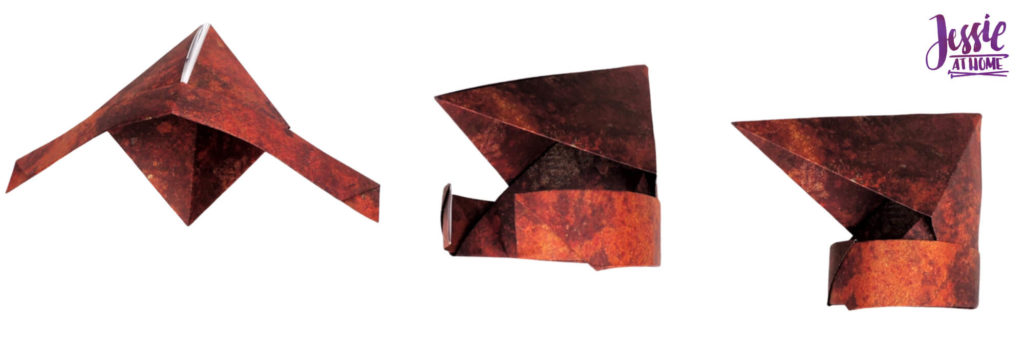
Step 10: Wrap the long rectangle in the middle of the piece around toward the back and tuck the two ends into each other to make the neck, while flipping up the triangular top to make the top of the knight helmet.
Find more Origami Pattern Tutorials HERE.
Find some Origami Supplies that I like HERE.
[signature]