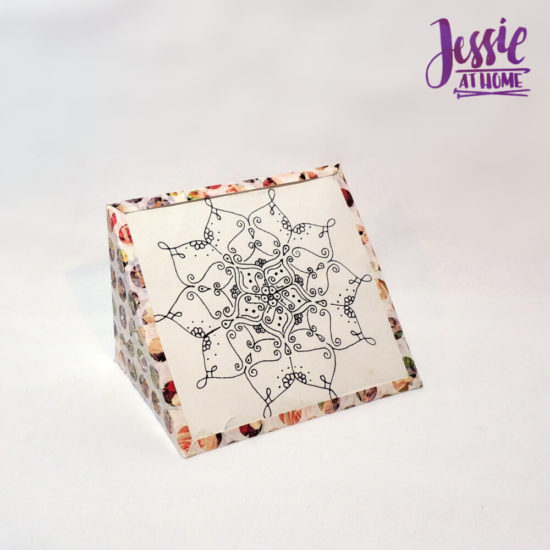
The Origami Photo Frame is a great way to show off a favorite photo, drawing, or business card. There are so many items that would benefit from one of these lovely frames. You will find the written and pictorial pattern for the Origami Photo Frame below. There are also instructions at the end of the pattern on how to make the frame any size.
Origami has been one of my hobbies since I was 8 years old. My grandmother introduced me to origami and it remains something that keeps her close to my heart. I’m pleased to be able to share this ancient art form with you! You can find more Origami Pattern Tutorials here: https://www.jessieathome.com/origami-patterns/

Origami Photo Frame Tutorial
Only one side of the paper will be seen after an image has been added to the frame. Be sure to crease well after each fold.
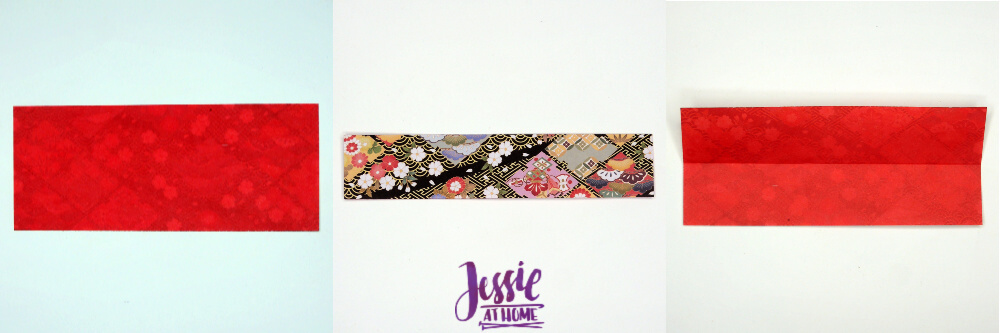
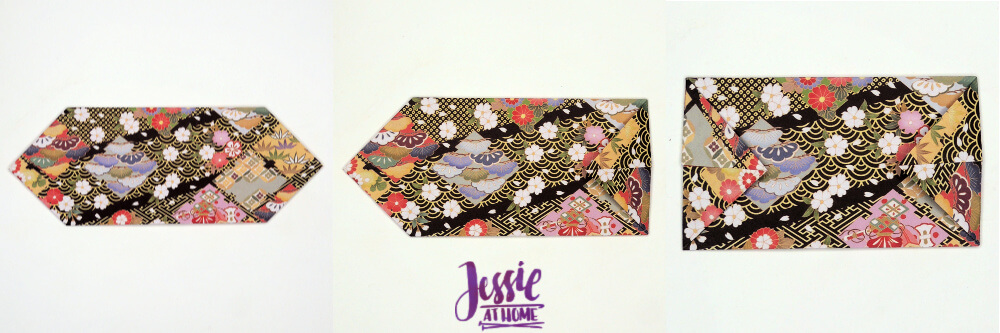
Step 1: Fold paper in half along long side, then unfold.
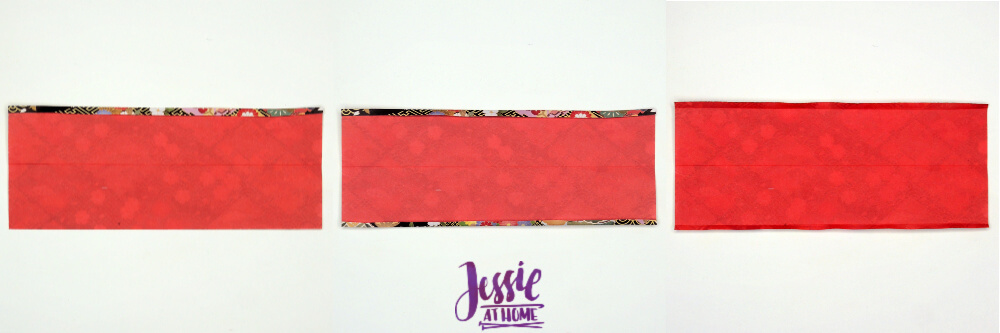
Step 2: Fold top down to desired frame border width, and fold bottom up same amount, then unfold.
Step 3: Fold all four corners in to the center fold line.
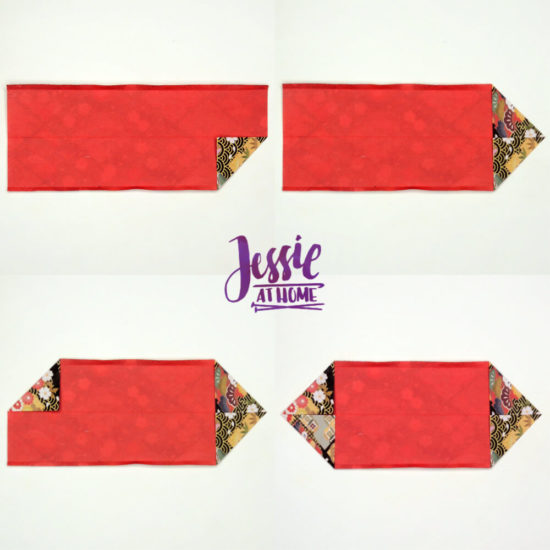
Step 4: Refold top and bottom, then turn over. Fold both ends in at points.
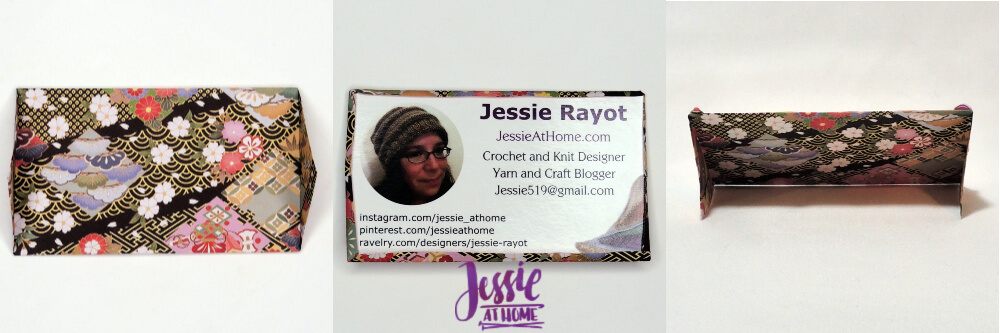
Step 5: Open folded sides to 90° and your Origami Photo Frame is done! Just add your image.
Adjusting Size
The origami photo frame can be made to any size rectangle as long as you have paper large enough. First determine the height you want your frame (H), next determine the width (W), and last determine how thick you want the frame border (B).
Cut your rectangle so it is H + (2B) by H + W.
So, for the image below my picture was 4.75″ high and 5″ wide, and I wanted the border to be .25″. So that meant my paper needed to be:
4.75 + (2 x .25) by 4.75 + 5
which equals: 5.25″ by 9.75″
The paper used for the frame below is from Dress My Craft.
Did you enjoy what you found here at Jessie At Home? Then sign up for my newsletter and like my Facebook page, so you’ll get all the updates on new tutorials, other posts, sales, and coming events.
If you have any questions, want to share pictures of your work, or just want to chat with Jessie and other crafty individuals, than join my Facebook group.

© Copyright 2020 Jessie Rayot / Jessie At Home All my videos, patterns, charts, photos and posts are my own work, so you may not copy them in any way. If you want to share this information with someone, then share the link to this post. If you want to share on your own blog / website, then you may use the first photo in this post and link back to this post. Also, you may not give away printed copies of this post.


These are very pretty Jess
Thanks Mom!