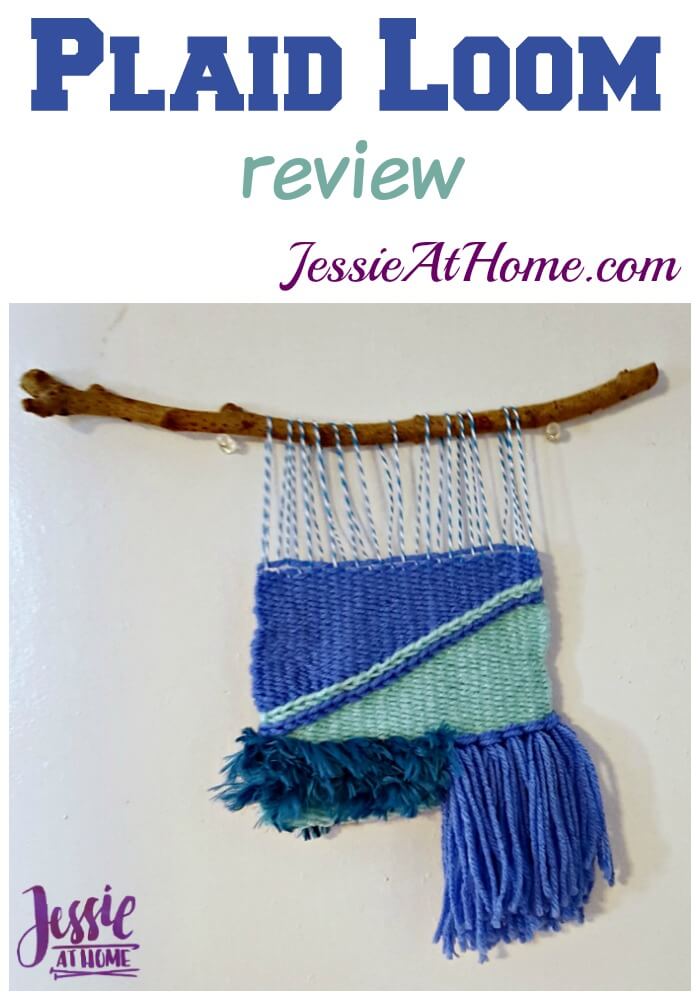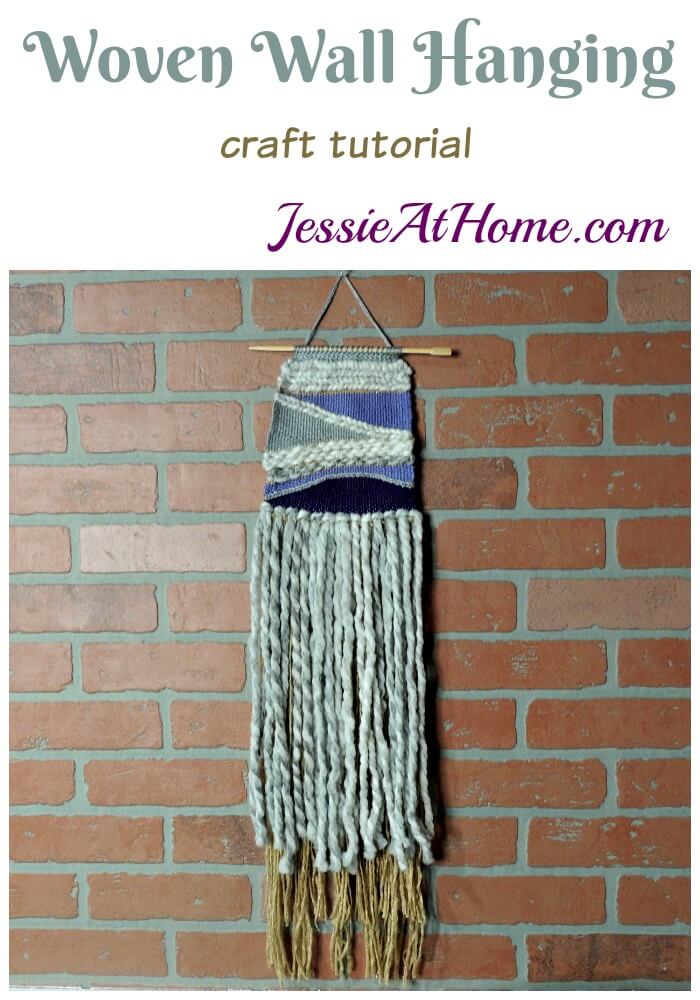
A while back I reviewed a Bucilla weaving loom. Today I have a tutorial showing you how to make a nifty wall hanging with that loom.

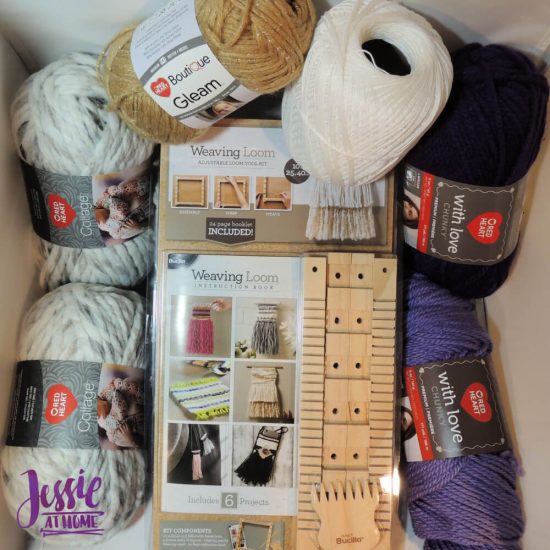
The products used in this tutorial were provided by Plaid and Red Heart. You can find the loom HERE.
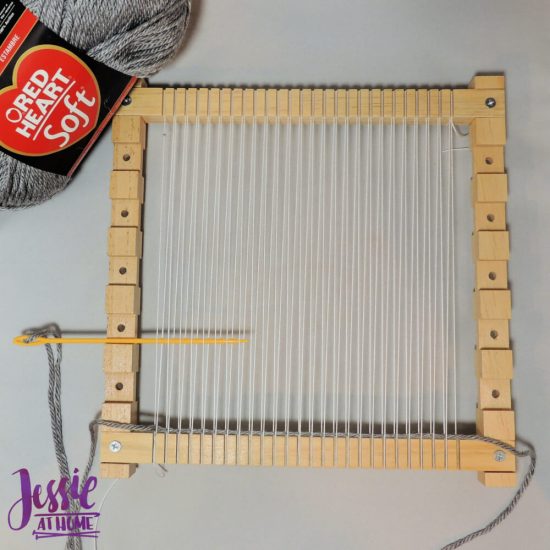
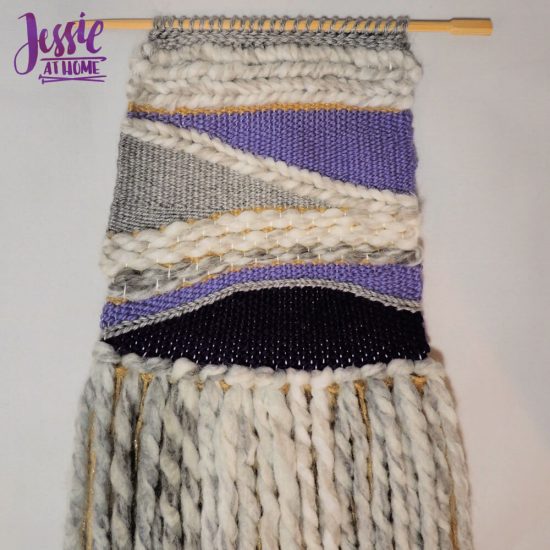
I have been wanting to make a nice wall hanging with this loom for a while. So I collected my supplies and got going! I used the Bucilla Weaving Loom, several weights of Red Heart yarn, and some sharp scissors. In the end I grabbed some sewing thread and a needle and a crochet hook as well. I will tell you how to finish without any crocheting for those of you who are not hooky. 🙂
To begin, I adjusted the loom to the largest size and warped it as instructed in booklet. Next I took some DK weight yarn and wove it in a plain stitch for 5 rows. I left a long tail at the start and stop and was sure to push down each row.
The plain stitch is made by weaving over one warp, under the next, over the next, under the next, and so on across. Each row is worked opposite the previous so you go under the warp that you went over in the previous row and visa versa.
I cut 26 pieces of worsted weight yarn each 40″ long. I tied them on as fringe using 2 pieces over 4 warps each. The last set went over 3 warps. To make the fringe place the center of the yarn over the 4 warps, take the left ends of the yarn and pull them under the first two warps and back up through the middle, then take the right ends and pull them under the second two warps and back up through the middle. Pull the ends tight and even.
I then repeated the last row again, this time with 24 pieces of the same yarn each 35″ long. I still tied the fringes with 2 pieces over 4 warps each, but this time I skipped the first 2 warps to off-set the knots.
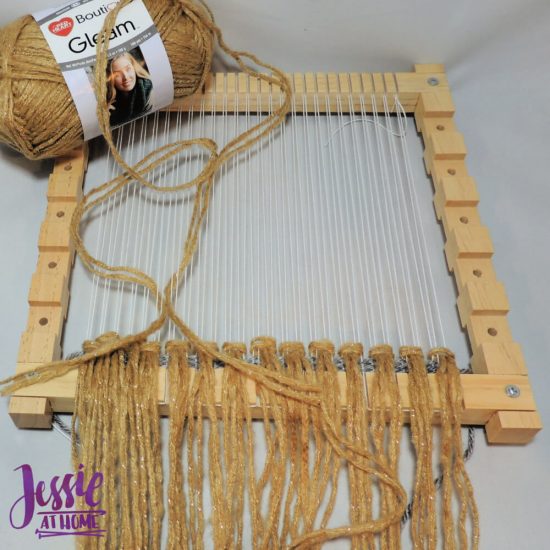
I repeated the fringe one last time with 13 pieces of jumbo weight yarn each 30″ long. This row used all the warps in the same fashion as the first row of fringe, except I used just one piece of yarn per fringe.
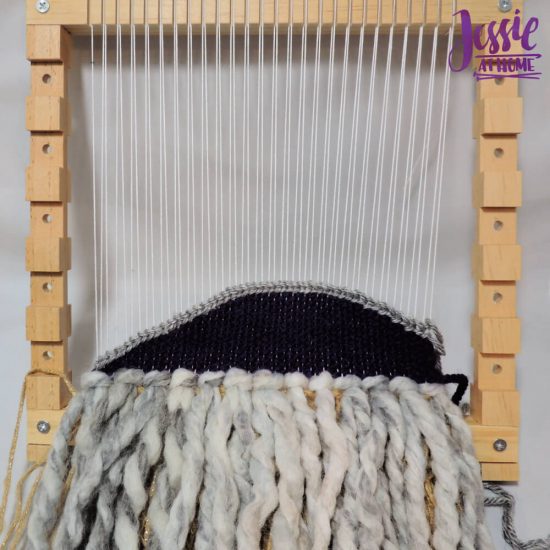
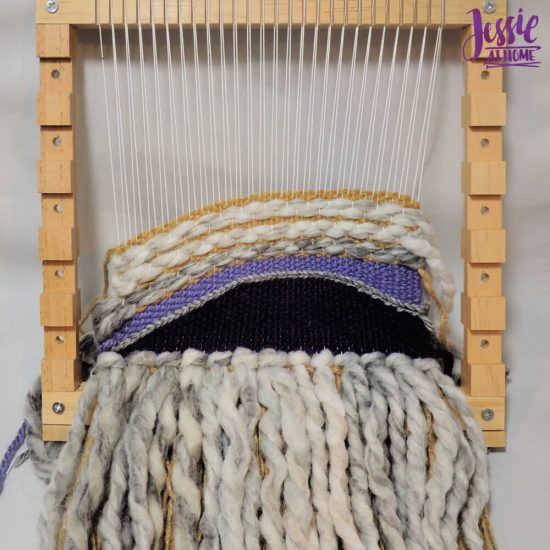
Next I made a wedge with a chunky yarn. I started on the right side and made a plain weave. The first two rows I worked as normal, but on the 3rd row I turned 2 warps short of the end. On every other row I then turned 2 warps sooner than the previous turn. I repeated this way for a total of 13 rows, ending with the yarn on the left.
I then continued the plain weave with the same yarn, only this time ending both sides of the rows 2 warps sooner than the previous row. I did this for 10 rows.
With the DK yarn again, I completed 2 rows of braid stitch following the curve of the previous yarn. To make the first row of braid stitch, start on the right side leaving a long tail behind the piece, *pass over two stitches, then back under the second stitch; repeat from * across. For the second row work from left to right, first wrap the yarn around the far right warp, then pass over warps 2 and 3, then back under 3, *pass over two stitches, then back under the second stitch; repeat from * across.
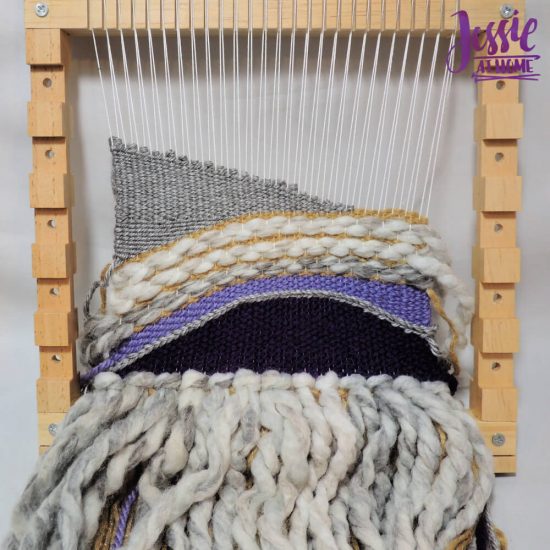
Next, starting at the left side, I made 3 rows of plain stitch with a chunky weight yarn following the curve. Next I wove the plain stitch for 12 wefts to the left and then back to the right side. I continued to weave from the left and back to the right decreasing by 2 wefts with every set until there were no more wefts. I then wove 3 more rows of plain stitch.
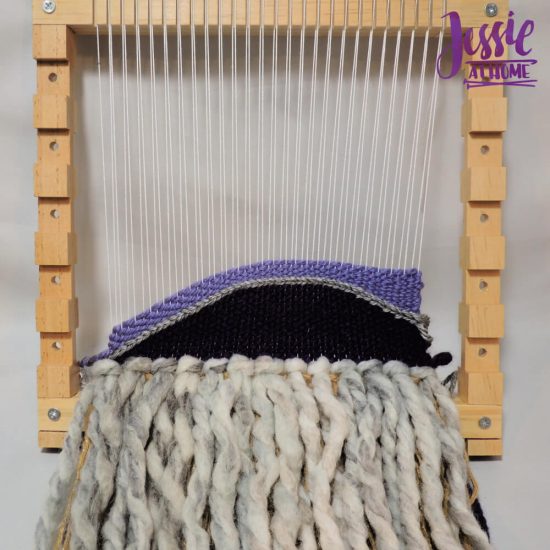
I then switched to a worsted yarn. Working from right to left, I completed 3 rows of plain stitch. Working from left to right I then worked over 3 warps and under 1 all the way across. I then wove from right to left, working under 1, then over until I reached the center of the next set of 3 skipped warps from the previous row, I wove under the middle of those 3, and then over 3 and under 1 all the way across.
Next I repeated the steps in the last paragraph 2 more times. Then I wove 3 rows of plain stitch with the worsted yarn.
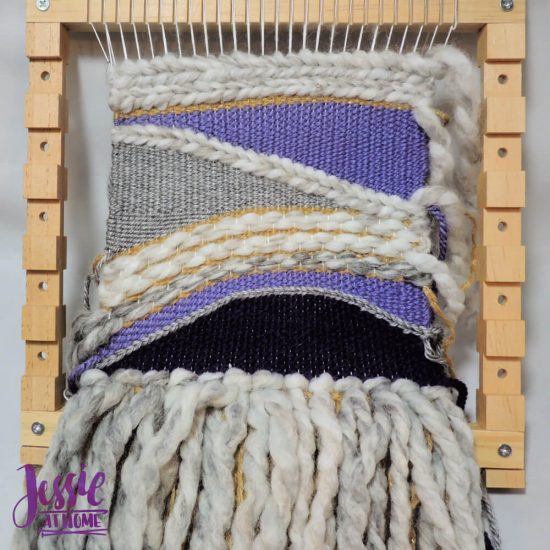
With DY yarn, I wove the plain stitch for 20 wefts from left to right and then back to the left side. I continued to weave from the left and back to the right decreasing by 2 wefts with every set until there were no more wefts.
Without changing or cutting the yarn, I wove the plain stitch for 40 wefts to the left and then back to the right side. I continued to weave from the left and back to the right decreasing by 2 wefts with every set until there were no more wefts.
With jumbo yarn I made 2 rows of braid stitch going over 4 wefts and back under the last 2.
With chunky yarn, I wove the plain stitch for 2 wefts from the right to the left and then back to the right side. I continued to weave from the left and back to the right increasing by 2 wefts with every set until I wove a set 40 stitches each way. I then wove 4 complete rows of plain stitch
With worsted yarn, I completed 4 more rows of plain stitch. I then completed 4 rows of braid stitch going over 4 wefts and back under the last 2 with jumbo yarn.
Now I was done weaving. I flipped the piece over and used a yarn needle to bury the ends of the various yarns. I then clipped the knots on the start and end of the warp yarn.
I carefully removed the piece from the loom. Then I folded the loops from the warp down and sewed them down with sewing thread. I wove in the beginning and ending of the warp yarn ends and ended up with a nice finished piece.
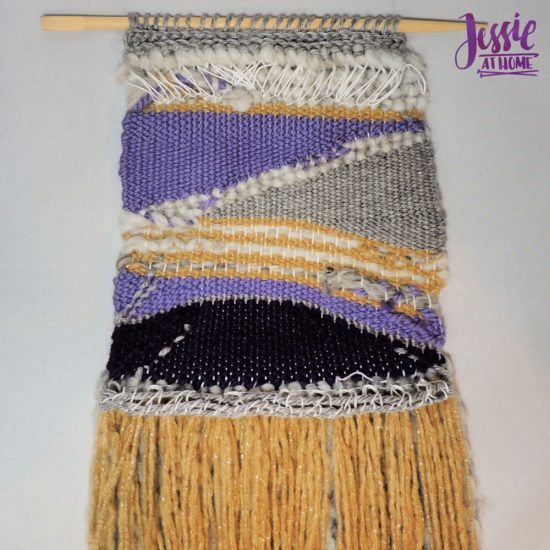
To hang the piece I added a bit of crochet on the top. I used the DK yarn and slip stitched into the top loops of the last row of braid stitch. I then made 4 rows of slip stitch in the back loop only. I cut the yarn with a very long tail and pulled it through the last stitch.
Next I grabbed a chopstick as a hanging rod. I threaded the yarn tail into a yarn needle and wrapped it over the chopstick and through the first stitch on the top of the piece. I continued this way across the entire top of the piece.
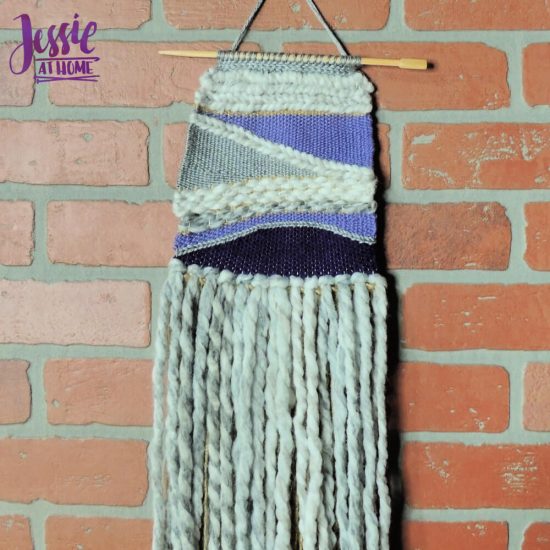
If you do not crochet, you can just take a piece of yarn and wrap it over the chopstick and through each stitch of the top row of weaving. Lastly you will want to add a hanging loop, or just hang it from a point on each end.
There you are, happy weaving!

©Copyright 2019 Jessie Rayot / Jessie At Home All my videos, patterns, charts, photos and posts are my own work. Do not copy them in any way. If you want to share this information with someone, share the link to this post. If you want to share on your own blog / website, then you may use the first photo in this post and link back to this post. You may not give away printed copies of this post. Thank you.