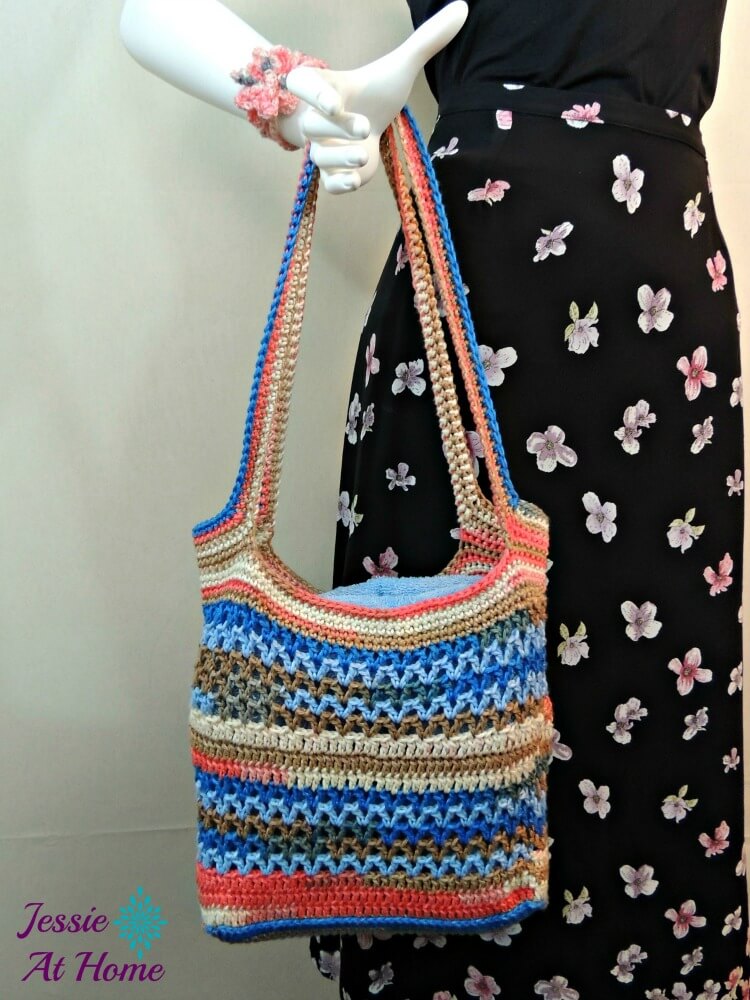
This fun and easy beach bag is made with a new yarn from Willow Yarns: Coastal. The strong and soft cotton yarn lends itself to making a durable bag that will keep you fashionable for years to come. Made with just 2 balls of Coastal it’s so affordable to make you’ll want to make one for yourself and a few more for your friends!
Coastal Beach Bag
Crochet Pattern
Easy Skill Level
Designed by Jessie Rayot
Size:
26″ around, 9″ tall
Yarn:
Willow Yarns Coastal 100% cotton: Cedar Sky 0004, Color A
Willow Yarns Coastal 100% cotton: Red Rock Canyon 0001, Color B
Hook:
US-7, 4.5mm
Gauge:
15 sts x 8 rows = 4” [10 cm] in dc
Other supplies:
Yarn Needle
Stitches and Abbreviations:
ch ~ chain
dc ~ double crochet
sc ~ single crochet
sl st ~ slip stitch
sp(s) ~ space(s)
st(s) ~ stitch(es)
Getting Started:
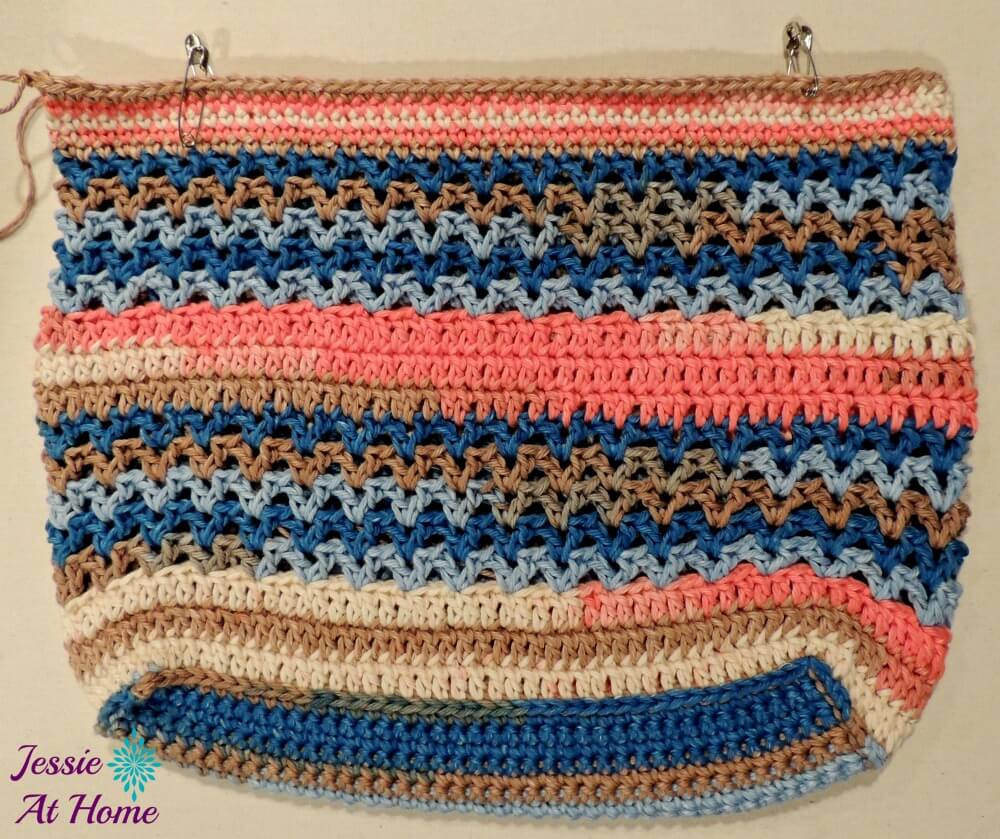
This bag is made by first creating a rectangular base. Then slip stitching around the bast to create loops around the edges of the top of the base. The sides are then worked into these loops, and the straps are made with the last several rows of the bag.
The bag takes nearly all of both balls of yarn, so if your gauge is too loose, you may not have enough yarn. If you can’t get gauge, it’s better to be tight (more stitches in 4″) so you don’t run out of yarn.
Pattern:
Bag Bottom:
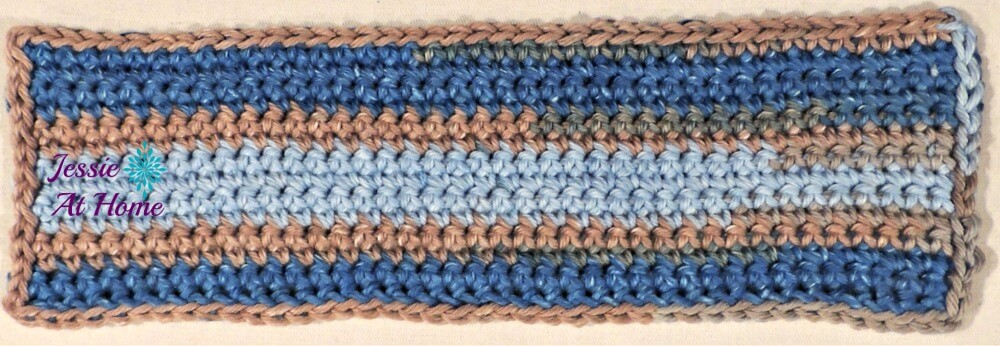
Ch 41 with Color A
Row 1: Sc in second ch from hook and each remaining ch. – {40 sc}
Rows 2-14: Turn, ch 1, sc in each st across.
Bag Sides:
Rnd 1: Turn, sl st in each st around entire bag bottom – that’s 40 sts on the long sides and 14 sts on the short sides for a total of 108 sl sts. Cut yarn and fasten off.
Rnd 2: Turn work so you are working from the right side/outside, with Color B, attach to any sl st, ch 2 (counts as dc), dc in each sl st around. – {108 sts}
Rnds 3&4: Ch 2 (counts as dc), dc in each st around.
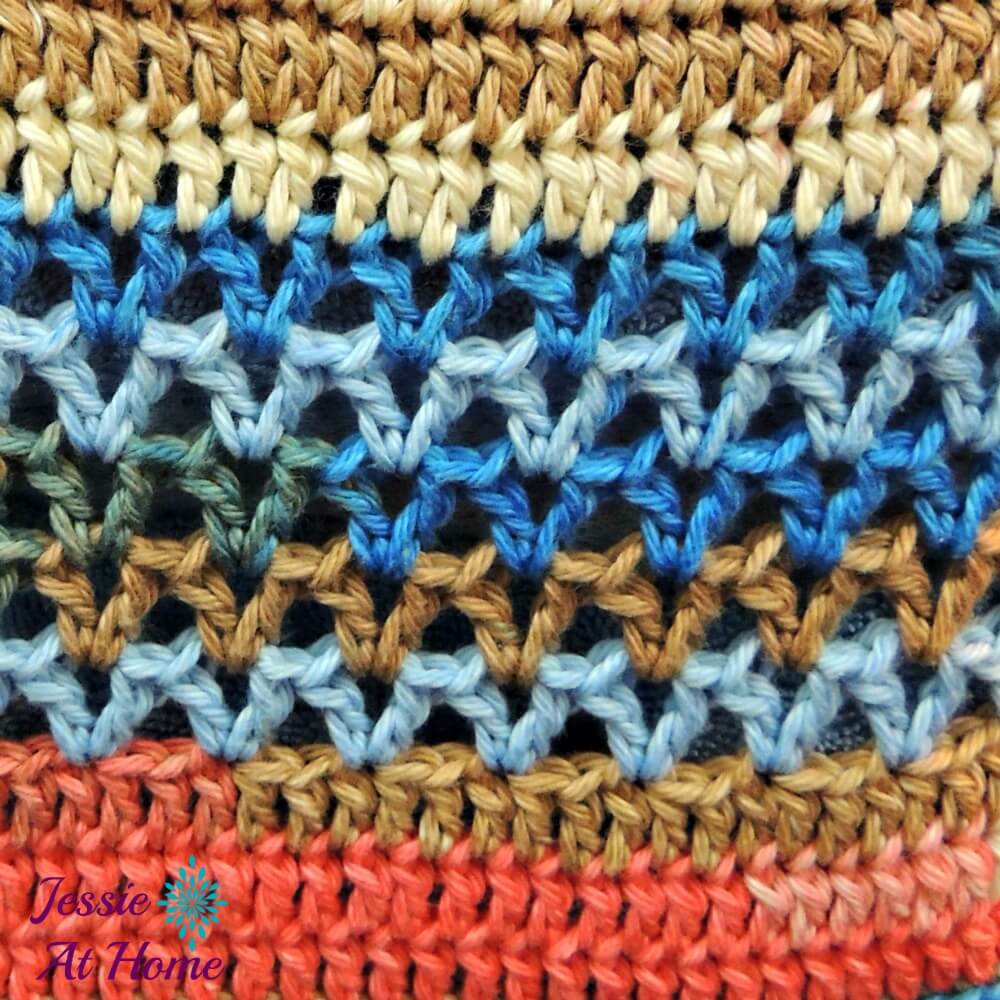
Rnd 5: With Color A, ch 3 (counts as dc, ch 1), dc in same st, *skip 2, (dc, ch 1, dc) in next st, repeat from * until 2 sts remain, sl st to 2nd ch of beginning ch-3, sl st in next ch.
Rnds 6-8: Ch 3 (counts as dc, ch 1), dc in same sp, (dc, ch 1, dc) in each ch-1 sp around, sl st to top of beginning ch 2, sl st to 2nd ch of beginning ch-3, sl st in next ch.
Rnd 9: Ch 3 (counts as dc, ch 1), dc in same sp, (dc, ch 1, dc) in each ch-1 sp around, sl st to top of beginning ch 2, sl st to 2nd ch of beginning ch-3.
Rnds 10-12: With Color B, ch 2 (counts as dc), dc in each st around, sl st to top of beginning ch 2.
Rnds 13-17: Repeat rnds 5-9 one more time.
Rnds 18-20: With Color B, ch 1 (does not count as a st), sc in each st around, sl st to beginning sc.
Bag Handle: Lay bag flat with the folds at the sides, count over 10 sts from each side of both folds and place markers in those sts (4 markers total), replace markers as you come to them on rounds 1 and 2
Rnd 1: Ch 1 (does not count as a st), sc to first marker, ch 80, skip to next marker, sc to next marker, ch 80, skip to next marker, sc to end of round, sl st to beginning sc.
Rnd 2: Ch 1 (does not count as a st), sc in each st around, sl st to beginning sc.
Rnd 3: Ch 1 (does not count as a st), [sc to marker, sc2tog] 4 times, sc to end of round, sl st to beginning sc.
Rnd 4: Ch 1 (does not count as a st), sc around, placing a sc2tog above each previous sc2tog, sl st to beginning sc.
Rnd 5: Swtich to Color A, ch 1 (does not count as a st), sc around, placing a sc2tog above each previous sc2tog, sl st to beginning sc.
Wear or give and enjoy!
If you enjoy this free crochet pattern, please consider buying some of your supplies from one of these affiliate links. Thank you.
[signature]





Pretty! Love the colors. Pinned!
Just finished this pattern. I had trouble with a part of the handles pattern, so I just sc. I did add to it though. I added a liner, I always add liners to crocheted bags. And a tassle and button with a closure. I also used different colors. Red Heart Super Saver Yarn Icelandic. Gave it to my daughter and she said it’s her new favorite.
I did fine crocheting the bag until I came to doing the handles and am totally lost. Can’t finish the bag because I’m unable to understand the instructions.
What part do you not understand. You place the markers as explained, then follow the stitch instructions replacing the markers as you come to them
I understand the confusion because it says to start at the one stitch marker chain 80 single crochet at the next stitch marker chain 80 join it the next stitch marker and so on. That means there are 80 chains going from the front to the back on the sides and then it says to single crochet what do you single crochet around all of the chains because it looks like from the picture it is joined on the sides or worked in on the sides as well.
Hi
Having trouble with the handle.
Could you please explain in small details how to go about it.
Thank you
What part do you not understand. You place the markers as explained, then follow the stitch instructions replacing the markers as you come to them
May we sell what we make from your patterns? I have different color of yarn.
Yes you may, thank you for asking. I hope you sell lots and make a great profit!