
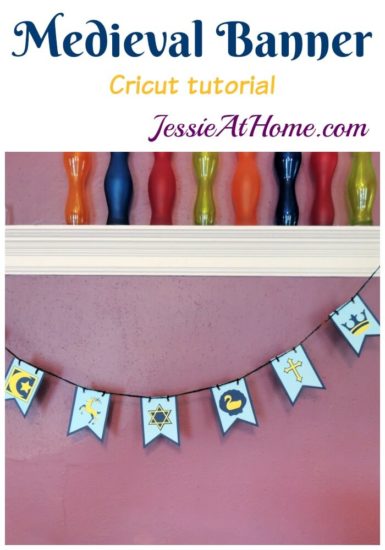
DIY medieval banners make a fun craft for a themed party, a rainy day, or a medieval reenactment event. Kids and adults alike will have a great time making banners and they can choose their colors so no two banners are alike. Cricut Design Space makes it easy to change the central images as well.
Products for this tutorial were provided by Cricut, Xyron, and Glue Dots. All opinions are my own.
The current Queen of the MSR asked me to lead a craft for the kiddos at an event a while back and this banner is what I came up with. To make the banner you will need the following.
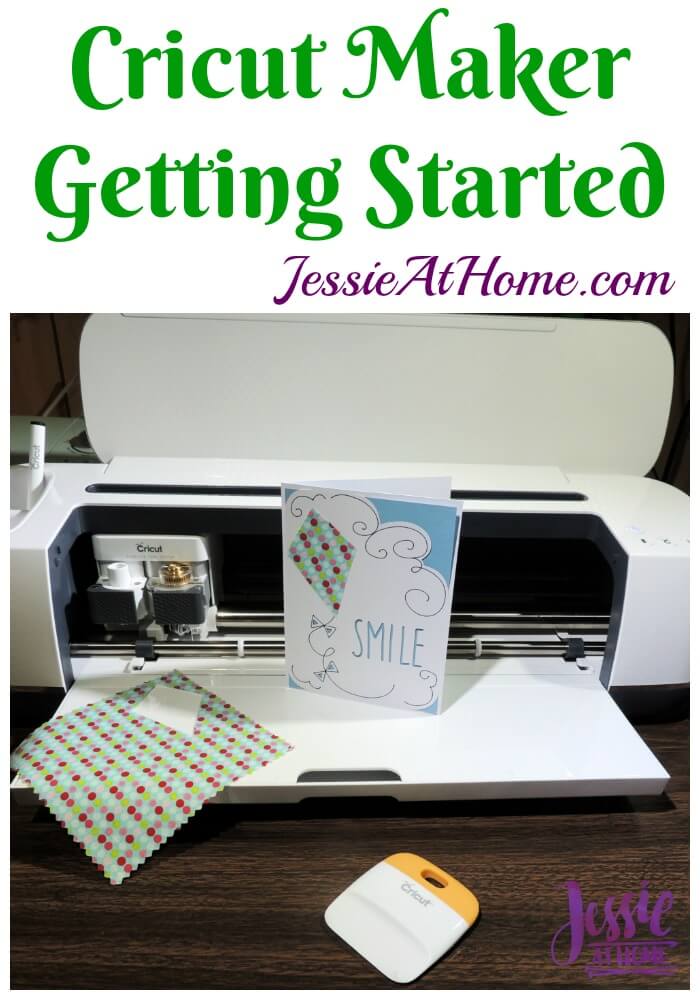
- Cricut Explore Air 1 or 2 or Cricut Maker
- Cricut Project on Design Space HERE (please note the deer is not on this project as it was not a Design Space image, all other images are part of Cricut Access)
- 4 sheets of 12×12 card stock for each banner (2 flag and image back color, 1 flag front color, 1 image front color)
- Glue Dots GlueTape or Dot N’ Go dispenser (be sure to get permanent, not removable)
- Xyron sticker maker(s) – I used Xyron Sticker Maker XRN150 “X” 1.5 inch and Xyron 100111 Disposable/Recyclable Sticker Maker, 3-Inch
- White Glue
- 4 yards of yarn or string
- Lots of envelopes to hold the pieces (optional)
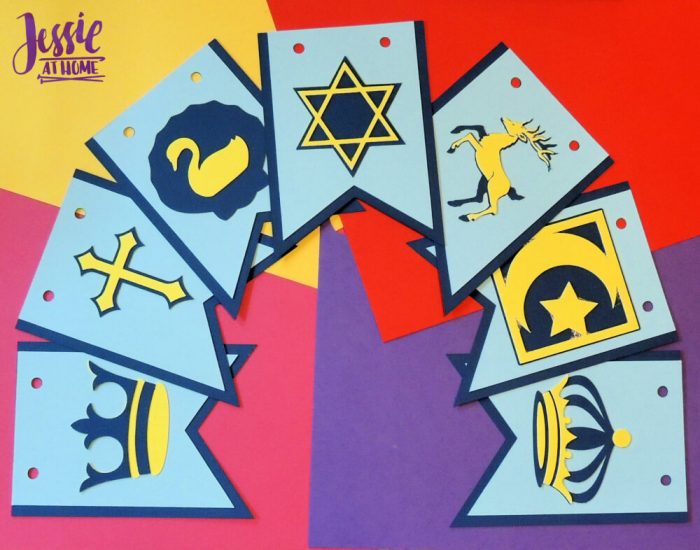
Cut out all the pieces on your Cricut. What I did was actually cut out everything in the same color and then cut it all out again in the next color and so on. This way I had every piece in every color and the kids could mix and match.
In order to keep somewhat organized, I placed each image in a different envelope. That way the kids could grab the envelope for the piece they needed, pick the color they wanted, then move on to the next envelope. It sort of worked…
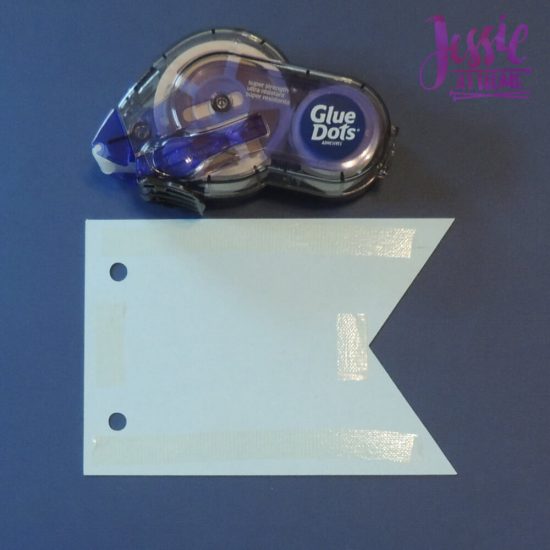
Use the GlueTape to attach the flag fronts to the flag backs, taking care to line up the holes.
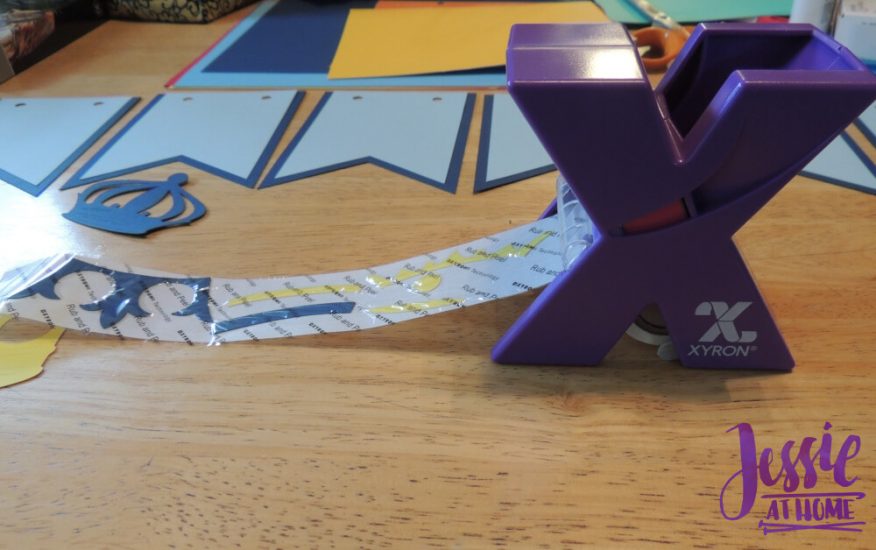
Run all the image front pieces through the Xyron sticker maker to turn them into stickers. Then stick the image front pieces onto the image back pieces.
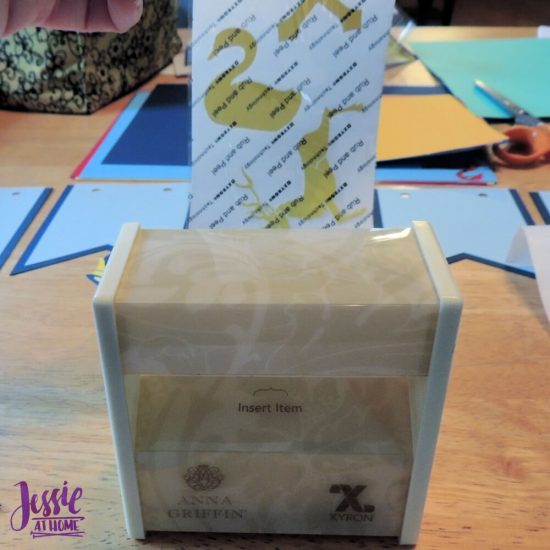
Run the completed images through the Xyron sticker maker. Next stick them onto the centers of the flag pieces.
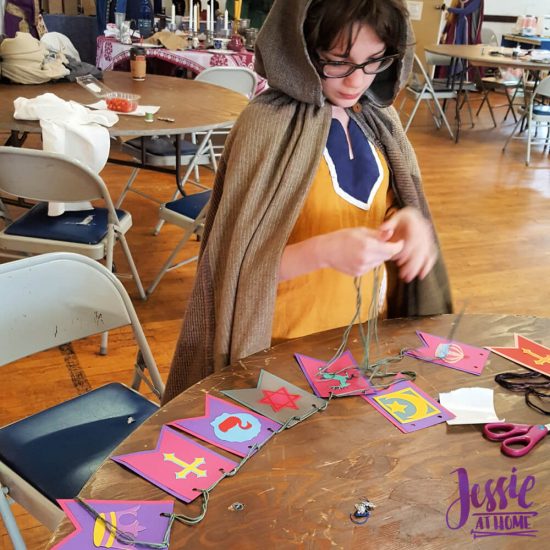
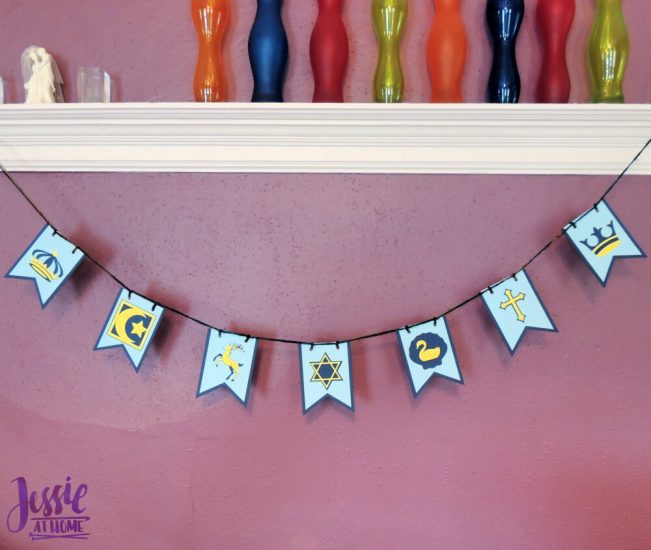
Fold the yarn in half and tie all the flags onto the yarn to make the completed banner.
As you can see, I made my banner in just 3 colors, but you can do as you wish. There are also plenty of 2 layer images in Design Space, so you can change up your center images.
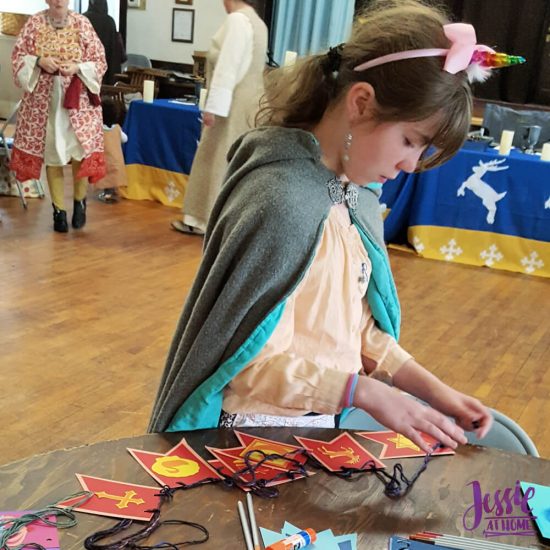
Some of the kiddos, such as Kyla, went with a color theme. This required hording the correct color parts right away before someone else took them!
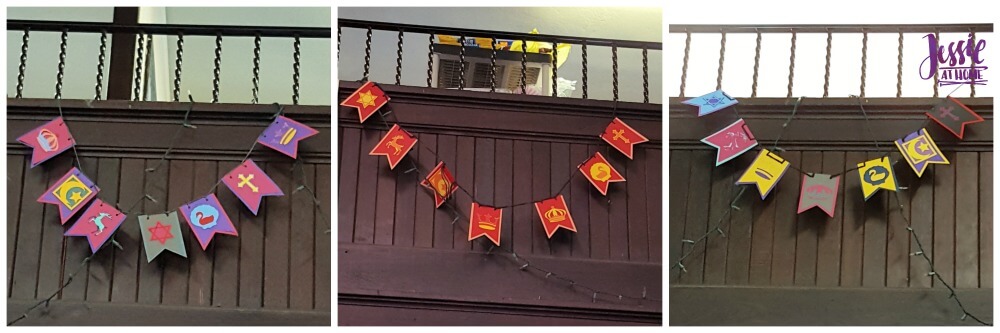
Plenty of other kiddos mixed and matched colors so we had a fun variety of banners hanging everywhere by the end of the event.
That’s it! Happy crafting my friends.
Did you enjoy what you found here at Jessie At Home? Then sign up for my newsletter and like my Facebook page, so you’ll get all the updates on new tutorials, other posts, sales, and coming events.
If you have any questions, want to share pictures of your work, or just want to chat with Jessie and other crafty individuals, than join one of our free Zoom Sit & Stitches. Find them on our Events Calendar.

© Copyright 2019 Jessie Rayot / Jessie At Home®, LLC All my videos, patterns, charts, photos and posts are my own work, so you may not copy them in any way. If you want to share this information with someone, then share the link to this post.


Hello! How did you tie the pennants together? Is it all a single length of yarn?
I used several long pieces of yarn held together, then tied them through each of 2 holes at the top of each pennant.