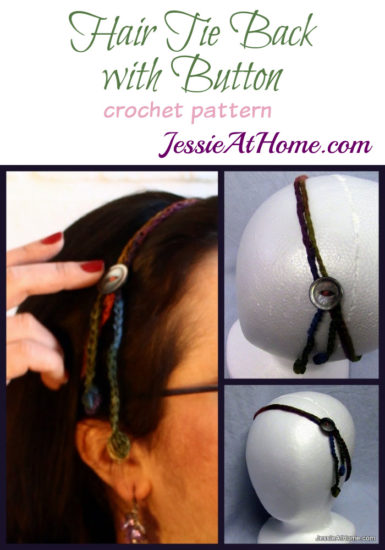
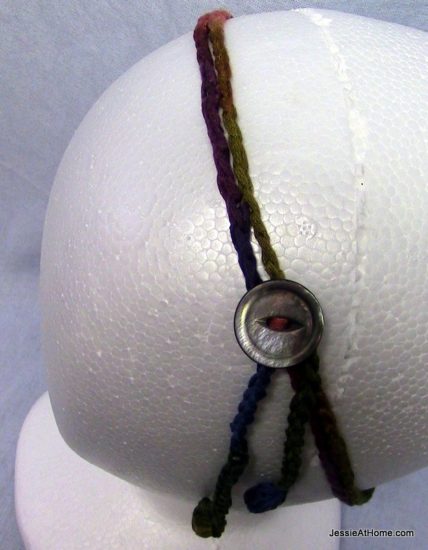
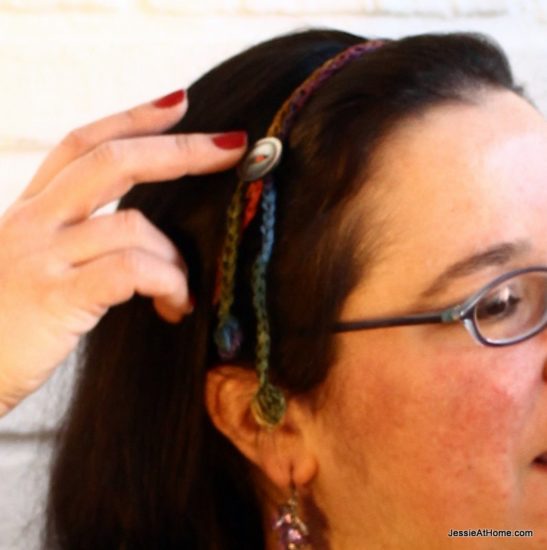
This simple hair tie back matches wonderfully with the puff stitch necklace. It works up quickly using chain sts, puff sts, and a few single crochets. This tie back looks stunning in variegated yarn, but it would also be lovely changing colors every round with 2 or more solid colors, or even just in one color. The tie back is closed with a button, and is adjustable. There are two fun little chains that end in puff stitches that hang down below the button. These chains can easily be made longer for a more dramatic look.
Simple Hair Tie Back with Button
Crochet Pattern
Easy/Intermediate Skill Level
Designed by Jessie Rayot
SKILL LEVEL:
Easy/Intermediate
YARN:
Almost any ribbon yarn will work, for the samples seen here I used Prism Yarns Tencel Tape in Mojave.
HOOK:
4.00mm/US G
SIZE:
One size fits most (even children), as the button can be fastened through any of the openings of the tie back.
TECHNIQUES USED:
ch ~ Chain
sl st ~ Slip Stitch
puff st ~ puff stitch: [yo, insert hook into st, yo, pull through st] 4 times, all in the same st (9 loops on hook), yo, pull through all 9 loops, puff stitch made.
Here is a video to help you along:
PATTERN:
Ch 3, puff st in 1st ch made, ch 97, sc in bottom loop of 5th ch from hook [ch 4, skip 4, sc in bottom loop of next ch] 16 times, ch 20, puff st in bottom loop of 3rd ch from hook, ch 1. Finish off.
BUTTON:
Lay the finished head wrap flat. On one end there are the dangles, on the other is the fold. Sew the button at the very end where the fold is. If you watch the end of the video, there is also a tip on how to crochet the button on.
Variation: to extend the hanging chains, add more chains to the chains after the first puff st (try 107 or 117 instead of 97), then add onto the end before the last puff st (try 30 or 40 instead of 20).
Wear or give and enjoy!
To find a printer friendly version of this pattern (text only, in black, no photos) click here. This will bring you to the listing for this pattern on Craftsy, where you can also find printer friendly versions of all my free patterns, and where you can purchase my sale patterns.
If you enjoy what you have found here at JessieAtHome, please like our Facebook page to get all the updates on new tutorials, other posts, sales, and coming events.
If you have any questions or concerns, want to share pictures of your work, or just want to chat with Jessie and other crafty individuals, than join our Facebook group.
©Copyright 2014 Jessie Rayot / Jessie At Home All my videos, patterns and posts are my own work. Do not copy them in any way. If you want to share this information with someone, share the link to this post. If you want to share on your own blog / website, then you may use the first photo in this post and link back to this post. You may not give away printed copies of this post. Thank you.
This post may contain affiliate links/ads. If you purchase something from a link in this post, I may be compensated.


Love the design! One question: Where, when and how did you attach the button? I made a somewhat similar headwrap and couldn’t figure out how to attach the button so that it didn’t pull on the stitches when fastened (leaving a big ugly dangly loop where the button is attached).
Oops! I will need to go back and put that in! Silly me. The button goes at the fold. When it is laying flat there is one end with the dangles, and one end with the fold, that is where the button goes. You can sew it on, or, if you watch the very end of the video there is a tip on how to crochet it on.
Have googled everywhere and cannot find any tensel tape anywhere?
http://www.prismyarn.com/tencel.htm
Try googling Prism Tencel Tape Yarn.
The link to your Craftsy site (for the printer friendly version) is not working
Crafty has closed, I’m working on getting the PDFs updated and moved to Ravelry/Etsy