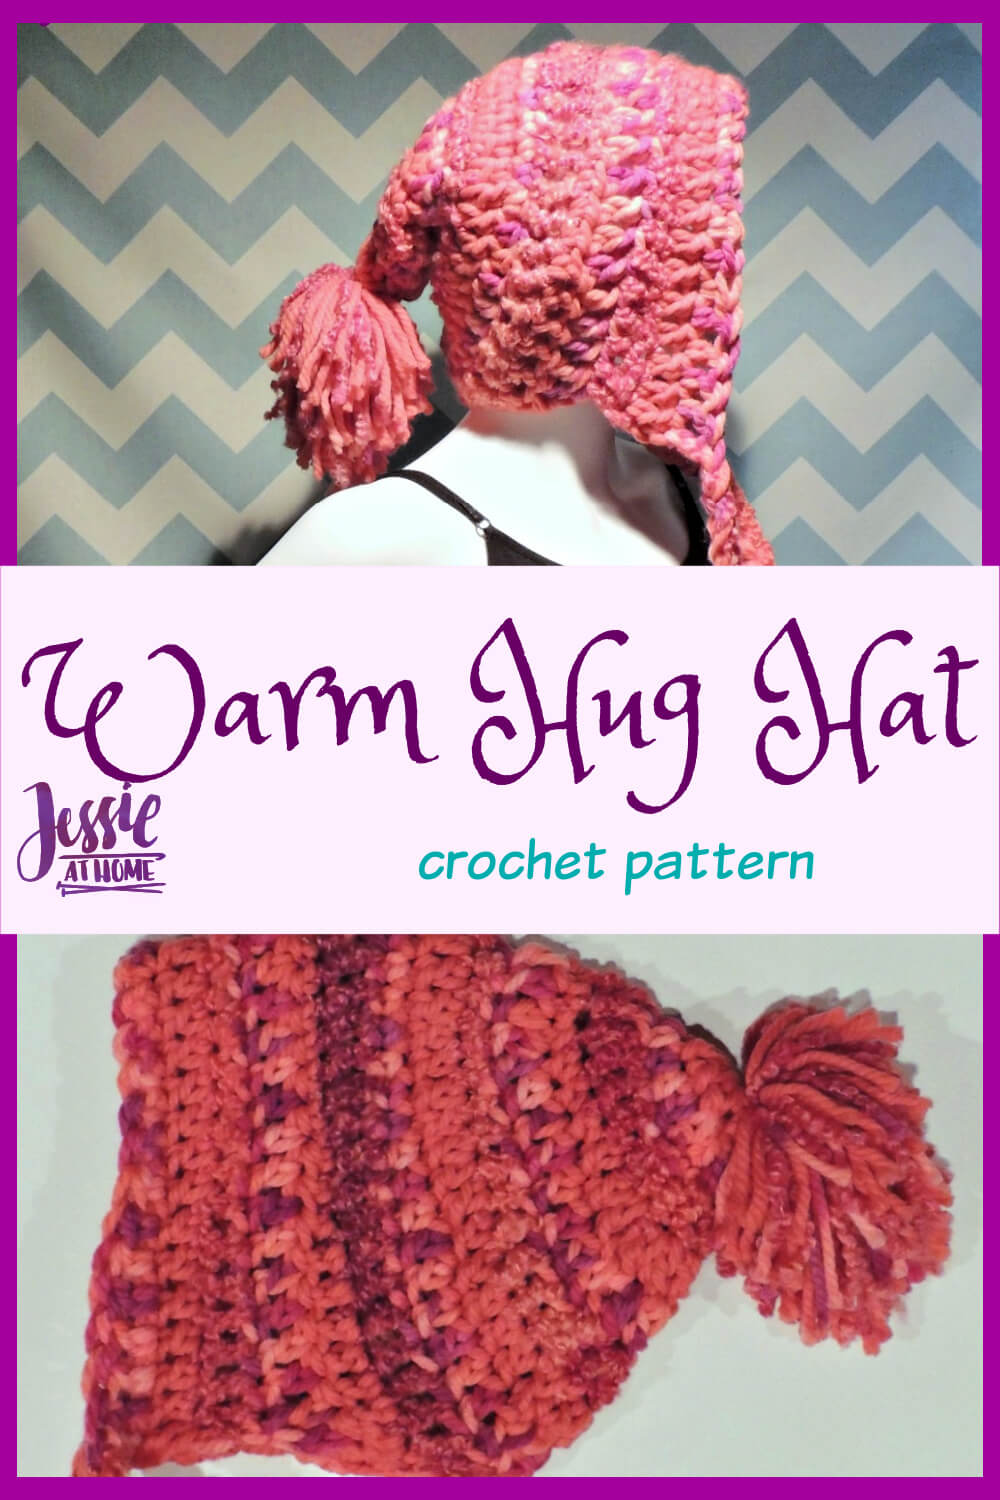
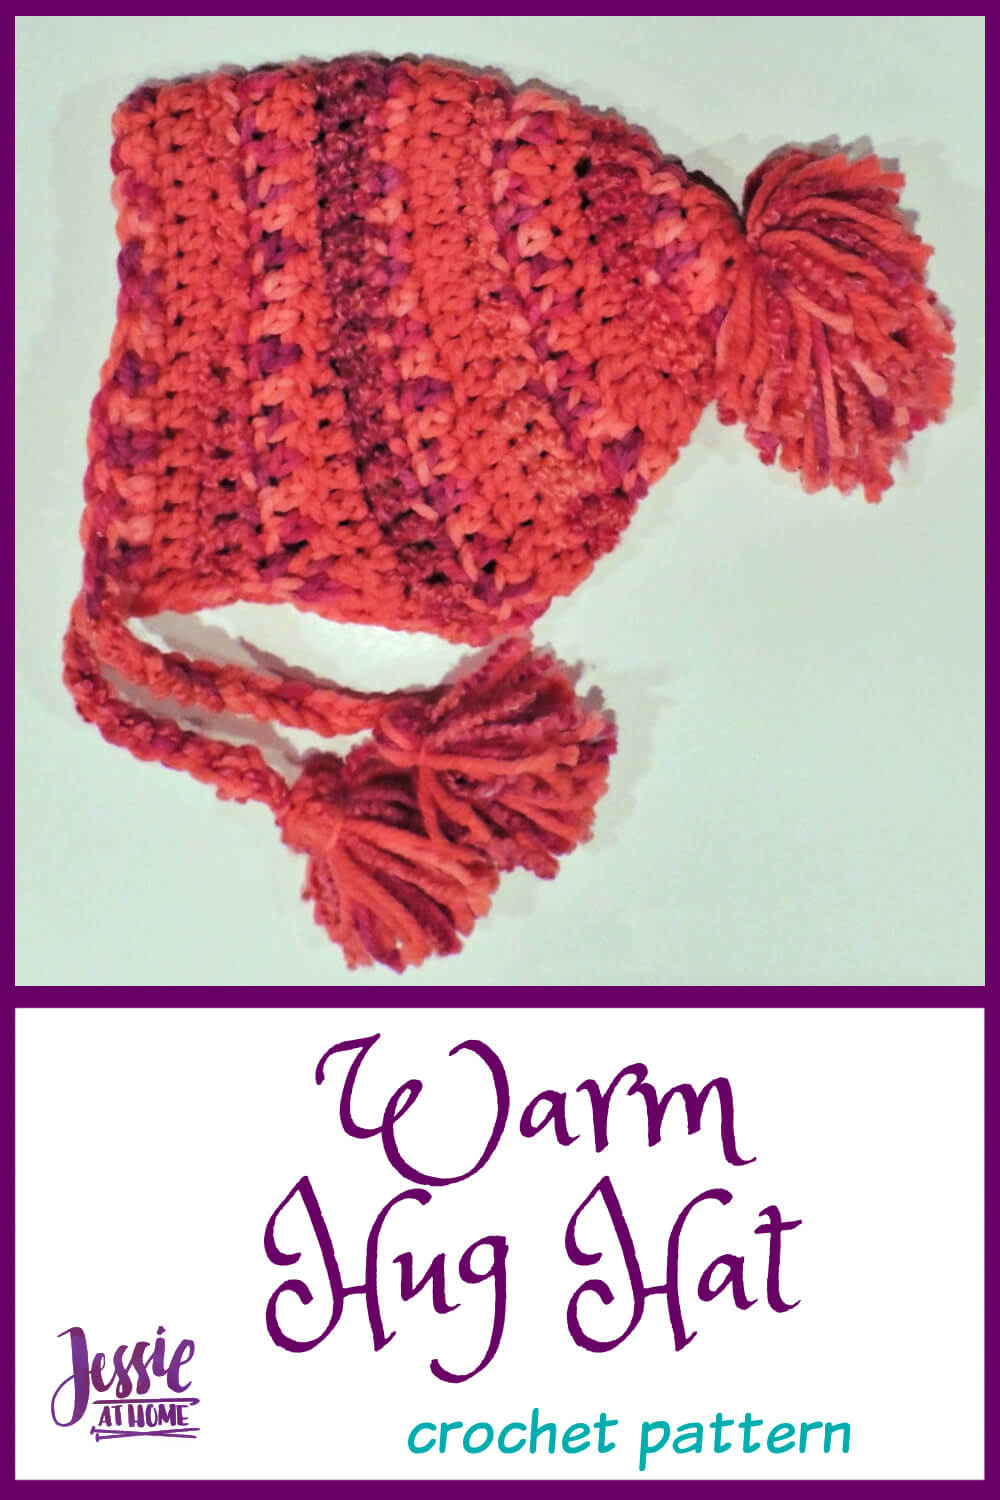
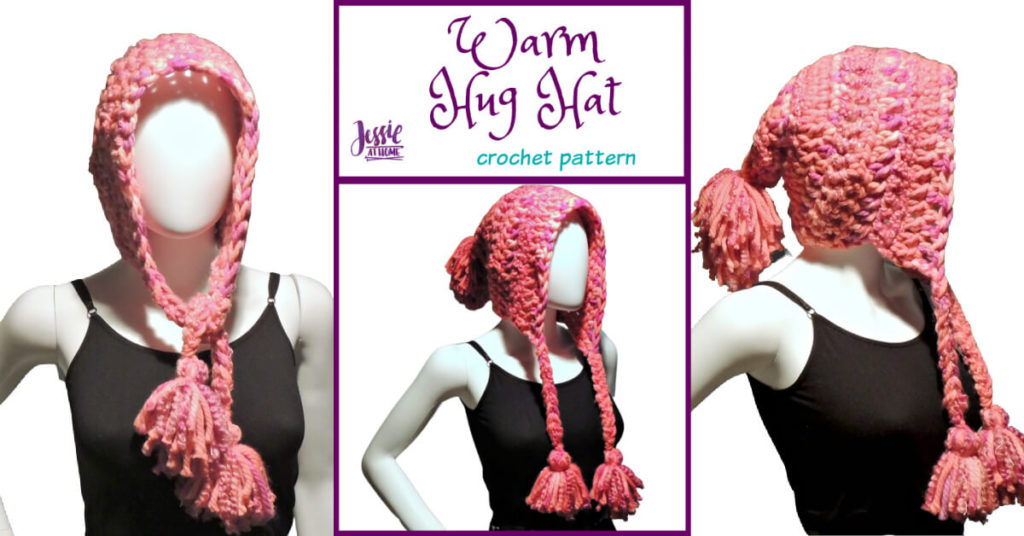
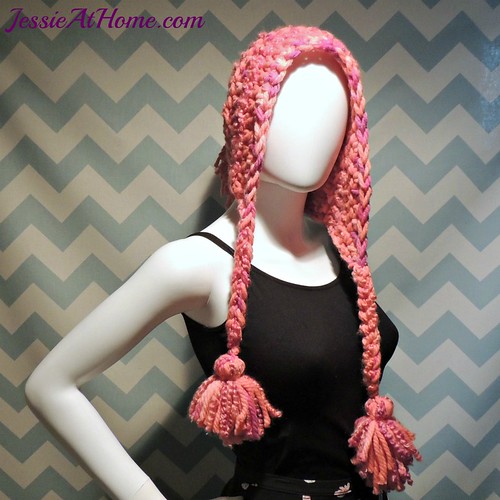
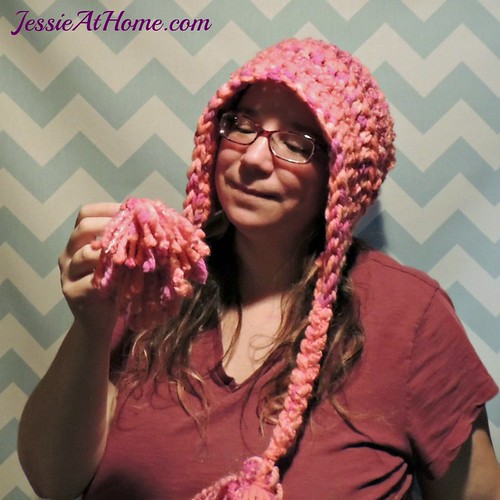
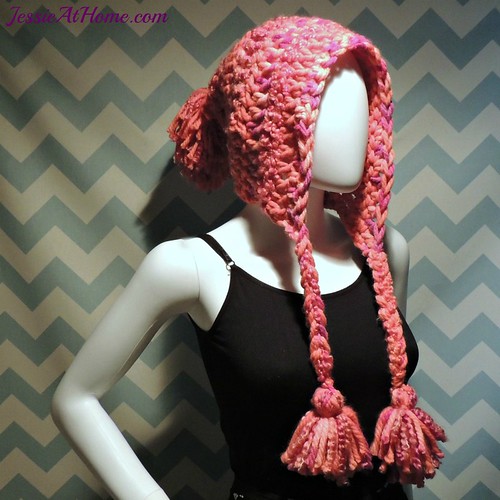
I love hats that keep my whole head warm, even my ears, and don’t leave a space between the hat and the scarf. The Warm Hug Hat crochet pattern uses three different yarn to bulky yarns to do just that!!!
The three yarns work so wonderfully together to add even more fun to this easy pattern. And of course, chunky yarns and big pom poms are really hot right now, so you will be warm and fashionable!
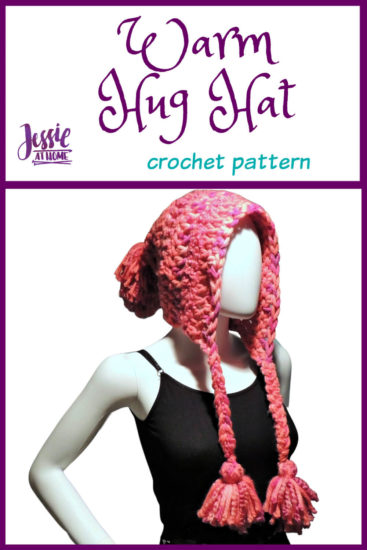
Warm Hug Hat
Crochet Pattern
Easy Skill Level
Designed by Jessie Rayot
Size:
Fits adult woman
Yarn:
Red Heart {mix·ol·o·gy} Solids: Coral (85 g/3 oz/42 yds/39 m) Color A
Red Heart {mix·ol·o·gy} Prints: Sizzling Print (82 g/2.9 oz/42 yds/39 m) Color B
Red Heart {mix·ol·o·gy} Swirl: Sizzling (50 g/1.8 oz/27 yds/25 m) Color C
Hook:
US 16/P/12.00 mm (or 11.50mm) hook
Gauge:
5 dc x 3 rows in a 4″ square
Other supplies:
large eye yarn needle or smaller (around size G) crochet hook for weaving in ends
Something hard, about 3″ wide, and relatively thin, to wrap tassels around ~ I used a smart phone, but a thick piece of cardboard would do. 🙂
Stitches and Skills used:
ch ~ chain
sl st ~ slip stitch
sc ~ single crochet
hdc ~ half double crochet
dc ~ double crochet
st(s) ~ stitch(es)
Getting Started:
This pattern starts out worked in rounds, then continues in rows. Be sure to pay attention to the switch. Round 8 is not joined, then you turn your work for the first time and start working back and forth in rows.
Pattern:
Round 1: With A, ch 4, sl st into first ch to form a circle, ch 2 (does not count as a st), 8 dc in circle, switch to B and sl st to top of first dc. ~ {8 dc}
Round 2: Ch 2 (does not count as a st), 2 dc in next st, 2 hdc in next st, 2 sc in each of next 4 sts, 2 hdc in next st, 2 dc in next st, switch to C and sl st to top of first dc. ~ {16 sts}
Round 3: Ch 2 (does not count as a st), 2 dc in first st, dc in each of next 3 sts, [2 dc in next st, dc in each of next 3 sts] 3 times, switch to A and sl st to top of first dc. ~ {20 dc}
Round 4: Ch 2 (does not count as a st), 2 dc in first st, dc in next st, hdc in each of next 3 sts, 2 sc in next st, sc in each of next 8 sts, 2 sc in next st, hdc in each of next 3 sts, dc in next st, 2 dc in next st, switch to B and sl st to top of first dc. ~ {24 sts}
Round 5: Ch 2 (does not count as a st), dc in first 5 sts, 2 dc in next st, [dc in each of next 5 sts, 2 dc in next st] 3 times, switch to C and sl st to top of first dc. ~ {28 dc}
Round 6: Ch 2 (does not count as a st), 2 dc in first st, dc in each of next 3 sts, hdc in each of next 3 sts, sc in each of next 2 sts, 2 sc in next st, sc in each of next 8 sts, 2 sc in next st, sc in each of next 2 sts, hdc in each of next 3 sts, dc in each of next 3 sts, 2 dc in next st, switch to A and sl st to top of first dc. ~ {32 sts}
Round 7: Ch 2 (does not count as a st), 2 dc in first st, dc in each of next 7 sts, [2 dc in next st, dc in each of next 7 sts] 3 times, switch to B and sl st to top of first dc. ~ {36 dc}
Round 8: Ch 2 (does not count as a st), dc in each of next 7 sts, hdc in each of next 3 sts, sc in each of next 16 sts, hdc in each of next 3 sts, dc in each of next 7 sts, switch to C and sl st to top of first dc. ~ {36 sts}
Front Flap Section: Worked in rows, do not join at end of rows.
Row 1: Ch 2 (does not count as a st), dc2tog, dc in each of next 32 sts, dc2tog. ~ {34 sts}
Row 2: Turn, with A, ch 2 (does not count as a st), dc2tog, dc in each of next 5 sts, hdc in each of next 3 sts, sc in each of next 14 sts, hdc in each of next 3 sts, dc in each of next 5 sts, dc2tog. ~ {32 sts}
Row 3: Turn, with B, ch 2 (does not count as a st), dc2tog dc in each of next 28 sts, dc2tog. ~ {30 sts}
Row 4: Turn, ch 2 (does not count as a st), dc in each of first 6 sts, hdc in each of next 3 sts, sc in each of next 12 sts, hdc in each of next 3 sts, dc in each of next 6 sts. ~ {30 sts}
Row 5: Turn, with A, ch 2 (does not count as a st) dc in each st around. ~ {30 sts}
Row 6: Turn, with B, ch 2 (does not count as a st), dc in each of first 5 sts, hdc in each of next 3 sts, sc in each of next 14 sts, hdc in each of next 3 sts, dc in each of next 5 sts. ~ {30 sts}
Tassels/Pom Pom:
Attach all 3 colors to each end of row 6 (you will have 1 or 2 of them already at each end, just add on the colors you need) and ch 10. Clip the ends leaving 10″ tails to tie on the tassels.
For the pom pom on the back, hold all 3 colors together and wrap them around your piece of cardboard (or smartphone) 25 times. Be sure to lay a long piece of color A or B down across the cardboard first to use for a tie. Tie them together tightly and clip them opposite of the tie, so that the tie is in the middle. Wrap the tie around again and tie it again to get it nice and tight. Use the tie ends to attach the loose pom pom to the center of the hat.
For the tassels (make 2), hold all 3 colors together and wrap them around your piece of cardboard (or smartphone) 12 times. Be sure to lay a long piece of color A or B down across the cardboard first to use for a tie. Tie them together tightly and clip them opposite of the tie, so that the tie is in the middle. Wrap the tie around again and tie it again to get it nice and tight. Use the tails at the ends of the ch 10 to tie the center of the tassel (where it is already tied) onto the end of the chain. Fold the tassel in half with the tie strings in the center. Cut another long piece of A or B and wrap it tightly around the tassel close to the top. Tie it firmly in place and pull the ends through the center of the tassel. Clip any long ends to clean up the tassel.
Clip yarn and weave in all ends.
Wear or give and enjoy!
Did you enjoy what you found here at Jessie At Home? Then sign up for my newsletter and like my Facebook page, so you’ll get all the updates on new tutorials, other posts, sales, and coming events.
If you have any questions, want to share pictures of your work, or just want to chat with Jessie and other crafty individuals, than join my Facebook group.

© Copyright 2015 Jessie Rayot / Jessie At Home LLC All my videos, patterns, charts, photos and posts are my own work, so you may not copy them in any way. If you want to share this information with someone, then share the link to this post. If you want to share on your own blog / website, then you may use the first photo in this post and link back to this post. Also, you may not give away printed copies of this post.






I love, love this hat!!!! Thank you so much for the pattern!!!!
It says click for free pdf but is really not free…Thought you would like to know about your false advertising…
Actually, it says “Click for an ad~free PDF”. As in there are no ads that pay me on the PDF.
If you don’t mind the ads on the site, then you can use the free pattern right here in the blog post and the advertisers will pay me. If you want and ad~free pattern, you can pay $2.00 for the ad~free PDF, as I won’t get paid any other way if you print it out.
I love this hat! I’ve made 4 in the past 2 days. Just want you know that there is an extra stitch at the beginning of round 4. I just skipped the first dc and started the round at “2dc in first st”. Thank you so much for the pattern.
Thank you! I love that! I fixed the extra stitch, thanks for pointing it out. 🙂
Thank you Jessie very
much for sharing your pattern ,i have made two of these today i just love them ….ty.
You’re welcome! They’re so quick, I hope they help lots of people with making holiday gifts! 🙂
Hi Jessie, thank you for sharing this fun pattern!
I’ve already blown through my allowance for yarns this month. Do you think it would work up reasonably the same if I use some of the Lion Brand Homespun sitting in my stash tote?
I think the homespun is thinner. You could try holding 2 strands together and making a gauge swatch. As long as you get gauge, it will be the same size.
Thanks, Jessie; I’ll let you know how it turns out! 🙂
Hi. I’m brand new at crochet. I love this hat. I want to make some but I have a question before I proceed. Do you break the yarn each time you change from a-b-c? Or do you leave them as working yarn? Please help, and thank you in advance as well as for the pattern. My friend is going to love it for her present this year.
I didn’t break the yarn, I just carried it on the inside of the hat.
Thank you. I can’t wait to see how it turns out.
thank you so much. I make hats for Caps for Kids organization and we give hats to all age groups. This will be perfect…thank you for sharing and making the pattern free.
I just made his hat and it is perfect!! Fast, easy and adorable. I used a 9.0mm crochet hook with super bulky (6) yarn from Loops and Threads. It’s a perfect size for my 9 year old daughter. and Thank you for a wonderful pattern!
Just finished your hat and it’s adorable. I used Bernat Li’l Tots and an I hook, will fit a newborn. It worked up so fast and turned out so cute! I’m leaving off the tassels since its for a baby, I’m sending them to Stitching for One Nation Walking Together, a Ravelry group. By the way, the link is not working on Ravelry to add this to my queue. I’m going to post it but there will be no way to link to your pattern. The link must be broken. Anyway, this is a lovely pattern, will make a lot of little ones happy. I’m going to use thicker yarn to make slightly larger for bigger kids. Thanks for a wonderful pattern!
Mine came out doll size 0.o
Used the right size hook, yarn etc… dunno what happened lol
I don’t know what happened either.
In round 2 the end says -sl st to top of first sc- do you mean sl st to chain 2 or 1st dc?
Sorry, that should say dc, I fixed it. Thank you for letting me know! 🙂
Jessie, love this hat pattern. Made 1 today with wool ease. Oatmeal color.
Was wonder if on row 6 of the flap, do you Ch 2 after turn? I went ahead & did the Ch 2. Thanks again for this super nice free pattern!
Yes, you do. Thank you so much for catching that and letting me know. I added it in. 🙂
I’m so ecstatic! I LOVE this hat!I just found one, for sale, really expensive (but worth it) and just could not fathom spending that much, when I crochet myself. Thank you so much for sharing! I will post a picture when finished.
I can’t figure out how to make the ties. Am I missing something. Could you explain it more?
You add yarn to the ends of row 10 as stated in the pattern, then you use those strands of yarn to make a chain. You can insert the hook into the corner and then grab the strands of yarn with the hook and pull a loop through, from there you can just start making chains to make the ties. Then at the end you add on the tassels.
Thank you 🩵
Great hat! I really like such warm headgear, especially woolen hats.