Bolster Pillow Cover
Knit Pattern
Intermediate Skill Level
Designed by Jessie Rayot
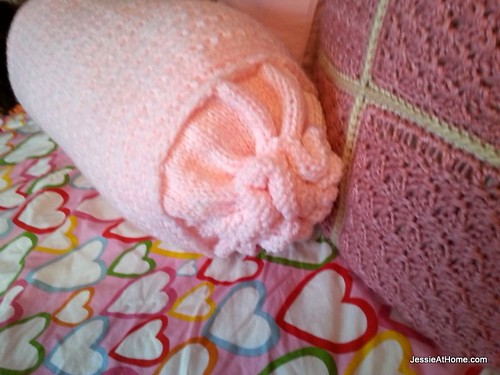
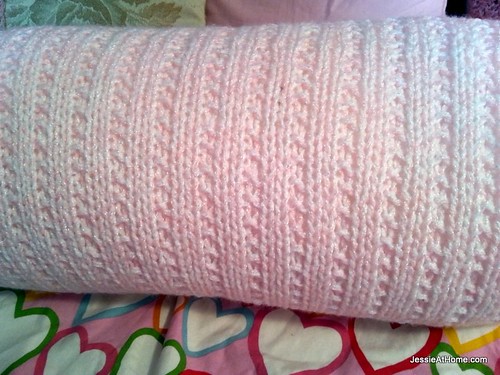
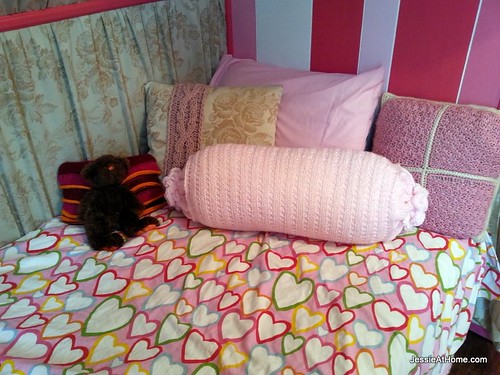
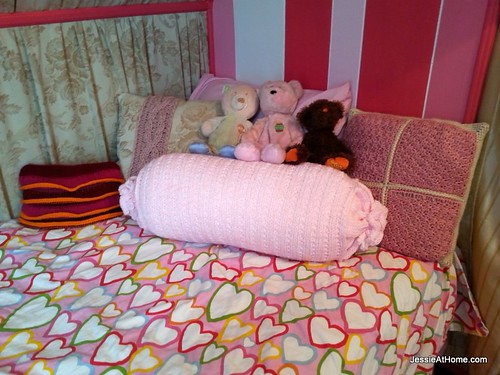
This bolster cover reminds me of a wrapped candy. I made it for Kyla’s Pink Princess room and she just loves her “Candy Pillow”. The main part is made with a seeded rib stitch, joined into a tube by grafting or seaming, and the ends are then picked up and worked in the round. The ends tie shut giving the whole piece a look of wrapped candy, and making it easy to remove the pillow for washing!
Skill Level:
Intermediate
Yarn:
Red Heart Baby Econo ~ hold 2 strands together as 1
Needles:
US 11/8.00 mm (16″ recommended)
Other Supplies:
Yarn/Finishing Needle
Bolster Pillow Form
Gauge:
12 sts and 16 rows worked in pattern make a 4” square, but you can adjust the pattern for your own gauge
Size:
Any, the sample is a 19” long and 8” diameter bolster.
Stitches and abbreviations used:
PCO ~ provisional cast on
K ~ knit
P ~ purl
Getting Started:
The tube part of this pattern is started with a provisional cast on and then joined into a tube by grafting, so it has a seamless look. However, a “regular” cast on can also be used and the tube can be seamed together if that is what you prefer.
This can be made to fit any size bolster. First, determine your gauge using the stitch pattern in the tube section. Cast on enough to cover the length of the bolster. I actually like my pillow covers to fit tighter than the one seen here, so I would recommend making the cover a bit small for your pillow, maybe make it 9” long for every 10” of pillow.
Pattern:
Tube:
PCO 59
Row 1: P to end.
Row 2: Slip 1 knit wise, K1, [P1, K2] to end.
Row 3: Slip 1 purl wise, P to end.
Repeat rows 2 and 3 until piece wraps around bolster. For mine that meant 24”. (again, you may want to make yours fit tightly, so measure around the bolster and make it 9” long for every 10” of pillow.)
Remove PCO chain and slip stitches onto a needle. Graft piece together into a tube.
If you do not want to graft (and I don’t blame you!) start with a regular cast on, and bind off after your piece is long enough. Then you can just seam it into a tube in your favorite seaming method.
Ends: (make on both ends of pillow cover)
With the inside of the pillow facing you, pick up and knit into 1 stitch for each row from the inside of the pillow cover, just before the loop on the edge. Because we slipped the first st of each row, there is 1 loop on the edge of the piece for every 2 rows. So you need to pick up both posts going into each loop with your left needle, and knit into each one to turn it into 2 stitches.
Here is a video to show that:
Here are some pictures to show that as well:
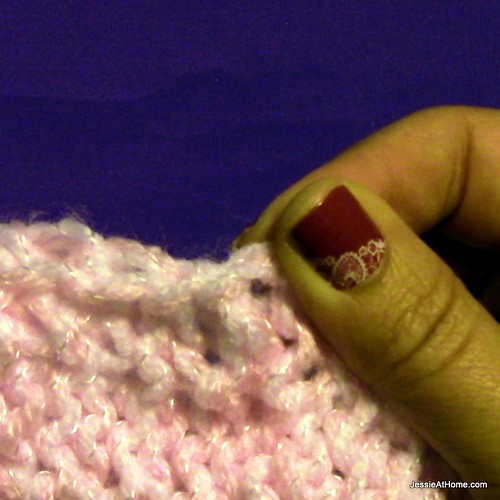
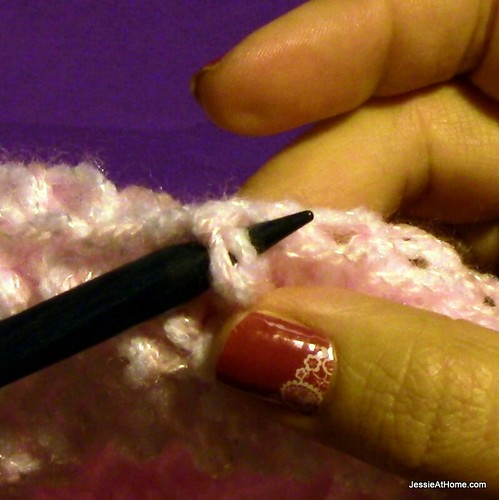
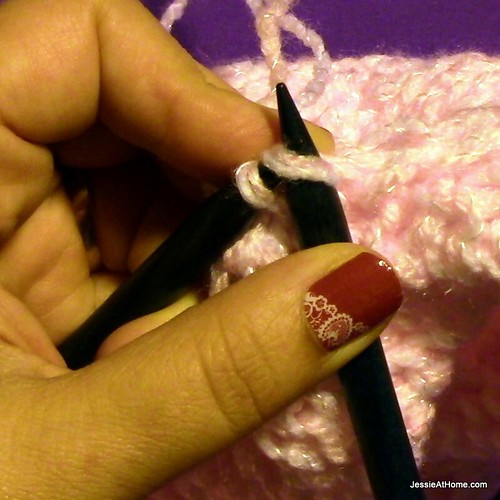
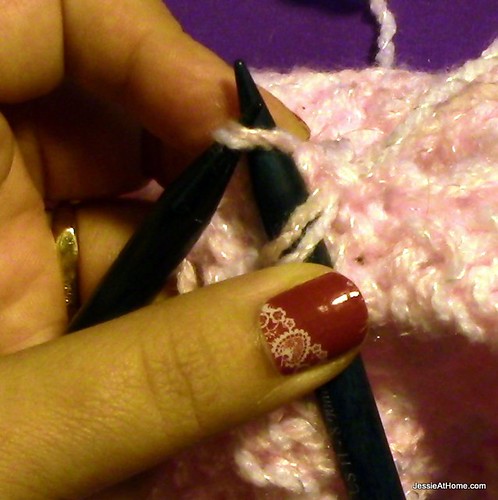
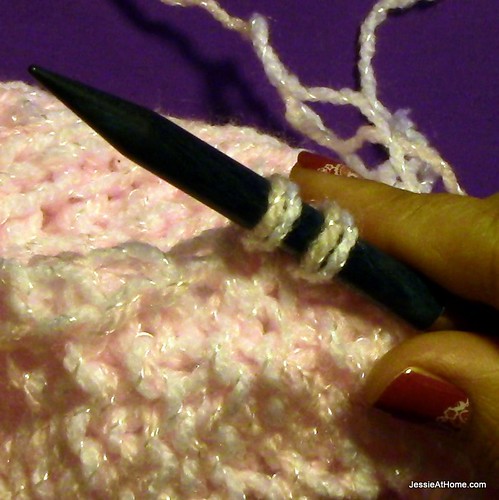
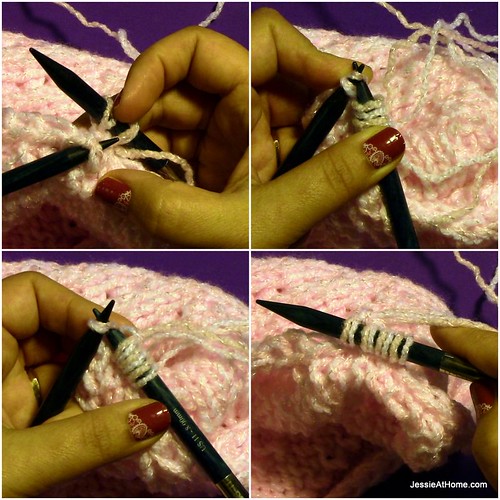
Once all the stitches have been picked up on one end, move your yarn to the front, and slip the last st on the left needle over to the right needle, turn your work so the outside of the pillow cover is now facing you.
Next Round: Knit all
Repeat the last round until the end is as long as the radius of your pillow. For me that was 4”
Eyelet round: K1, [k2tog, yo, k1] around.
Next Round: Knit all
Repeat the last round until the part after the eyelet round is about 2”, or the length you want.
Bind off knit wise.
Insert the pillow into the cover.
Make 2 crochet chains, braids, or i~cords that are about 18” long. Weave them through the eyelet rounds of the ends and tie them tight.
Enjoy!
To find a printer friendly version of this pattern (text only, in black, no photos) click here. This will bring you to the listing for this pattern on Craftsy, where you can also find printer friendly versions of all my free patterns, and where you can purchase my sale patterns.
If you enjoy what you have found here at JessieAtHome, please like my Facebook page to get all the updates on new tutorials, other posts, sales, and coming events.
If you have any questions or concerns, want to share pictures of your work, or just want to chat with Jessie and other crafty individuals, than join my Facebook group.
©Copyright 2014 Jessie Rayot / Jessie At Home All my videos, patterns and posts are my own work. Do not copy them in any way. If you want to share this information with someone, share the link to this post. If you want to share on your own blog / website, then you may use the first photo in this post and link back to this post. You may not give away printed copies of this post. Thank you.
This post may contain affiliate links/ads. If you purchase something from a link in this post, I may be compensated.




Geez so glad to come across your pattern. I had already done my tube and needed to know how to do the ends so the pillow insert cover could come off and all be washed. The eyelet row, do you repeat the first knit 1 along with what’s in brackets all around the row or repeat just the bracket area? Thank you so much!
You only repeat the stitches inside the brackets.
I’m so glad this helped you!!
God Bless and thank you!! I’m loving it😍