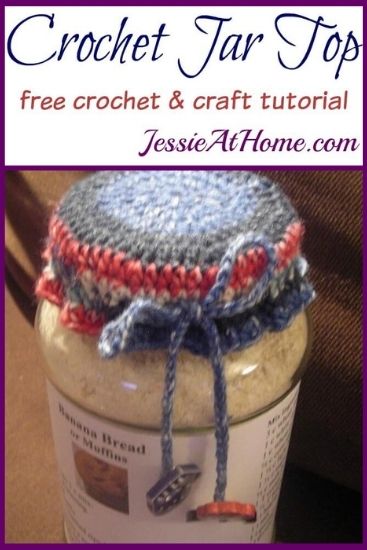
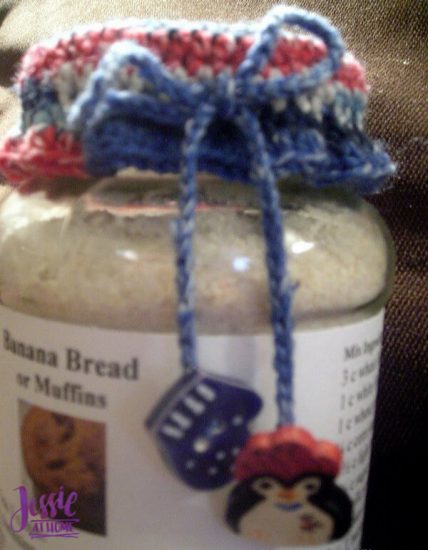
Crochet jar tops are great for topping off your jar gifts for any occasion. This free crochet pattern/tutorial will walk you through making the finished gift jar top as seen below. You can vary it in many ways for many occasions and for any size jar top. I’ll talk about some variations at the end.

Crochet Jar Tops
Crochet Pattern
Easy Skill Level
Designed by Jessie Rayot
Size:
Depends on yarn and gauge
Yarn:
Pretty much any up to worsted weight
Hook:
Whatever works with your yarn
Gauge:
not important
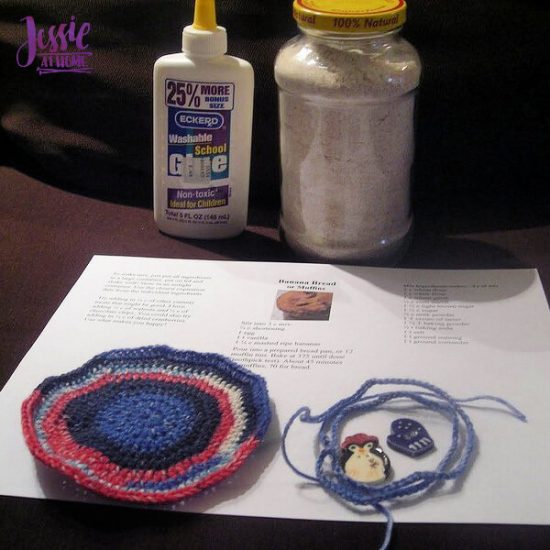
Other supplies:
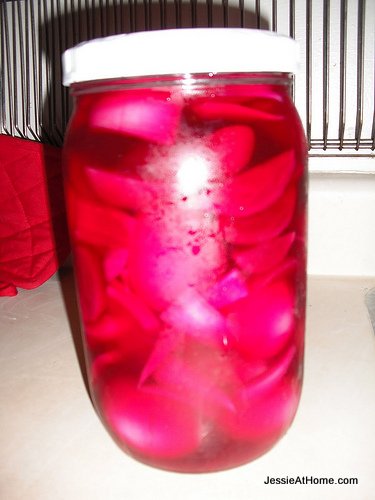
Jar of your choice filled with dry mix, pickles, buttons, whatever you want to give!
Label – if it is needed. The jar in the photos has a label I printed that I wrapped all the way around the jar. You could also use a smaller sticker label.
Glue for applying the label if necessary
Buttons/dangly bits of your choice
Yarn needle that will go through your buttons
Stitches and Abbreviations: click on highlighted sts for tutorials
ch – chain
dc – double crochet
hdc – half double crochet
sc – single crochet
sl st – slip stitch
sp(s) – space(s)
st(s) – stitch(es)
Pattern:
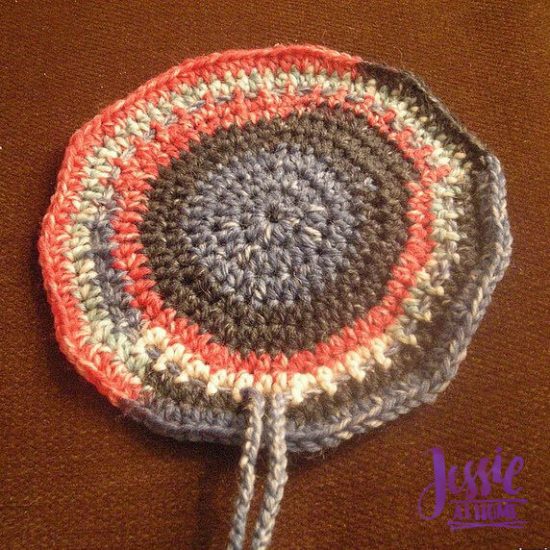
First, you will need to crochet a flat circle for your jar top. You can find tutorials for sc, hdc, and dc flat circles in this Stitchopedia post: https://jessieathome.com/stitchopedia-flat-circles-in-single-half-double-and-double-crochet/
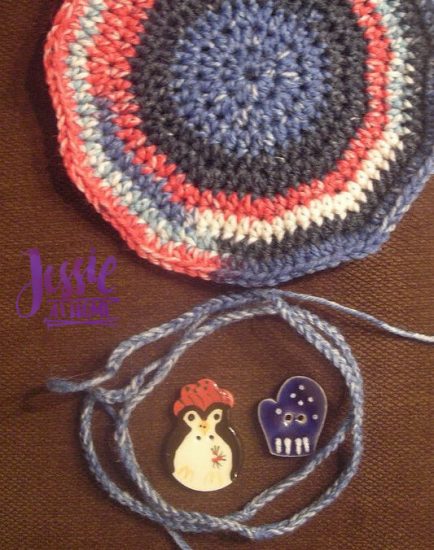
I recommend making the hdc or dc version, as it will be easier to run the tie string though those. If you make the sc version, you can determine which round will have the tie string and replace every other sc with a ch in that round. You can try changing colors every round to make stripes, or even using a decorative stitch for the last round.
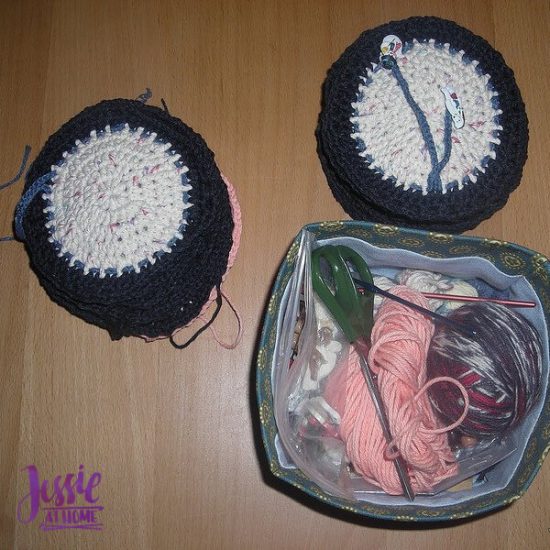
You want to make the circle big enough to cover the jar top and wrap down to the point where you want the tie string, plus 2 more rounds. I like the string to be just under the bottom of the lid so that it has a grove to fit into. Lighter weight yarns will drape better than heavier yarns. *for this sample I used a sock yarn*
Now for the tie string. I just crochet a chain long enough to wrap around just under the jar lid, tie a bow, and hang down a bit. Very technical measuring going on here
Make sure to leave about 4-6 inches of yarn at both ends of your tie.
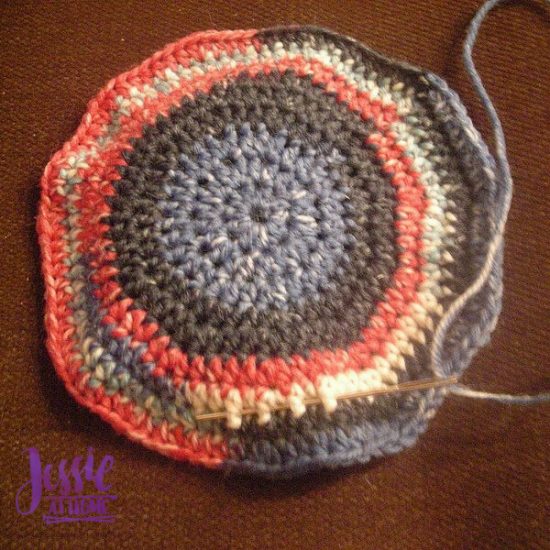
Thread one of the ends through your yarn needle and weave it up and down between the stitches 3 rows from the edge of your circle.
Keep weaving all the way around and pull the ends of the ties so they hang even(ish).
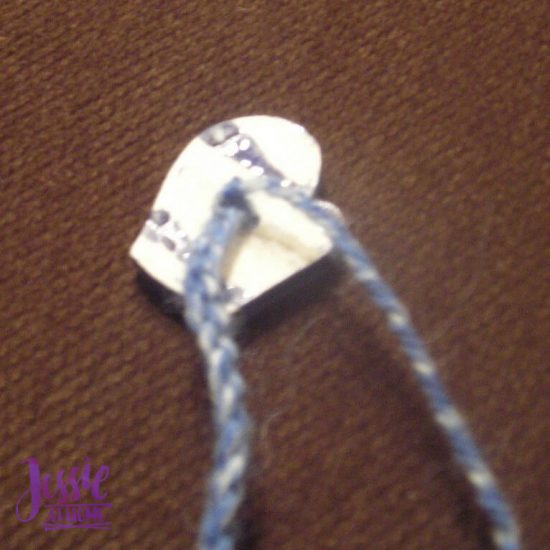
Now use the needle to thread the button/dangly bit to the end of the tie string. Tie a knot.
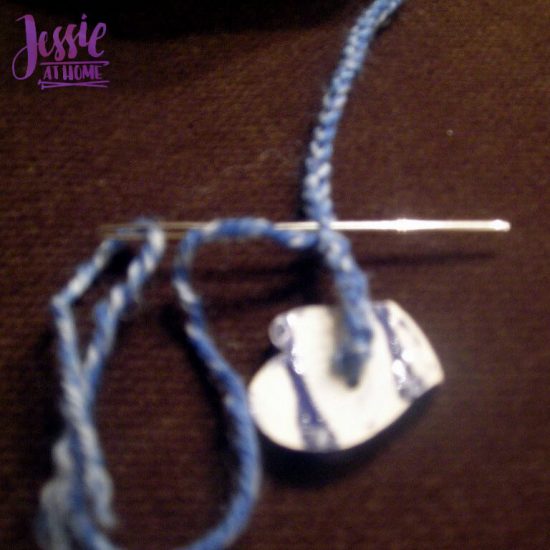
Sorry for the fuzzy photo here. Once you have tied your dangly bit on, weave the yarn end back up through the chain a bit, and clip your yarn. Add another dangly bit on the other end.
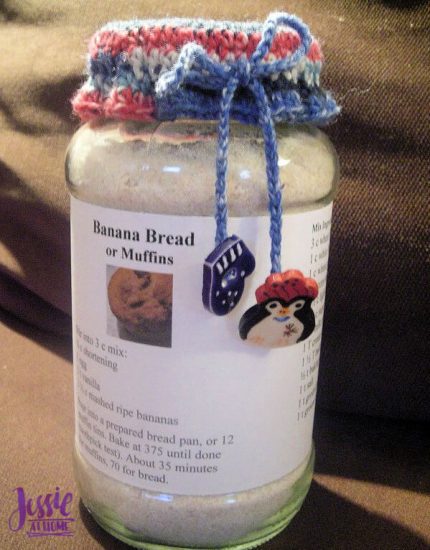
Glue/stick your label onto your jar, and put your crocheted top over the lid. Tie a pretty bow and give away to someone you love!
A few other ideas:
Make a crocheted or fabric flower. Grab a cute button for the center and use the button to sew it onto the center of your jar topper.
What about sticking a crocheted snowflake up there; or any little nick-knack for that matter.
Try knitting this if you like that better, I don’t have a link for a knitted circle yet, sorry.
This also works with fabric. I would just glue it onto the top, and then glue a piece of ribbon around the side of the lid, with a ruffle of the fabric hanging down. Glue a cute little button or bobble over the seam in the ribbon.
Tie on a gift tag.
Just have fun with it!!
You can find my dry mix recipes for Banana Bread/Muffins here, and for Whole Wheat Waffles here. They make great jar gifts!
Use or give and enjoy!

If you enjoy what you have found here at JessieAtHome, please like my Facebook page to get all the updates on new tutorials, other posts, sales, and coming events.
If you have any questions or concerns, want to share pictures of your work, or just want to chat with Jessie and other crafty individuals, than join my Facebook group.
If you enjoy this free crochet pattern, please consider buying some of your supplies from one of these affiliate links. Thank you.
Did you enjoy what you found here at Jessie At Home? Then sign up for my newsletter and like my Facebook page, so you’ll get all the updates on new tutorials, other posts, sales, and coming events.
If you have any questions, want to share pictures of your work, or just want to chat with Jessie and other crafty individuals, than join one of our free Zoom Sit & Stitches. Find them on our Events Calendar.

© Copyright 2009 Jessie Rayot / Jessie At Home®, LLC All my videos, patterns, charts, photos and posts are my own work, so you may not copy them in any way. If you want to share this information with someone, then share the link to this post.