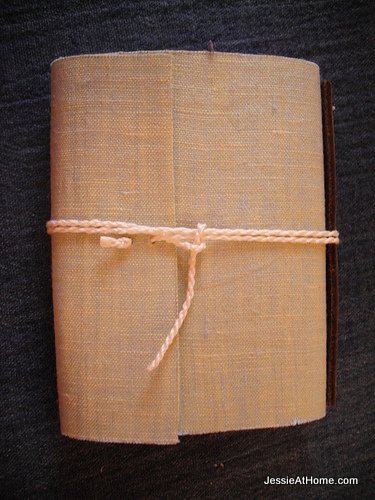
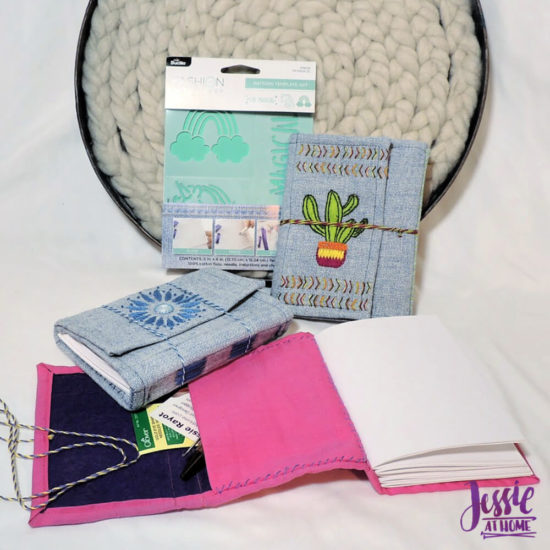
This DIY bookmaking tutorial will teach you how to make an embroidered wrap book. Your book will have 200 pages, an inside pocket and a wrap cover. It will even have a hard spine. Best of all – it’s actually pretty easy to make!
Some products used in this tutorial were provided by Plaid Enterprises and Clover USA. All opinions are my own.
DIY Bookmaking Tutorial Supply List
- fabric – 1/4 yard
- felt – 6″ x 13.5″ (or 6″ x 9″ AND 6″ x 4.5″)
- 25 sheets of 8.5″ x 11″ paper
- 1 sheet plastic canvas
- fashion embroidery template art kit, OR
- stencil for embroidered design (no bigger then 3″ x 5.5″)
- embroidery floss
- embroidery needle
- sewing thread
- sewing needle
- tailor’s chalk
- washable fabric pencil
- see thru ruler (or regular ruler)
- point turner/folder
- 6″ embroidery hoop
- guillotine paper cutter
- awl
DIY Bookmaking Tutorial Fabric Cover
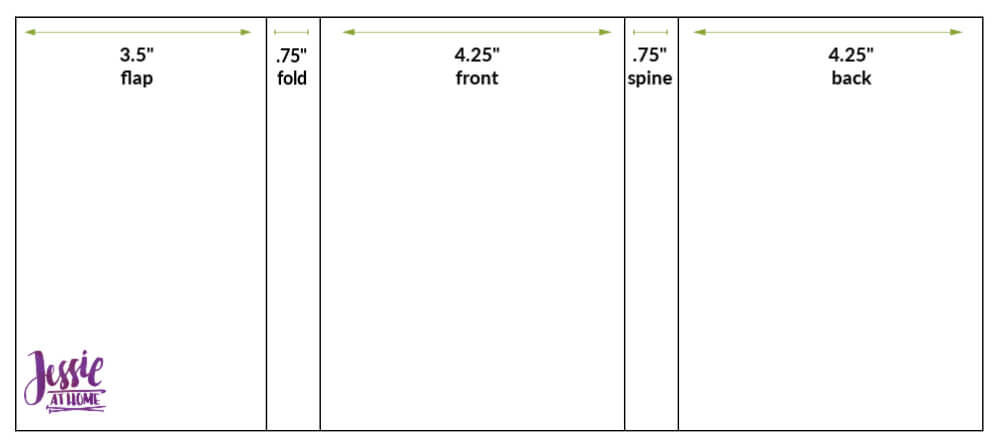
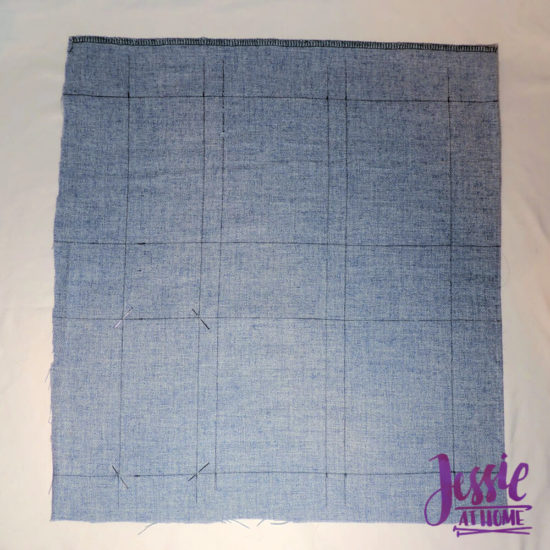
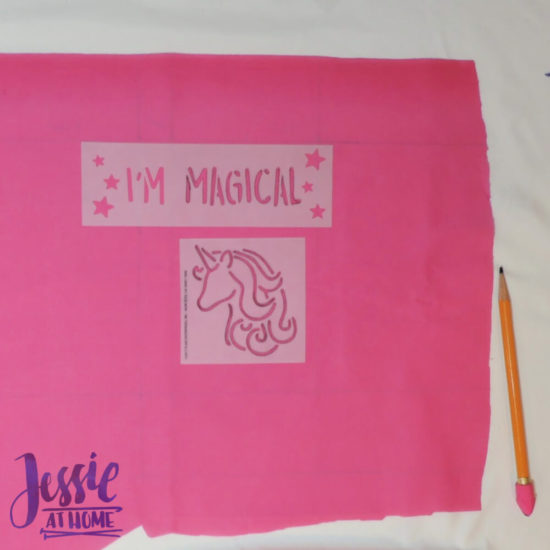
Draw a rectangle that is 6″ by 13.5″ on the wrong sided of book cover fabric, leaving at least 3″ on the top, bottom, and left sides so it can fit into an embroidery hoop. Draw lines inside to divide it as seen below.
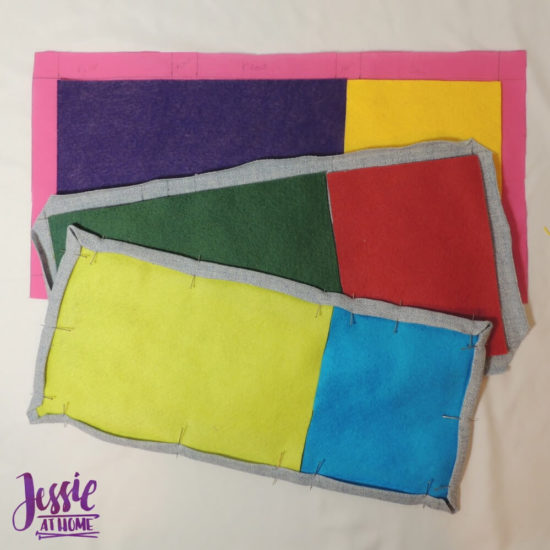
If you’re making multiple books, you can space them a few inches apart as seen below. Mark the corners of the flap section with straight pins so you can see the corners when you turn your fabric over. (this is shown on the bottom left of the photo below)
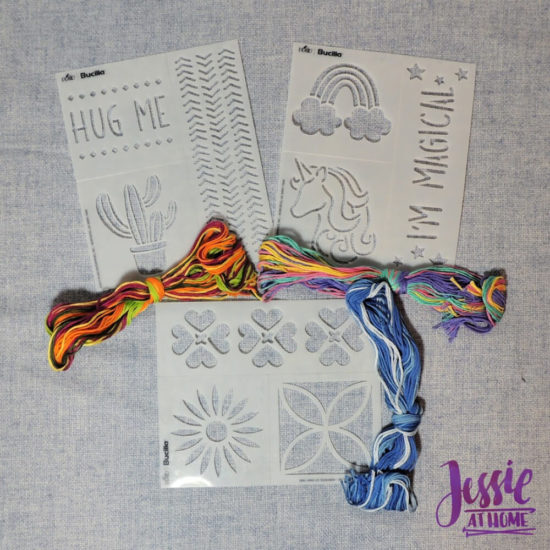
Choose your image to embroider. Here are some of mine. The stencils are sticky so they stay when you trace them!
Trace your stencils onto the right side of the the flap, with the flap on the right and the back on the left. You’ll notice this fabric is see-through so I didn’t have to mark the corners with pins. I recommend using a fabric pencil so it will wash out or disappear if you make a mistake or don’t cover it all completely with embroidery.
Place the book cover fabric in an embroidery hoop and then embroider your flap section. Then remove it from the hoop and press it well. Press from the back to protect your embroidery, and be sure to not use heat that is too high for your fabric OR your floss (especially if you used a metallic floss).
- Plaid Website
- Amazon – Folk Art, Mod Podge, Bucilla, Fabric Creations, Gallery Glass, Plaid, PlaidFX
- YouTube
Cut felt to size(s) in supply list.
Cut book cover fabric leaving a 1/2 seam allowance around the rectangle.
Place the felt on the wrong side of the book cover fabric so the seam allowance in seen around the felt. If you’re using 2 pieces of felt, then place the seam over the spine (see schematic image at top to find the spine).
Trim the corners at a 45° angle, 1/4″ away from felt corner.
Fold seam allowance in half so cut edge is against felt edge and press.
Fold seam allowance again over the edge of the felt, press, and pin.
Top stitch folded over seam allowance close to the edge.
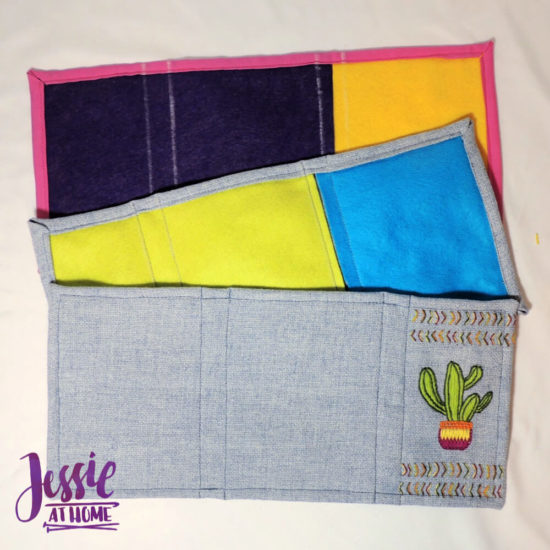
Using tailors chalk, draw the lines on the inside of the book cover as seen in the schematic. If your book cover is a little long or short, don’t worry. Measure from the right edge of the schematic so any size variance is in the flap.
Top stitch on the 4 interior lines just drawn.
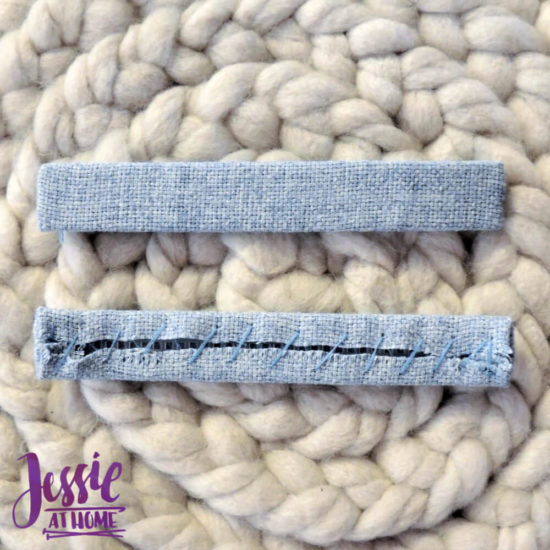
Cut plastic canvas so it is 5 holes (6 bars) across, and 5.75″ long. Cut fabric so it is 1.5″ by 7.5″. Center plastic canvas on wrong side of fabric.
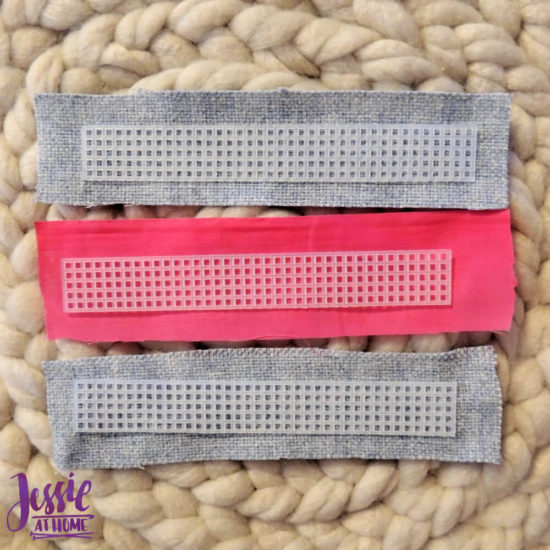
Fold the ends of the the fabric over the plastic canvas, then fold the sides in and loosely whip stitch the sides together to hold the fabric over the plastic canvas. This is the reinforcement for the spine. It will also help you keep the signatures (pages) lined up nicely.
DIY Bookmaking Tutorial Signatures
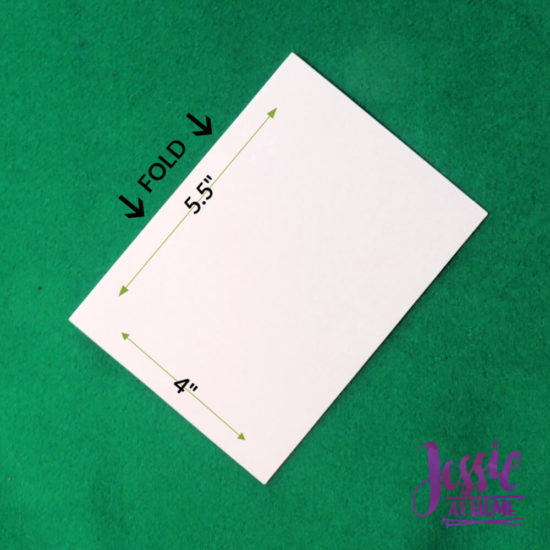
Time for pages!! We will be making 5 signatures. A signature is a set of pages that are all folded together. You’ll see as we go. To begin, cut your paper in half so you have 50 sheets, each 8.5″ across and 5.5″ tall.

Stack the sheets into 5 sets of 10. Fold each set in half, taking care that they are lined up well on top and bottom. Press them well. I used my Clover Point Turner (a sewing tool), because it works wonderfully as a bone folder. You have now made 5 signatures. The inside pieces will stick out more on the edge opposite the fold then the outside pieces. It’s just what happens.
If you have a sturdy guillotine paper cutter (I find the Tonic ones rock), you can trim the uneven edges. Place a signature in your paper cutter and trim it so it’s 4″ from the folded edge. If you can’t do this, don’t fret, your book will be fine, it will just have a bit of a textured front.
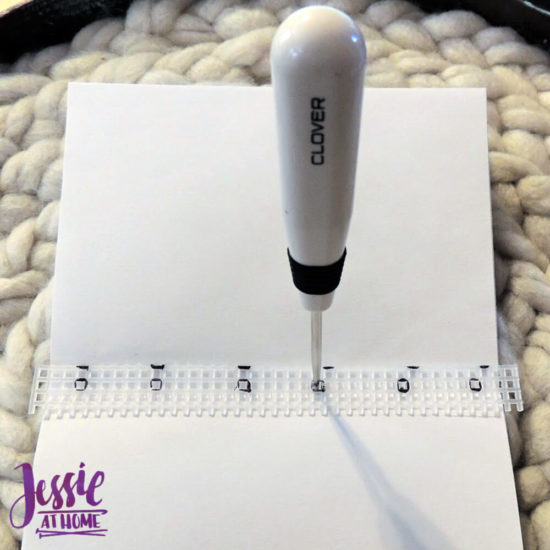
Take a scrap of plastic canvas and cut it to 5.75″ long. Mark 6 holes on the plastic canvas for the holes you will be using to attach your signatures to your book cover. Make sure the top half and bottom half are symmetrical. Also be sure the top and bottom holes are 1/4″ – 3/8″ in from the edge of the paper.
Open one signature and place it on a surface that can be stabbed. (this is the fun part)
Line up the plastic canvas over the fold line in the signature.
Use an awl to poke 6 holes through the signature as marked on the plastic canvas.
Repeat with remaining signatures.
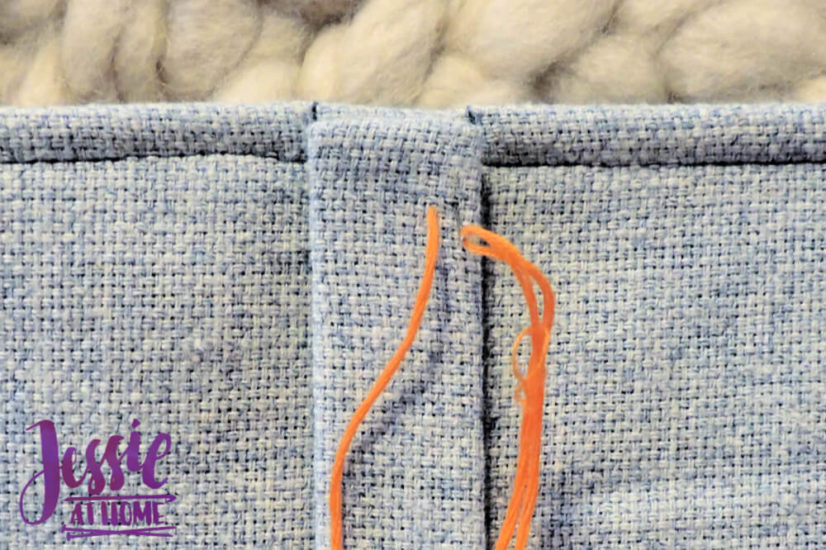
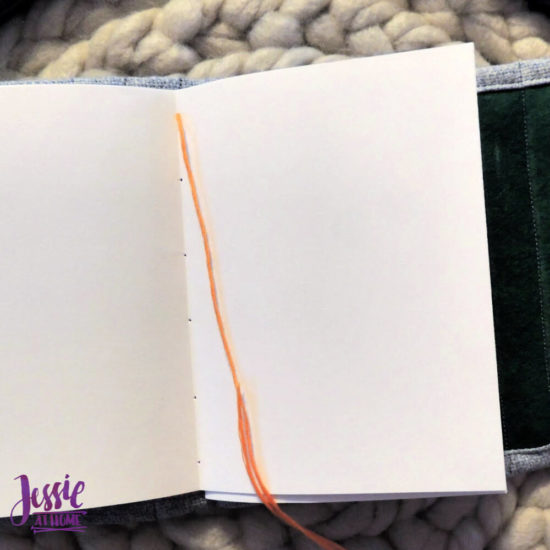
Use a full piece (6 threads) of embroidery floss to attach each signature. firmly attach the floss to the inside top of the spine of the cover.
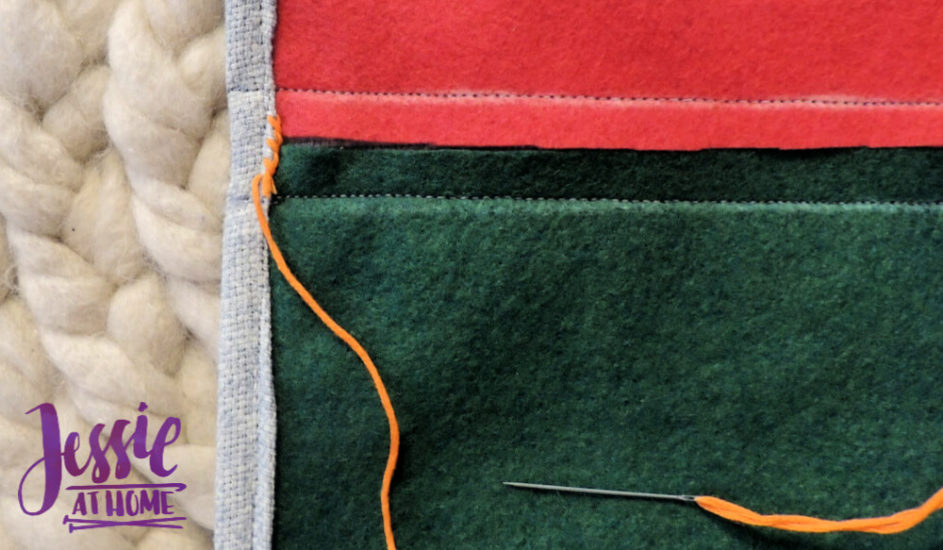
Pin the plastic canvas spine to the right side of the book cover spine. Sew the floss up through the spine of the cover and through the plastic canvas spine. You want to go through the hole in the plastic canvas that is in the 2nd column just next to the first column hole that will line up with the top hole in the signatures. Sew back down through the plastic canvas hole in the first column that will line up with the top hole in the signatures, AND continue sewing up through the top hole in one signature. See the next 2 images for a bit of visual help.
Sew down through the next hole in the signature and all the way through the spine, taking care to sew through the same column of holes in the plastic canvas.
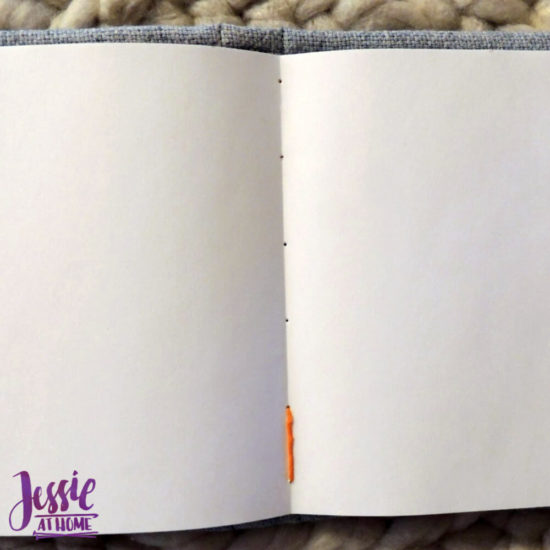
Continue sewing up and down through all the holes in the signature and the corresponding holes in the plastic canvas spine.
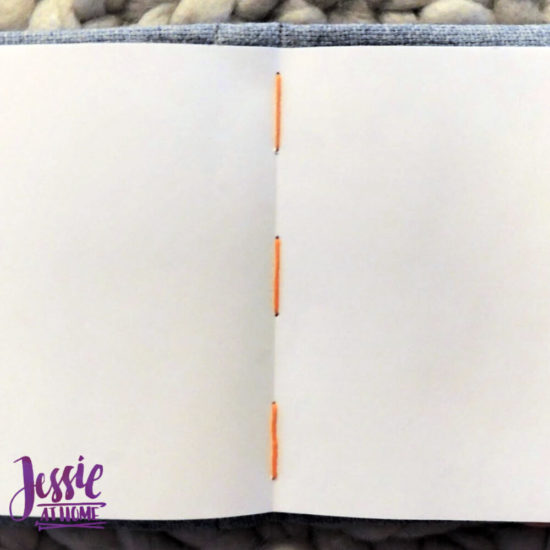
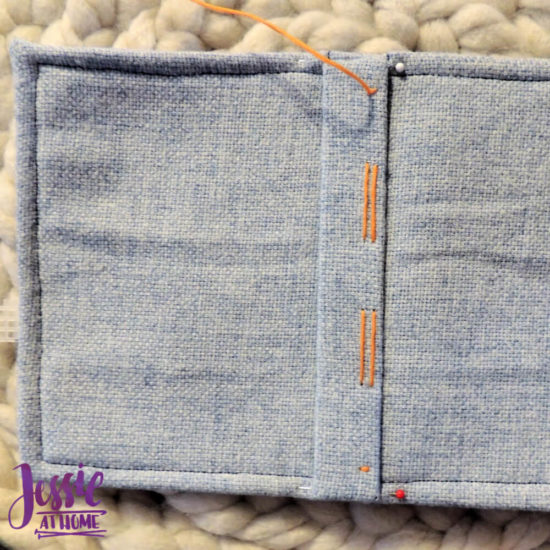
Here’s a photo of the same step, just on the other side.
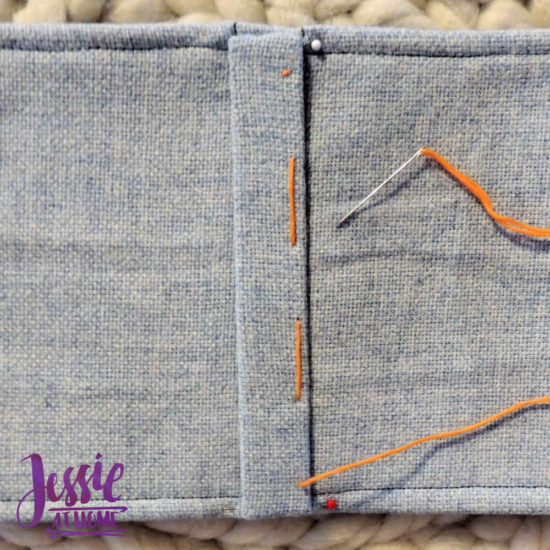
Now go back through the plastic canvas in the hole in the second column just next to the last hole worked in the first column. See the tiny stitch in the picture below.

Now sew in the second signature in the same manner as the first, just into the second column of holes in the plastic canvas.
Continue in this manner until all 5 signatures are attached through the 5 columns of holes in the plastic canvas.
At this point you can use some embroidery floss to whip stitch the spine to the book cover around the edges. I prefer to do this now as opposed to before attaching the signatures because I think it makes attaching the signatures easier.

For one of my books I put the plastic canvas spine on the inside of the cover just to see what it was like. I liked it better on the outside, but it still worked, so do what makes you happy!
DIY Bookmaking Tutorial Pockets and Finishing
If you would like a pocket, then cut a piece of fabric 9″ by 6.5″.
Fold in half with right sides together so it’s 4.5″ by 6″.
Sew 3 sides together with a 1/2″ seam allowance, leaving a 2-3″ opening to turn.
Clip corners and turn. Use point turned to get sharp points.
Fold the seam allowance of the opening in.
Press well.
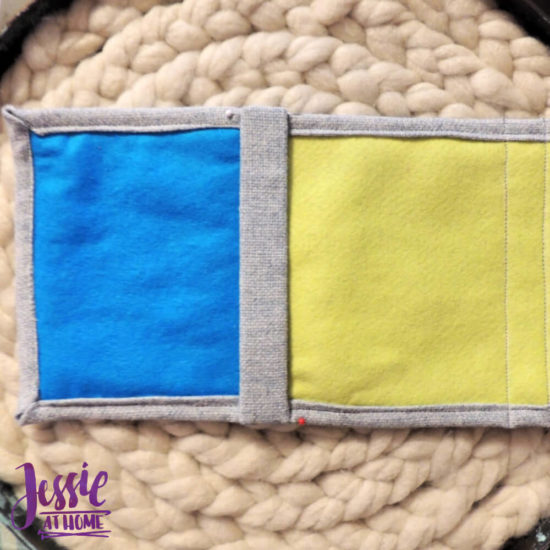
Pin pocket to inside of back cover with the edge opposite the fold up against the book cover spine.
Whip stitch the pocket in.
Make a braid or cord with some embroidery floss to tie the book shut. I like mine to wrap around the book a couple times, but make yours to the length you like. Attach the cord or braid to the center front edge of the flap.
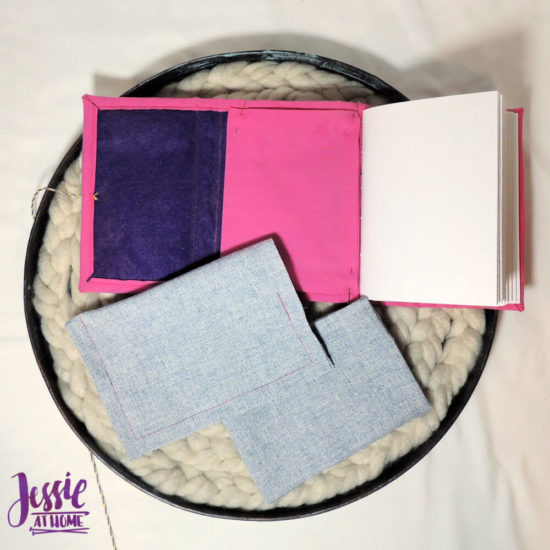
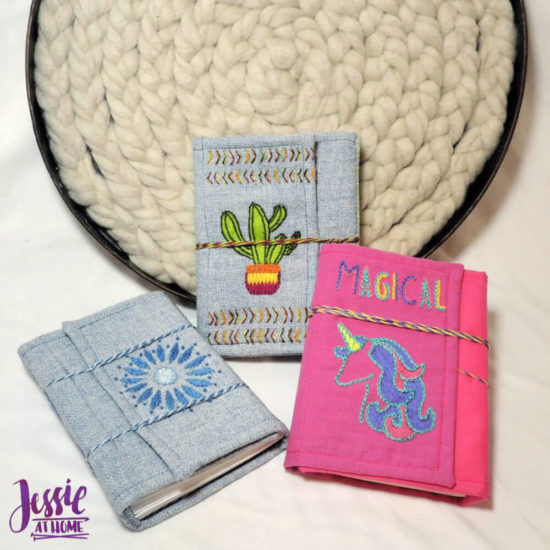
Ta-da! You have an embroidered wrap book with 200 pages and a pocket!!
Have fun with them. You can see I used 2 wraps on one of mine so it didn’t wrap through the design. I also just wrapped on of them up above the image. The cord is still attached at the center, I just wrapped the first wrap at an angle.
The one with 2 cords is also the one with the plastic canvas spine on the inside. You’ll notice that what we are looking at with the flap over it is actually the back of the book. I know, it seems odd, but that’s how it works!
Happy crafting my friends.
[signature]