
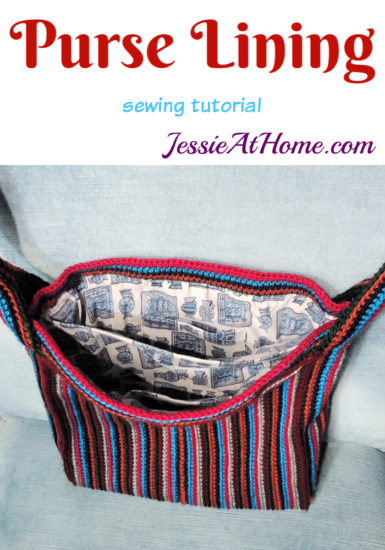
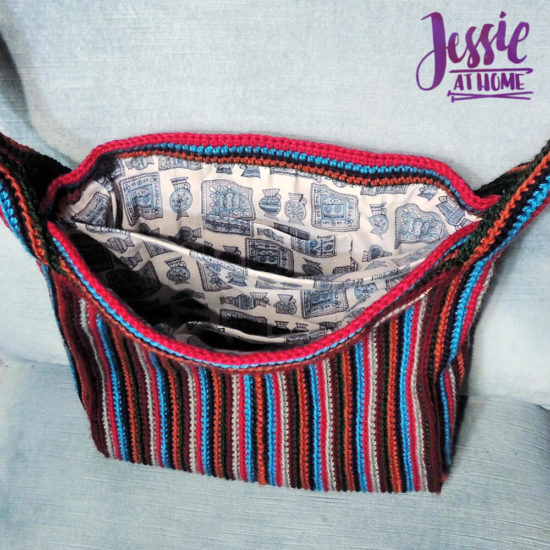
This purse lining tutorial will walk you through making a lining with two pockets and a center divider for a rectangular bag. Just grab a few supplies and take 3 measurements then you’re ready to go!
Purse Lining Supplies
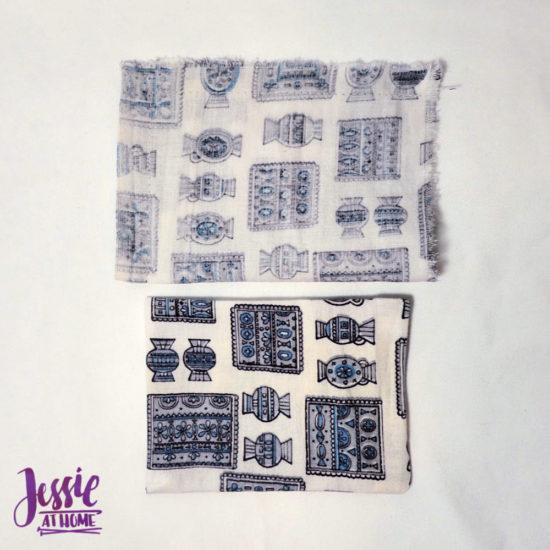
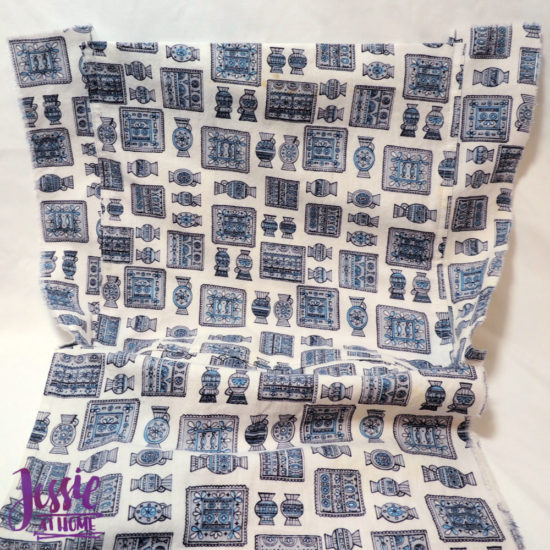
- lining fabric – amount needed will depend on size of purse
- thread to match fabric
- fabric pencil
- fabric scissors
- straight pins
- ruler
- hand sewing needle
- sewing machine
Purse Lining Measurements
Take the following measurements of the inside of your purse.
Width = A (mine is 10″)
Height = B (mine is 10″)
Depth = C (mine is 3.5″)
Purse Lining Main Section
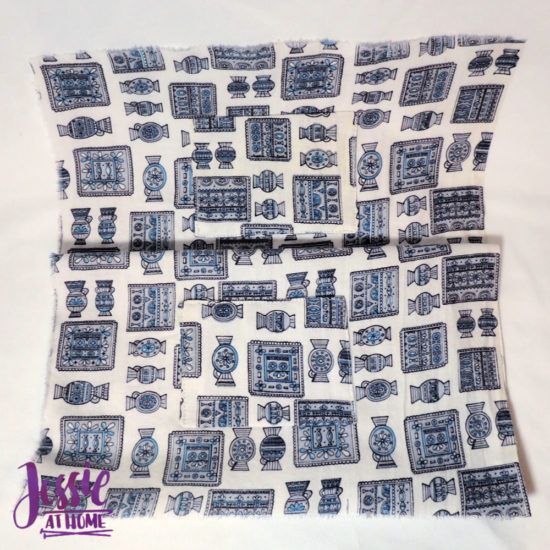
Cut a piece of lining that is (A + 1) by (2B + C + 1). For my purse that is 11″ by 24.5″.
Purse Lining Sides
Cut 2 pieces of lining, each (B + 1) by (C + 1). For my purse that is 11″ by 4.5″
Purse Lining Pockets
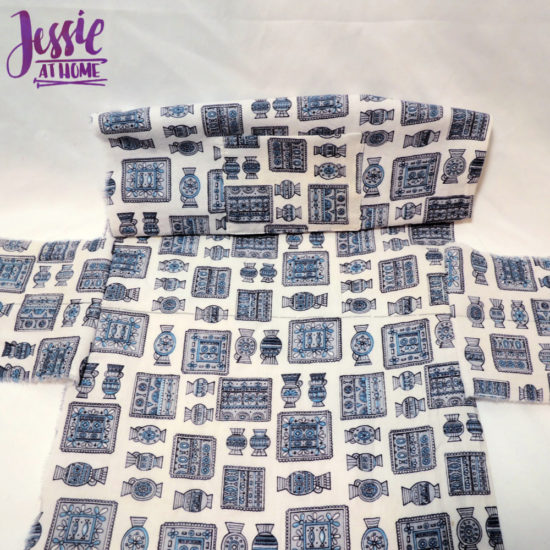
Cut 2 pieces of lining, each 5″ by 7″.
Fold one piece in half lengthwise with right sides facing so it’s 5″ across by 3.5″ tall.
Sew down one side and across bottom using a 1/2″ seam allowance.
Turn piece right side out.
Fold opening in 1/2″.
Press pocket.
Repeat with second pocket.
Purse Lining Divider
Cut piece of lining that is (A + 1.5) by (2B + 1.5). For my purse that is 11.5″ by 21.5″.
Fold in half lengthwise with right sides facing.
Sew down side, across bottom, and half way up other side using a 1/2″ seam allowance.
Turn piece right side out.
Fold opening in 1/2″.
Press divider.
Purse Lining Assembly
Place one Pocket on right side of Main Section so folded side is 2″ below one A edge, and centered left to right. Sew down 3 other sides with a top stitch 1/16″ from edge of pocket.
Repeat with other Pocket on other A end of Main Section.
Draw a line on right side of Main Section across the center (the line will be half way between the pockets, NOT through them)
Mark spot above and below line one each edge 1/2 of C, making a total of 4 marks. For my purse that is 1.75″.
Seam one C side of Side Lining to Main Section between 2 marks on one side using 1/2″ seam allowance. This will leave 1/2″ unseamed on each side of Side Lining. Repeat on opposite side with other Side Lining.
Continue line on both ends through center of Side Linings, ending line 1/2″ from tops of Side Linings.
Place Divider so bottom (seamed edge opposite of fold) is 1/4″ past line on Main Section, pin. Continue pinning sides of Divider 1/4″ past line on Side Linings. Top stitch Divider onto Sides and Main Section with 1/4″ seam allowance, then again close to edge.
Fold both sides of Main Section up and pin to sides of Bag Side Linings. Seam all 4 sides with 1/2″ seam allowance.
Attaching Purse Lining to Bag
Fold top of lining down 1/2″ and press.
Place lining in bag.
Top stitch or hand stitch top of lining to top of bag.
Optional: Tack 4 bottom corners of lining and bag together by hand.
You’re done! Happy crafting my friends.
Did you enjoy what you found here at Jessie At Home? Then sign up for my newsletter and like my Facebook page, so you’ll get all the updates on new tutorials, other posts, sales, and coming events.
If you have any questions, want to share pictures of your work, or just want to chat with Jessie and other crafty individuals, than join one of our free Zoom Sit & Stitches. Find them on our Events Calendar.

© Copyright 2019 Jessie Rayot / Jessie At Home®, LLC All my videos, patterns, charts, photos and posts are my own work, so you may not copy them in any way. If you want to share this information with someone, then share the link to this post.


Great instructions. Just what I was looking for. Can you help with this. I am going to be making a lining for a clear plastic purse. Can you please suggest a way to attach the lining to the plastic purse. Thanks so much
Maybe some sort of glue? There’s a Mod Podge for fabric, you could use that to glue the lining in at the top and then cover over the top edge with some bias tape glued on. OR, you could find a fun duct tape to use as a binding around the top edge, just pocket the purse and the lining in the duct tape or bias tape. Just make sure you get duct tape and not washi tape.
https://amzn.to/3nfioUt
https://amzn.to/2UlBtrY
Great tutorial. Instructions are very clear. However, I would like to suggest that you redo it and use a solid fabric and different colors for each part for the sake of being able to see the pockets. The print you used is pretty but makes it very hard to tell what is happening in each step.
Thanks for all your work on this and God Bless.