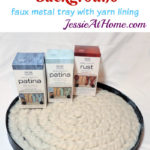
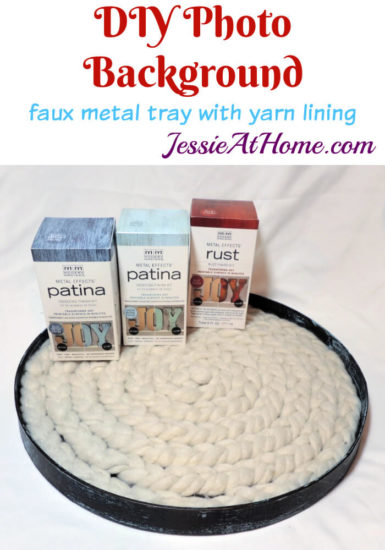
DIY photo backgrounds and props are so useful, and this faux metal tray with a yarn lining is perfect for photos and for use as a tray. I’ve been using this one a lot to hold various notions and supplies for my current work in progress. Today I’m going to show you how to make one of these trays for yourself.
Some products used in this tutorial were provided by Testors and Red Heart Yarns.
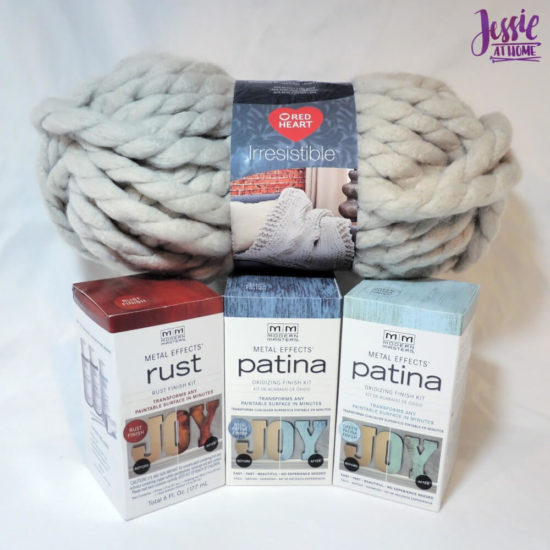
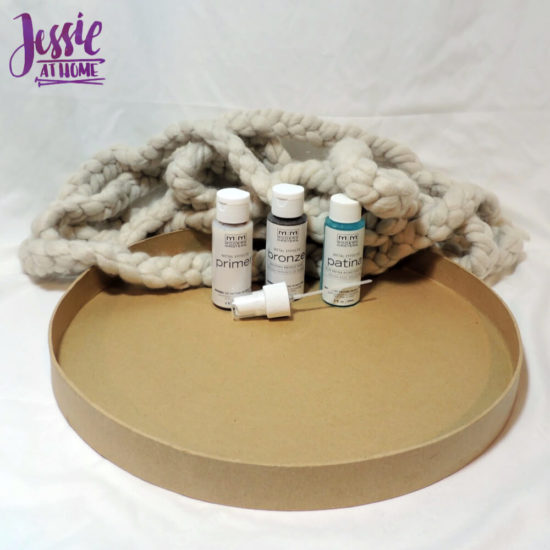
Supplies
- 14″ paper mache round box lid (check your local craft store)
- 18 yds Red Heart Irresistible yarn
- Modern Masters Patina Kit or Rust Kit
- Hot Glue Gun
- Hot Glue
DIY Photo Background Tutorial
To begin, cut yarn into 3 lengths, each 3 yds long. Tie a knot at one end and then braid the 3 lengths together.
Now it’s time to paint the lid (or tray). These Modern Masters Patina and Rust Kits from Testors are so cool! Read all the directions and be sure to allow the proper drying times.
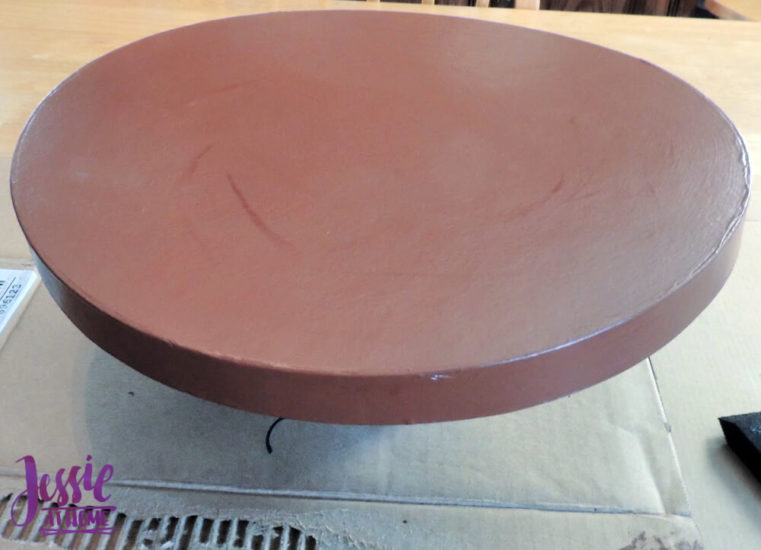
Paint two coats of the base paint, leaving the proper drying time between. It’s not necessary to paint all the inside of the tray because it won’t be seen, just about 2″ in is enough. I used the empty box from the paint kit to balance the lid while I painted and dried it.
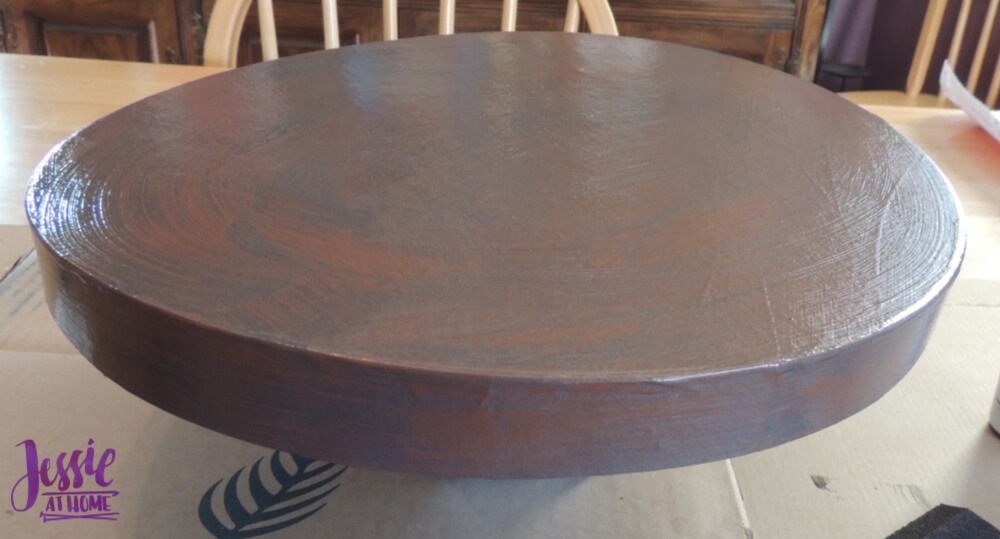
Next is a single coat of the second (metal) paint. Allow it to dry as instructed. Then paint another coat and immediately spray it with the patina or rust spray. Don’t spray it perfectly evenly. The parts with the spray will patina or rust as they dry, and in nature this does not happen evenly.
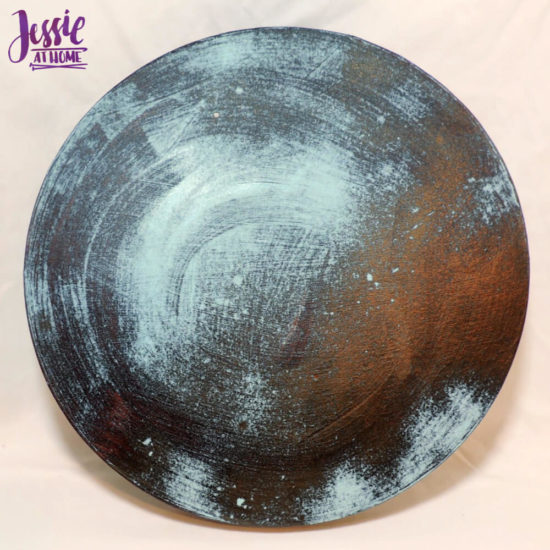
I love the look of the bottom of my tray. The spots of bronze and spots of patina really give great look!
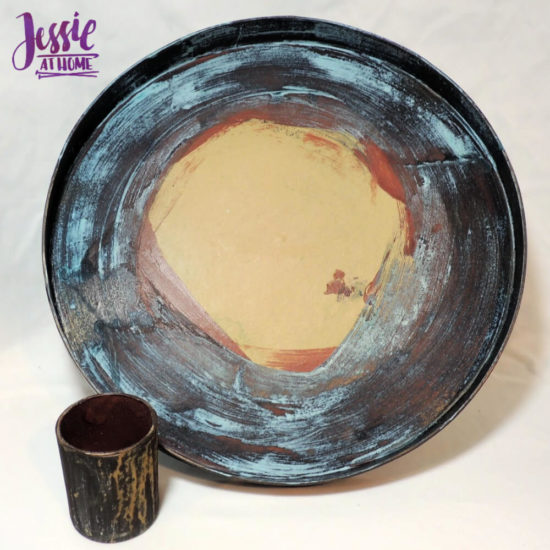
Here’s the inside of my tray, along with a glass candle holder I painted some time ago with rust kit.
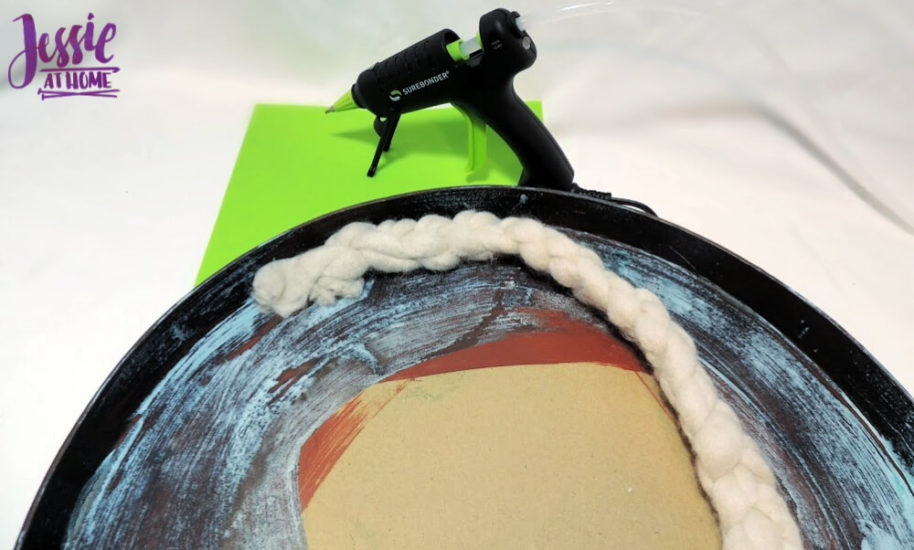
Time to add the yarn braid! Glue the untied end to the tray right up against the side, try to trim it so it fades into the side. Continue gluing down braid along the edge of the bottom.
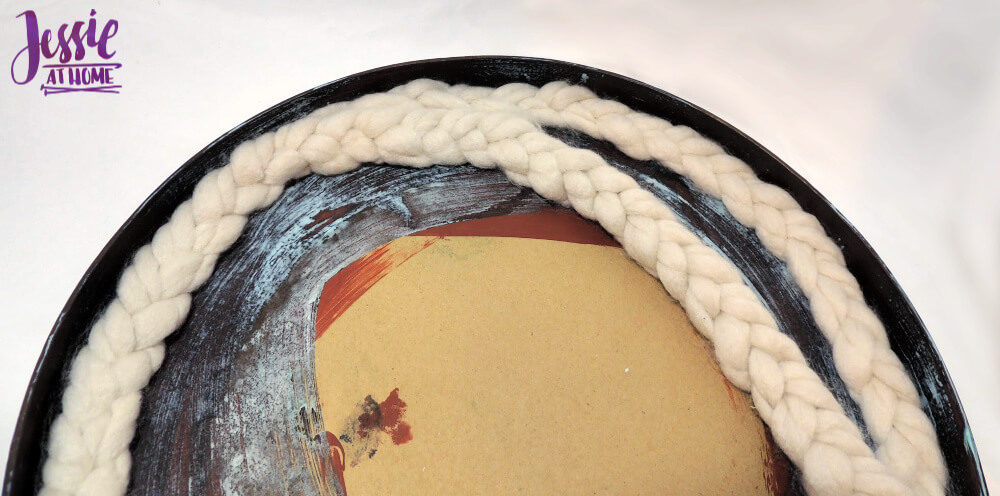
Keep on gluing the braid around in a spiral. When there is just a small hole in the middle, clip the yarn braid so it’s about 1/2″ too long. Puddle some hot glue in the hole, then tuck under the ends and smoosh it all down well.
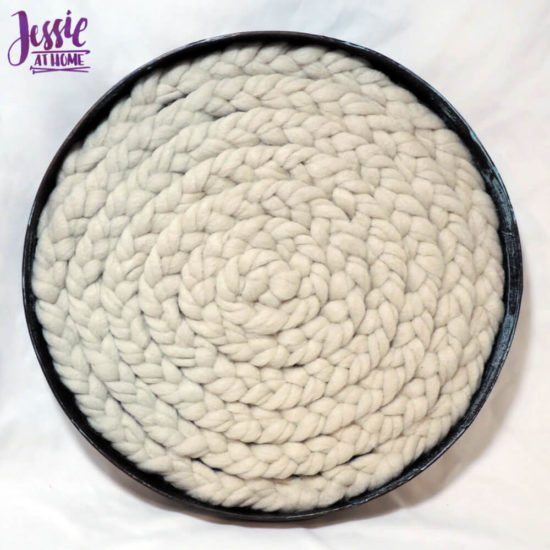
All done! Now use your DIY Photo Background and enjoy.
Did you enjoy what you found here at Jessie At Home? Then sign up for my newsletter and like my Facebook page, so you’ll get all the updates on new tutorials, other posts, sales, and coming events.
If you have any questions, want to share pictures of your work, or just want to chat with Jessie and other crafty individuals, than join one of our free Zoom Sit & Stitches. Find them on our Events Calendar.

© Copyright 2019 Jessie Rayot / Jessie At Home®, LLC All my videos, patterns, charts, photos and posts are my own work, so you may not copy them in any way. If you want to share this information with someone, then share the link to this post.