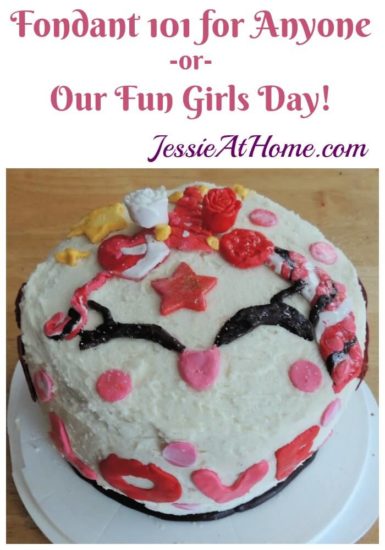
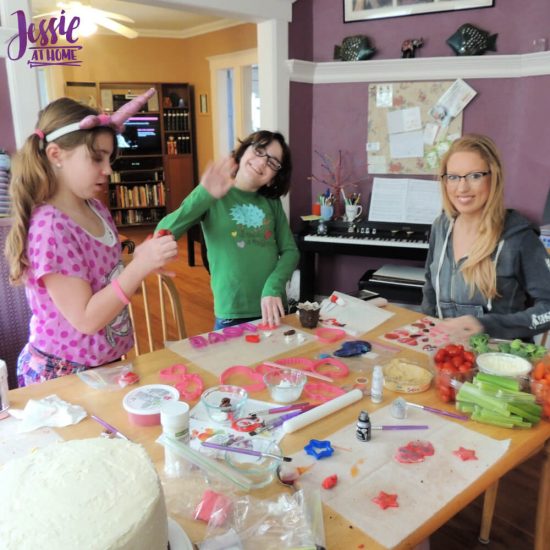
This past weekend the girls and I invited over a friend and decorated a cake with some Satin Ice fondant. We had so much fun and have some basic fondant tips to share with you.
The fondant used in this post was provided by Satin Ice. All opinions are my own.
When I met some of the amazing people from Satin Ice last month, they were kind enough to give me some tips and techniques for working with fondant. When we had our little cake party last weekend I took quite a few pictures. So I’m going to share some of those pictures and let you know some of the things we were taught and other things we learned along the way.
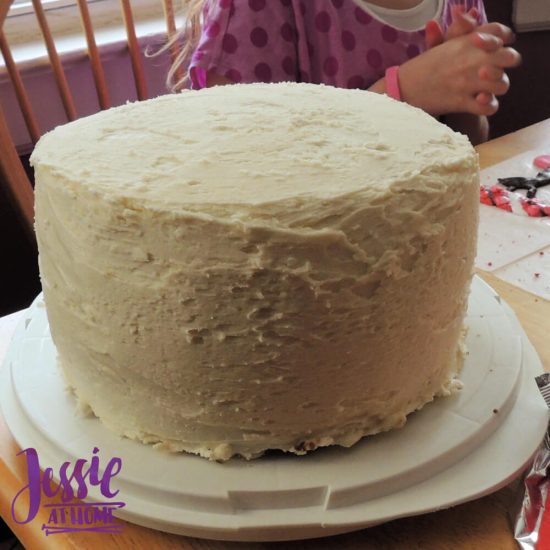
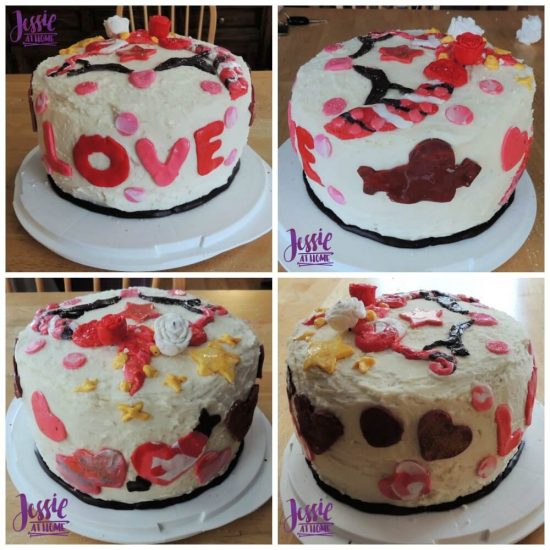
We started with a four layer cake covered with buttercream. I’m not a baker or a cake decorator, so it may not be perfect, but it sure was fun and tasty! The whole point here today is to show you that you don’t have to be a baker to make a cute cake and have some fun!
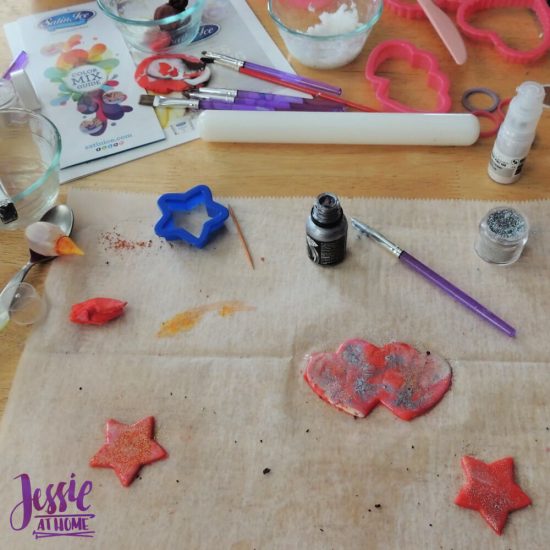
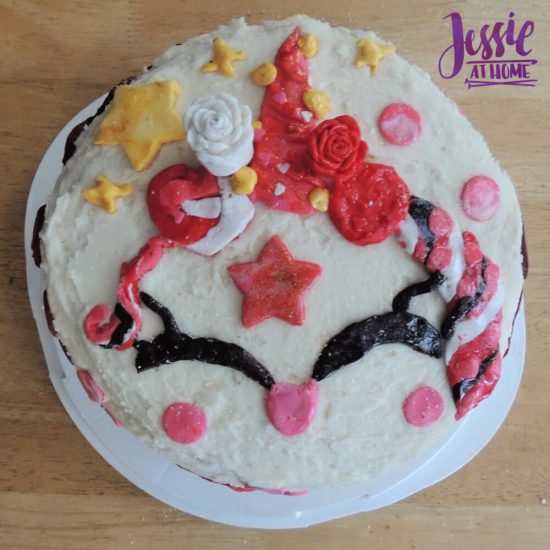
First I taught the twins and our friend Katy how to do some marbling like I was taught. We rolled up “snakes” of different colors, then twisted them all together (don’t worry if they break a bit). Then we rolled the twists into a disk and smushed them flat. Next we gave them a roll to make them thin and cut them with cookie cutters.
To decorate those, we first painted them with out “wash” (I’ll get to that in a moment), then dripped on some metallic paint and sprinkled on some glitter. I’ll link all the products we used at the end of this post.
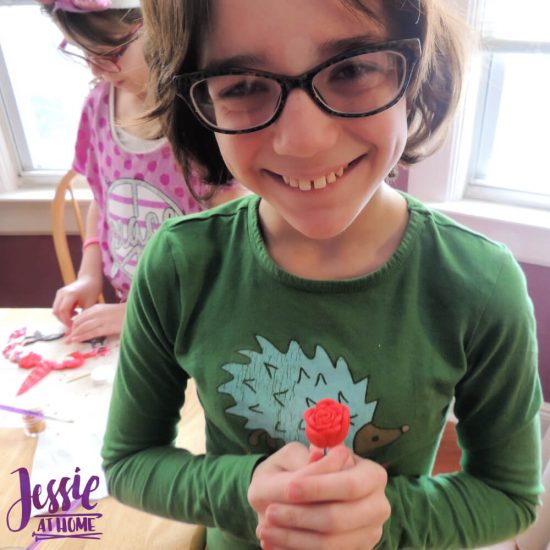
This is Vada’s rose. She made little balls of fondant, shaped them into petals, and wrapped them into a rose. Then she “shoved a toothpick up the rose’s butt” as she said. 11 year olds are so funny!
We were using Satin Ice fondant, which you can find on Amazon HERE. You can get big ‘ol tubs of it, or small packets of it. We had packets of a few colors so we just made decorations, we did not cover the whole cake.

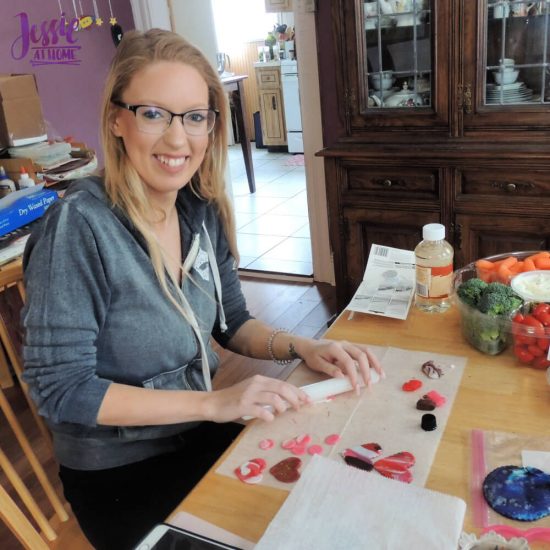
Here are some of our basic tips. I had been told to use shortening on my fingers to keep the fondant smooth, and also to use it if the fondant started to dry or crack or needed to be stuck together. I don’t use shortening in my house and forgot to buy some, but I always have coconut oil. It turns out that the coconut oil worked quite well for this purpose!
If you want to add glitter or sprinkles, or basically stick anything else to the fondant, you will need to use a “wash” to do so. We mixed half and half vodka and light corn syrup. You could also use grain alcohol or lemon extract in place of the vodka, but vodka is what I had. Don’t worry, the alcohol evaporates! This “wash” allows products to stick to the fondant, and also gives it a nice, glossy look.
It’s very important to keep the fondant you are not using from drying out. If you have a tub of fondant, be sure to cover the top of the fondant with plastic and keep the tub closed when you are not getting more out. We had the small packets so we grabbed some zip-top bags and kept each color in it’s own bag. We smoothed out the air and kept the bags zipped when we were not using them. If the fondant does start to dry or crack as you are using it, then you can use the coconut oil to help moisten it.
We found one of the hardest parts was getting the pieces to stick! It turns out the “wash” also makes great glue! So we used that to stick the pieces to the sides of the cake, then used it again to smooth out any fingerprints we may have left.
We all really had a great time creating our cake! I hope some of these tips help you out. As you can see, we may not be entering any contests any time soon, but we did pretty good for first timers ranging in age from 11 to …
Here are some of the products we used to create our little masterpiece: