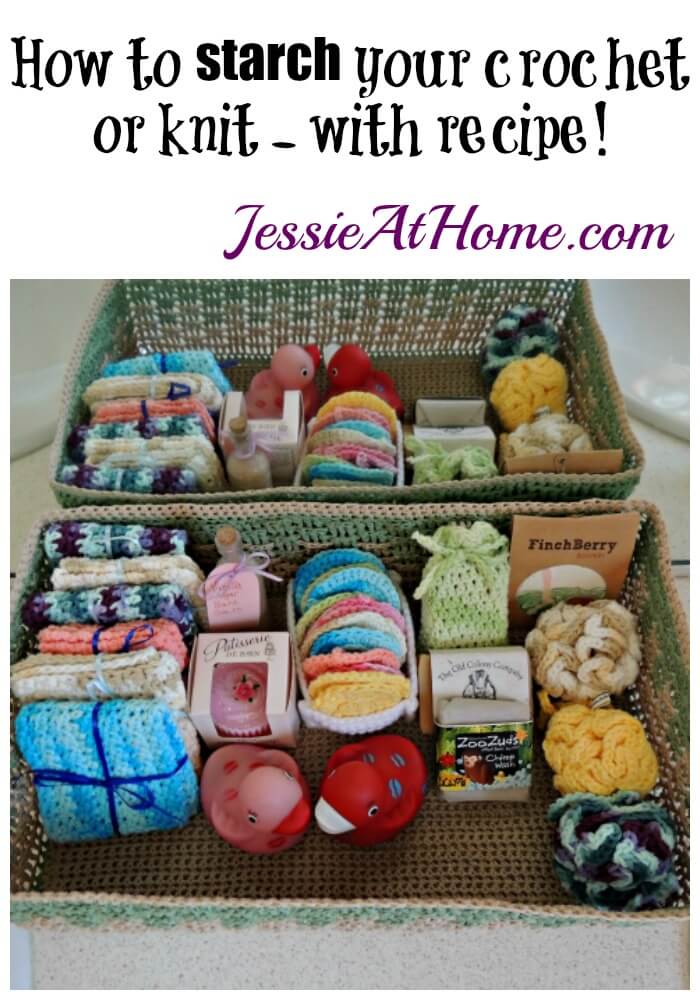
Sometimes we need to starch our crochet (or knit) projects. I just made a basket that needed some starching to keep the sides up and the bottom flat. Would you like to learn how? Well, I’m going to teach you one method using corn starch.
Start off by mixing 1 part corn starch to 6 parts water. In my case that was 1/2 cup corn starch and 3 cups water – it’s a big basket. Mix well until the cornstarch is totally dissolved.
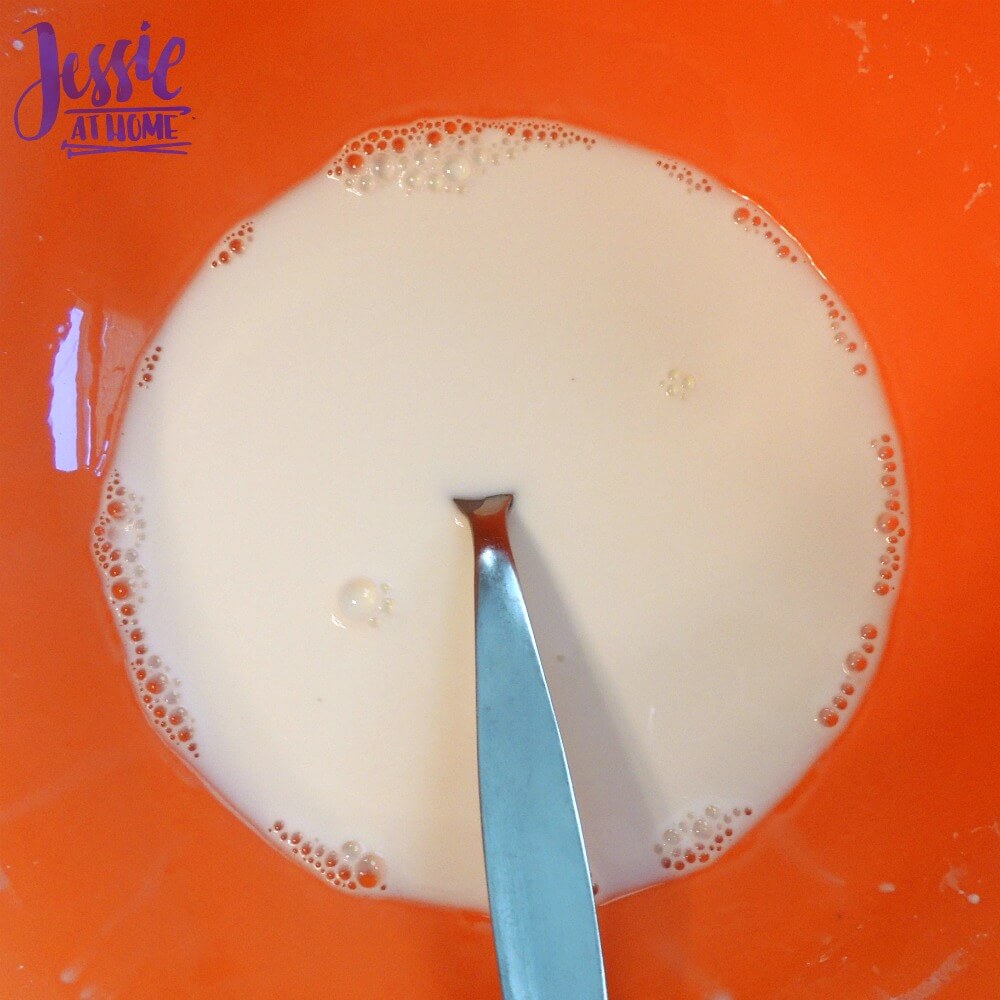
Now pour into a pan and heat over medium heat, whisking constantly. Keep whisking until the mixture is thick, glossy, and slightly transparent. If you happen to get distracted and end up with a few lumps, no worries, you can run it through a strainer before cooling.
Once your mixture is ready, turn off the heat and allow to cool. Really. Allow it to cool. This may take a couple hours but it needs to be done.
Stir your cooled mixture and put your crocheted item in the mix. This gets messy, take off your rings. Make sure the piece is entirely coated with the mix, then squeeze (do not wring) the excess mix out of your piece. Your piece will most likely have grown at this point.
Place your mold (if you are using one) on a towel, cover it with plastic wrap, and place your piece on your mold.
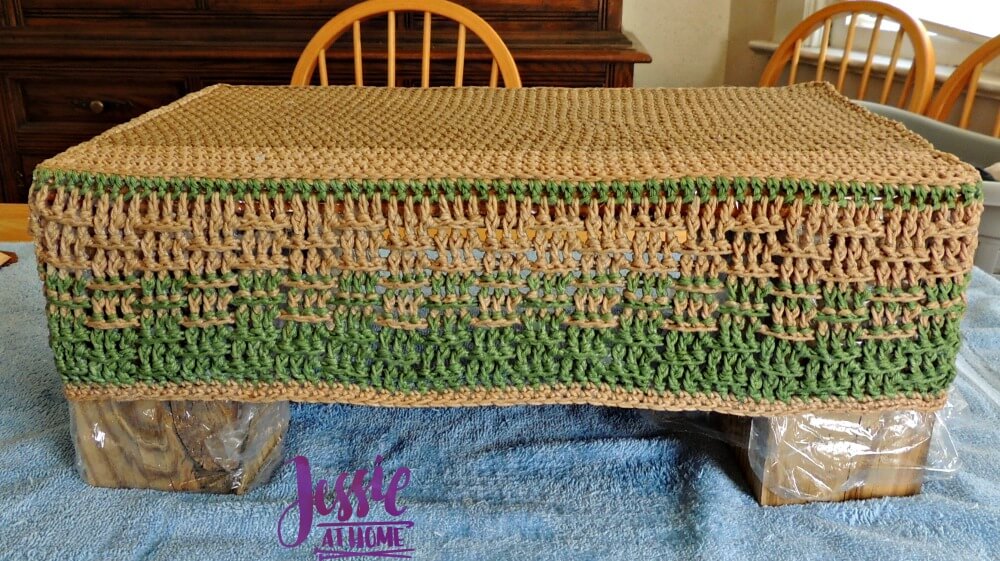
For my basket, I first cut some 4x4s to 6″ tall and covered them with plastic wrap.I then stretched the basket over the 4x4s and measured to see what size it had stretched to. It was now 10″ by 17″, so I cut a piece of plywood to that size, covered it with plastic wrap, and placed it one the 4x4s to make a complete mold for my basket. At this point it is important to be sure your piece is shaped and stretched as you want it. Allow to dry. This will take a while.
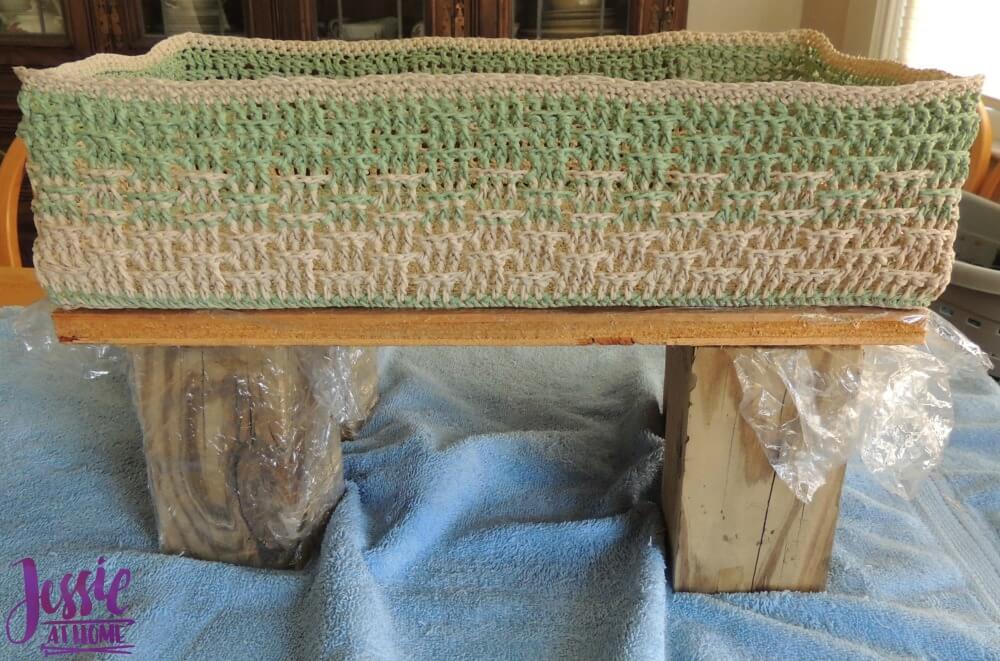
Here you can see the mold a bit better. You can also see that I did NOT use anything to make the sides really straight on top. If you want them straight, use a straight edge (like a ruler) and be sure to tug them so they are straight while drying. Once the piece is dry, it won’t move.
This starch can be washed out, but it’s my favorite starch as it dries totally, without being at all sticky, and it doesn’t tend to leave the “skin” you sometimes get with glue.
There you are, I hope that helps you with your starching needs!!

©Copyright 2016 Jessie Rayot / Jessie At Home All my videos, patterns, charts, photos and posts are my own work. Do not copy them in any way. If you want to share this information with someone, share the link to this post. If you want to share on your own blog / website, then you may use the first photo in this post and link back to this post. You may not give away printed copies of this post. Thank you.


I never knew this!!! Thanks Jessie, you are the best!!!
Another obstacle to knitting and then felting a basket is demolished.
Sigh.
LOL
Thank you for your recommendations!
This is the help I was looking for looking for for my basket that is not being very cooperative. Any suggestions for a more rounded/ovalishish taller basket mold?
Maybe a bowl with a towel around it to get the right shape?
thank you for your tip on starching i am making little baskets and it will be great
at 89 any help is wonderful
Does the kind of yarn used to make your project matter? I made a cat pod but need to stiffin it to hold it’s shape. I don’t need it super stiff but want sure if I could use this on the thick yarn I used. Thank you
Yes. The stiffer the piece is before you make it, the stiffer it will be after. For a cat pod I would recommend felting, not starching, but if it’s already made, this should work. Just be sure to check that all the ingredients are cat friendly. I don’t have a cat, but I know some stuff that is fine for us is not for them.
Would this work in a spray bottle? Or is that just asking for trouble?
You’re asking for trouble. 😉
Would this work for the brim of a black witches hat?
Sure!
One question; can I reheat starch solution once it has dried/hardened in container. I only use small amouns at a time for Random Acts of Crochet Kindness. Just wondering if I hv to make a new batch every time or reheat once “hardened/dried” in container. TIA
Honestly, I don’t know. I might buy a spray starch or even grab a bottle of liquid starch. This is what I use when I am out of starch and don’t want to go shopping.
Can I use this for ornaments with beads worked in?
I don’t see why not.
Can you dry with heat like a hairdryer? I’ve run out of drying time
You could give it a go.
Will this work on acrylic yarn?
Yes, it will.