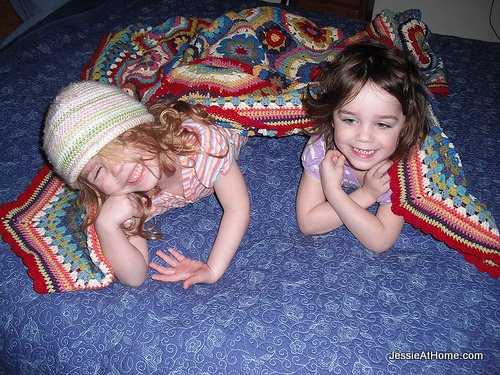
Callooh! Callay!
It truly is a frabjous day, I have finally finished the octagon blanket!
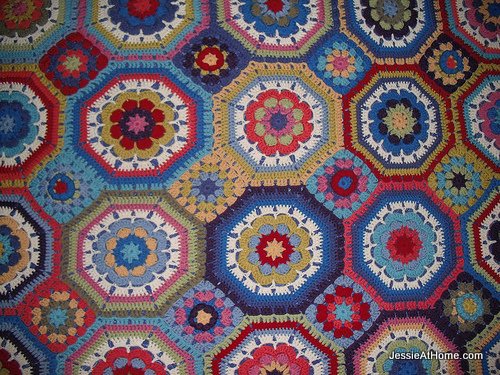
I first told you about this crazy guy over a year ago. When I started him, there were so many other things I was working on, that he kind of ended up on the back burner. Life took hold and he spent most of the last year yearning for my attention. If you remember,the hexagon blanket was for Vada, and the octagon is Kyla’s. She was very happy to finally have her “banket” done.
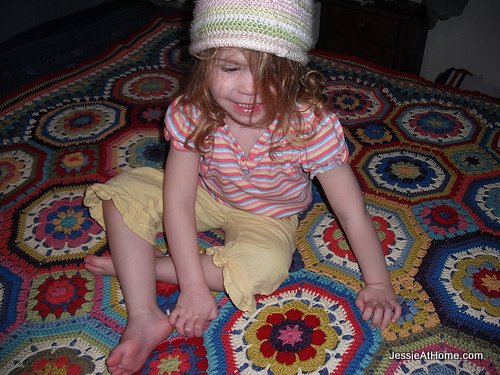
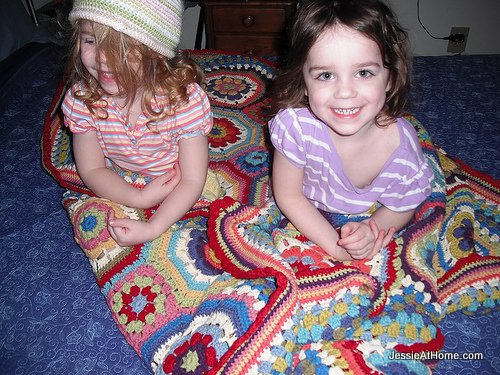
Vada enjoyed it, too!
So, if you remember, I had originally planned on 8 rows of 6. Well, last week I had 5 rows of 6, and a thought came to me. Why did this blanket need to have a small boarder like Hexie?: Why not give it a big border that squares it up a bit, and also kind of stabilizes it? I just thought it was getting a little, well, vertigo~causing.
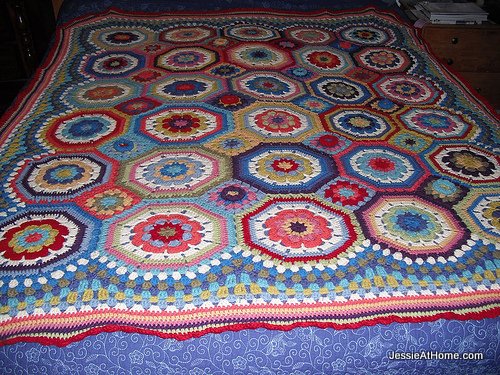
He is going to be well~loved!
On another note, the girls and I have finished bracelets 6~26 for Craft Hope, Project 12!
This one is super simple, and good for boys in the right colors. I simple braided three doubled strands of yarn, with beads strung on just one of the three. Every time the beaded yarn was on the outside, I slid a bead up and then kept braiding. Tie a knot at the end, toss on a big bead, and tie another knot to hold that in place. Done!
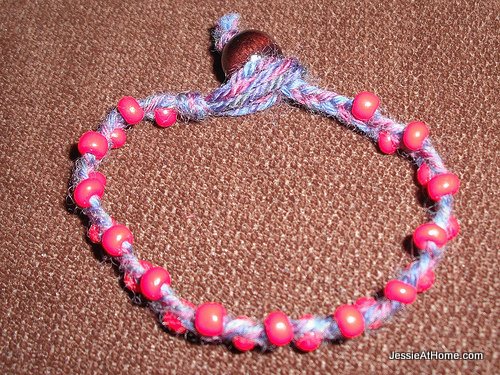
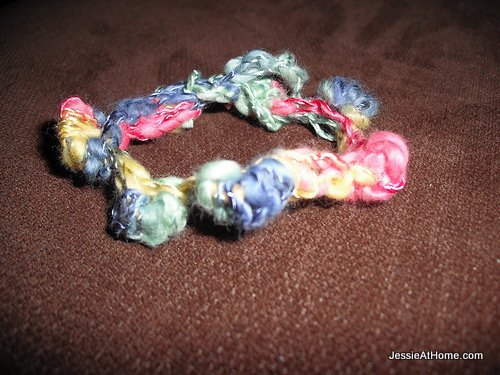
Here I just made a long braid. I tied one end into a loop, slid on a bunch a beads and tied a knot on either side of the beads so they stayed where I wanted, then tied a knot on the end, slid on one more bead, and tied another knot to hold that in place. Easy peasy!
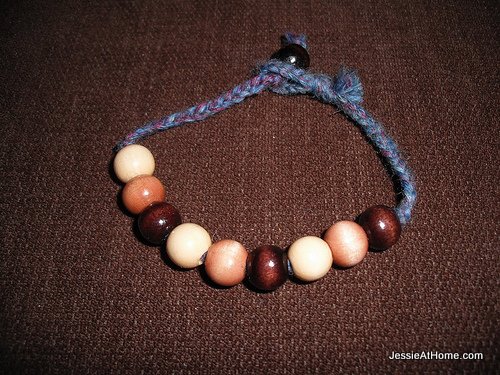
Kyla made a few.
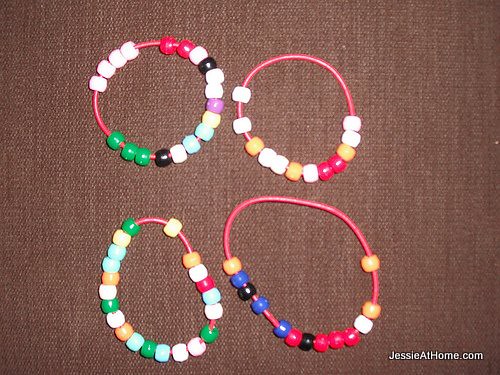
So did, Vada.
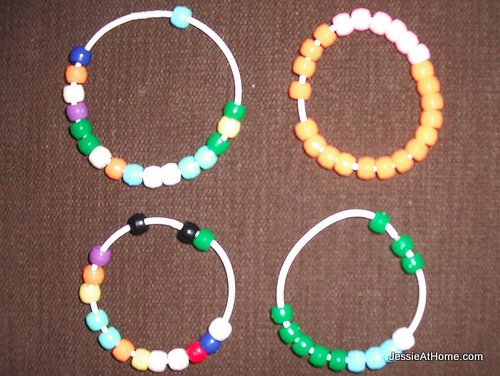
I was so proud of both of them!
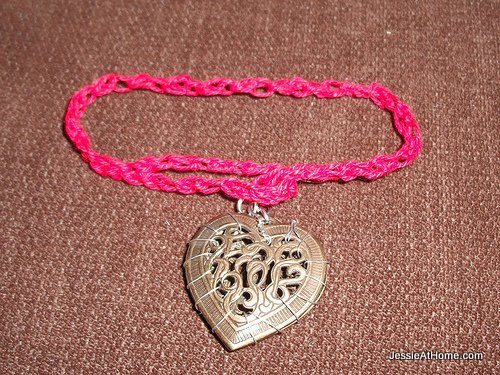
Pretty little charm bracelet.
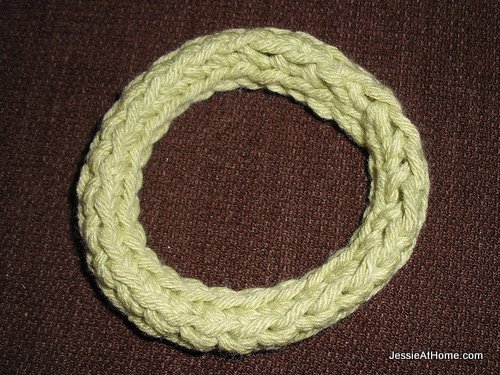
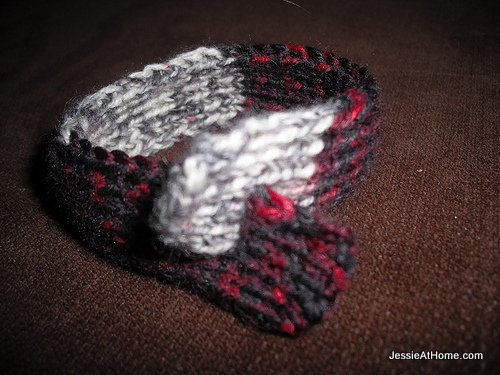
I love this nifty crochet bangle. I think I will make many more.
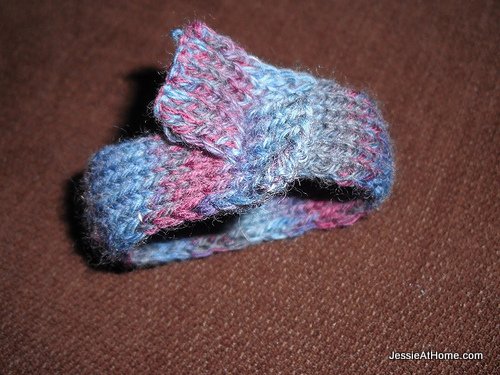
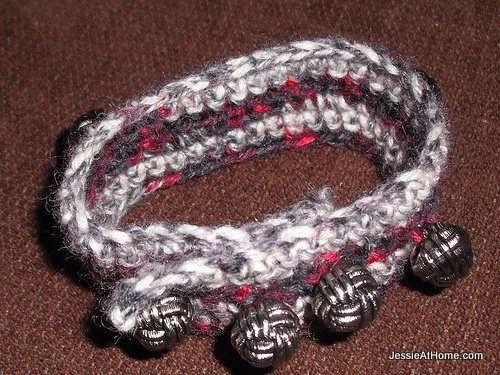
This one is way too cool! I see many more of these in my future, also.
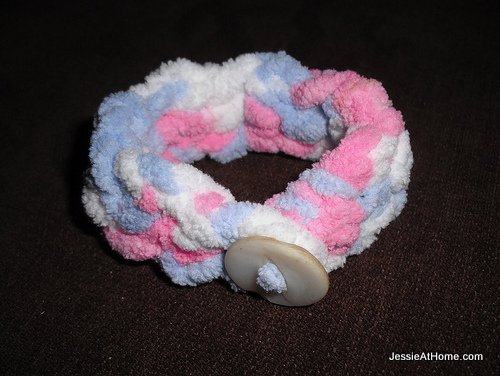
This pattern was written odd. I may give it another shot now that I have a better idea of how it works up.
This looks much cooler in person. It is just a band of single crochet rows. The middle row alternates between buttons and button holes.
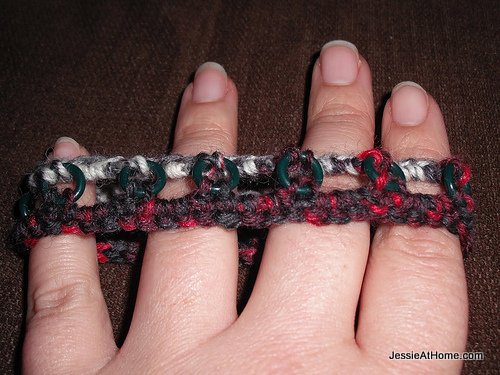
Playing with crochet and rubber rings.
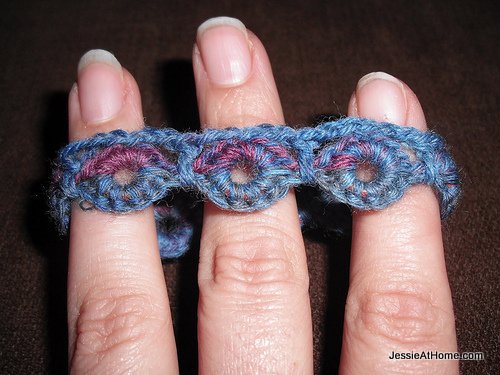
And a tiny one.

Here I just single crocheted half way around a rubber ring, chain two, and so on all the way around. Then I single crocheted around the other half, three single crochets around the chain space, all the way back.

Same idea here, with a string of chains across the top, and double crochets going down to the space between the rings.
OK, back to being crafty.

©Copyright 2011 Jessie Rayot / Jessie At Home All my videos, patterns, charts, photos and posts are my own work. Do not copy them in any way. If you want to share this information with someone, share the link to this post. If you want to share on your own blog / website, then you may use the first photo in this post and link back to this post. You may not give away printed copies of this post. Thank you.


beautiful 🙂
You’ve been nominated for the Versatile blogger award. You can pick up your badge on my blog