Isn’t this Origami Butterfly pretty? Imagine if you made it with a patterned paper. They can be stuck on walls, added to collages, placed on plants, or even put on a wire and added into a floral arrangement. Think of all the possibilities!
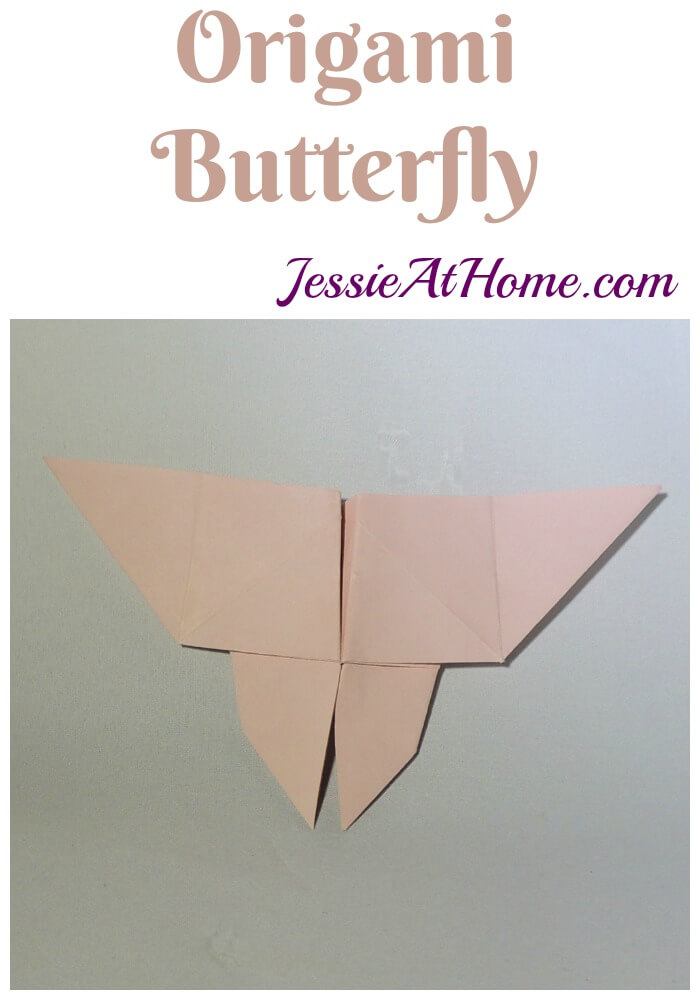
Only one side of the paper is seen on the finished Origami Butterfly, so the color of the back of the paper does not matter. Be sure to crease well after each fold.
Fold paper into the Blintz Base, find the instructions HERE.
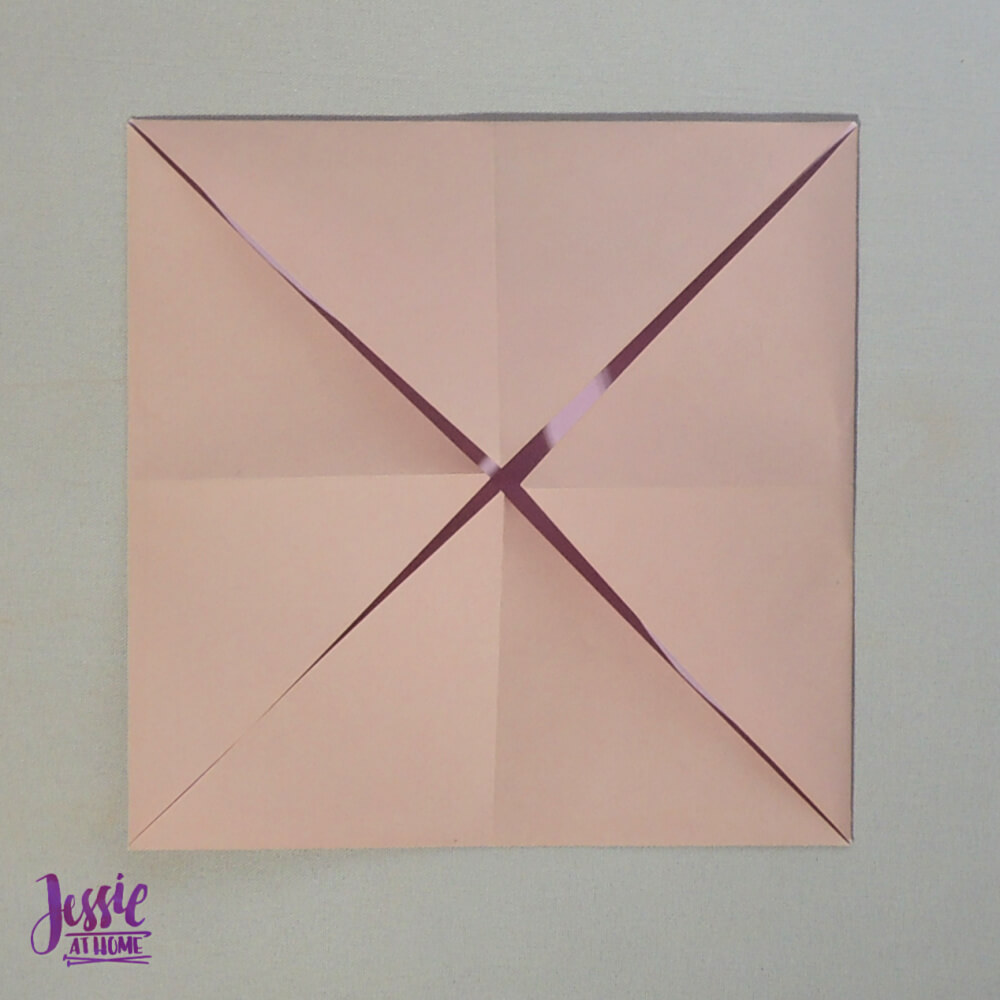
Turn over and fold all 4 corners to center.
Open up paper and place with wrong side up.
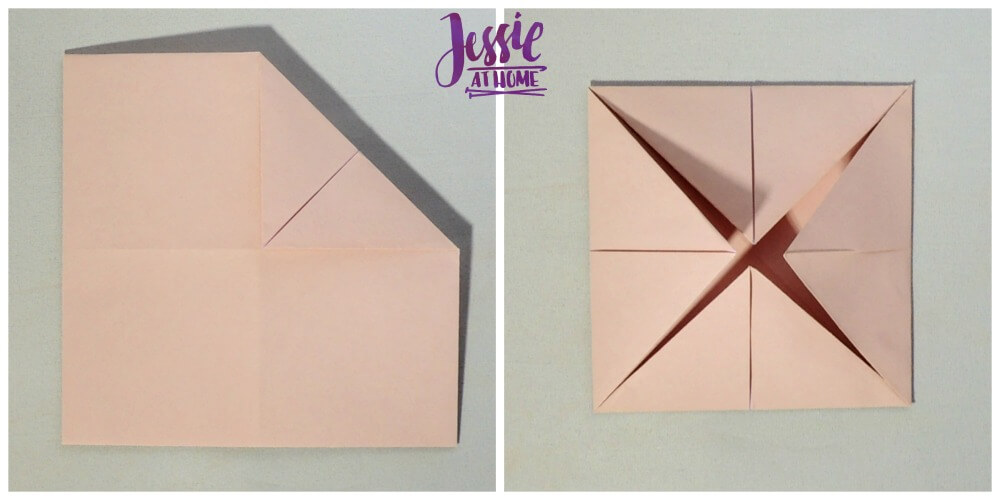
Fold opposite sides in to the center.
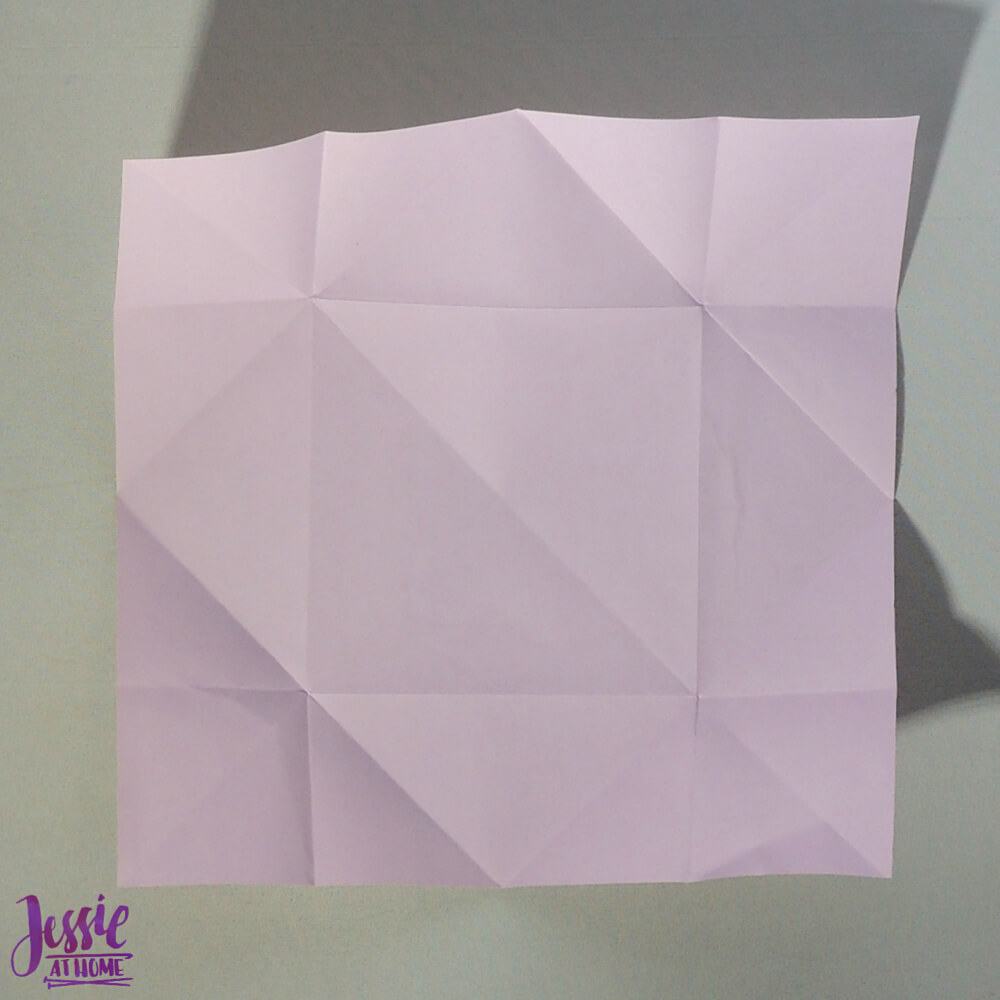
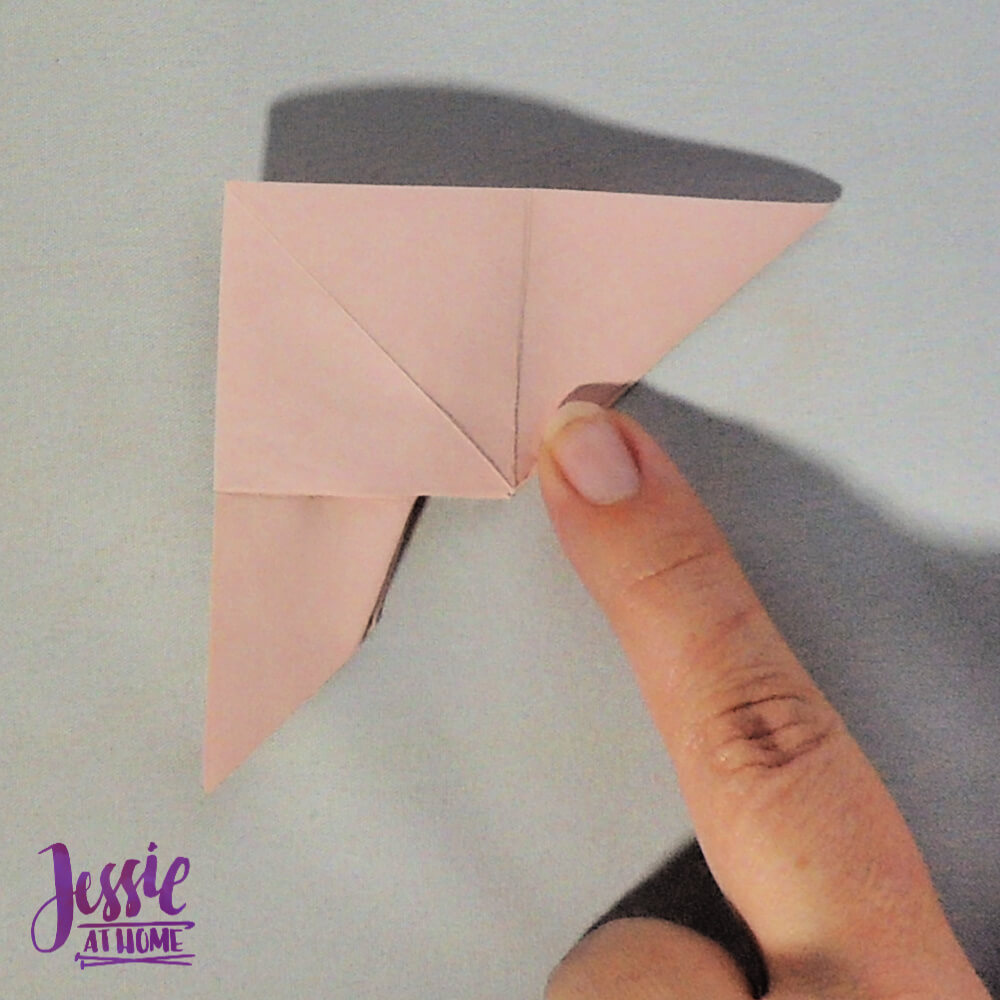
Following the crease lines, fold down both ends bringing the sides of the ends out into points.
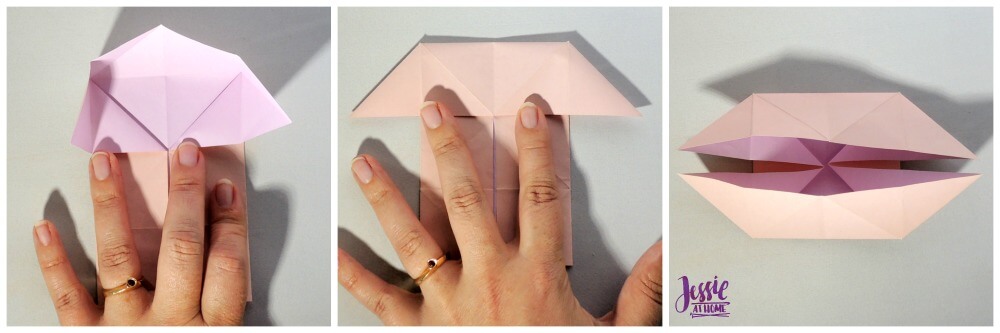
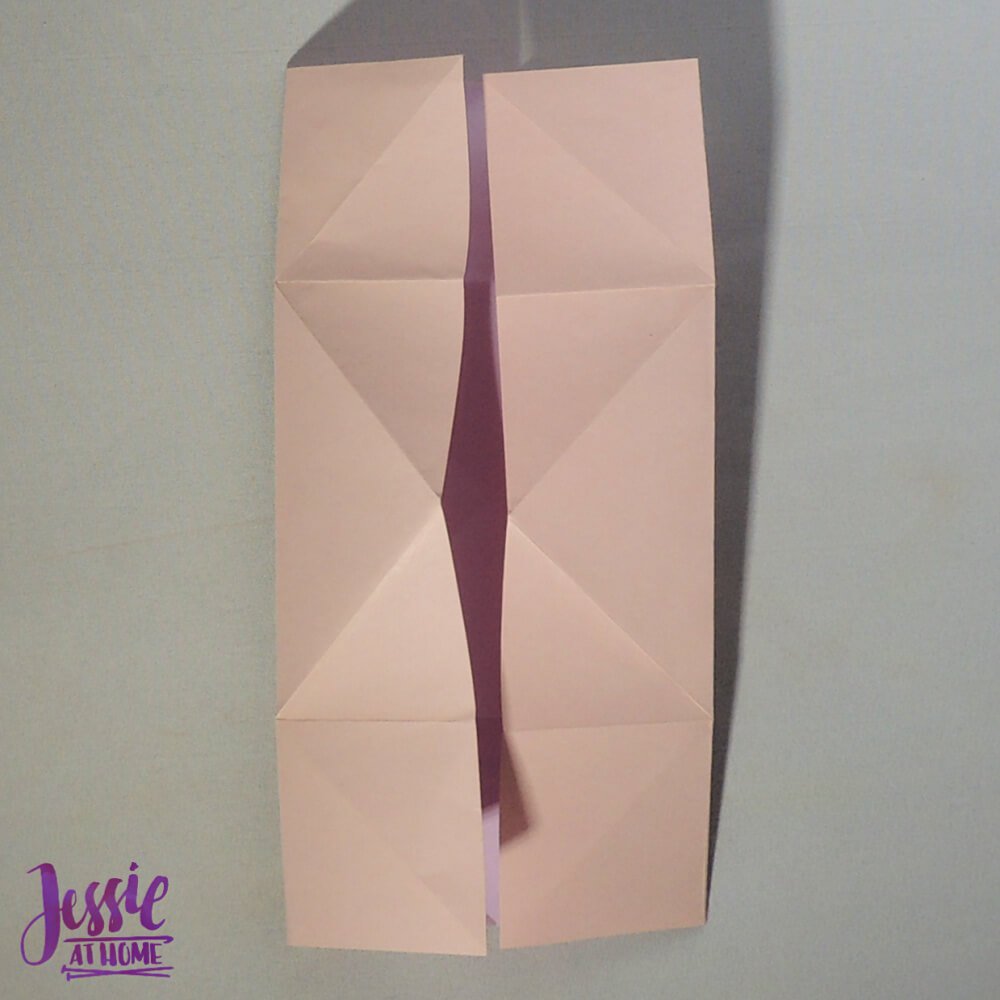
Fold piece in half.
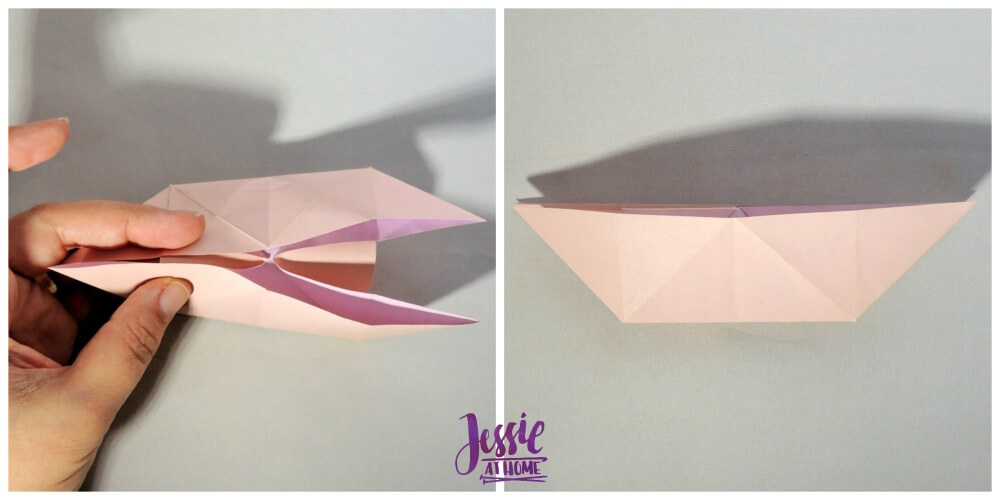
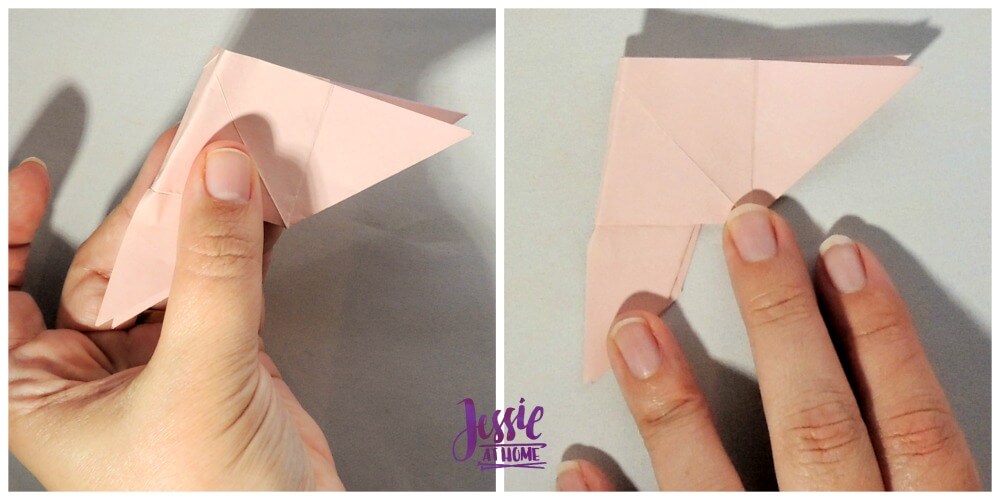
Fold the top layer of both sides down.
Fold in the sides a small amount.
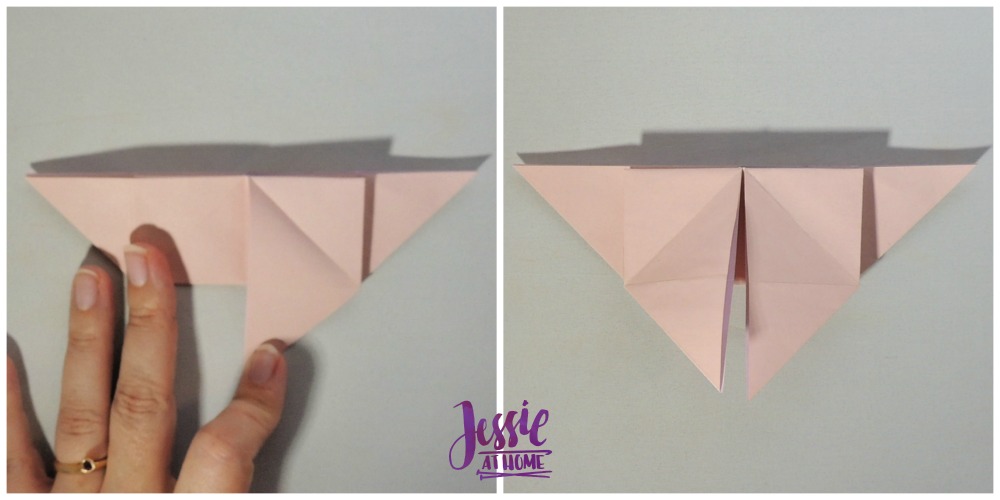
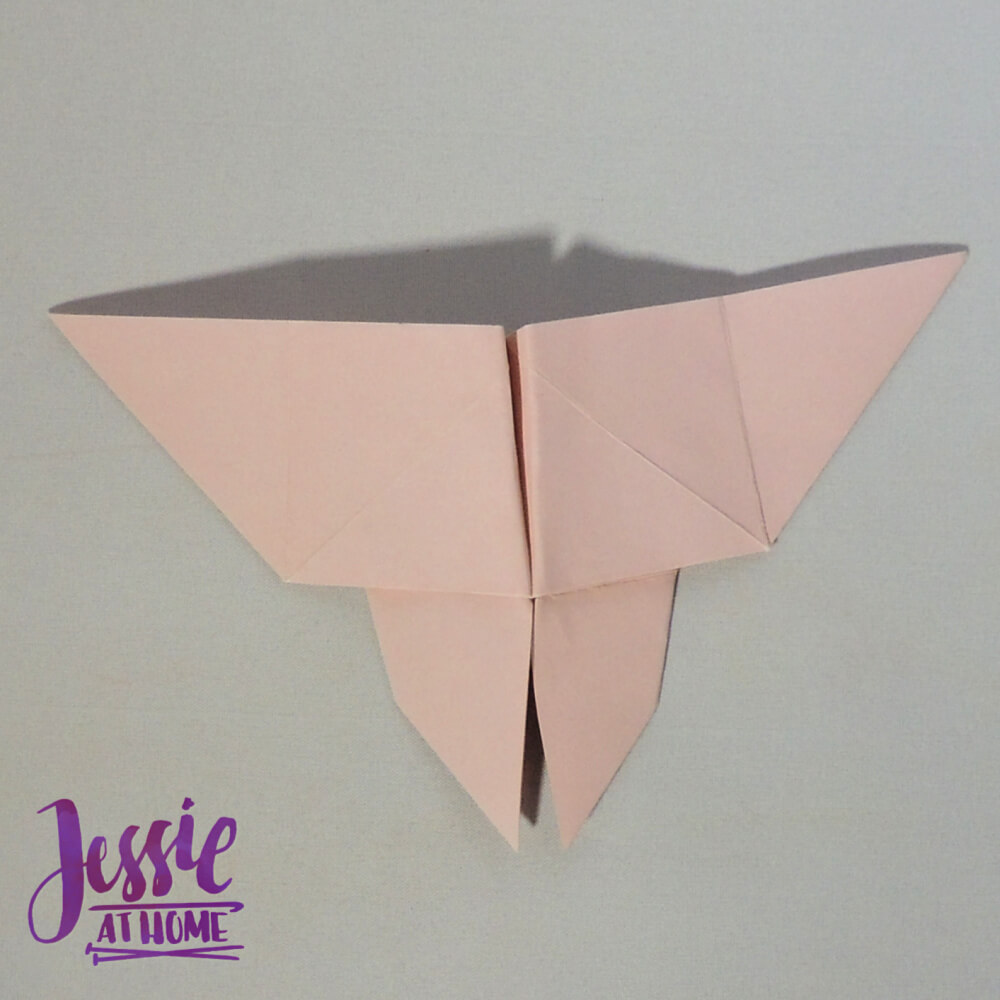
Fold in half.
Fold the center in to the middle at an angle.
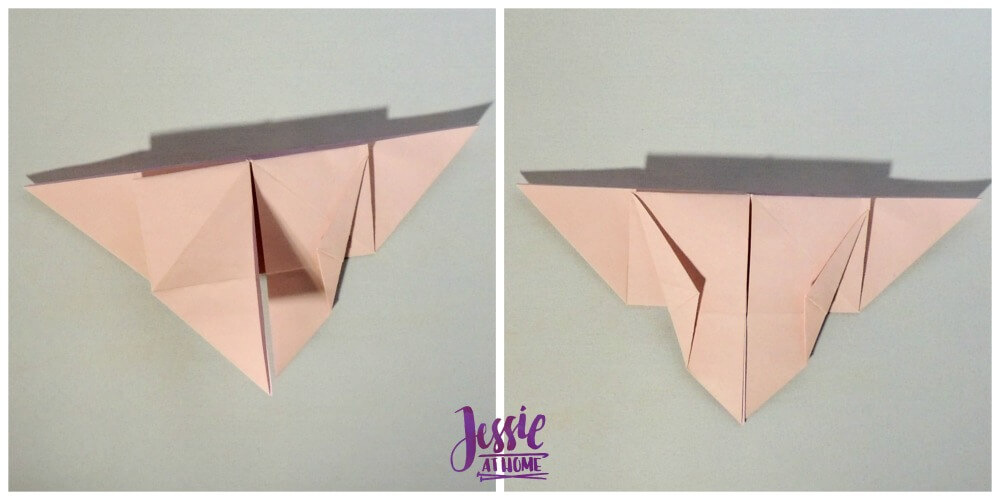
Open up butterfly.
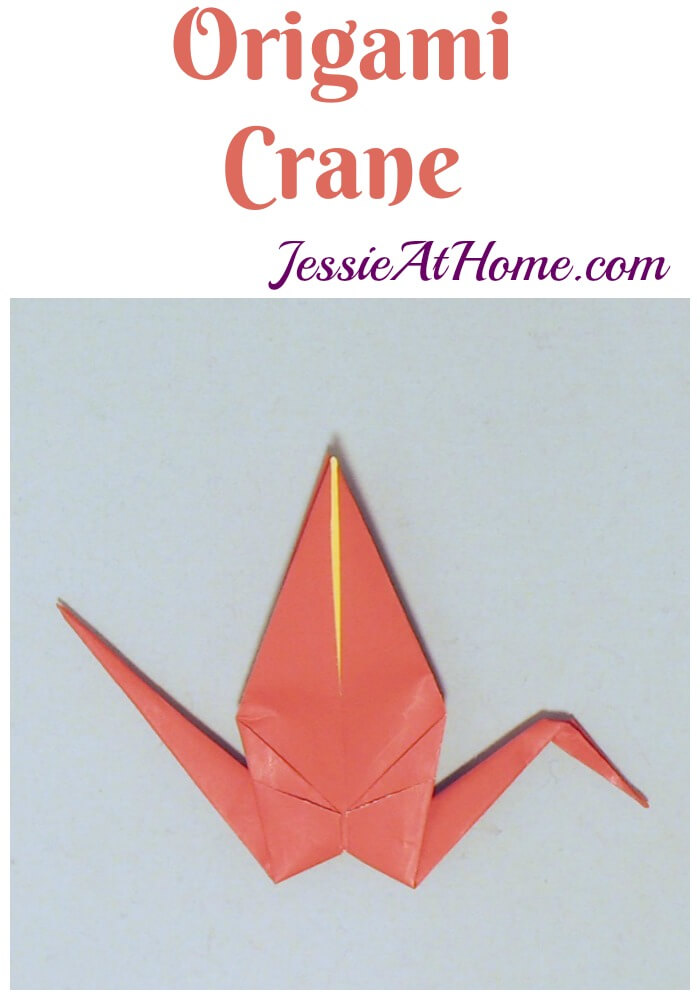
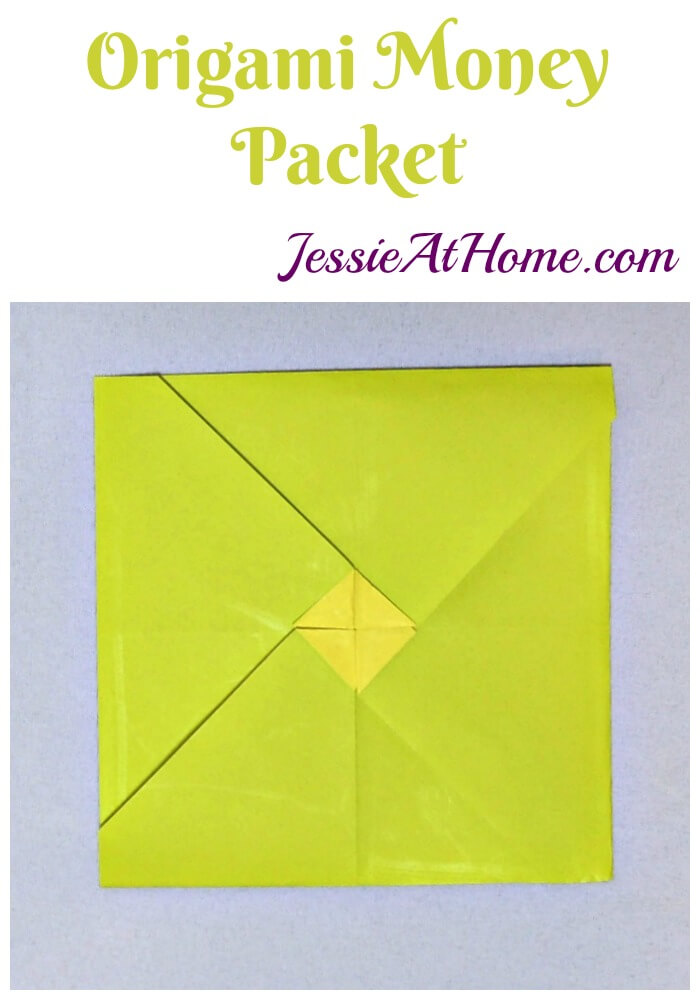
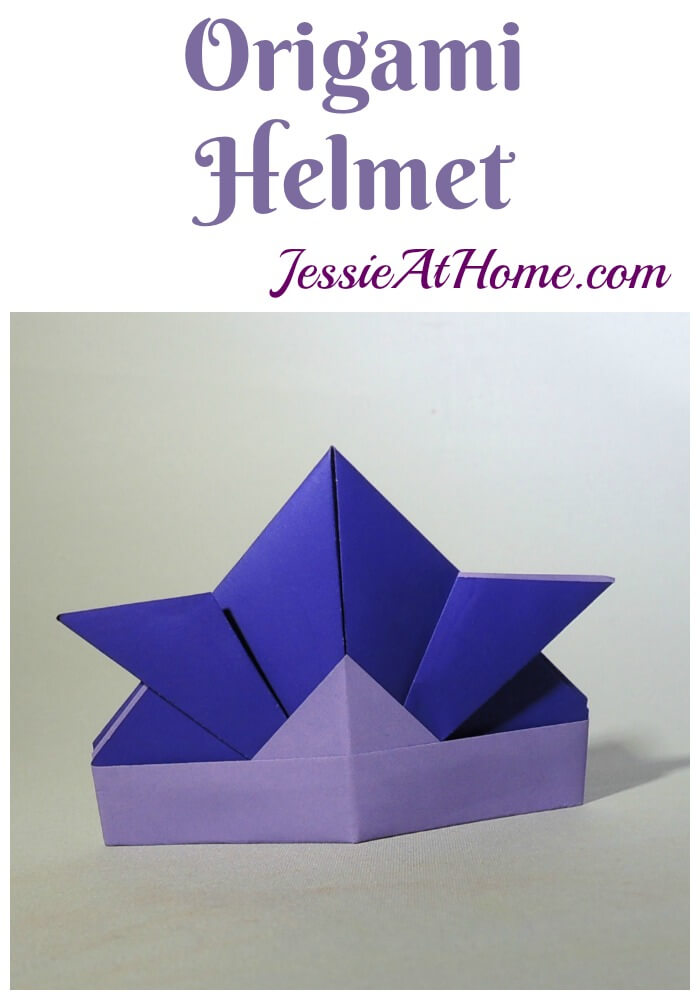
Find more Origami creations at: https://jessieathome.com/origami/

©Copyright 2019 Jessie Rayot / Jessie At Home All my videos, patterns, charts, photos and posts are my own work. Do not copy them in any way. If you want to share this information with someone, share the link to this post. If you want to share on your own blog / website, then you may use the first photo in this post and link back to this post. You may not give away printed copies of this post. Thank you.