The Easy Origami Cup Tutorial will be your best friend at your next party. It can work as a snack cup, be filled for a goodie bag, and if lined with wax paper will even work as a drink cup. Change up the size of your starting square to change the size of your origami cup.
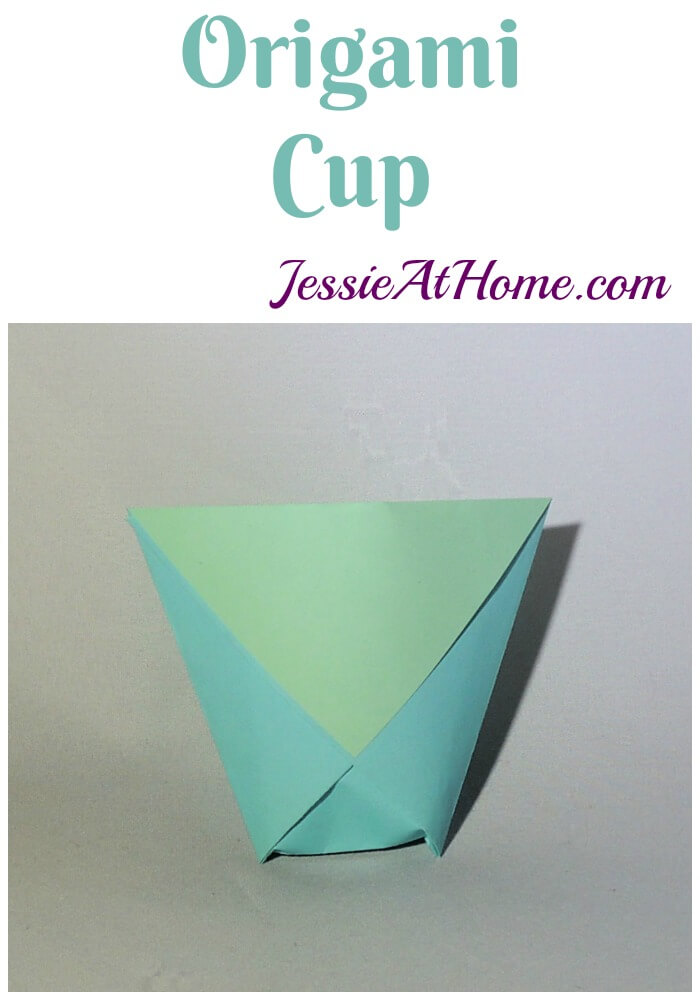
In the Easy Origami Cup Tutorial you will see both sides of the origami paper. Therefor it’s a nice idea to use paper that is a different color or pattern on both sides. Be sure to crease well after each fold.
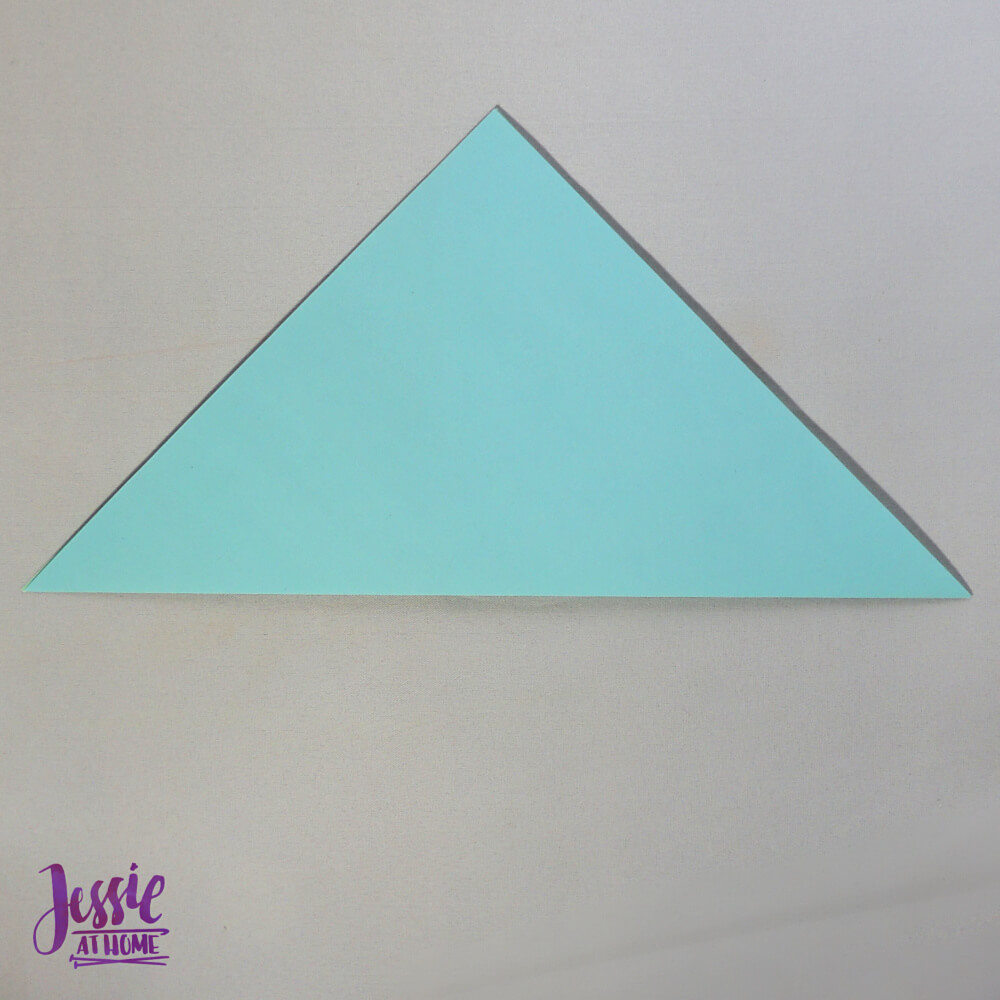
Start the Origami Cup by folding paper in half diagonally.
Fold one short side flush with the adjoining long side. DO NOT crease the whole fold, only crease it were it meets the other short side, then unfold.
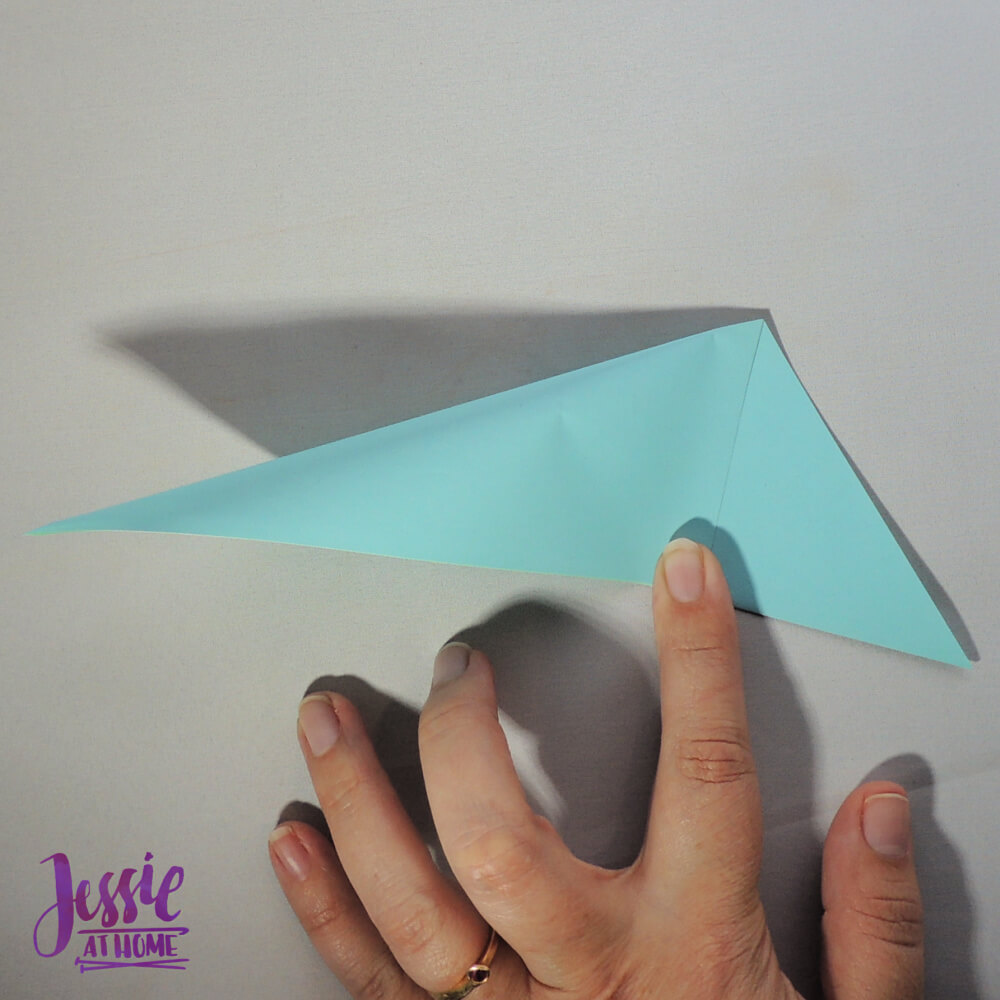
Fold the point opposite from the crease just made up to where the crease meets the side.
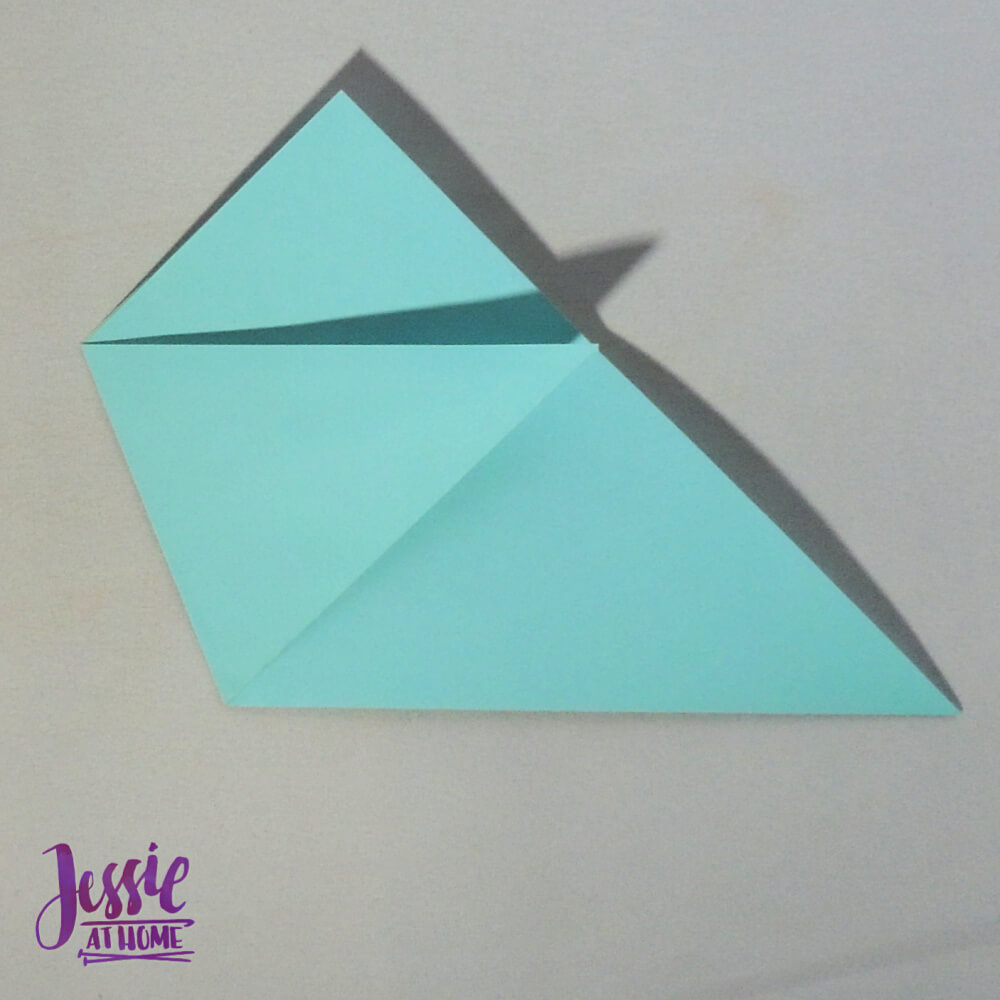
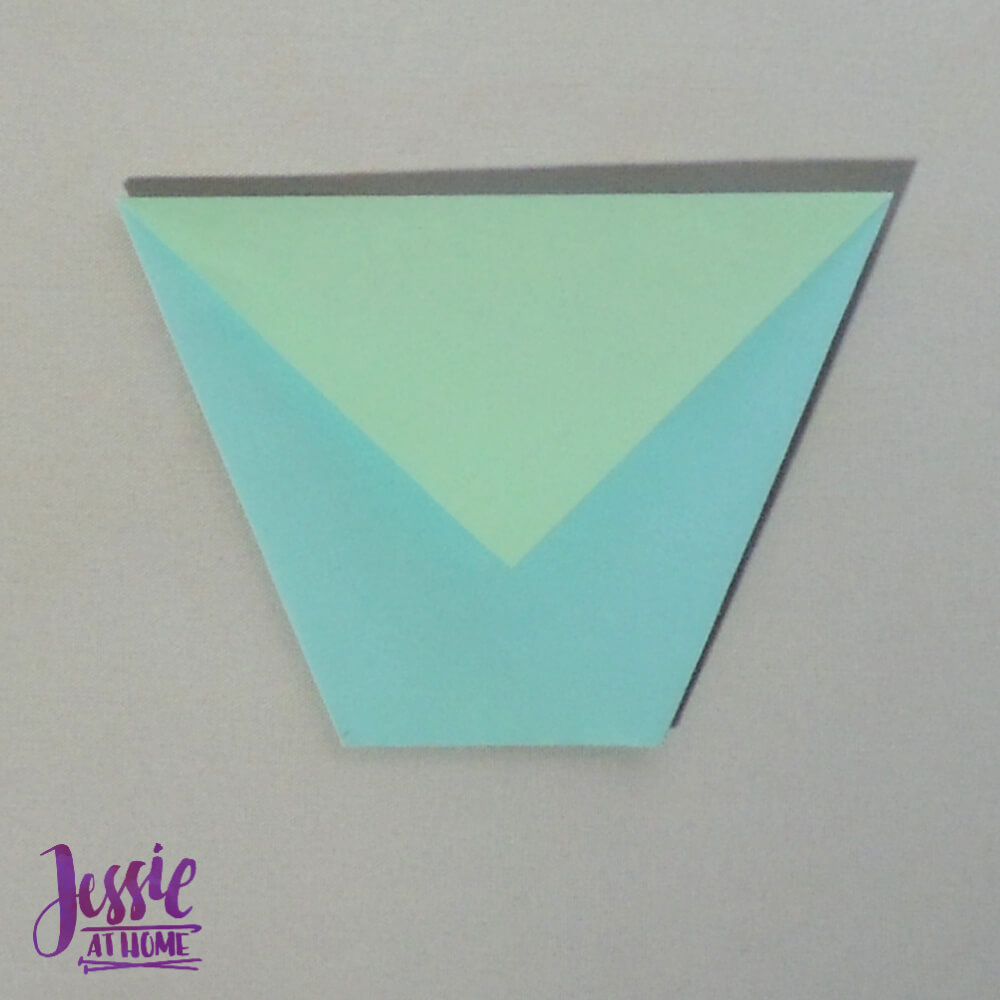
Now fold the other point up so the top edge is flush with the top edge of the previous fold,

Fold the top layer of the top flap down.
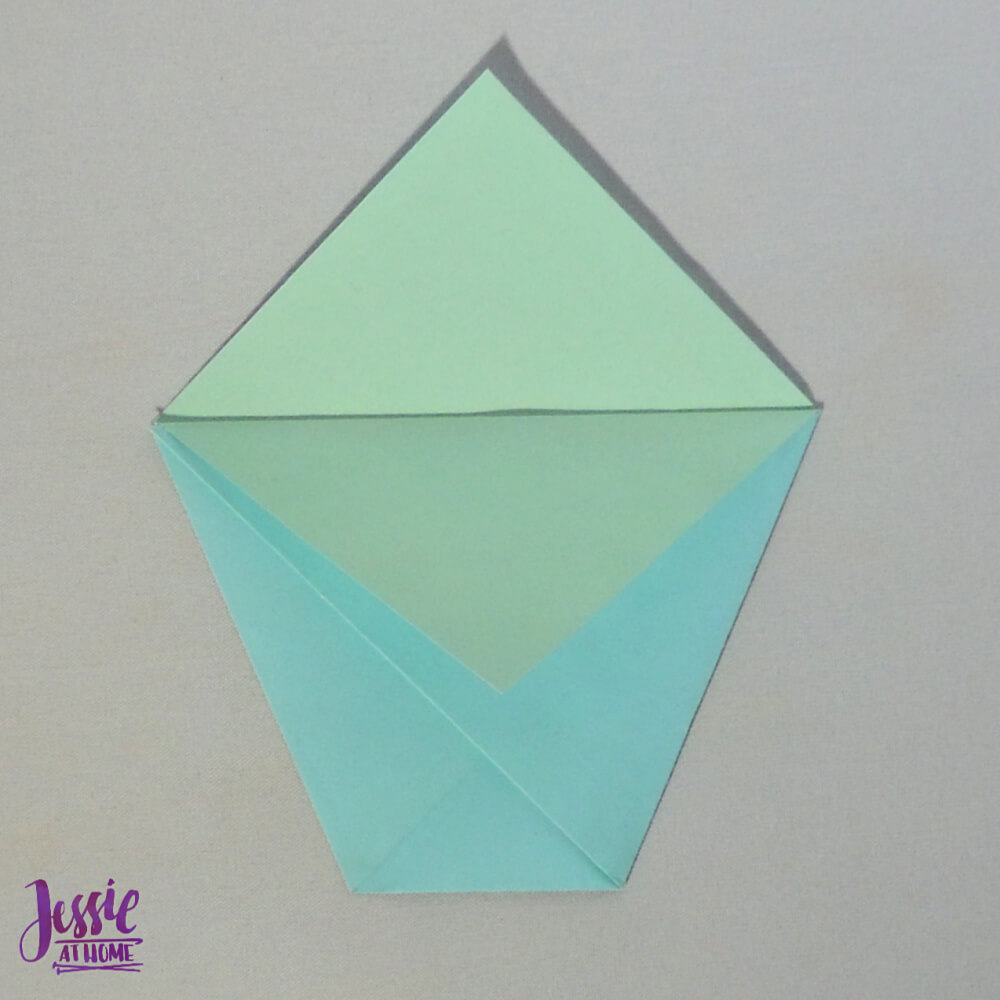
Turn over and fold the other top flap down.
Turn over again. Open up origami cup by squeezing in sides and popping out middles.

Find more Origami creations at: https://jessieathome.com/origami/
Did you enjoy what you found here at Jessie At Home? Then sign up for my newsletter and like my Facebook page, so you’ll get all the updates on new tutorials, other posts, sales, and coming events.
If you have any questions, want to share pictures of your work, or just want to chat with Jessie and other crafty individuals, than join one of our free Zoom Sit & Stitches. Find them on our Events Calendar.

© Copyright 2019 Jessie Rayot / Jessie At Home®, LLC All my videos, patterns, charts, photos and posts are my own work, so you may not copy them in any way. If you want to share this information with someone, then share the link to this post.