
Origami tulips can brighten up your day in so many ways. You can pit them on twigs or dowels to make a bouquet or give them as gifts. For outdoor parties they can be placed in bushes to add some color. You can make tiny tulips and spray them with clear varnish to make earrings! Plus, next month I will teach you how to make an origami stem and leaf to use with flowers including your origami tulip!
The finished Origami Tulip will only show one side of the paper, so the color of the paper only matters on one side.
Be sure to crease well after each fold.
Begin with the water bomb base. Find the instructions for the water bomb base HERE.

Fold both bottom points up to the center top point.
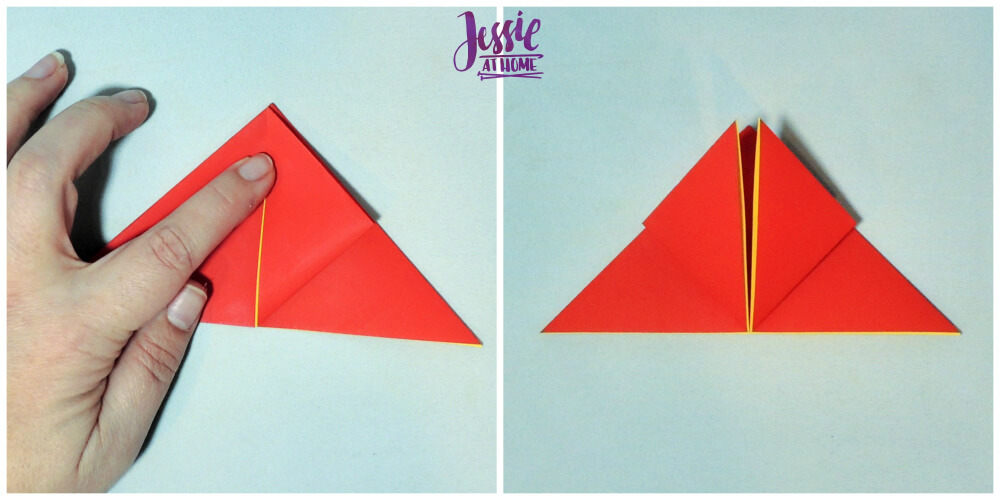
Flip over and repeat last step.
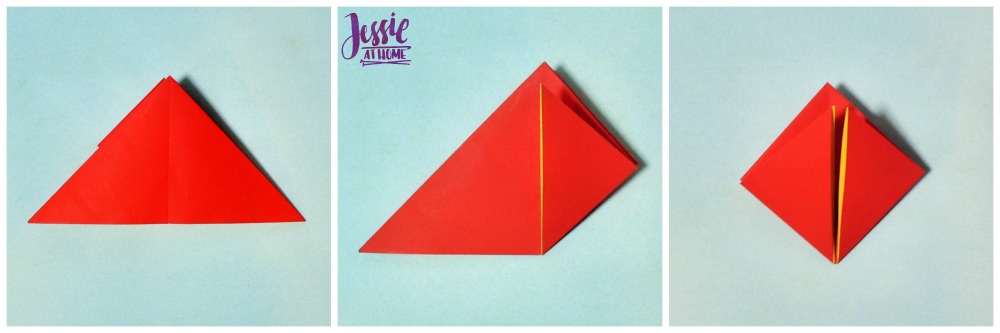
Swing left flap over to right.
Fold side flaps in towards center. Tuck one flap inside other slightly and press.
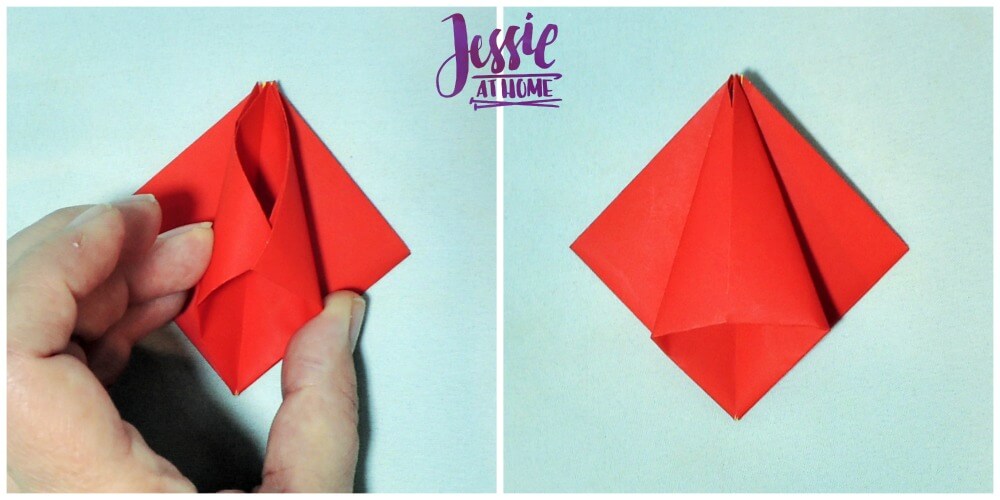
Flip over and repeat last step.
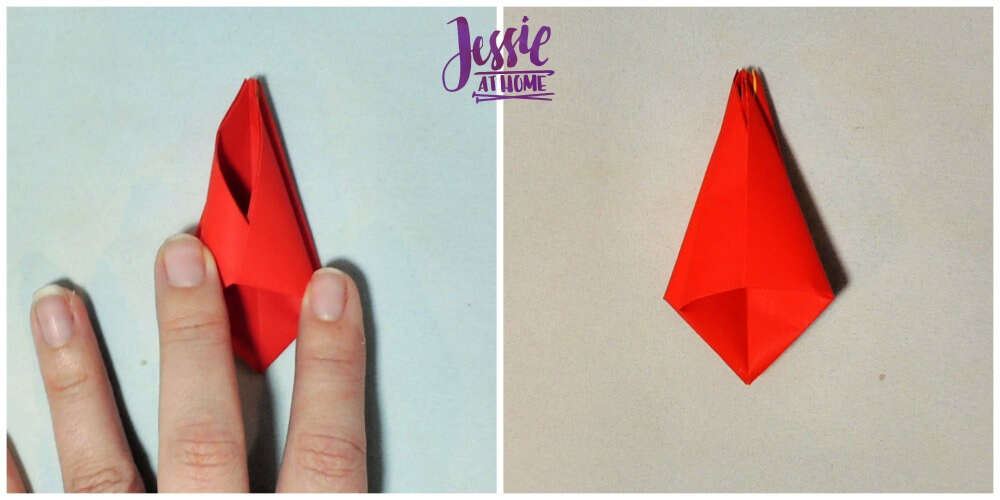
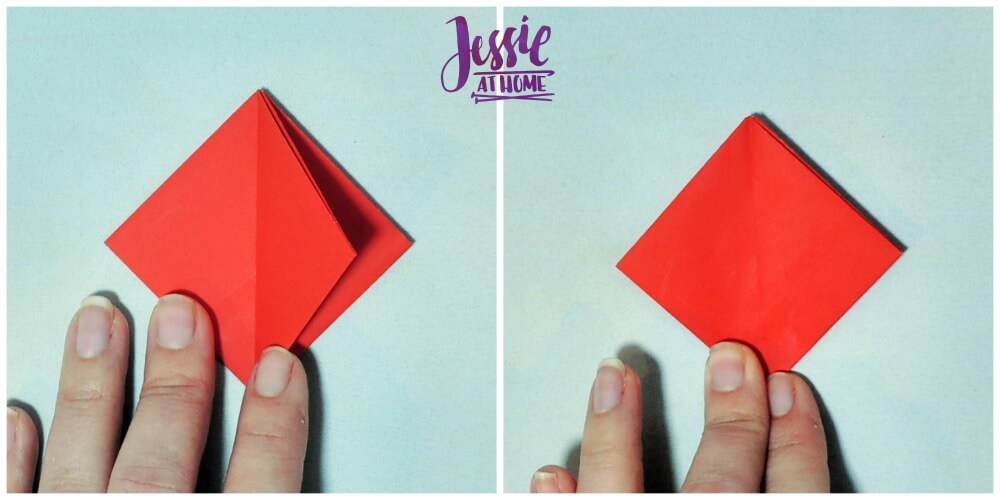
Peel back 4 petal flaps and blow into bottom hole to inflate tulip. Sometimes a little pinching and shaping needs to happen to get everything in shape.
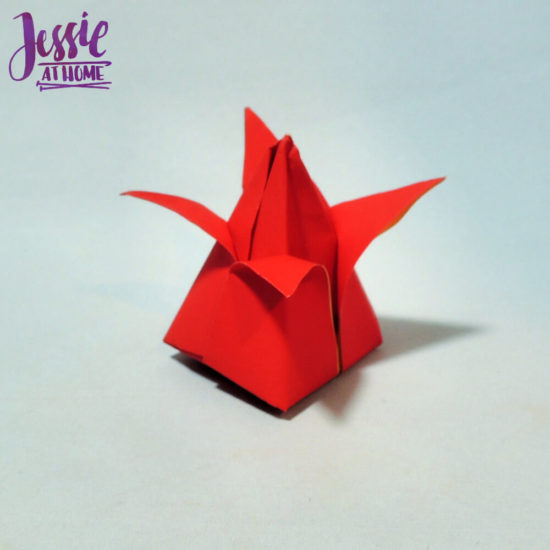
Now go fourth and cover the world in happy little origami tulips!
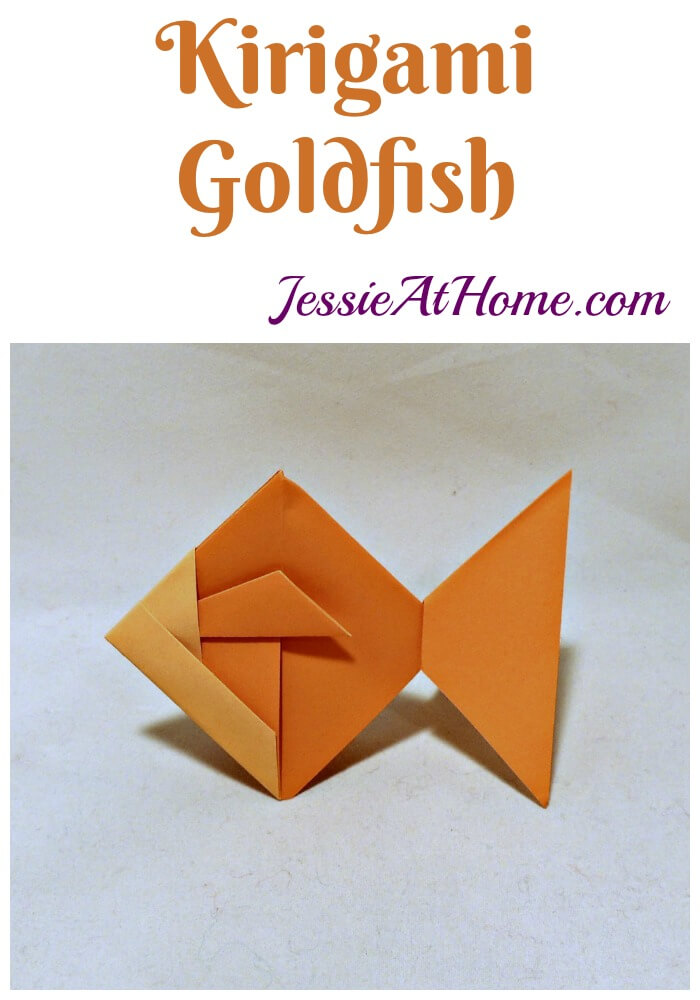
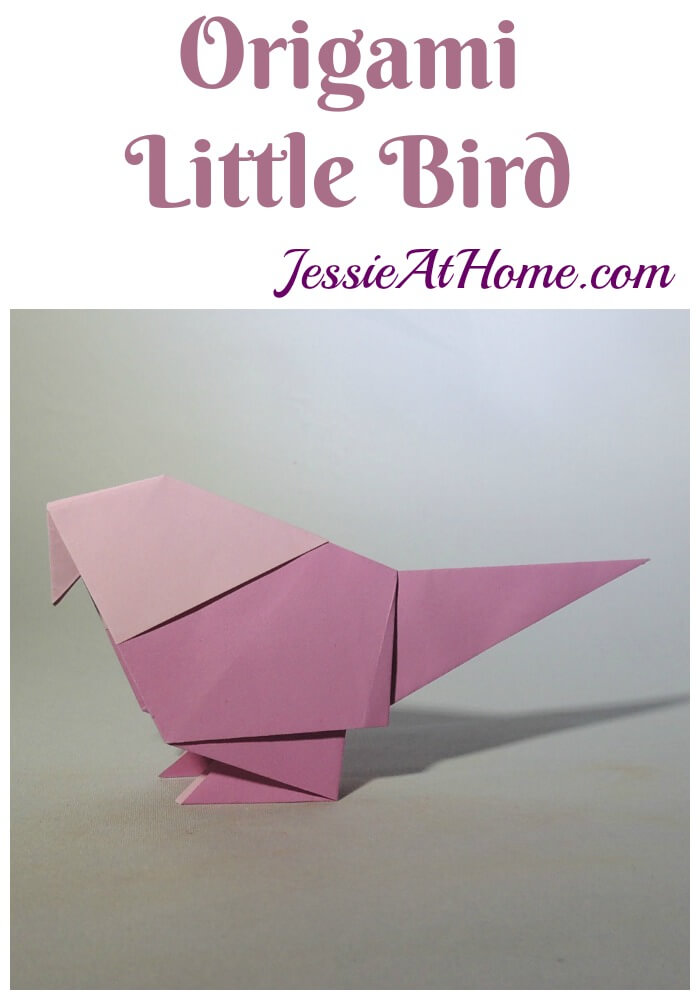
Find more Origami creations at: https://jessieathome.com/origami/
Did you enjoy what you found here at Jessie At Home? Then sign up for my newsletter and like my Facebook page, so you’ll get all the updates on new tutorials, other posts, sales, and coming events.
If you have any questions, want to share pictures of your work, or just want to chat with Jessie and other crafty individuals, than join one of our free Zoom Sit & Stitches. Find them on our Events Calendar.

© Copyright 2019 Jessie Rayot / Jessie At Home®, LLC All my videos, patterns, charts, photos and posts are my own work, so you may not copy them in any way. If you want to share this information with someone, then share the link to this post.


The tulip is pretty.
I LOVE YOUR ORIGAMI CAN YOU MAKE A DRESS FOR ME PLEASE BYE
yes really pretty but is dificult
You lost me on the last move, how do you make the flower base flat? The 2nd to the last picture the bottom is pointed, and that is where I am. This last move is kinda crucial, if you can can show us it’ll be appreciated. Thanks!
Peel back 4 petal flaps and blow into bottom hole to inflate tulip. Sometimes a little pinching and shaping needs to happen to get everything in shape.
It’s a common Origami step – maybe if you google “inflating origami” you might find a video of someone doing it? You just blow carefully into the bottom hole and shape it.