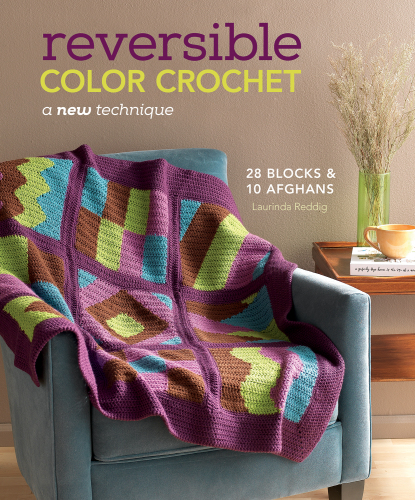
A few weeks ago, I received a copy of Laurinda Reddig’s new book: Reversible Color Crochet. I was quite excited, as I had been wanting the book since Laurinda first told me about it at the Knit and Crochet Show last October. Then I took a make and take with her at the Knit and Crochet Show this past July where we made a mini (coaster size) version of the first square in the book.
I was not disappointed! The book starts off with a section explaining how to use the book, and some wonderful tips. Laurinda explains the special stitches and reversible color changes in a very clear way, and with lots of helpful pictures. It is nice to start off feeling like she is right there, holding your hand along the way!
The patterns in the book are put in order so that if you make the first several in order, you will learn the techniques as you go. Each pattern builds on the the techniques used in the previous pattern. By the time you have finished the first 9 patterns, you will know this technique in and out, AND you will have all the squares for the blanket on the book cover!
~ I may be making this technique sound more difficult than it is. Really, there are just a few stitches and tricks to how and where to carry and switch your yarn. Laurinda uses shaped stitches and color changes at different points within the stitches to make lines, angles, and curves; all in a much smoother way than I have seen before. This is not just tapestry crochet. It is done using half double and double crochet, making the fabric created move much softer and with more drape than the traditional single crochet of tapestry crochet.

As I flipped through the book, I really enjoyed all the quilt~look patterns Laurinda has created. And I also love the way she incorporates her family and friends into her work. It was her father’s reversible knitting (Intarsia) that inspired her technique, and she has created some patterns inspired by and with various family members.
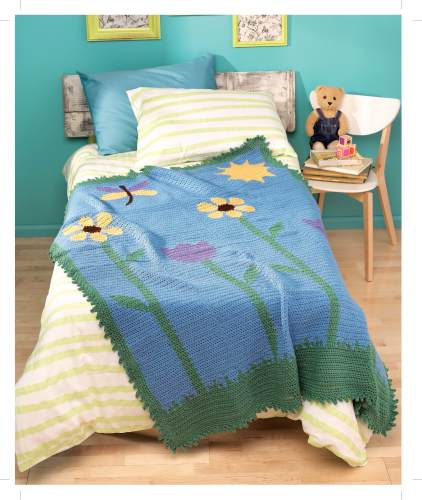
When I first opened the book, I was sitting with Vada. Pretty soon we are going to start renovating her room; it’s going to be a fairy forest. When we got to the blanket pictured below, I knew it was just what her new room would need. I asked her if she would like me to make one for her room and she just smiled, really big. So we grabbed my purse and went off to the store to buy some yarn!
A blanket is not a quick project, so I don’t have any pictures of it for you yet. However, Vada also really loved the space themed squares, so I decided to make her a pillow using the space ship on one side, and a fun little alien square from the book on the other. (Maybe the alien came to visit the fairies?) I know it is silly to make a pillow with a reversible square, as you will only see one side of the square, but, oh well! The blanket will be seen on both sides.
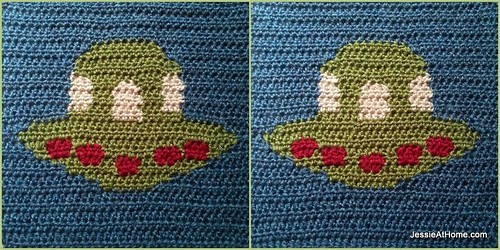
Here are both sides of the first square I have created for the pillow. You can see that it really is reversible. I did throw caution to the wind by starting with this square as my first time using this technique, other than the coaster. However, the instructions, diagrams, and charts were so clear that I was able to jump right into a square that used nearly all the techniques with very little difficulty. For the first few rows with color changes I found myself bouncing back and forth between the written pattern, the chart, and the stitch explanations at the beginning of the book. However, by the time I got to the last set of red dots I was just looking at the chart and following along with no problem.
This really is a wonderful book. Not only does it teach a very useful new technique, but it is full of patterns sure to please the entire family. I highly recommend it!!
©Copyright 2014 Jessie Rayot / Jessie At Home All my videos, patterns and posts are my own work. Do not copy them in any way. If you want to share this information with someone, share the link to this post. If you want to share on your own blog / website, then you may use the first photo in this post and link back to this post. You may not give away printed copies of this post. Thank you.
This post may contain affiliate links/ads. If you purchase something from a link in this post, I may be compensated.


What do you mean by “carrying behind” in your skylark pattern?
Where do you see that? There are 5 sts every other row where you carry the yarn under the stitches (you work the sts over the color you are not using), but I don’t recall or see anywhere where I say “carrying behind”. Could you comment on that post and point out where you see it?