Remember when my house was overrun with girl scout cookies? Well, not long after that I was doing some organizing with the girls and needed a place to store some puzzles in plastic bags. You know how sometimes the puzzle boxes get ruined, so you have to put the puzzles in a storage bag? Well, I needed a place to put all those little bags full of puzzles. (and a place to toss the random puzzle pieces that sometimes show up while cleaning)
So I took one of those Girl Scout cookie boxes, some puzzles that were too easy for the girls, some pink scrap book paper, and created storage box. Here is a tutorial so you can make your own.
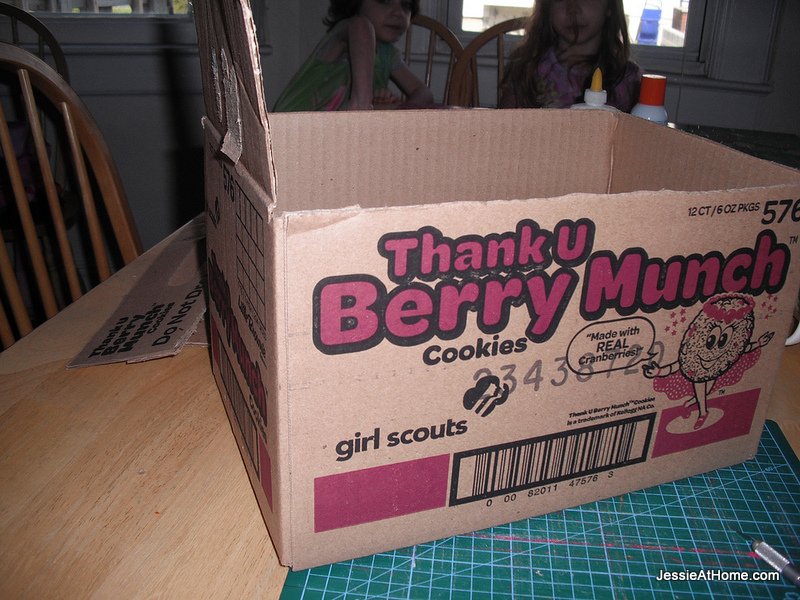
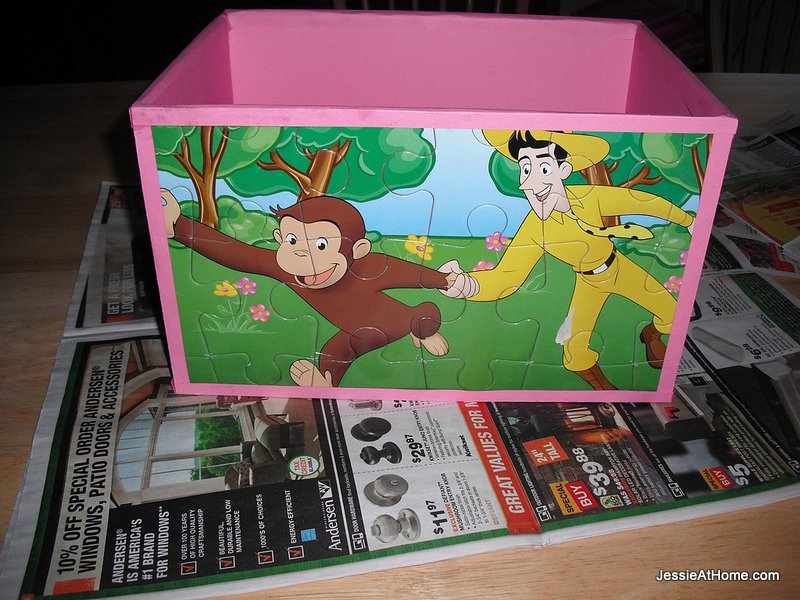
Start off with a box, and cut off the flaps on top. Basically, you want the bottom, and the four sides. Try to make sure all four sides are the same height.
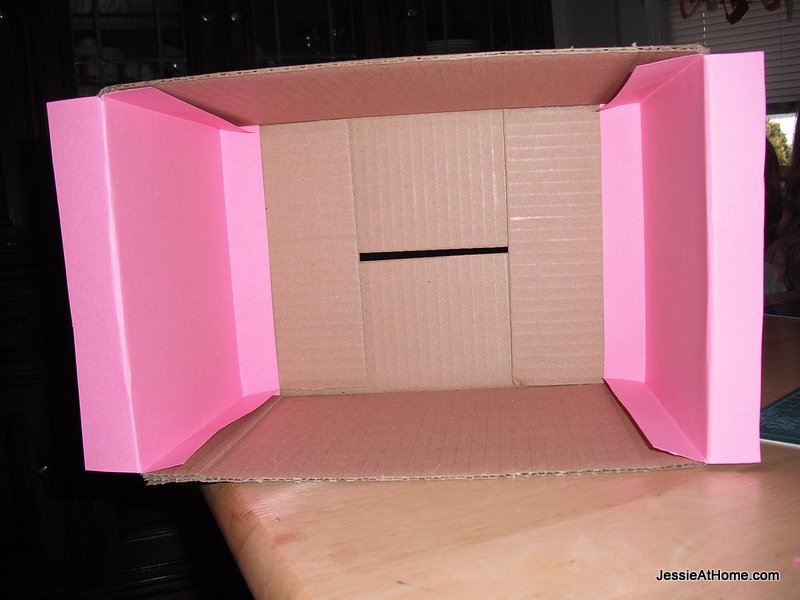
Now, line the inside with paper. I did the two sides first, leaving little flaps of the top and bottom and sides. Then I put on the other two sides, leaving the flaps at the top and the bottom only, and then I put in the bottom. I used to spray glue to attach everything. When I use spray glue I have lots of newspaper. Every time I spray something, I add another layer of paper so that the next item I spray doesn’t stick to the paper.
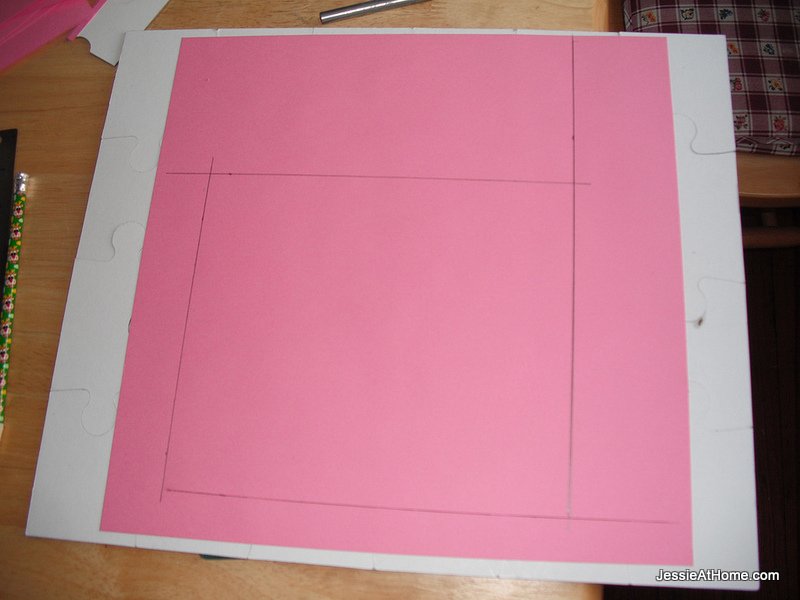
Now for the puzzles. You need to get them upside down. You can make them on a board, and then flip it over. I made the puzzles right side up, and then I just flipped them over one piece at a time. Once you have them upside down, it is time to glue them together. I drew a rectangle the size that I needed onto a piece of the scrap book paper. Then I glued it to the back of the puzzle, making sure to line it up so the part of the puzzle I wanted to see was inside the square. This was a bit tricky, I measured the size I needed to cover the side of the box, then found a section of puzzle that size. I then measured how far down and in from one side the rectangle needed to be, so that when I flipped the puzzle, I could still line up everything correctly. If you come up with a better way, have at it! *if you are using larger puzzles with smaller pieces, you could make them on a board, coat them with diluted white glue (half glue, half water) or Mod Podge, and then flip it once it is dry, this might help a bit*
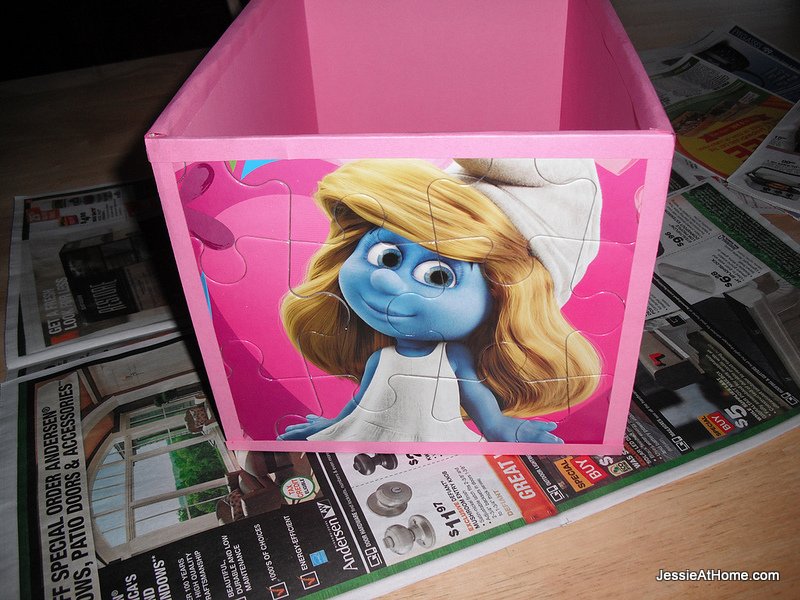
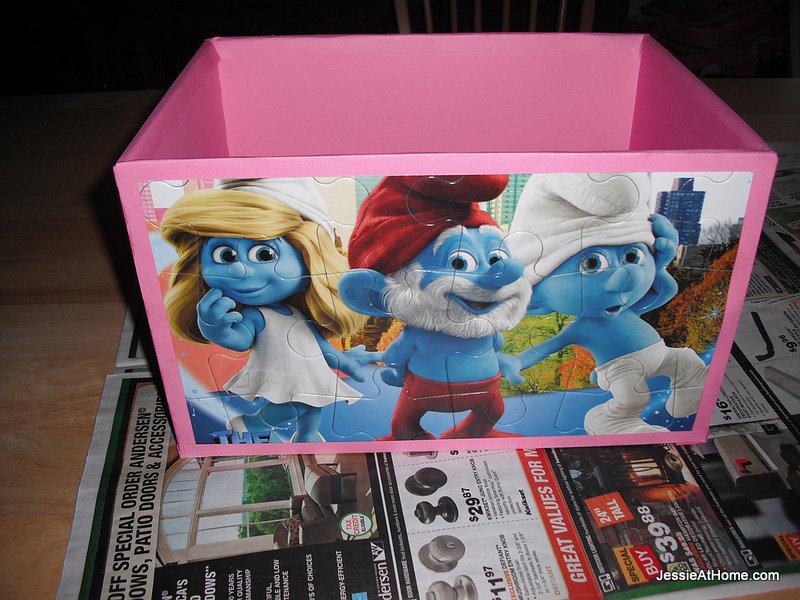
Now that your puzzle is glued together and has a backing, cut out the rectangle you need to cover one side of the box. I used a sharp Xacto knife on a cutting board. Spray on some glue and attach. Repeat for all sides.
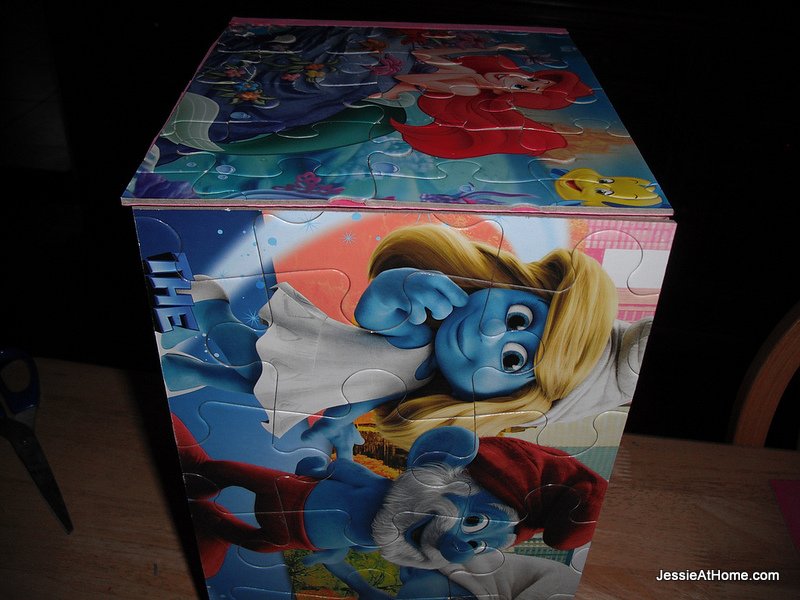
At this point, I wasn’t too happy, the box wasn’t perfectly proportioned. It looked messy at the edges. It was just a bit off.
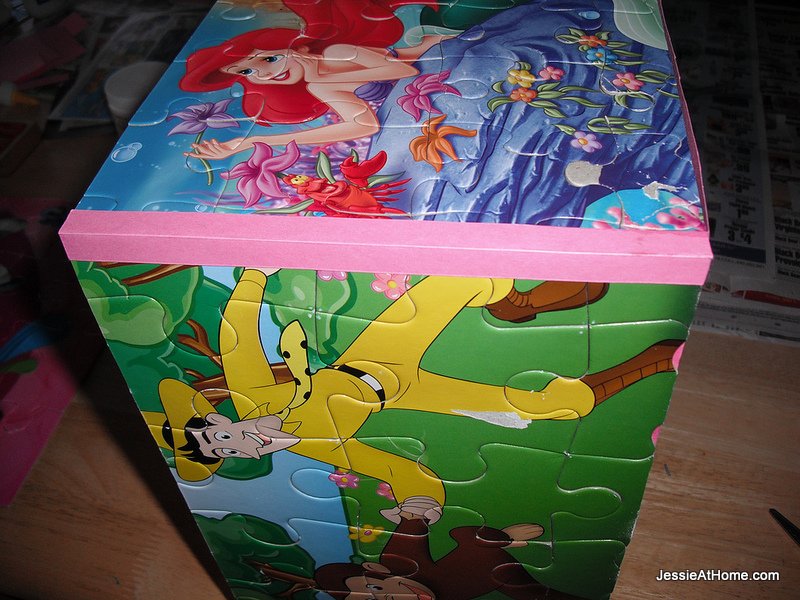
So, I cut a bunch of 3/4″ strips from the scrap book paper. I gave them nice, crisp folds down the center and glued them over all the edges. This is also a good time to glue on any pieces that may have fallen off. I just used Elmer’s glue for those repairs.
Putting the strips on the top edges was a bit more tricky, as they have to be folded twice, and the inside is smaller then the outside. I did all the folding and clipping of the inside bits first, then added the glue. It wasn’t perfect, but it certainly looked much better then before! It also covered up where tiny edges of puzzle pieces were missing.
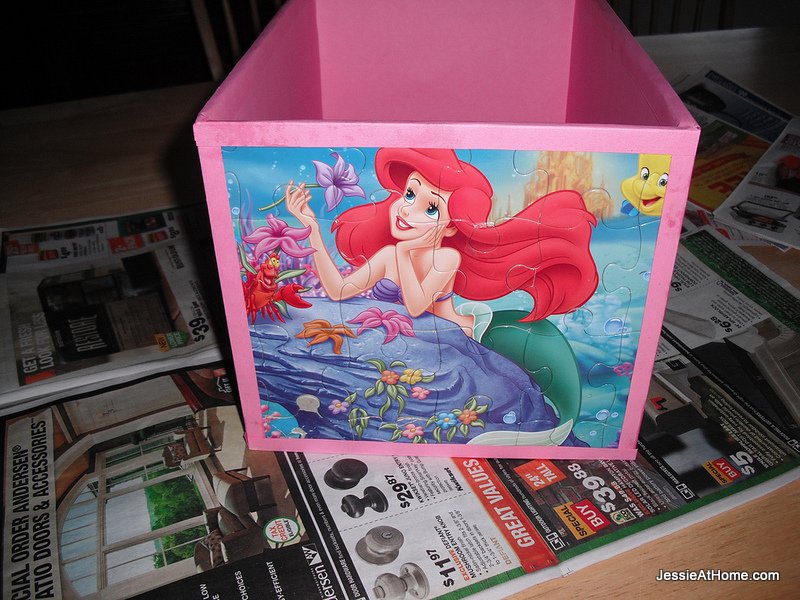
Once it was all done, I coated it with two layers of half and half Elmer’s glue and water ~ or you can use Mod Podge. Just let it dry between layers.
The girls love their puzzle storage box. I love it too! It looks nice and keeps things so much neater. Plus it is a great way to use the puzzles the kids don’t want to toss, but are just way too easy for them!

©Copyright 2013 Jessie Rayot / Jessie At Home All my videos, patterns and posts are my own work. Do not copy them in any way. If you want to share this information with someone, share the link to this post. If you want to share on your own blog / website, then you may use the first photo in this post and link back to this post. You may not give away printed copies of this post. Thank you.


