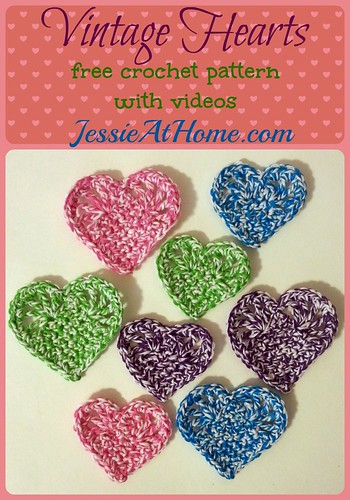
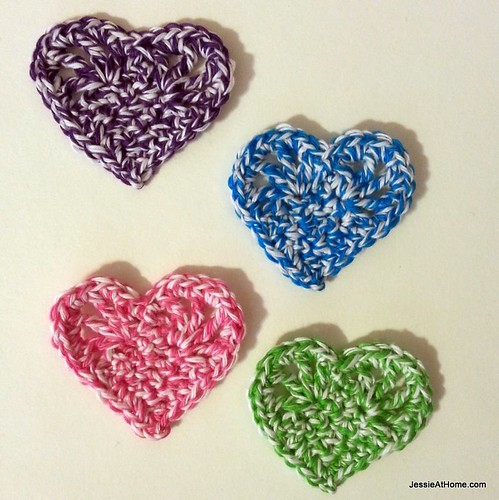
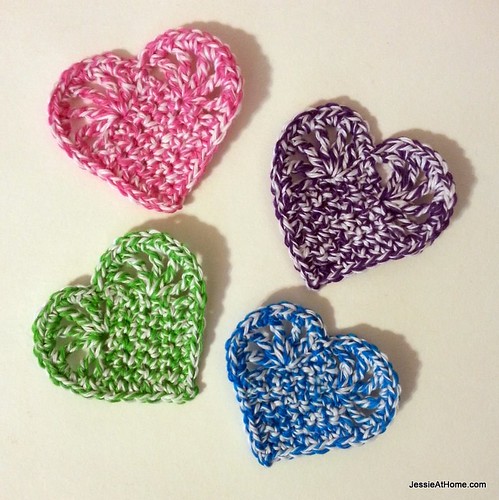
These sweet little hearts remind me of those vintage illustrations. Between the open stitches on the tops, and the stranded colors of the Red Heart Baker’s Cotton, I just find them quite appealing. There are two sizes for you to choose from, or you can make them both! The pattern includes written instructions, step by step photos, and a video of each heart.
Vintage Hearts
Crochet Pattern
Easy Skill Level
Designed by Jessie Rayot
Size:
Small heart is about 2 1/4″ across and 2″ tall, large heart is about 2 3/4″ across and 2 1/2″ tall, though the size can easily be changed by using a different size yarn and/or hook
Yarn:
Aunt Lydia’s Baker’s Cotton
Hook:
US 4/E/3.5mm
Gauge:
Not really important
Stitches and Skills used:
ch ~ chain
sl st ~ slip stitch
sc ~ single crochet
dc ~ double crochet
tr ~ treble crochet
st(s) ~ stitch(es)
Getting Started:
At the end of each row, the stitch count for the row is in {brackets}. This is to help you check your work, it is not additional instructions.
The single crochet rows do not have a starting chain. You simply make the first sc in the indicated st.
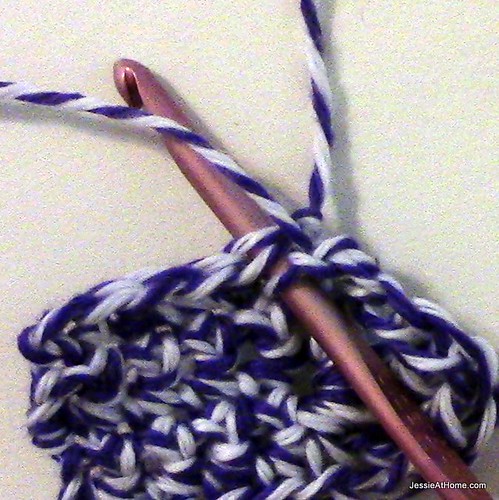
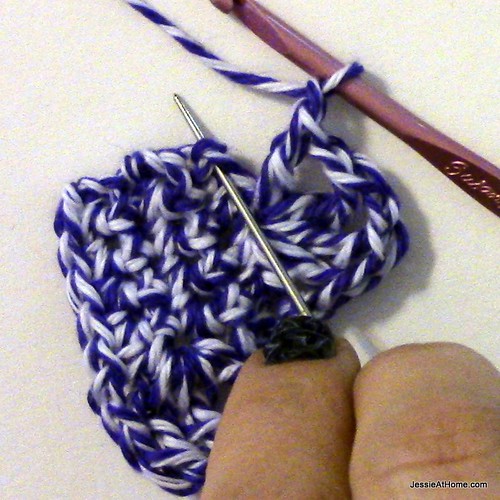
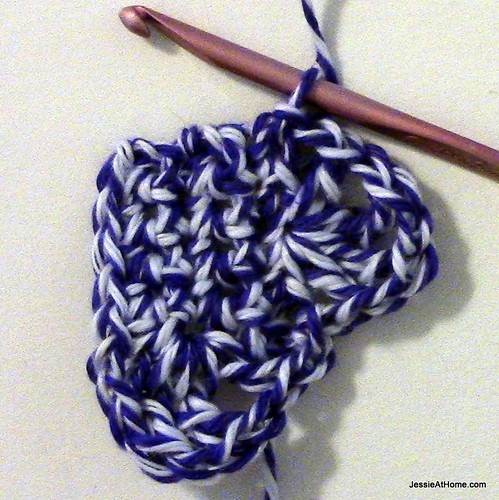
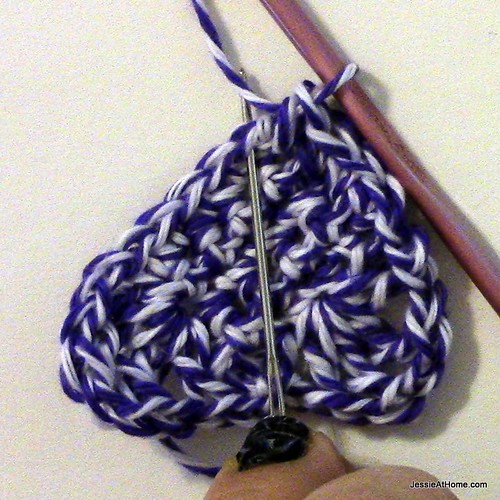
Please note that the photos do not show every step, they are just there to guide along with the written pattern.
Pattern:
Small Heart:
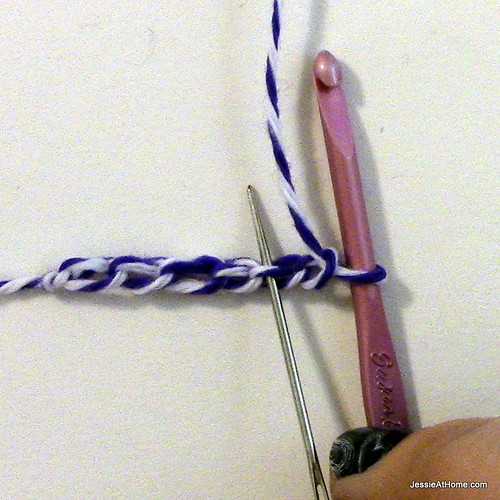
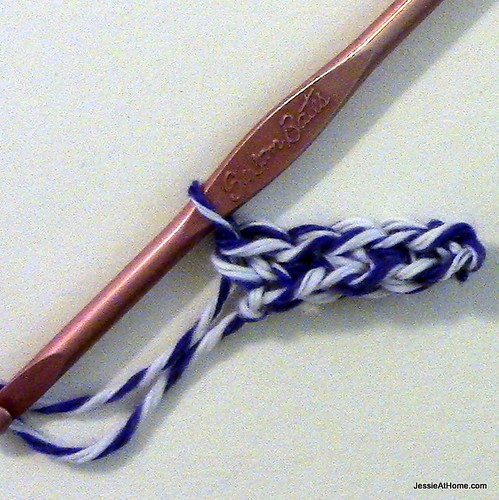
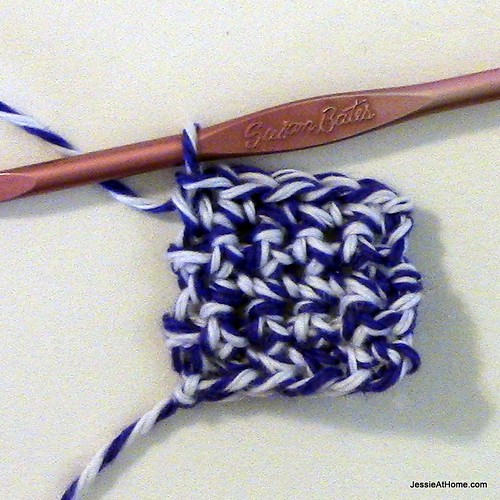
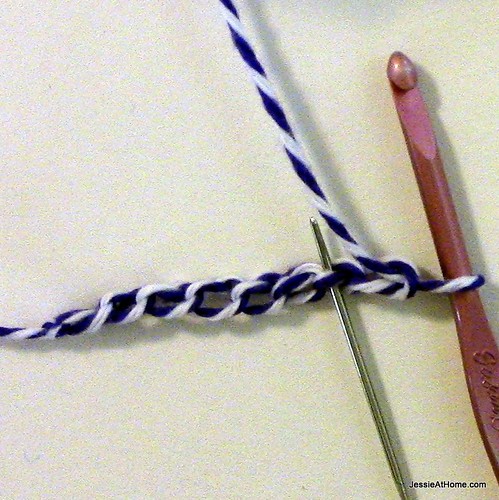
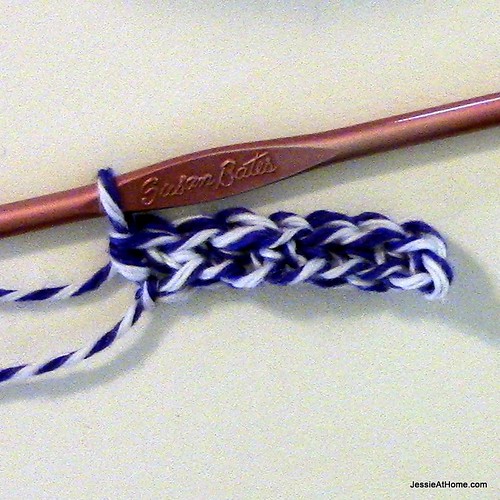
Row 1: Ch 6, sc in 2nd ch from hook and each remaining ch. {5 sc}
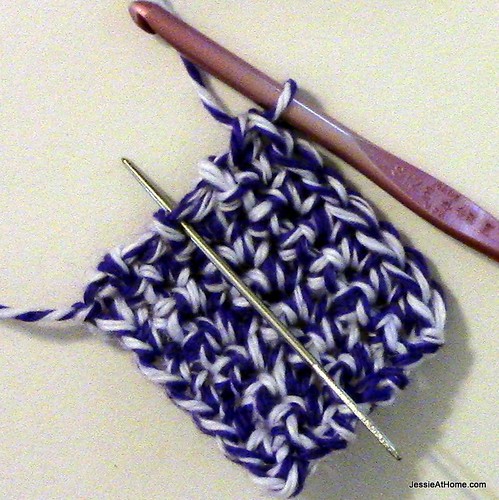
Row 2 ~ 5: Turn, sc in each st across. {5 sc}
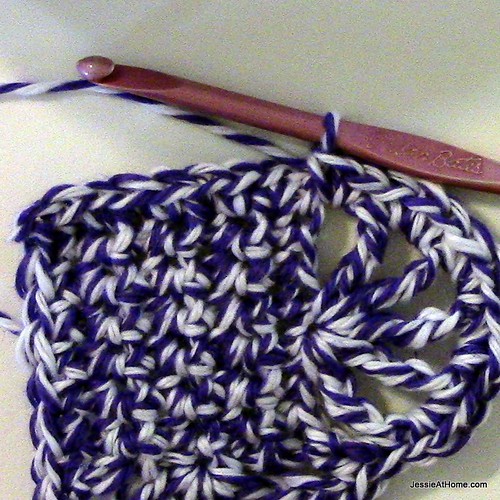
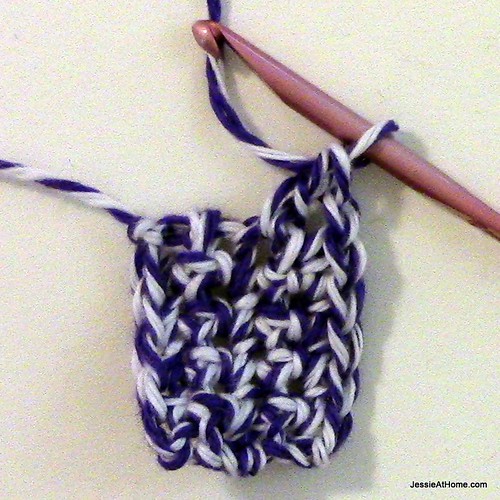
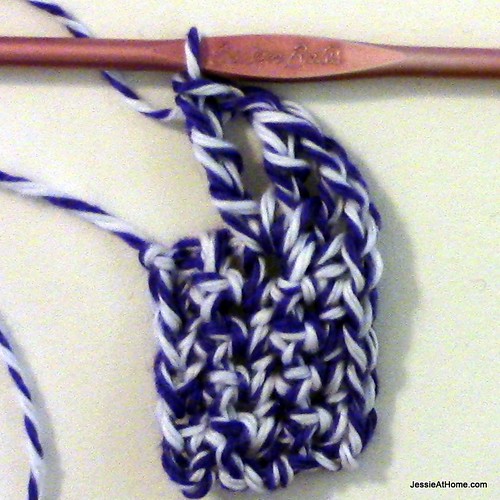
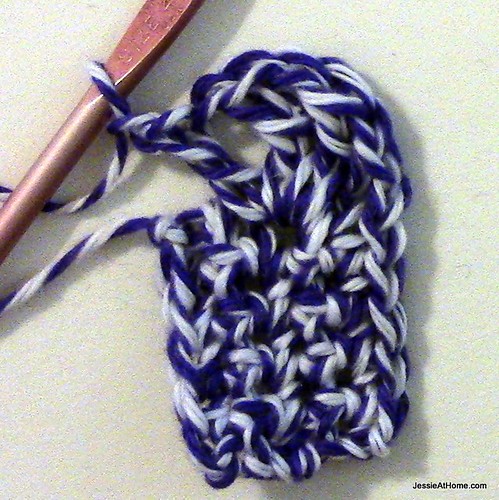
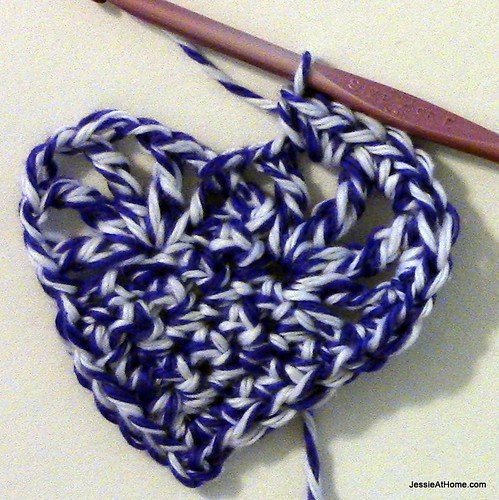
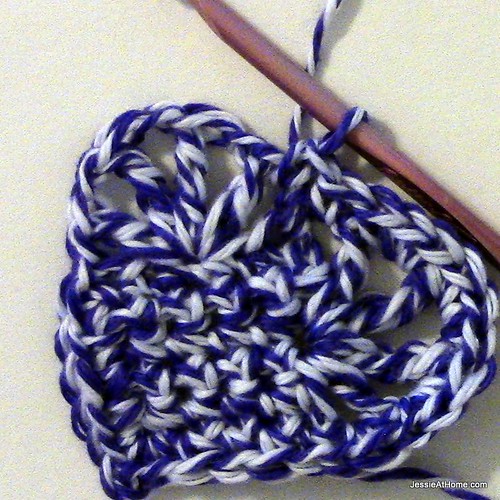
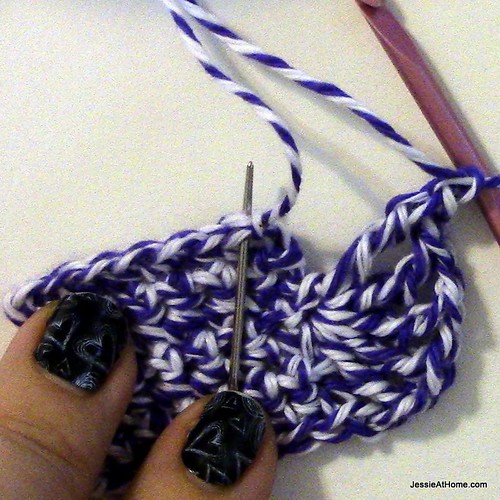
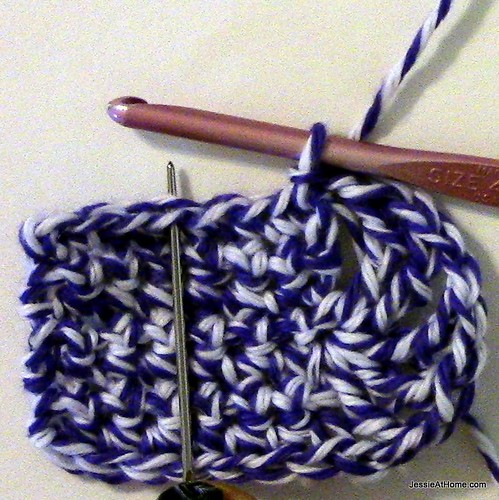
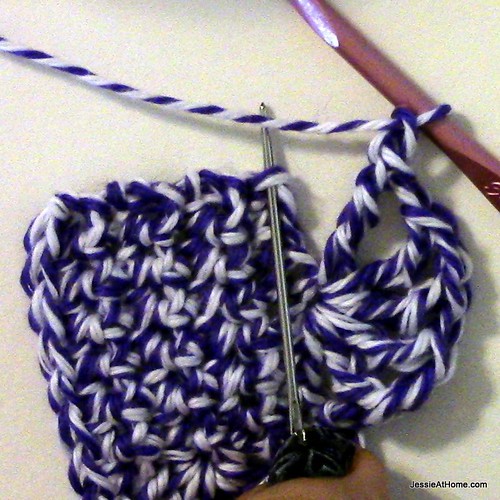
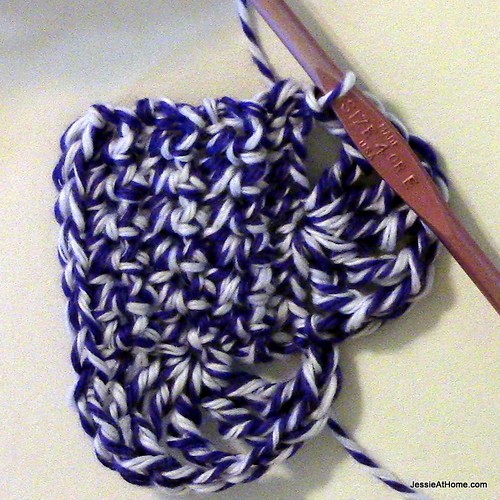
Row 6: Do not turn, rotate your piece 1/4 turn to the right so that you can work in the side of the piece, ch 1, (dc, ch 1, tr, ch 1, tr, ch 1, dc) all in the side of the 3rd (middle) row, ch 1, sl st in the corner, rotate your piece 1/4 turn to the right so that you can work in the bottom of the piece, ch 1, (dc, ch 1, tr, ch 1, tr, ch 1, dc) all in the 3rd (middle) st, ch 1, sl st in the corner. {2 “bumps” made}
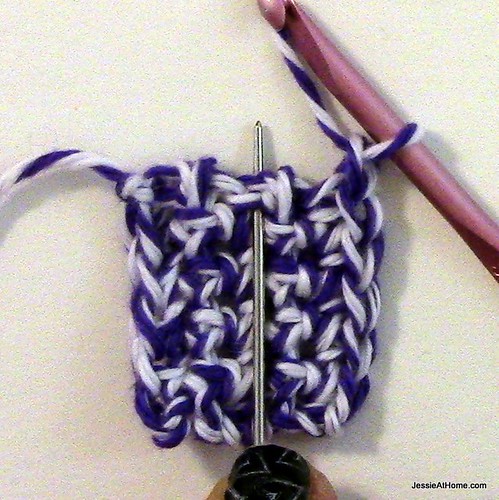
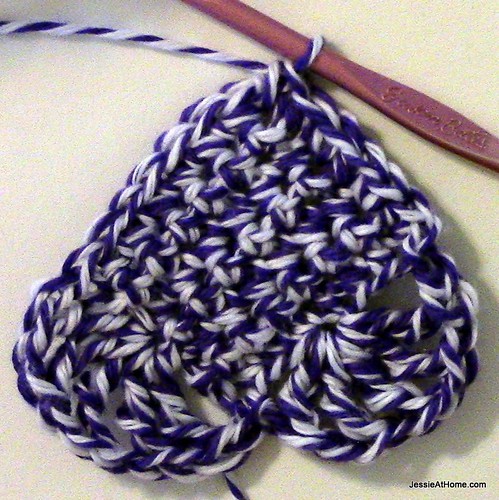
Border: The border is worked as a round, starting where row 6 ended without turning. Ch 1, sc in the sides of each of the next 4 sc, (sc, ch 2, sc) in the corner, sc in each of the next 4 sts, 2 sc in the next ch~1, 3 sc in each of the next 3 ch~1, sc in each of the next 2 ch~1, 3 sc in each of the next 3 ch~1, 2 sc in the next ch~1, sl st to the top of the first sc to end the round. {34 sc, 2 ch}
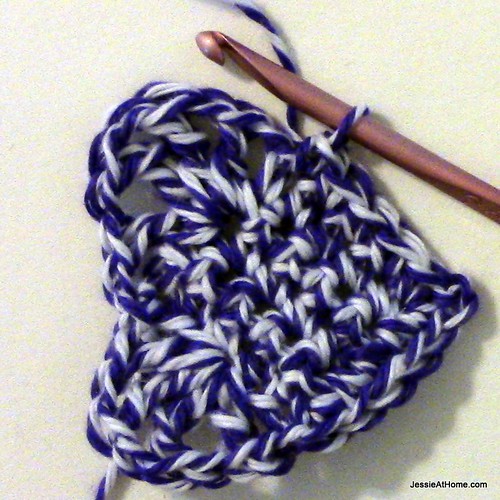
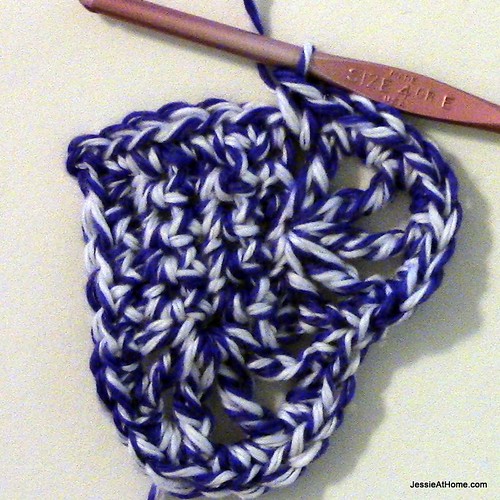
Weave in all ends and enjoy!
Large Heart:
Row 1: Ch 8, sc in 2nd ch from hook and each remaining ch. {7 sc}
Row 2 ~ 7: Turn, sc in each st across. {7 sc}
Row 8: Do not turn, rotate your piece 1/4 turn to the right so that you can work in the side of the piece, ch 1, [tr, (ch 1, tr) 4 times] all in the side of the 4th (middle) row, ch 1, sl st in the corner, rotate your piece 1/4 turn to the right so that you can work in the bottom of the piece, ch 1, [tr, (ch 1, tr) 4 times] all in the 4th (middle) st, ch 1, sl st in the corner. {2 “bumps” made}
Border: The border is worked as a round, starting where row 8 ended without turning. Ch 1, sc in the sides of each of the next 6 sc, (sc, ch 2, sc) in the corner, sc in each of the next 6 sts, 2 sc in the next ch~1, 3 sc in each of the next 4 ch~1, sc in each of the next 2 ch~1, 3 sc in each of the next 4 ch~1, 2 sc in the next ch~1, sl st to the top of the first sc to end the round. {44 sc, 2 ch}
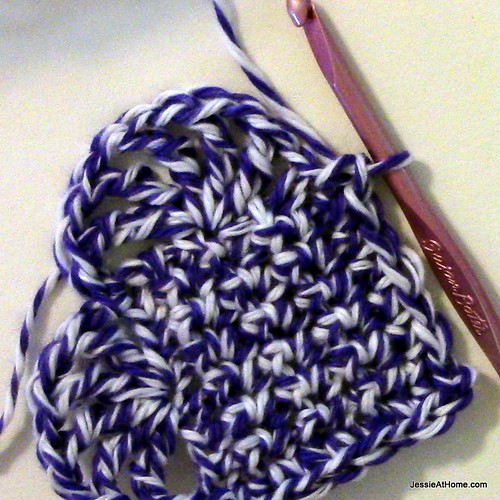
Weave in all ends and enjoy!
Did you enjoy what you found here at Jessie At Home? Then sign up for my newsletter and like my Facebook page, so you’ll get all the updates on new tutorials, other posts, sales, and coming events.
If you have any questions, want to share pictures of your work, or just want to chat with Jessie and other crafty individuals, than join my Facebook group.

© Copyright 2015 Jessie Rayot / Jessie At Home LLC All my videos, patterns, charts, photos and posts are my own work, so you may not copy them in any way. If you want to share this information with someone, then share the link to this post. If you want to share on your own blog / website, then you may use the first photo in this post and link back to this post. Also, you may not give away printed copies of this post.







PLease put in your pattern that one needs to chain one then turn.
You don’t need to ch 1, but you can if you want.