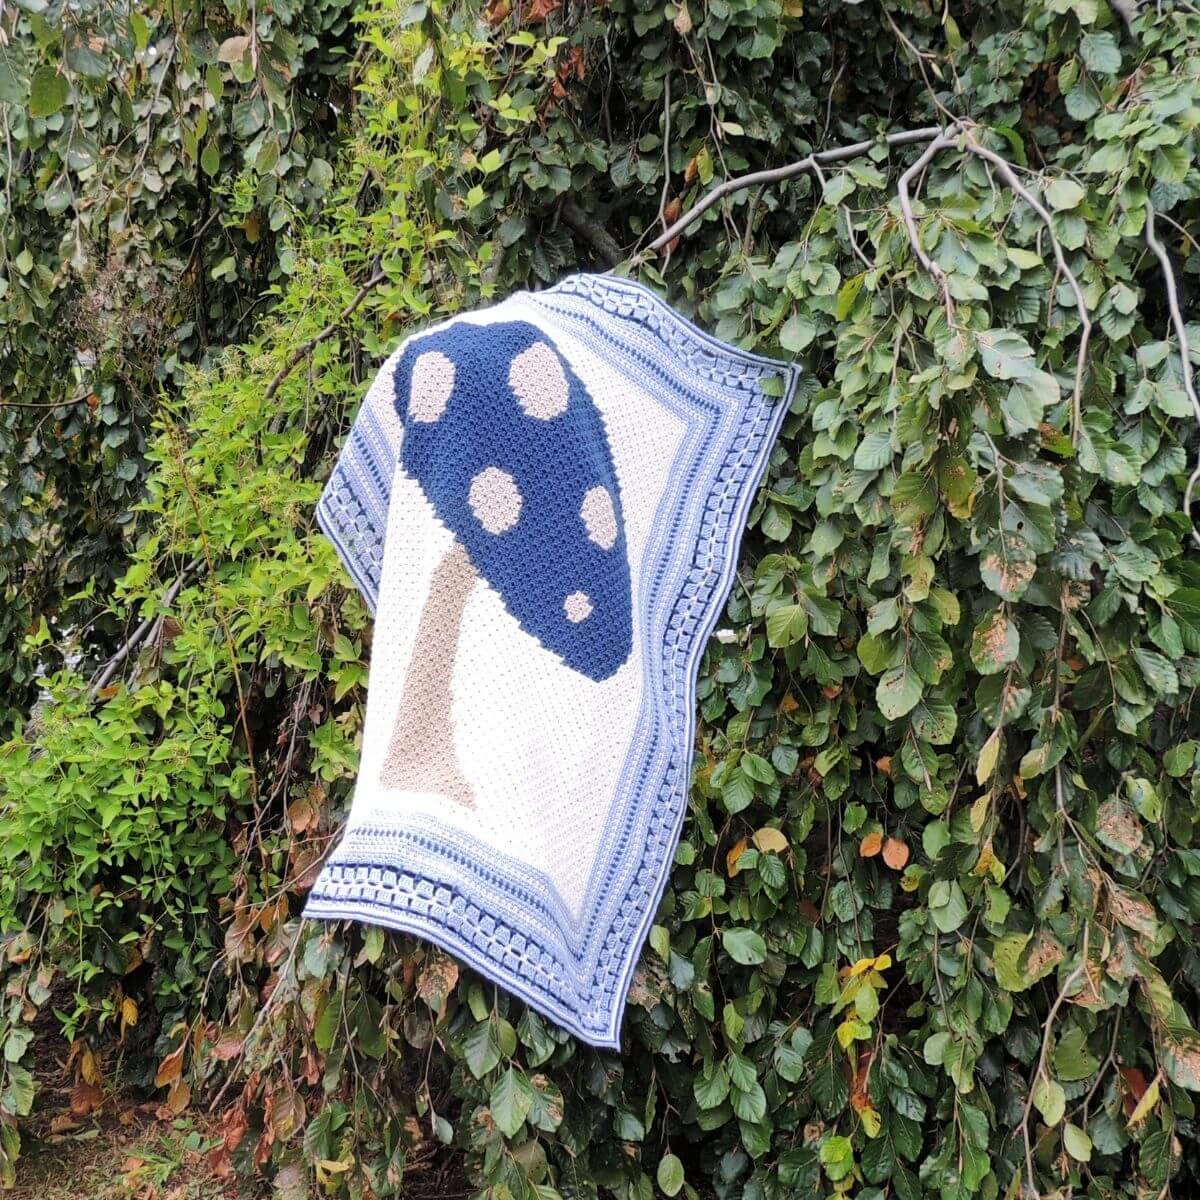
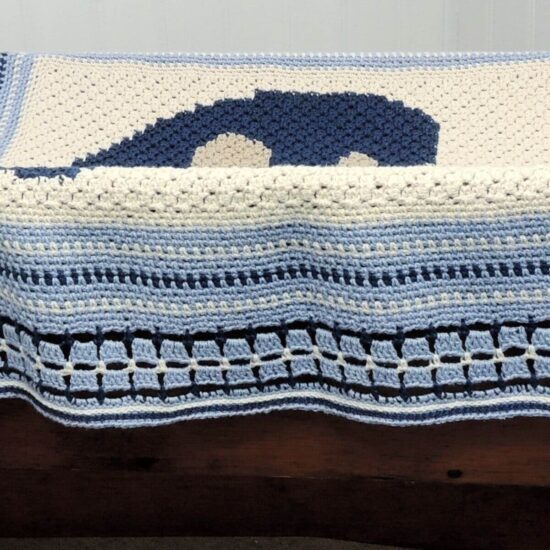
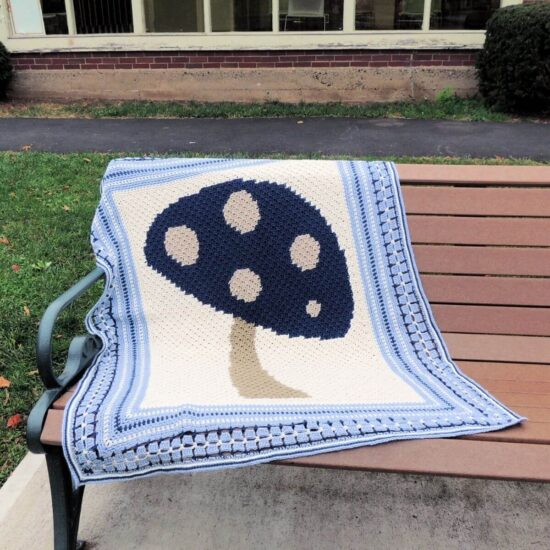
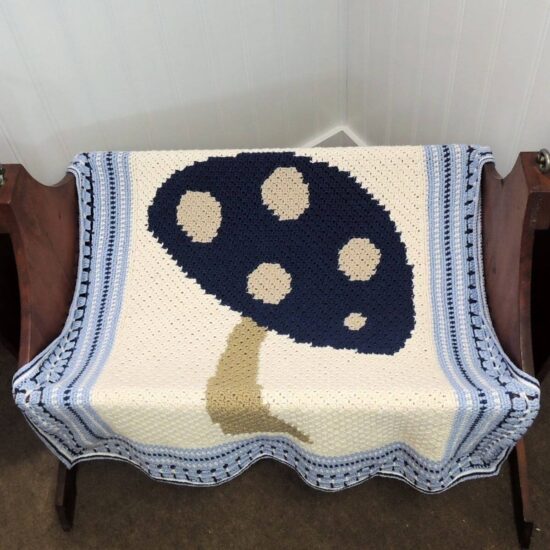
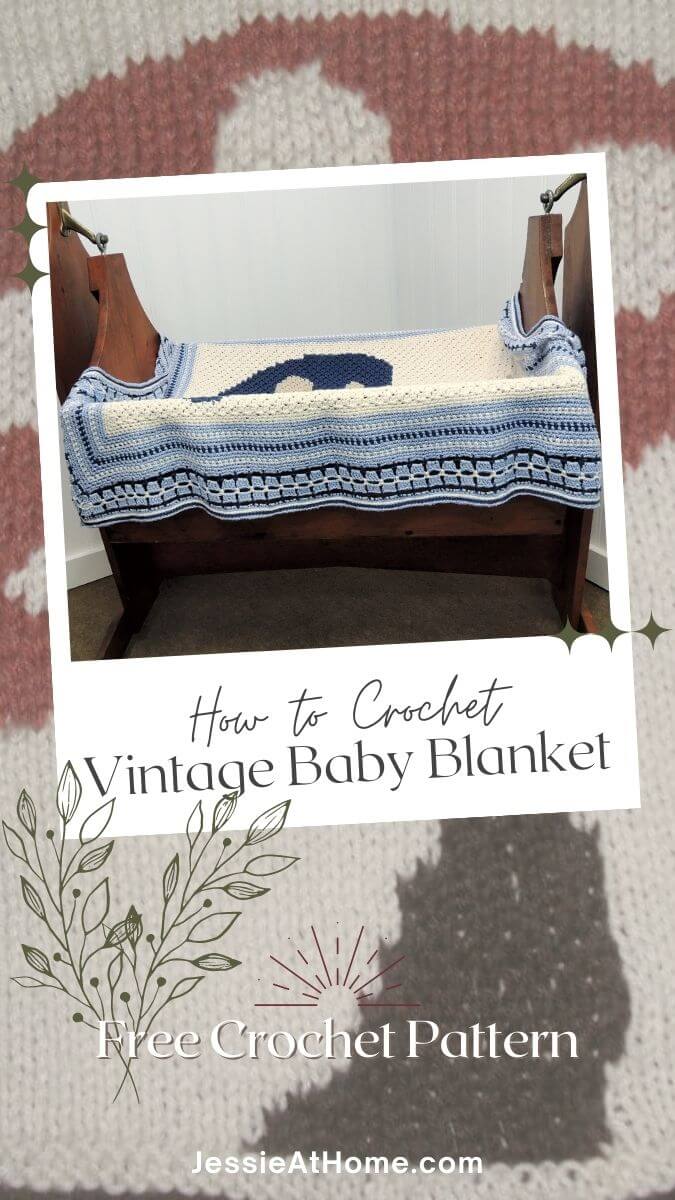
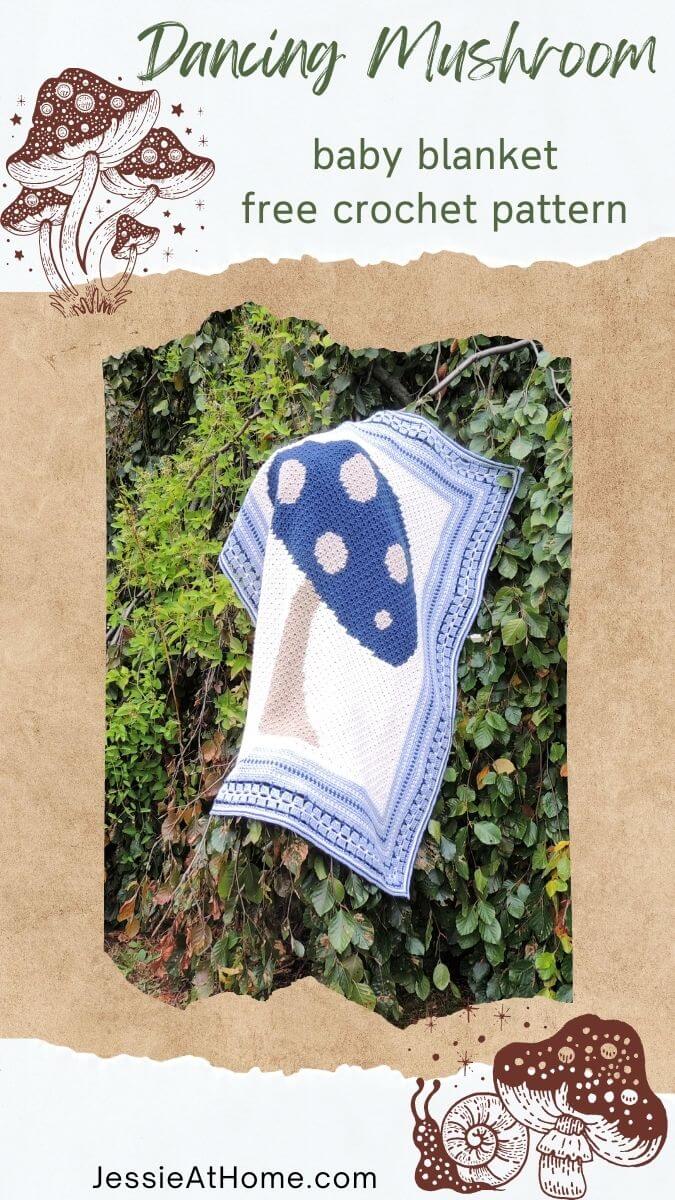
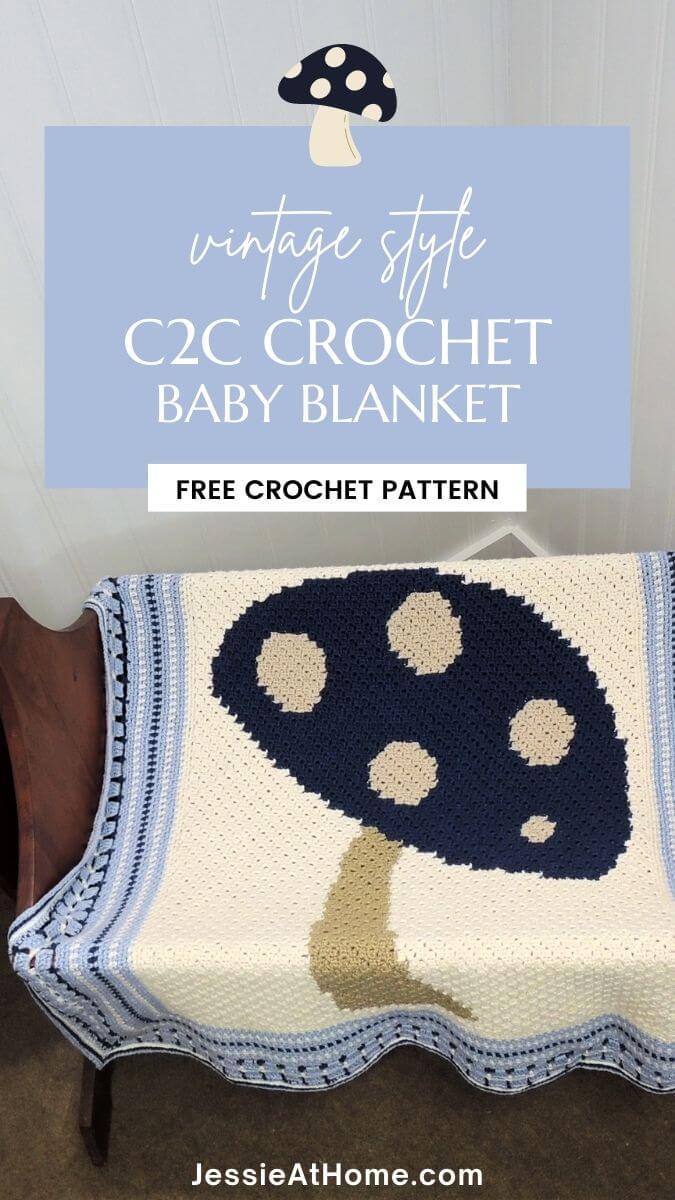
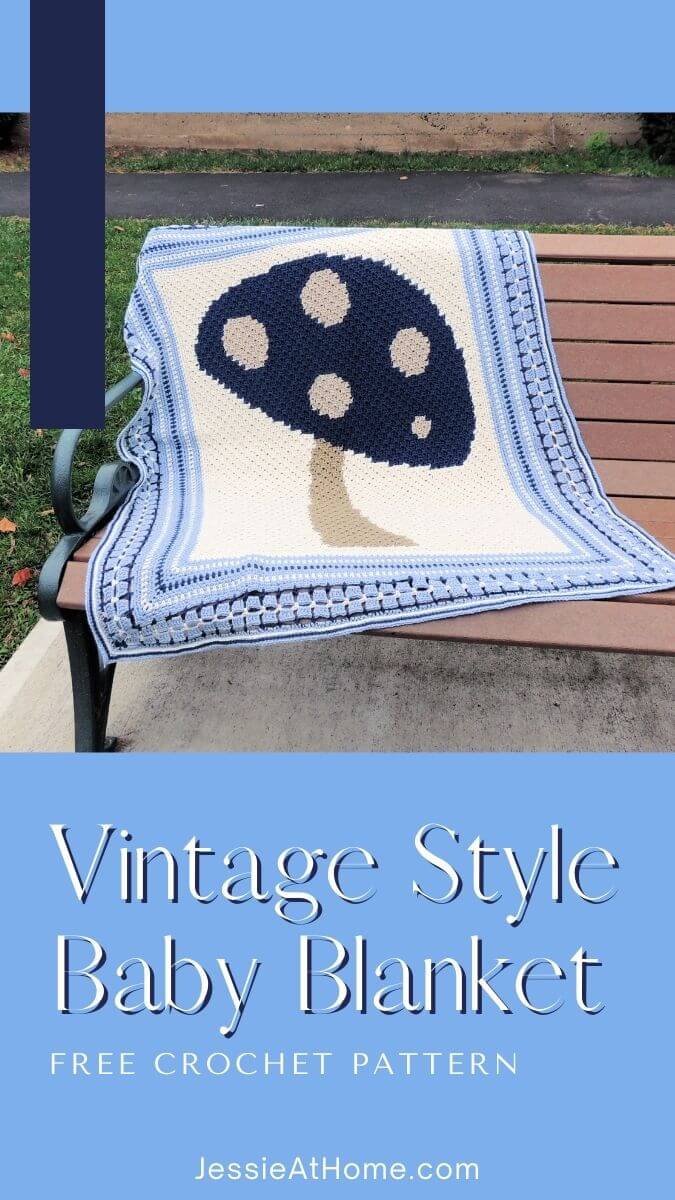
Vintage style crochet patterns just make me happy. I designed this Dancing Mushroom chart years ago, and I finally found the perfect yarn to turn it into a sweet little blanket. The center image panel is surrounded by a thick border in several different stitch patterns which add to the style of this family heirloom to-be.
The yarn for this design was provided by King Cole. All opinions are my own
This vintage-style crochet afghan is the perfect piece for your baby decor needs! This cozy blanket features a playful dancing mushroom pattern that will bring joy to any room. The unique free crochet pattern starts with a corner to corner center design and finishes with a beautiful thick border. The classic style and warm tones of this timeless design make this beautiful afghan the perfect shower gift or addition to your nursery.
Table of contents
This beautiful and unique vintage style crochet afghan pattern will make an eye-catching addition to your nursery decor. The Dancing Mushroom blanket captures whimsical delight with its distinctive design featuring cool colors, textured stitches, and a playful mushroom motif. Make this classic baby blanket and it’s sure to be treasured for a lifetime.
Dancing Mushroom Blanket
A Vintage Style Crochet Pattern
Intermediate Skill Level
Designed by Jessie Rayot
Size
34″ x 43″
Yarn
King Cole Finesse: Size 3 (DK weight), 77% cotton / 23% silk, 50 g / 131 yds
Cream 2811: Color A – Background – 5 skeins (250 g / 655 yds)
Moss 2821: Color B – Stem – 1 skein (30 g / 80 yds)
Navy 2820: Color C – Mushroom – 3 skeins (150 g / 390 yds)
Stone 2818: Color D – Spots – 1 skein (25 g / 65 yds)
Soft Blue 2815: Color E – Border – 5 skeins (250 g / 655 yds)
Crochet Hook
Gauge
Learn about gauge HERE
10 boxes x 10 boxes= 4” [10 cm] in hdc c2c box st
Other Supplies
Stitches and Abbreviations
click on highlighted sts for tutorials
ch – chain
dc – double crochet
hdc – half double crochet
sc – single crochet
sl st – slip stitch
sp(s) – space(s)
st(s) – stitch(es)
Get the Ad-Free Printable PDF at These Sites
Pattern Notes
- Read through all instructions before beginning.
- To learn the hdc c2c box st, see this post: https://jessieathome.com/half-double-crochet-c2c/
- The c2c section of this pattern is written in 3 sections. Each diagonal row lists the number of boxes and what color each box should be. The final box count is written at the end of the row if it has changed from the previous row.
- The graph for the c2c section of this pattern is in the PDF available from the links above.
- Odd rows list the boxes from Top Left to Bottom Right on the graph.
- Even rows list the boxes from Bottom Right to Top Left on the graph.
Special Stitches
Surface crochet: Hold yarn behind work, insert hook from front to back in desired st, yo, pull loop through, *insert hook in next desired st, yo, pull through st and loop on hook; repeat from * to end of surface crochet section.
Dancing Mushroom Blanket Pattern
Double Increase c2c Section
Row 1: 1A. – {1 box}
Row 2: 2A. – {2 boxes}
Row 3: 3A. – {3 boxes}
Row 4: 4A. – {4 boxes}
Row 5: 5A. – {5 boxes}
Row 6: 6A. – {6 boxes}
Row 7: 7A. – {7 boxes}
Row 8: 8A. – {8 boxes}
Row 9: 9A. – {9 boxes}
Row 10: 10A. – {10 boxes}
Row 11: 11A. – {11 boxes}
Row 12: 12A. – {12 boxes}
Row 13: 13A. – {13 boxes}
Row 14: 14A. – {14 boxes}
Row 15: 15A. – {15 boxes}
Row 16: 16A. – {16 boxes}
Row 17: 17A. – {17 boxes}
Row 18: 18A. – {18 boxes}
Row 19: 19A. – {19 boxes}
Row 20: 20A. – {20 boxes}
Row 21: 21A. – {21 boxes}
Row 22: 22A. – {22 boxes}
Row 23: 23A. – {23 boxes}
Row 24: 2A, 1B, 21A. – {24 boxes}
Row 25: 22A, 1B, 2A. – {25 boxes}
Row 26: 2A, 2B, 22A. – {26 boxes}
Row 27: 22A, 3B, 2A. – {27 boxes}
Row 28: 2A, 3B, 23A. – {28 boxes}
Row 29: 23A, 4B, 2A. – {29 boxes}
Row 30: 2A, 4B, 24A. – {30 boxes}
Row 31: 24A, 5B, 2A. – {31 boxes}
Row 32: 2A, 5B, 25A. – {32 boxes}
Row 33: 25A, 6B, 2A. – {33 boxes}
Row 34: 2A, 6B, 26A. – {34 boxes}
Row 35: 26A, 7B, 2A. – {35 boxes}
Row 36: 2A, 8B, 19A, 3C, 4A. – {36 boxes}
Row 37: 3A, 5C, 19A, 8B, 2A. – {37 boxes}
Row 38: 2A, 9B, 18A, 7C, 2A. – {38 boxes}
Row 39: 2A, 8C, 17A, 9B, 3A. – {39 boxes}
Row 40: 3A, 9B, 17A, 9C, 2A. – {40 boxes}
Row 41: 2A, 10C, 16A, 9B, 4A. – {41 boxes}
Row 42: 5A, 9B, 15A, 11C, 2A. – {42 boxes}
Row 43: 2A, 11C, 15A, 9B, 6A. – {43 boxes}
Row 44: 7A, 8B, 15A, 12C, 2A. – {44 boxes}
Row 45: 2A, 13C, 14A, 8B, 8A. – {45 boxes}
Row 46: 8A, 9B, 13A, 14C, 2A. – {46 boxes}
Row 47: 2A, 15C, 12A, 9B, 9A. – {47 boxes}
Row 48: 10A, 9B, 12A, 4C, 2D, 9C, 2A. – {48 boxes}
Row 49: 2A, 9C, 3A, 4C, 12A, 8B, 11A. – {49 boxes}
Row 50: 12A, 8B, 11A, 5C, 2D, 10C, 2A. – {50 boxes}
Row 51: 2A, 10C, 3A, 5C, 10A, 8B, 13A. – {51 boxes}
Row 52: 14A, 8B, 9A, 6C, 2D, 10C, 3A. – {52 boxes}
Row 53: 3A, 18C, 9A, 8B, 15A. – {53 boxes}
Row 54: 16A, 8B, 8A, 19C, 3A. – {54 boxes}
Row 55: 3A, 20C, 7A, 8B, 17A. – {55 boxes}
Straight c2c Section
Odd rows start with a decrease and end with an increase. Even rows start with an increase and end with a decrease.
Row 1 (Dec – Inc): 17A, 8B, 6A, 21C, 3A. – {55 boxes}
Row 2 (Inc – Dec): 4A, 5C, 2D, 13C, 6A, 8B, 17A.
Row 3: 17A, 8B, 5A, 13C, 4D, 4C, 4A.
Row 4: 4A, 4C, 5D, 12C, 5A, 7B, 18A.
Row 5: 18A, 7B, 4A, 12C, 6D, 3C, 5A.
Row 6: 5A, 4C, 5D, 13C, 3A, 7B, 18A.
Row 7: 18A, 8B, 2A, 12C, 6D, 4C, 5A.
Row 8: 6A, 4C, 5D, 13C, 1A, 8B, 18A.
Row 9: 18A, 8B, 13C, 6D, 4C, 6A.
Row 10: 6A, 5C, 5D, 13C, 8B, 18A.
Row 11: 19A, 6B, 14C, 4D, 5C, 7A.
Row 12: 7A, 6C, 3D, 15C, 5B, 19A.
Row 13: 19A, 5B, 23C, 8A.
Row 14: 8A, 17C, 3D, 4C, 4B, 19A.
Row 15: 20A, 3B, 3C, 4D, 16C, 9A.
Row 16: 9A, 16C, 5D, 3C, 1B, 10A.
Row 17: 21A, 4C, 5D, 15C, 10A.
Double Decrease c2c Section
Row 1: 9A, 16C, 5D, 3C, 21A. – {54 boxes}
Row 2: 20A, 3C, 6D, 15C, 9A. – {53 boxes}
Row 3: 8A, 16C, 5D, 4C, 19A. – {52 boxes}
Row 4: 19A, 3C, 6D, 15C, 8A. – {51 boxes}
Row 5: 7A, 16C, 5D, 4C, 18A. – {50 boxes}
Row 6: 17A, 5C, 4D, 16C, 7A. – {49 boxes}
Row 7: 6A, 17C, 3D, 5C, 17A. – {48 boxes}
Row 8: 16A, 25D, 6A. – {47 boxes}
Row 9: 6A, 6C, 3D, 15C, 16A. – {46 boxes}
Row 10: 15A, 15C, 4D, 6C, 5A. – {45 boxes}
Row 11: 5A, 5C, 5D, 15C, 14A. – {44 boxes}
Row 12: 14A, 14C, 6D, 4C, 5A. – {43 boxes}
Row 13: 4A, 4C, 6D, 15C, 13A. – {42 boxes}
Row 14: 13A, 14C, 6D, 4C, 4A. – {41 boxes}
Row 15: 4A, 3C, 6D, 15C, 12A. – {40 boxes}
Row 16: 12A, 14C, 7D, 2C, 4A. – {39 boxes}
Row 17: 3A, 3C, 6D, 15C, 11A. – {38 boxes}
Row 18: 10A, 15C, 7D, 2C, 3A. – {37 boxes}
Row 19: 3A, 2C, 6D, 15C, 10A. – {36 boxes}
Row 20: 9A, 16C, 5D, 2C, 3A. – {35 boxes}
Row 21: 2A, 3C, 4D, 9C, 2D, 5C, 9A. – {34 boxes}
Row 22: 8A, 5C, 4D, 14C, 2A. – {33 boxes}
Row 23: 2A, 13C, 5D, 4C, 8A. – {32 boxes}
Row 24: 7A, 4C, 6D, 12C, 2A. – {31 boxes}
Row 25: 2A, 11C, 6D, 4C, 7A. – {30 boxes}
Row 26: 6A, 4C, 7D, 10C, 2A. – {29 boxes}
Row 27: 2A, 10C, 6D, 4C, 6A. – {28 boxes}
Row 28: 5A, 4C, 7D, 9C, 2A. – {27 boxes}
Row 29: 2A, 9C, 6D, 4C, 5A. – {26 boxes}
Row 30: 4A, 4C, 7D, 8C, 2A. – {25 boxes}
Row 31: 2A, 8C, 6D, 4C, 4A. – {24 boxes}
Row 32: 3A, 5C, 5D, 7C, 3A. – {23 boxes}
Row 33: 3A, 7C, 4D, 5C, 3A. – {22 boxes}
Row 34: 2A, 7C, 2D, 7C, 3A. – {21 boxes}
Row 35: 3A, 15C, 2A. – {20 boxes}
Row 36: 2A, 14C, 3A. – {19 boxes}
Row 37: 4A, 12C, 2A. – {18 boxes}
Row 38: 2A, 11C, 4A. – {17 boxes}
Row 39: 5A, 8C, 3A. – {16 boxes}
Row 40: 4A, 5C, 6A. – {15 boxes}
Row 41: 14A. – {14 boxes}
Row 42: 13A. – {13 boxes}
Row 43: 12A. – {12 boxes}
Row 44: 11A. – {11 boxes}
Row 45: 10A. – {10 boxes}
Row 46: 9A. – {9 boxes}
Row 47: 8A. – {8 boxes}
Row 48: 7A. – {7 boxes}
Row 49: 6A. – {6 boxes}
Row 50: 5A. – {5 boxes}
Row 51: 4A. – {4 boxes}
Row 52: 3A. – {3 boxes}
Row 53: 2A. – {2 boxes}
Row 54: 1A. – {1 box}
Final c2c section is 72 boxes x 55 boxes.
Border
Choose which side of the c2c section you would like to be the right (front) side, and then work all rounds as right side.
Rnd 1: With front side facing, attach Color A to bottom right corner, *(sc, ch 2, sc) in corner, ch 1, sc, in edge of first box, ch 1, [sc in edge of next box, ch 1] 7 times, **sc between previous box and next box, ch 1, [sc in edge of next box, ch 1] 8 times; repeat from ** to corner; repeat from * 3 more times, sl st to top of first sc to join, sl st into ch-2 corner. – {64 sc on top and bottom, 82 sc on sides}
Rnds 2 & 3: Ch 1, *(sc, ch 2, sc) in ch-2 corner, ch 1, (sc, ch 1) in each ch-1 to corner; repeat from * 3 more times, sl st to top of first sc to join, sl st into ch-2 corner. – {65 sc on top and bottom, 83 sc on sides after Rnd 3}
Rnds 4-6: With Color E, repeat Rnd 2. – {68 sc on top and bottom, 86 sc on sides after Rnd 6}
Rnd 7: With Color A, repeat Rnd 2. – {69 sc on top and bottom, 87 sc on sides}
Fasten off Color A.
Rnds 8-10: With Color E, repeat Rnd 2. – {72 sc on top and bottom, 90 sc on sides after Rnd 10}
Rnd 11: With Color C, repeat Rnd 2. – {73 sc on top and bottom, 91 sc on sides}
Fasten off Color C.
Rnds 12-14: With Color E, repeat Rnd 2. – {76 sc on top and bottom, 94 sc on sides after Rnd 14}
Rnd 15: With Color A, repeat Rnd 2. – {77 sc on top and bottom, 95 sc on sides}
Fasten off Color A.
Rnds 16-18: With Color E, repeat Rnd 2. – {80 sc on top and bottom, 98 sc on sides after Rnd 18}
Rnd 19: With Color C, ch 1, *(sc, ch 2, sc) in ch-2 corner, ch 4, skip (sc, ch-1, sc, ch-1), sc in next sc, [ch 4, skip (ch-1, sc, ch-1, sc), sc in next ch-1 sp, ch 4, skip (sc, ch-1, sc, ch-1), sc in next sc] until 2 ch-1 sps remain before corner, ch 4; repeat from * 3 more times, sl st to top of first sc to join, sl st into ch-2 corner. – {33 sc on top and bottom, 40 sc on sides}
Fasten off Color C.
Rnd 20: With Color E, ch 5 (counts as first dc and ch 2), 2 dc in same ch-2 sp, *ch 1 [4 dc in next ch-4 sp, ch 1] to ch-2 corner, (2 dc, ch 2, 2 dc) in ch-2 corner; repeat from * 2 more times, ch 1, [4 dc in next ch-4 sp, ch 1] to ch-2 corner, dc in ch-2 corner, sl st to 3rd ch of beginning ch-5 to join, sl st into ch-2 corner. – {132 dc on top and bottom, 160 dc on sides}
Fasten off Color E.
Rnd 21: With Color A, ch 1, *sc in ch-2 corner, [ch 4, sc in next ch-1 sp] to corner, ch 4; repeat from * 3 more times, sl st to top of first sc to join, sl st into ch-4 sp. – {33 sc on top and bottom, 40 sc on sides, 1 sc in each corner}
Fasten off Color A.
Rnd 22: Join Color E to a ch-4 sp just before a corner, ch 5 (counts as first dc and ch 2), *4 dc in next ch-4 sp, [ch 1, 4 dc in next ch-4 sp] to corner, ch 2; repeat from * 2 more times, [4 dc in next ch-4 sp, ch 1] until ch-4 with the join of Color E, 3 dc in ch-4 sp, sl st to top of beginning ch-3 to join, sl st in ch-2 sp. – {136 dc on top and bottom, 164 dc on sides}
Fasten off Color E.
Rnd 23: With Color C, ch 1, *(sc, ch 2, sc) in ch-2 corner, ch 4, [sc in next ch-1 sp, ch 4] to ch-2 corner; repeat from * 3 more times, sl st to top of first sc to join, sl st into ch-2 corner. – {35 sc on top and bottom, 42 sc on sides}
Fasten off Color C.
Rnd 24: Join Color E to the top right ch-2 corner sp, ch 1 (does not count as a st), *(sc, ch 2, sc) in ch-2 corner, [5 sc in next ch-4 sp, 4 sc in next ch-4 sp] to ch-2 corner, (sc, ch 2, sc) in ch-2 corner, 4 sc in next ch-4 sp, [5 sc in next ch-4 sp, 4 sc in next ch-4 sp] to ch-2 corner; repeat from * once more, sl st to top of first sc to join. – {155 sc on top and bottom, 186 sc on sides}
Rnds 25-28: Ch 1 (does not count as a st), *(sc, ch 2, sc) in ch-2 corner, sc in each st to next ch-2 corner; repeat from * 3 more times, sl st to top of first sc to join. – {157 sc on top and bottom, 188 sc on sides}
Fasten off Color E.
With Color A, surface crochet around Rnd 26.
With Color E, surface crochet around Rnd 28.
Fasten off and then weave in all ends.
Block piece.
Use or give and enjoy!
FAQs
Never fear my friend! To learn the hdc c2c box st, see this post: https://jessieathome.com/half-double-crochet-c2c/
There sure is! The graph is in the ad-free printable PDF. You can get that from the link just above the FAQs.
Did you enjoy what you found here at Jessie At Home? Then sign up for my newsletter and like my Facebook page, so you’ll get all the updates on new tutorials, other posts, sales, and coming events.
If you have any questions, want to share pictures of your work, or just want to chat with Jessie and other crafty individuals, than join my Facebook group.

© Copyright 2019 Jessie Rayot / Jessie At Home All my videos, patterns, charts, photos and posts are my own work, so you may not copy them in any way. If you want to share this information with someone, then share the link to this post. If you want to share on your own blog / website, then you may use the first photo in this post and link back to this post. Also, you may not give away printed copies of this post.



This is the first time doing c2c. I’m really enjoying it. But there are few typos.
Thank you! Always feel free to let me know of any typos you find. That way I can fix them. 🙂