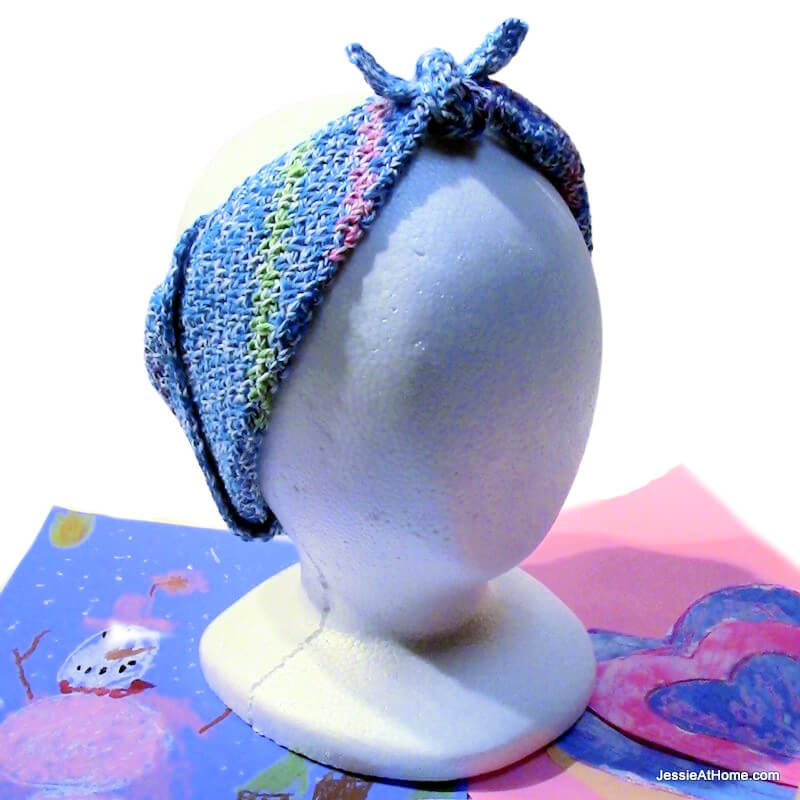
Inside: Color Me Happy is an easy free crochet kerchief pattern that makes a stylish shawl or bandana that’s sure to bring the happy.
This pattern was originally published on 3/16/14. The most recent update was made on 12/7/22.
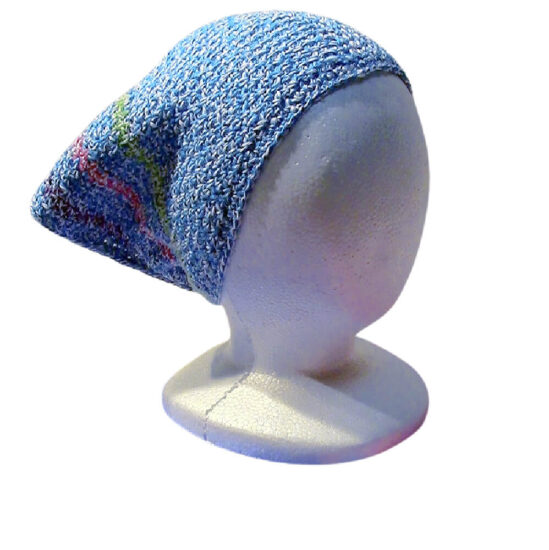
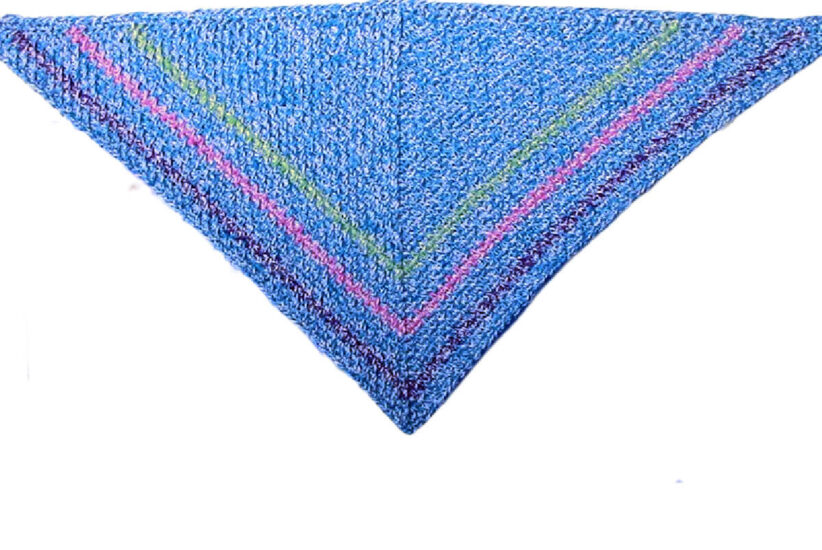
The Color Me Happy Kerchief is a great way to keep your hair back in a stylish and happy way. It also makes a great neck scarf, or make it much larger and create a stylish shawl.
It’s named Color Me Happy because the way the Baker’s Cotton yarn works up in the linen stitch, it reminds me of the drawings my daughters make for me.
This crochet head kerchief can also be made with one ball of yarn of most sock weight yarns. It’s a quick finish project that’s easy to memorize, making it great for plane, train, and road trips.
Table of contents
Variations
There are so many easy projects you can make with Color Me Happy. Check out some of these ideas.
While I love the vintage vibe of the kerchief, you can always use even more yarn and keep on crocheting more and more rows to make a lovely triangular shawl. Try adding tassels on the corners to dress it up even more.
Color Me Happy also works as a scrap buster. Gather up your leftover yarn that’s all the same weight and make a colorful crochet creation with this fun pattern.
If you want to add a simple border try a picot edge. Just sl st in the ch-sp at a corner, (ch 3, sl st in the first ch made) *sl st in next ch-sp, (ch 3, sl st in the first ch made); repeat from * around. At the ch-2 point I would put 3 picots: (ch 3, sl st in the first ch made) 3 times.
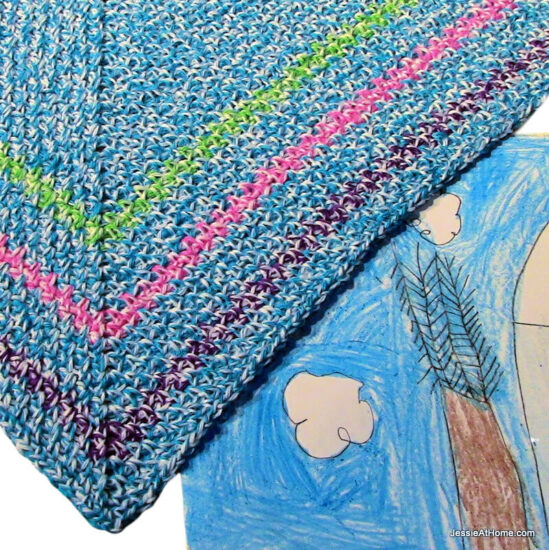
The linen stitch used lends itself to various nifty color patterns. If you use 2 colors and change every row you’ll get vertical stripes. For horizontal stripes you’ll need at least 2 rows of each color. You can also go with one main color with a single row of another color (or various colors) every 3 rows for a polka dot look. Play around with it, there are so many options!
Visual learners, we’ve got you covered! This pattern includes plenty of photos, and at the end you will find a chart and video tutorial.
Color Me Happy Kerchief
Crochet Pattern
Easy Skill Level
Designed by Jessie Rayot
Supplies
Size
Whatever size you want!
Yarn
Red Heart AUNT LYDIA’s Baker’s Cotton: (100% cotton), Size 1 – Sock/Fingering/Super Fine, 150 yds
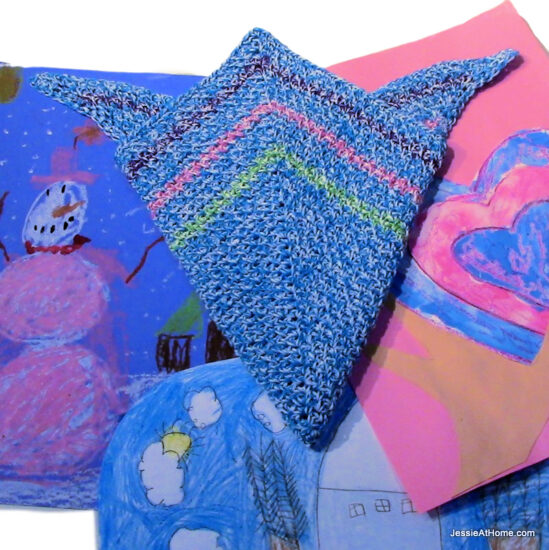
Sample used 1 skein, plus a small amount of a few other colors to add in some stripes and made a kerchief just the right size to tie around a 20-23” head.
Crochet Hook
US G/6, 4.0mm
Gauge
Learn about gauge HERE
Not important, just keep adding rows until the kerchief is the size you want!
Other Supplies
Stitches and Abbreviations
click on highlighted sts for tutorials
ch – chain
sc – single crochet
sp(s) – space(s)
st(s) – stitch(es)
( ) – work step in parentheses in indicated stitch
[ ] – work step in brackets number of times indicated
Get the Ad-Free Printable PDF at These Sites
Pattern Notes
- Read through all instructions before beginning.
- The stitch count is at the end of each rnd/row after the period, usually only if the count has changed from the previous rnd/row. {count here}
- Chs and sl sts are not included in stitch counts unless specified.
- This kerchief is worked from the center out, so you can just keep adding rows until it is the size you want.
Color Me Happy Kerchief Pattern
Row 1: Ch 2, (sc, ch 2, sc) in first ch made.
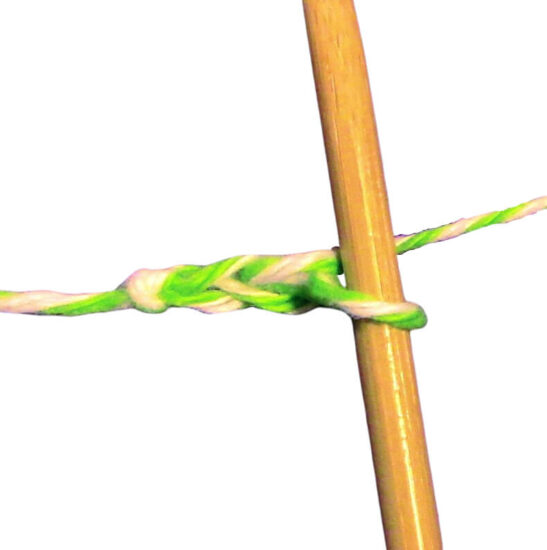
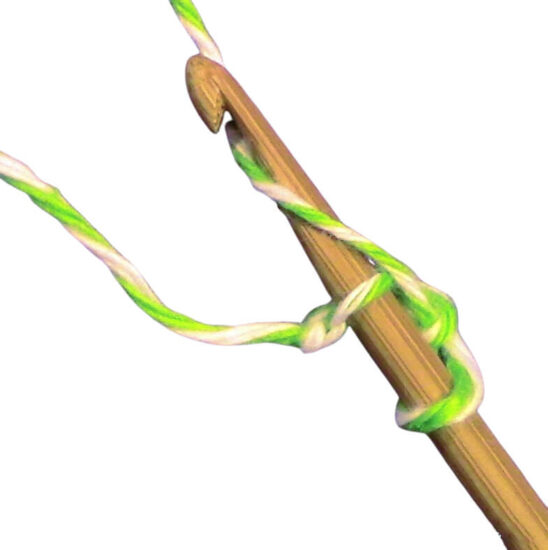
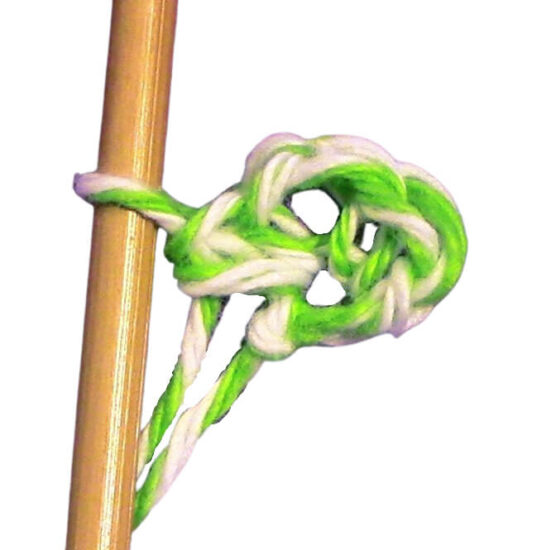
Row 2: Ch 1, sc in sc, ch 1, (sc, ch 2, sc) in ch-2 sp, ch 1, sc in sc.
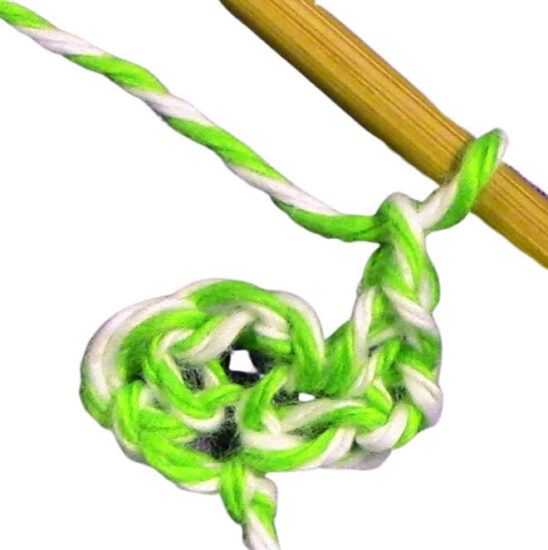
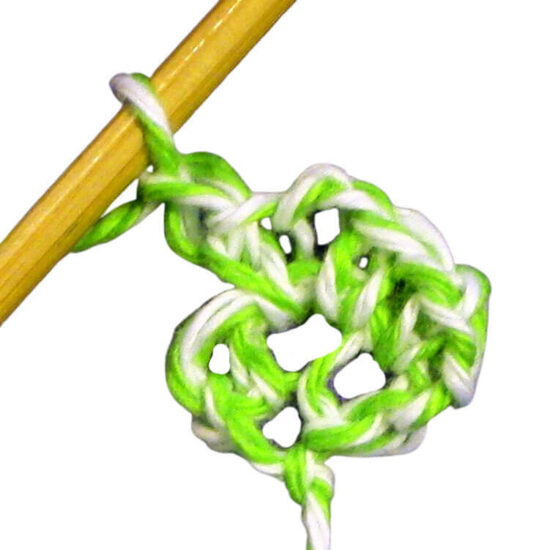
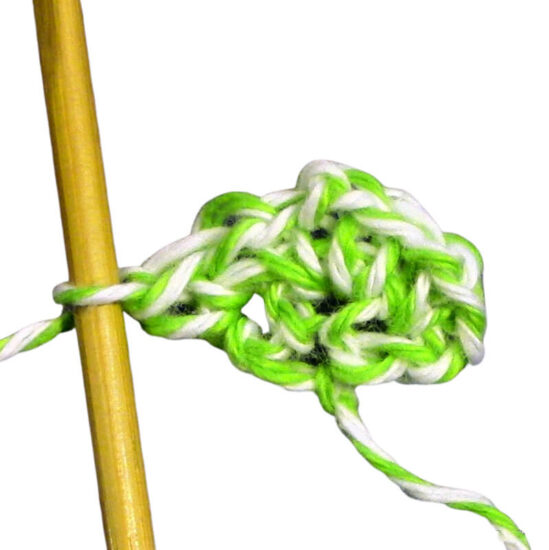
Row 3: Ch 1, sc in sc, ch 1, sc in ch-1 sp, ch 1, (sc, ch 2, sc) in ch-2 sp, ch 1, sc in ch-1 sp, ch 1, sc in sc.
Row 4: Ch 1, sc in sc, ch 1, [sc in ch-1 sp, ch 1] 2 times, (sc, ch 2, sc) in ch-2 sp, ch 1, [sc in ch-1 sp, ch 1] 2 times, sc in sc.
Row 5: Ch 1, sc in sc, ch 1, [sc in ch-1 sp, ch 1] 3 times, (sc, ch 2, sc) in ch-2 sp, ch 1, [sc in ch-1 sp, ch 1] 3 times, sc in sc.
Finishing
There are 2 options for finishing
- Make the kerchief large enough to tie around your head. After finishing the last row, ch 1 and rotate the kerchief so you can start working along the long edge, sc in the side of each st across. Turn, ch 1, 2 sc in first sc, sc in each st across, sc once more in the last st. Finish off.
- If you want the kerchief to be smaller, and have a tie string attached, then first complete the kerchief to the size you want. Finish it off. Then chain enough for one side of the tie string, sc in the side of each st along the long edge of the kerchief, and chain the same amount on the other side. [Turn, sc in each ch and sc across] 2 times. Finish off.
Happy Stitching!
Video Tutorial
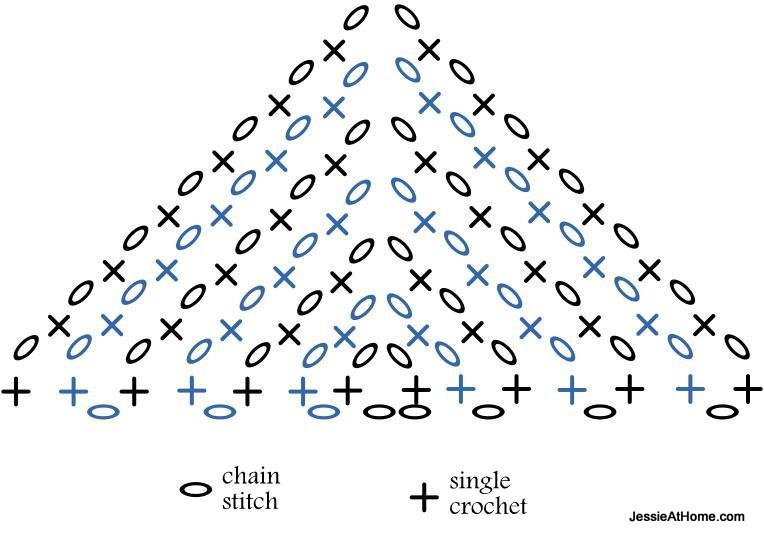
Color Me Happy Chart
Here’s a chart to help you along. Please do NOT copy, Pin, or share this chart in any way. It can be viewed here on this site, or on the pattern PDF.
FAQs
That’s not uncommon with triangles, and it’s an easy fix. Instead of starting each row with a ch 1, start with a ch 2. It will allow the long side of the triangle to stretch more.
Repeat Row 5 until the kerchief or scarf is the size you want.
Well, kind of no, kind of yes. It doesn’t matter in regards to the finished size of your creations because of the answer above.
It does matter in that if you crochet too tightly, your finished creation will be stiff. So, if you find that the fabric you are crocheting is too stiff, try going up a hook size or two.
Easy peasy!
– Make a ch long enough to be one end of your tie string.
– Sc in 2nd ch from hook and each remaining ch.
– Sc along the long edge of the kerchief.
– Ch the same amount as in the first step.
– Sc in 2nd ch from hook and each remaining ch.
– Sl st in top of next ch on long edge.
– Fasten off then weave in ends.
Did you enjoy what you found here at Jessie At Home? Then sign up for my newsletter and like my Facebook page, so you’ll get all the updates on new tutorials, other posts, sales, and coming events.
If you have any questions, want to share pictures of your work, or just want to chat with Jessie and other crafty individuals, than join my Facebook group.

© Copyright 2014 Jessie Rayot / Jessie At Home All my videos, patterns, charts, photos and posts are my own work, so you may not copy them in any way. If you want to share this information with someone, then share the link to this post. If you want to share on your own blog / website, then you may use the first photo in this post and link back to this post. Also, you may not give away printed copies of this post.


Beautiful. I wear these to the gym, have to make this one.
thanks,
With the cotton yarn, it will be great for the gym!
Hi, I love your blog, is beauty, I love the colors, I love your crochet, visit my blog too,hugs from Brazil.
http://www.titacarre.com
http://elo7.com.br/titacarre
I think this would be great for cancer patients also! Thank you for sharing ur pattern.
It would! And the Baker’s Cotton is so soft and washes nicely, so it really would work well. Thanks for the great idea!