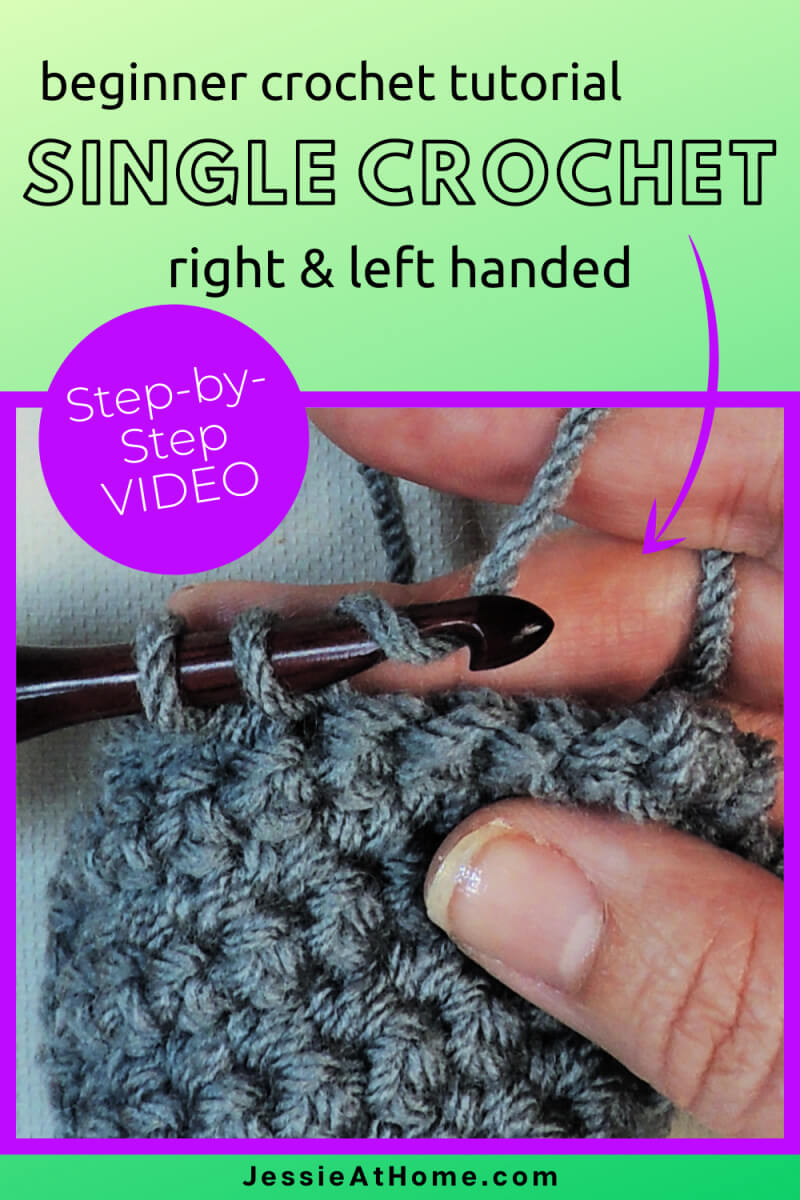
Weather you are learning to crochet or teaching someone to crochet, this single crochet video tutorial and written tutorial is for you.
There are both right and left handed single crochet video tutorials, and a step by step written tutorial with process photos. On top of all that, you’ll find answers to some FAQs and a pattern to make a single crochet square so you can try out your new skill.
Supplies for this tutorial were provided by WeCrochet and Furls Fiberarts. All opinions are my own.

Table of contents
About Single Crochet
Single crochet is one of the first stitches beginners learn, but there are multiple ways to get confused with it. One of the most common questions I get is: “How do I make my single crochet rows straight?”
I remember when I first started my rows would grow and shrink or sometimes I’d make a lovely rhombus! Then there’s back loop only and front loop only. And I could go on!
Don’t fret, you’ll find answers to some frequently asked questions after the single crochet tutorial.
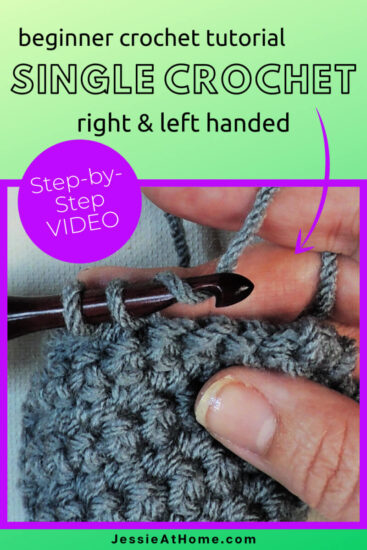
Once you’ve mastered how to single crochet, you can make your first project. At the end of this tutorial, after the FAQs, you’ll find a pattern for a single crochet square. Make as many as you want. You can use them for all sorts of creations. Or make a square of each stitch you learn and then use them to make a sampler afghan. You can even just keep it so you always have a sample swatch of single crochet fabric.
How To Single Crochet Video
RIGHT Handed
If you can’t see this video, try watching it on YouTube HERE.
LEFT Handed
If you can’t see this video, try watching it on YouTube HERE.
Single Crochet Tutorial
Stitches and Abbreviations
click on highlighted sts for tutorials
sc – single crochet
st(s) – stitch(es)
yo – yarn over
Chart Symbol
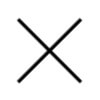
The image below is the symbol used for single crochet in crochet charts. It can be used in either orientation, though I most often see it the first way.

Step by Step Instructions With Photos
Single Crochet (sc): Insert hook in designated st, yo, pull up a loop (2 loops on hook), yo, pull through both loops.
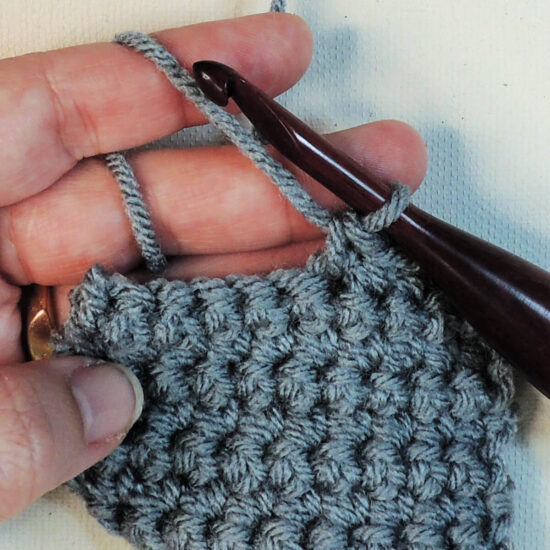
Insert hook in designated st,
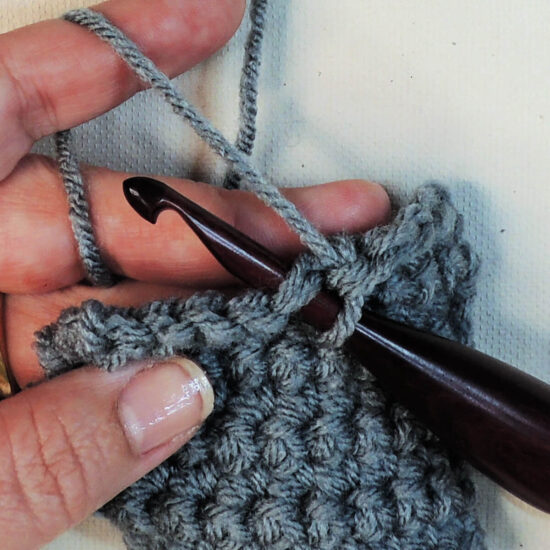
yo,
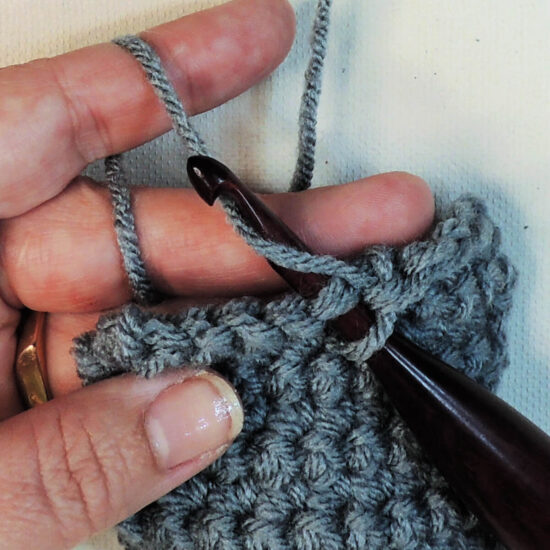
pull up a loop (2 loops on hook),
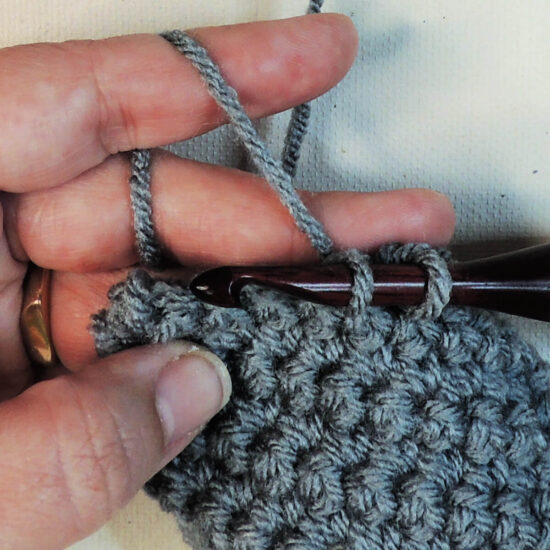
yo,
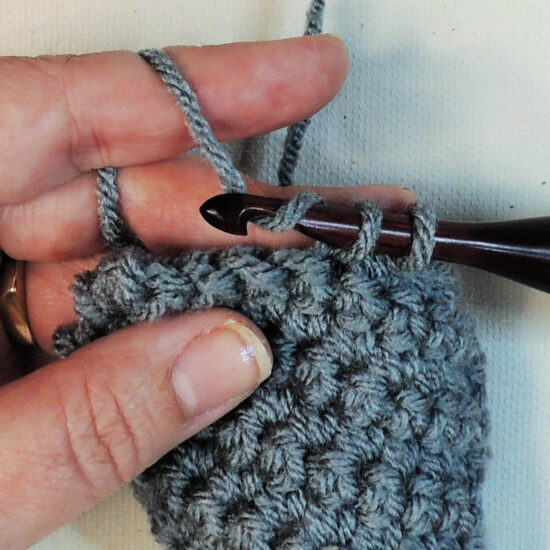
pull through both loops.
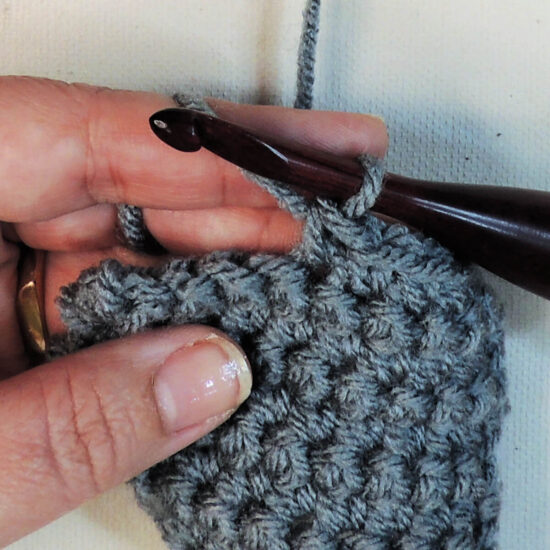
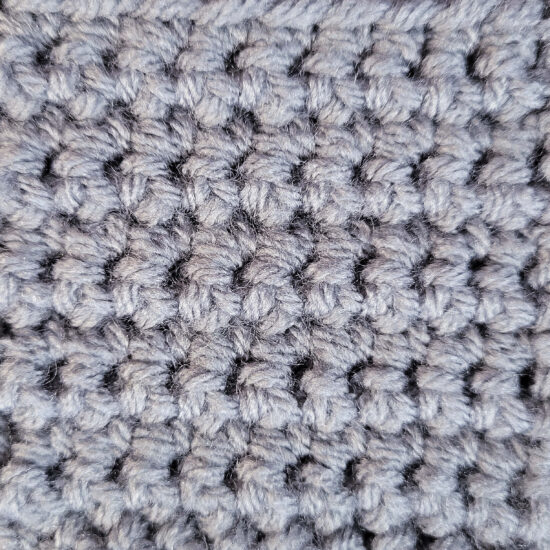
You made a single crochet! Soon you’ll be making single crochet stitches to the moon and back!
FAQs
How do I start a new row in single crochet?
For your first row in sc, you will usually start with a number of chains, often referred to as a foundation chain. When you are ready to start making single crochets into the chain, you will skip the very last chain you made, sometimes called the chain closest to your hook, and make a sc in the next chain, or the second chain from your hook.
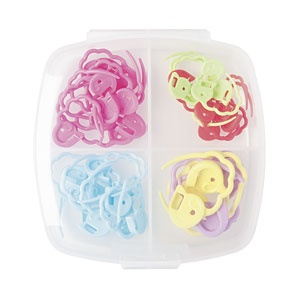
If you want an easy way to know when you finish the end of the row for your next row, be sure to place a removable stitch marker around the loop on the hook BEFORE making your first sc.
Now keep making single crochets in each chain until there are no chains left.
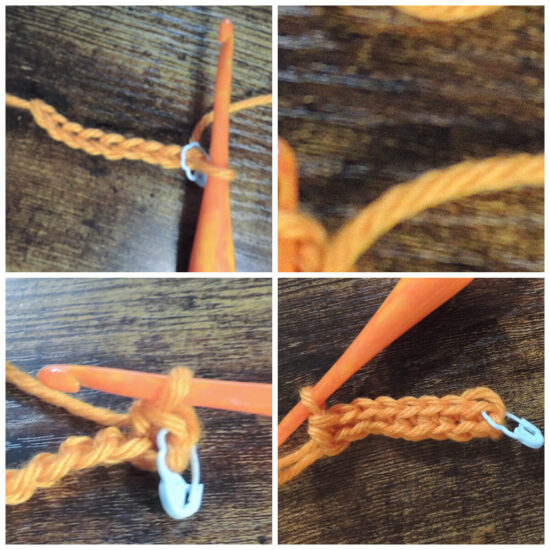
For your new row of single crochet (and each following row), you turn your work and start with a ch 1, which does not count as a st and is often referred to as a turning chain. Then place a removable stitch marker around the loop on the hook if you want to mark the last stitch for the NEXT row. Now single crochet into the first st (which is actually the LAST st you made in the last row.) Note that you do NOT make a sc in the ch-1 you used when you turned your work.
Now make a sc in the next stitch and the next and so on across the row. When you get to the marker, make a single crochet in the marked st and that will be the last st of the row.
What is the difference between normal single crochet and single crochet into back loop only or front loop only?
In most cases, it is assumed you will make a single crochet by inserting your hook under both top loops of the st you are working into. If you are supposed to make the sc in anywhere else, most crochet patterns will note this.
Sometimes the pattern tells you in the row or round instructions, and sometimes it tells you in the pattern notes at the start of the pattern.
Another time it is different is when you are crocheting in a ch sp (chain space), often noted as ch-# with # being the number of chains in the chain space. In this case it is usually assumed you will work your stitch around the ch sp, as opposed to in a specific chain.
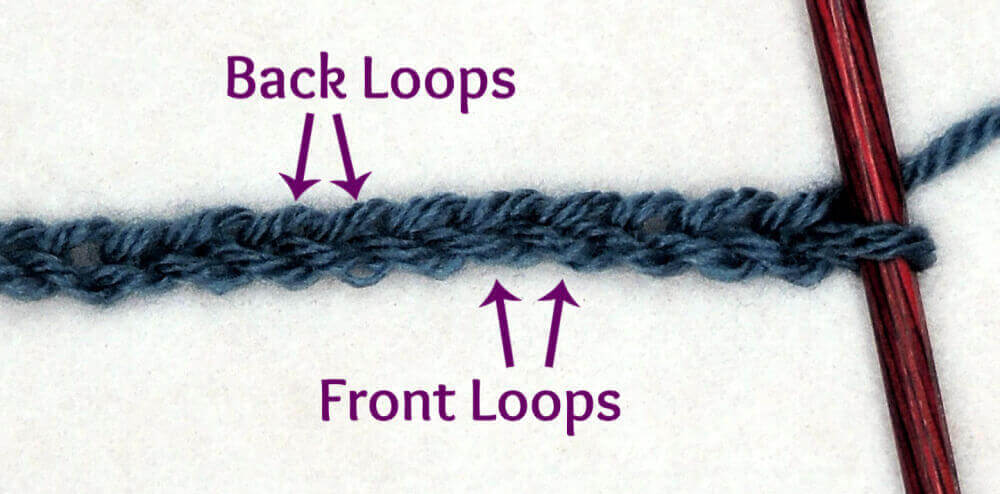
When a pattern tells you to make a sc, or any other stitch, in the front loop only or the back loop only, you do not insert your hook under both top loops. Instead you insert it under the loop closest to you if working in the front loop only, or the loop farthest from you if working in the back loop only. From there you continue your stitch as normal.
How do I keep my single crochet rows straight?
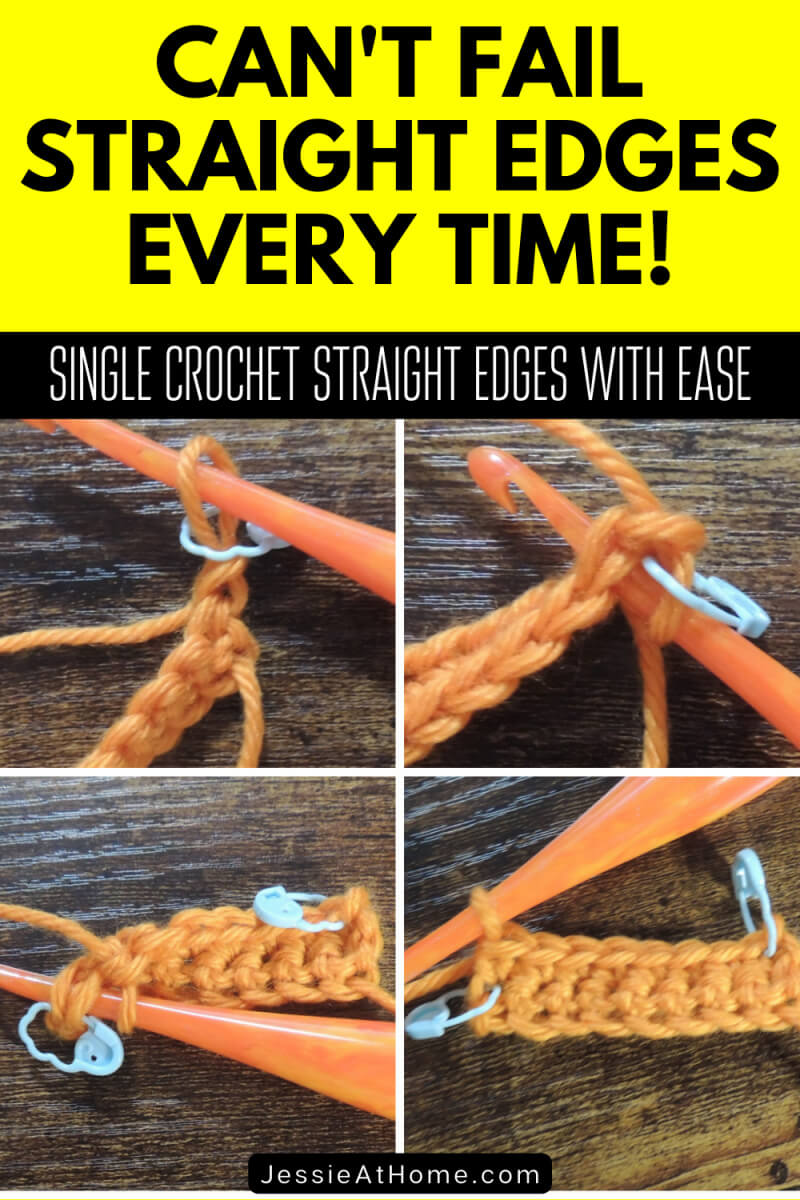
This is something that many crocheters are able to see with practice, but often struggle with at first. My favorite way to get straight sided rows is to mark the top of the first stitch of the row so it is clear on the next row that is is the last stitch.
With a single crochet this is super easy. At the start of a row, you make a ch 1 that does not count as a stitch, then you place a removeable stitch marker around the loop on the hook. Now you make a sc in the first stitch – not in the ch you just made, but in the st before that.
You see the top right image below, that is the first st, and you can see that the turning ch has been skipped.
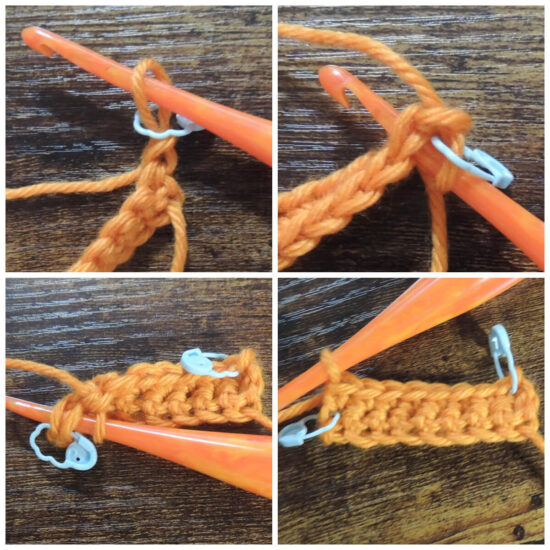
Start every row in this manner and you will be able to clearly see when you get to the end of a row because there will be a stitch marker in the last st you need to work into. After you work into that last st, you can remove the stitch marker and use it to mark the top of the first st of the next row.
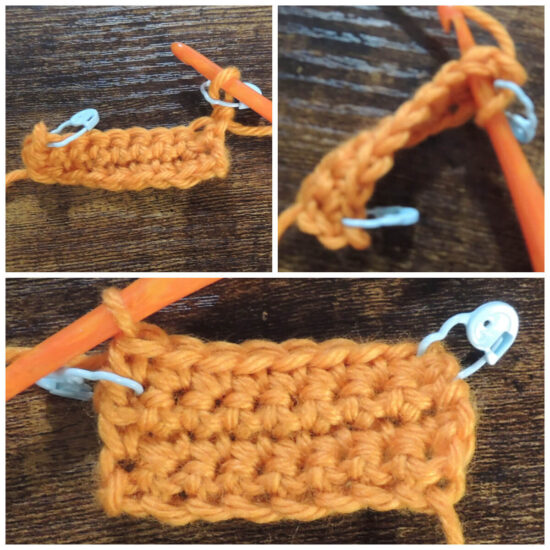
There you are, straight edges every time.
This works for marking the first stitch of a row, which will be the last stitch of the next row, on any stitch that is worked one-stitch-into-one-stitch. The important part is getting the stitch marker around the loop on the TOP of the stitch.
If you are unsure what the top loop of the stitch is, there is an easy way to figure it out. As soon as you finish the stitch, there will be one loop on your hook. That loop will be coming out of the top loop of the stitch you just finished. So, when you finish your first stitch of a row, place the marker around the loop that the loop on your hook is coming out of and you will be good to go!!
Many of my tutorials for specific stitches will give the instructions for that stitch more clearly.
Single Crochet Practice Square Pattern
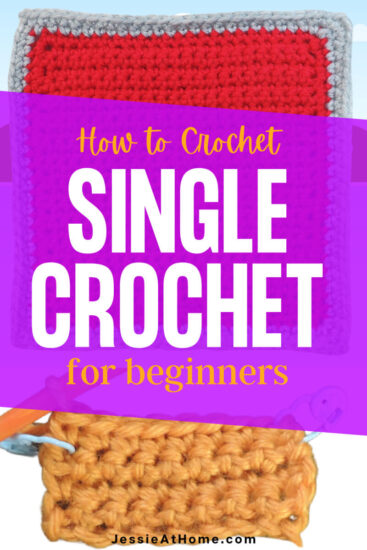
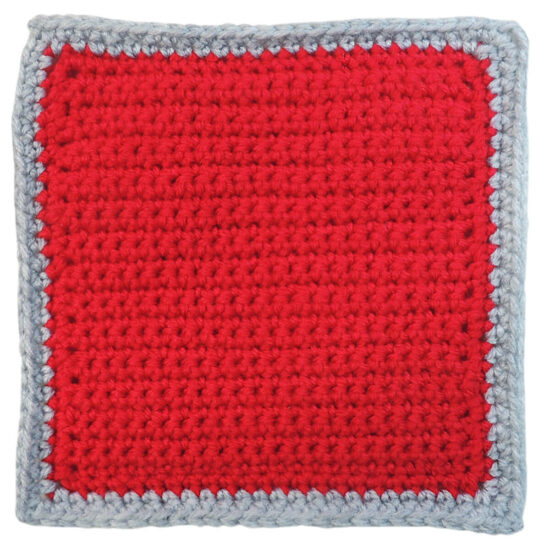
Practice your skills by making a square crochet motif. Below you’ll find the pattern for a 6″ square, if you use the same yarn and gauge as me. Even if you don’t, it should still be a square. Make more as you learn more stitches and skills, then join them together to make an afghan, scarf, wrap…
Yarn
WeCrochet/Knit Picks Brava Sport: (100% Premium Acrylic), Size 2 – Fine/Sport, (12 wpi), 340 yds / 100 g, (3.4 yds/g)
Red 28396: MC (main color)
Dove Heather 28381: CC (contrast color)
Crochet Hook
5.0 mm (US H/8, UK 6)
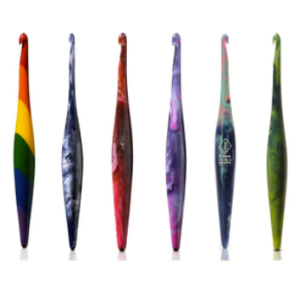
For the sample below, and in the images in the FAQ section, I used a Furls Streamline Resin Crochet Hook.
Gauge
Learn about gauge HERE
17 sts x 22 rows = 4” [10 cm] in single crochet
Other supplies
Stitches and Abbreviations
click on highlighted sts for tutorials
ch – chain stitch
rnd – round
sc – single crochet
sl st – slip stitch
sp(s) – space(s)
st(s) – stitch(es)
yo – yarn over
( ) – work step in parentheses in indicated stitch
[ ] – work step in brackets number of times indicated
Pattern Notes
- Read through all instructions before beginning.
- For help with crocheting on the side of your work (when making the first round of the boarder) CLICK HERE.
- The stitch count is at the end of each Rnd/Row after the period, usually only if the count has changed from the previous Rnd/Row. {count here}
- Chs and sl sts are not included in Rnd/Row counts unless specified.
6″ Motif Pattern
Square
Row 1: With MC, ch 23, sc in 2nd ch from hook, sc in each remaining ch. {22 sc}
Row 2: Turn, ch 1 (does not count as a st), sc in first st, sc in each st across.
Rows 3-28: Repeat Row 2.
Do not cut yarn, move on to Border
Border
Rnd 1: Do not turn, ch 3, 22 sc evenly down side of piece, ch 2, sc in bottom of each of next 22 ch, ch 2, 22 sc evenly up side of piece, ch 2, sc in each of next 22 sts across, sl st in beginning ch-3 which will not count as a ch-2 corner. {22 sc on each side}
Rnds 2-3: With CC, ch 3, sc in ch-2, [sc in each sc across, (sc, ch 2, sc) in ch-2 sp] 3 times, sc in each sc across, sc in ch-2, sl st in beginning ch-3 which will not count as a ch-2 corner. {26 sc on each side at end of Rnd 3}
Here are some supplies that you may find useful. You pay the same price with these affiliate links, and then I get a small referral fee.
Did you enjoy what you found here at Jessie At Home? Then sign up for my newsletter and like my Facebook page, so you’ll get all the updates on new tutorials, other posts, sales, and coming events.
If you have any questions, want to share pictures of your work, or just want to chat with Jessie and other crafty individuals, than join my Facebook group.

© Copyright 2014 Jessie Rayot / Jessie At Home All my videos, patterns, charts, photos and posts are my own work, so you may not copy them in any way. If you want to share this information with someone, then share the link to this post. If you want to share on your own blog / website, then you may use the first photo in this post and link back to this post. Also, you may not give away printed copies of this post.



Very, very good!!!!