
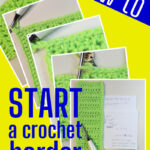

Wondering how to crochet along edge when the edge is the side of the rows. Or how about how to crochet evenly around a crocheted item, or even a knit one? You’re not alone.
So many patterns include instructions to make a certain number of stitches “evenly in edge of work”, or something similar. Most of the time the number of rows you have to work into and the number of stitches you have to work do not go together easily. This free written and video tutorial will make borders and edges simple.
Members of Showstopper Creations will find an ad-free version of this article HERE.
Supplies for this tutorial were provided by WeCrochet and Furls Fiberarts. All opinions are my own.
Table of contents
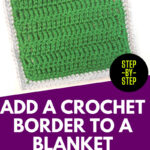
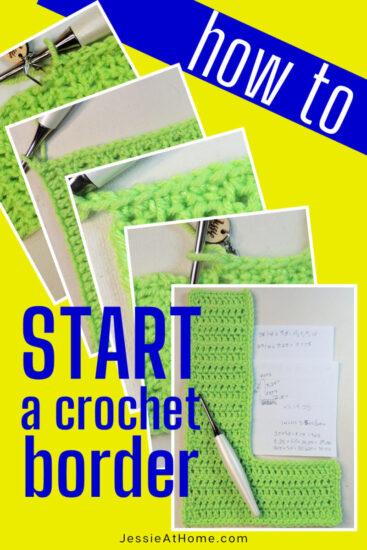
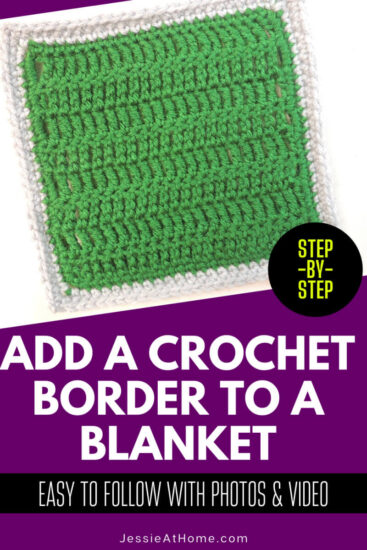
Need to know how to add a crochet border to a knit or crochet blanket? This is the easy to follow tutorial for you. With step by step photos and instructions and right handed and left handed video tutorials you are sure to succeed. Now instead of just putting borders on granny squares or other items crocheted in the round, you will be able to add borders to C2C, post stitch, knit, and blankets of all sorts of stitches. What a lovely and professional looking finishing touch!
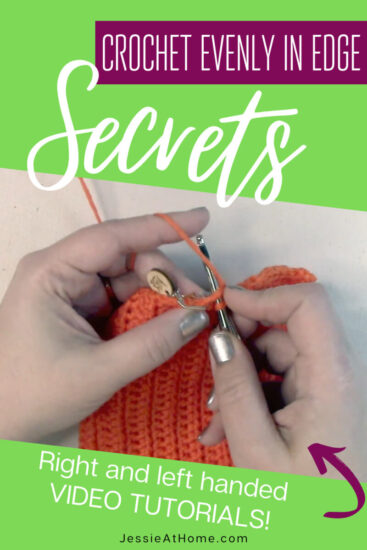
Your crochet pattern reads “crochet evenly in edge” and you have no idea how to make that happen. How do you put 75 stitches in 107 rows on the side of the blanket? What do you do?! Look not further, this tutorial has you covered. With written instructions, step by step photos, and a video tutorial, soon you’ll find crochet edges and borders simple.
Supplies In Videos & Photos
- Brava Sport Yarn (videos): WeCrochet or Knit Picks
- Brava Worsted Yarn (photos): WeCrochet or Knit Picks
- Odyssey Hooks: Furls Fiberarts
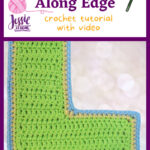
How To Crochet Along Edge Tutorial
Stitches and Abbreviations
Click on highlighted sts for tutorials.
- ch – chain
- rnd – round
- sc – single crochet
- sc2tog – single crochet two together
- sl st – slip stitch
- sp(s) – space(s)
- st(s) – stitch(es)
Math – Finding Your Numbers
If you are using a pattern or tutorial, you may already have the numbers you need. However, if you are not working from a pattern, you may need to find your own numbers. So I will show you how to start, even without a pattern.
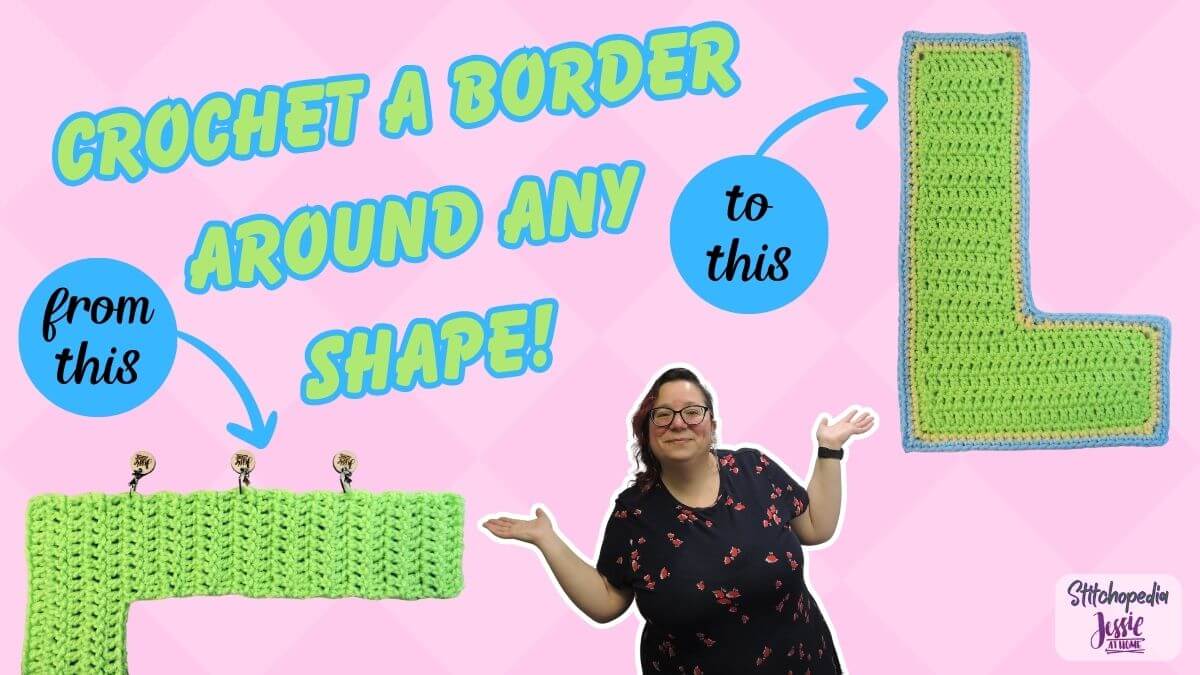
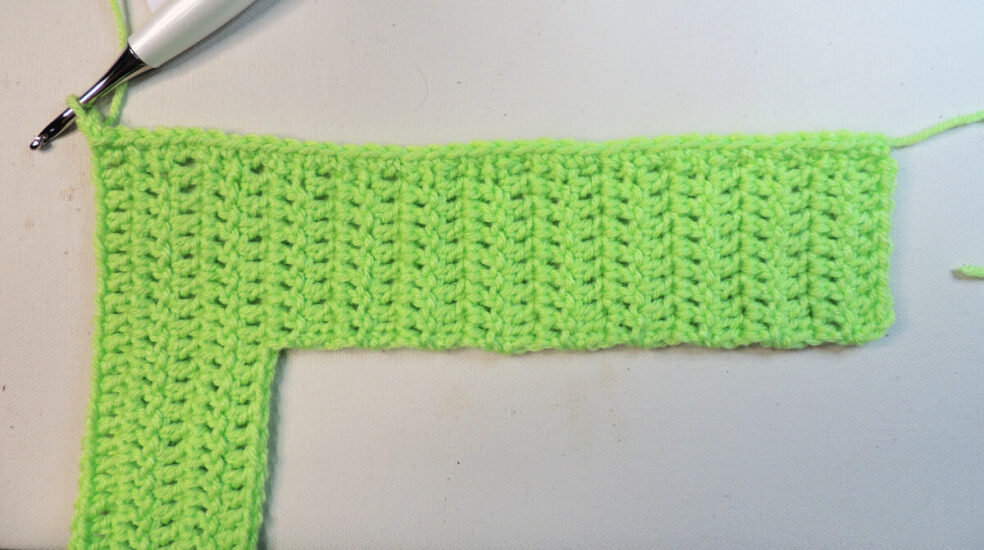
In this tutorial, I’m teaching you how to make a base row or round in a single crochet stitch, though you can easily use this same technique for half double or double crochet. The sample piece I have used in the photos is an “L” shape made in double crochet stitches.
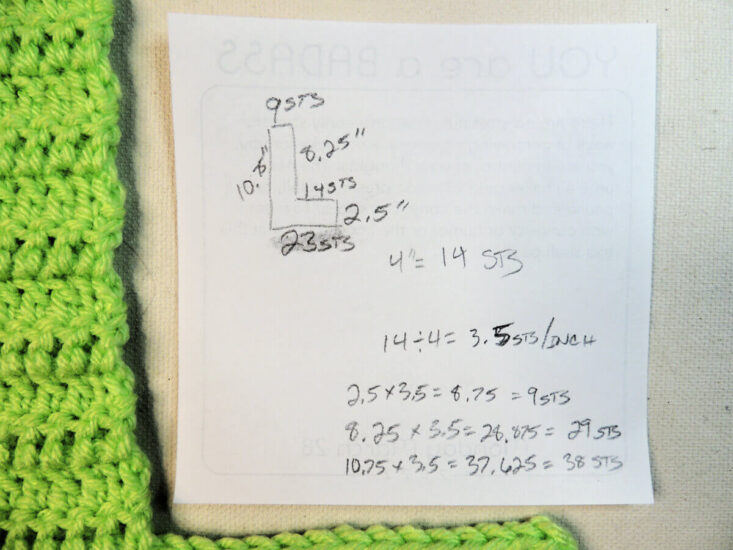
First, we need to find out how many stitches per inch. To do that we must measure across 4″ and count how many stitches are in those 4″. Be sure to use whole numbers in this step. In my sample I have 14 stitches in 4 inches. Always count your stitches in at least 4″, and be sure to start and end at least 1″ from the edges of your piece.
If you do not have a section in the piece that you are adding a border to, you will need to make a swatch in single crochet that is at least 6″ across and at least 3″ tall. Measure your gauge in the swatch.

If you are a member of Showstopper Creations, you will find a PDF cheat sheet with all the formulas and space for notes that you can print out and fill in each time you need to make a border.
Now comes the math. Number of stitches divided by number of inches will give you your stitches per inch. Do not round this number. I have 14 stitches in 4 inches, and 14/4 = 3.5. Therefor I have 3.5 stitches per inch.
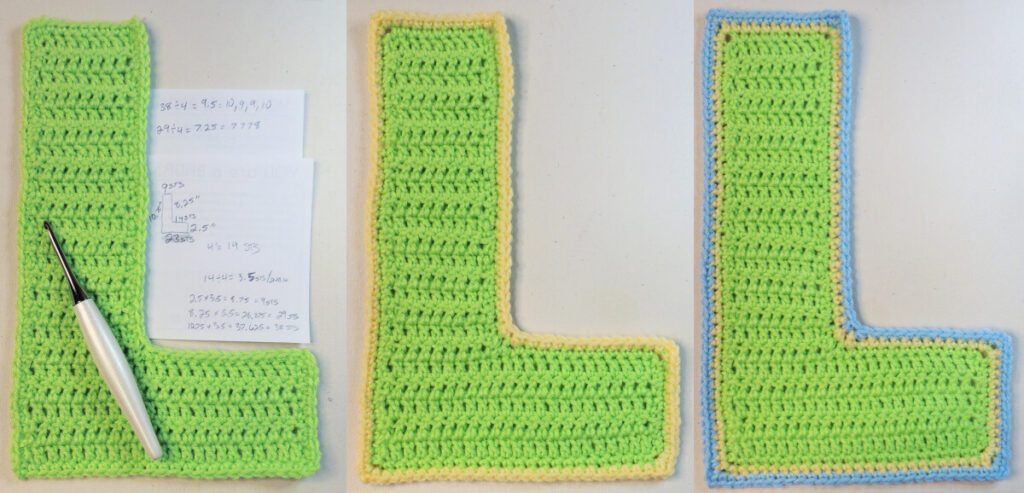
Now measure the length of all the edges you need to add a border to where you are not putting in one stitch in every stitch. You can see what I mean in the photo below. On my vertical lines I measured the crochet shape and wrote in my measurements, using decimals as needed.
On my horizontal lines (those where I am adding the border on the top or bottom of my rows) I have written in the stitch counts. If I had used some sort of stitch pattern that didn’t line up 1 for 1 with my border, I would have to measure the tops and bottoms as well.
Finally I have taken the measurements in inches and multiplied them by the number of stitches per inch (3.5) to find the number of stitches on each edge. This number will need to be rounded to a whole number. Now that I know how many stitches I need in each edge, I can get my yarn and crochet hook and start my single crochet border.
Step by Step Instructions With Photos
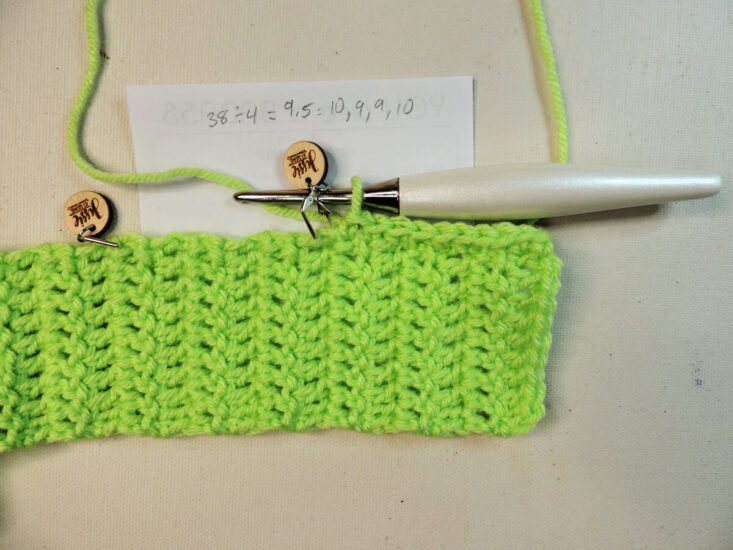
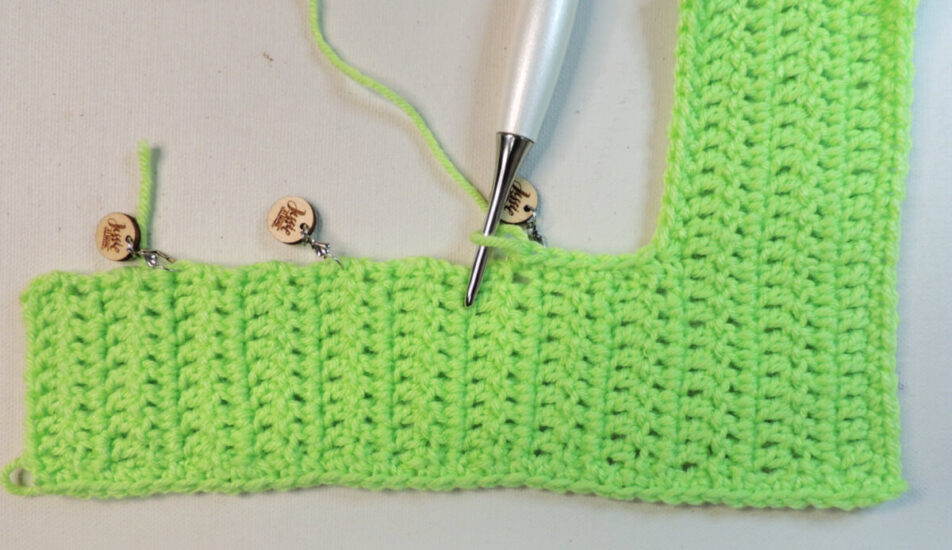
We’re going to start with the longest side, where we are stitching in the sides of the rows. According to my math, I need to place 38 sc in this side. One way to help get those stitches spaced evenly is to divide the side and the stitches by the same number.
So, what I did was fold the piece in half and place a stitch marker, then I folded each of those halves in half and place stitch markers. As you can see, this divided my piece into 4. So that means I needed to divide my number of stitches into 4 as well.
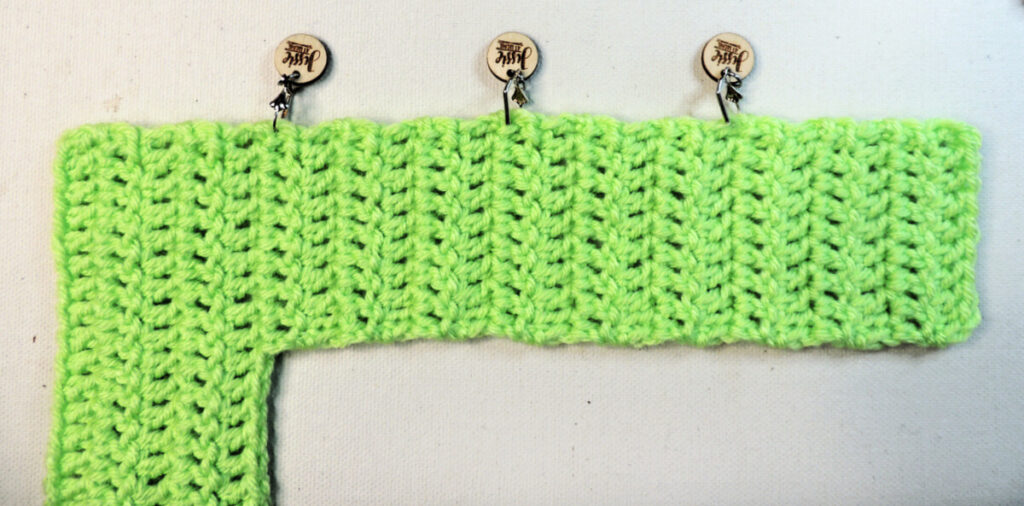
38/4 = 9.5, or 9 remainder 2.
Now I needed to place 9 stitches in each of the 4 sections, and work in 2 more somewhere. You can see on the paper in the photo below that I choose to place 10 sts in my first quarter, 9 sts in each of the next two, and 10 sts in the last.
If you have a super long edge, you can divided it into more than 4 parts. The important thing to remember is each part needs to be exactly the same length, and you need to then divide the total number of stitches into the same number as there are parts.
You can also divide by a measurement. So you could place a stitch marker every 4 inches, then work however many stitches were in your 4 inch gauge. You may have to do a little more math for the last section if your edge measurement is not a multiple of 4.
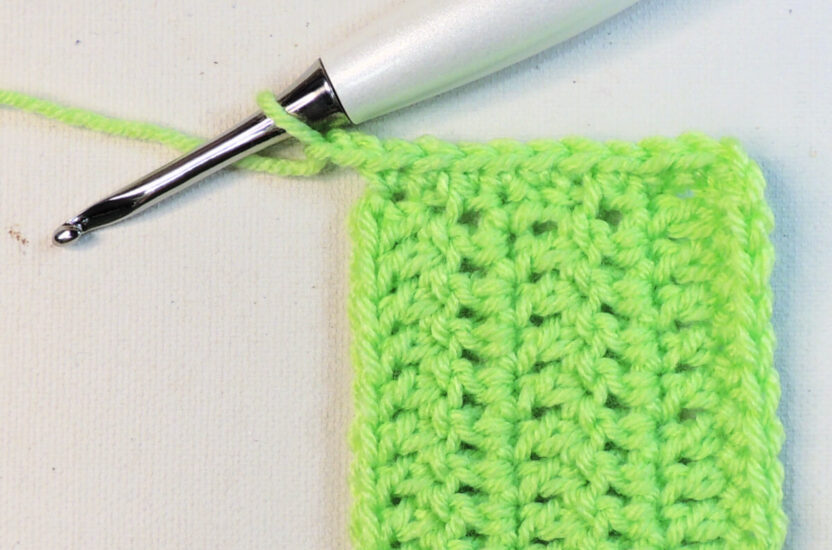
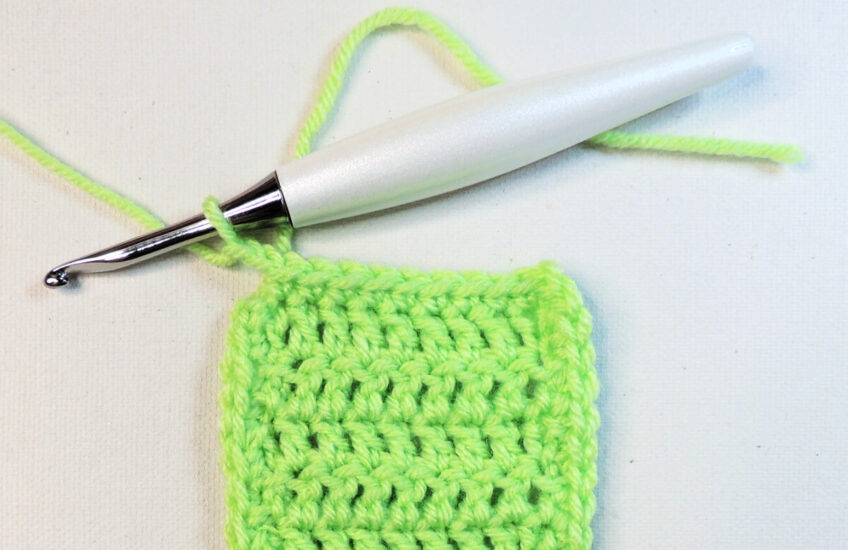
Once you have reached your next corner, it’s time to rotate to the next side. For sc I simply ch 2, for hdc I (hdc, ch 2, hdc) in the corner, and for dc I (2 dc, ch 2, 2 dc) in the corner. Please note this is NOT going to be the same corner treatment as for any following rounds, this is only for your first row or round.
Now we have the bottom of our piece. In this case I just place one sc in the bottom loop of my first row. Then repeat the corner.
For this super short edge, I only needed 9 stitches, so I didn’t need any markers. Then corner time.
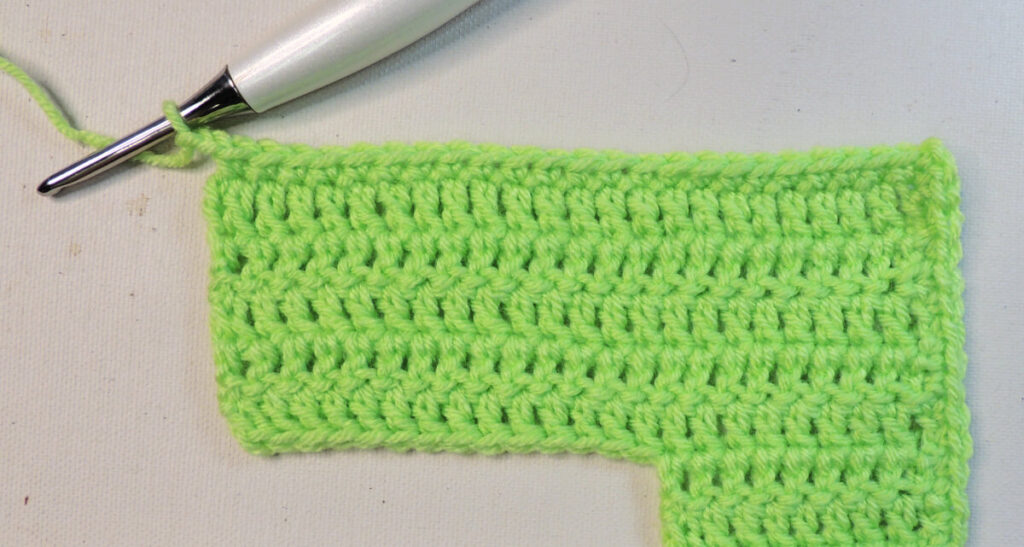
Next I had an edge that was worked evenly one stitch to one stitch, on top of my dc stitches. However, this edge ends with and inside corner, so I needed to account for that. To do that I made a sc2tog at the very end.

The next edge was long enough to need to be divided in fourths, so I did so with both the edge and the number of stitches. I needed 29 stitches and 29/4 is 7 remainder 1. So I planned for 7, 7, 7, 8 stitches in the 4 sections. For the first stitch of the edge I made a sc2tog. That meant that in the fist section I made: sc2tog followed by 5 more sc in place of 7 sc.
In each of the next 2 quarters I made 7 sc, and in the last quarter I made 8 sc. Then it was corner time again.
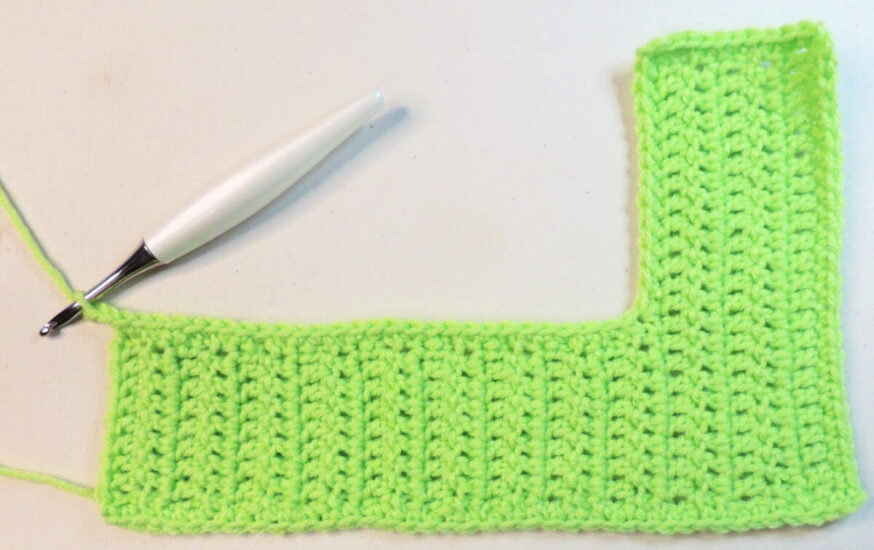
Finally I placed one sc in each of the 9 sts across the top, and made the last ch 2 corner.
To finish the first round of the border, I sl st to the first sc.
Then I made another round in yellow, and another in blue. For each of these round I worked 1 sc in every sc with the exception of the inside corner. There I made a sc2tog at the end of the side before the corner, and a sc2tog at the start of the side after the corner. In each ch 2 I placed (sc, ch 2, sc).
There you have it, a basic blueprint to help with borders.
How To Crochet Along Edge Video
RIGHT Handed
If you can’t see this video, try watching it on YouTube HERE.
LEFT Handed
If you can’t see this video, try watching it on YouTube HERE.
FAQs
How do I make sure my stitches are evenly spaced?
Divide the piece you are crocheting into and the number of stitches you are placing in that piece into the same number of pieces. Make sure those pieces are even either by folding or measuring.
Can I use this to crochet a border on knitting or even on fabric or something else?
Yes! Divide your edges up in the same manner and get crocheting.
What if my piece is round or curved?
This still works! I would be sure to use sc for your first row or round. Measure carefully with a sewing measuring tape (not a stiff one) and take care to measure the exact edge. You may find that on some outside curves you have to place stitches very close together, and on some inside curves you have to place them farther apart.
If you try using a taller stitch you will need to adjust your numbers due to the measurements at the tops of the stitches being different than those at the bottom. That’s just how curves work, geometry can get tricky!
Square Patterns Practice
You will find some of the Stitchopedia tutorials contain patterns at the end for 6 and/or 12 inch squares to practice. They all end with a border so they can be joined together to make a sampler blanket. This is a great way to practice your skills.
Here are some supplies that you may find useful. You pay the same price with these affiliate links, and then I get a small referral fee.

Did you enjoy what you found here at Jessie At Home? Then sign up for my newsletter and like my Facebook page, so you’ll get all the updates on new tutorials, other posts, sales, and coming events.
If you have any questions, want to share pictures of your work, or just want to chat with Jessie and other crafty individuals, than join one of our free Zoom Sit & Stitches. Find them on our Events Calendar.

© Copyright 2022 Jessie Rayot / Jessie At Home®, LLC All my videos, patterns, charts, photos and posts are my own work, so you may not copy them in any way. If you want to share this information with someone, then share the link to this post.


I want to make crochet machine work on upper cut components pls advise ?
I’m not sure what you are asking.