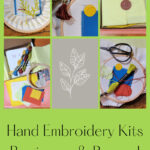

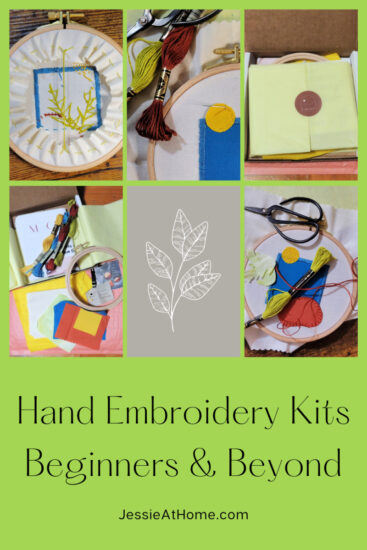
These embroidery kits for beginners and beyond will help you get back into crafting and fall in love with hand embroidery. Embroidery always calms me and the finished projects make great gifts. MCreativeJ has a wide variety of kits for all skill levels. I enjoyed relaxing and creating with the Plants + Shapes DIY Applique Embroidery Kit. Now I have a beautiful piece of art to keep or give.
The kit for this post was provided by MCreativeJ. All opinions are my own.
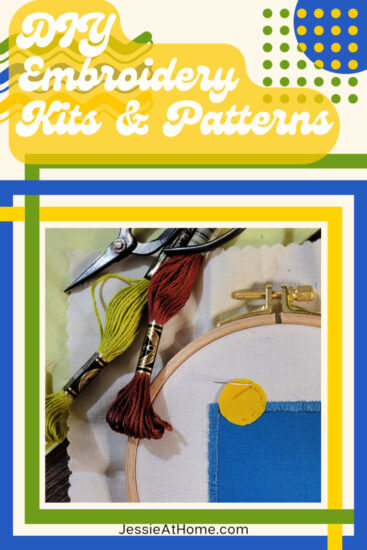
Modern Embroidery for the Modern Maker
Get back into crafting and fall in love with hand embroidery.
This mindful craft is the perfect way to unwind and be creative.
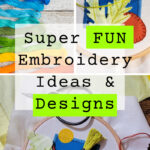
Oh my goodness you guys, the amount of awesome from MCreativeJ is mind blowing! I was asked to review an applique embroidery kit from her, and now I think I found my new favorite embroidery site. You NEED to check her out. Just make sure you’re ready to spend some money because you’re going to want to buy a LOT. After all, the site has a lot more than just embroidery kits for beginners.
Click on the “Catalog” drop down in the menu and you’ll find embroidery projects for all your needs. There are beginner embroidery kits, as well as intermediate and advanced.
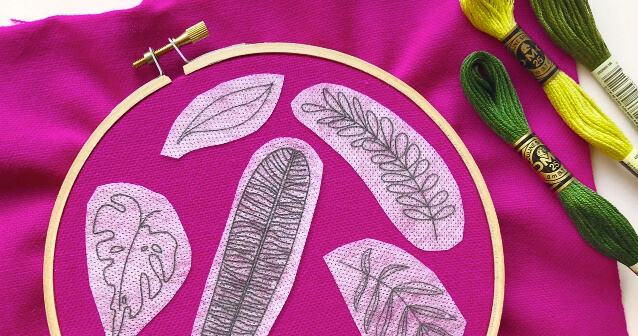
Stick & Stitch
The Stick & Stitch embroidery patterns are super cool! If you already have fabric, threads, embroidery hoops, needles, and so on, these are perfect. They’re also a fun way to add embroidery designs to existing items. Like maybe a knit or crochet project, a tote bag, or a nice linen blouse that wants a little something extra. You get a set of images printed on water soluble fabric. Stick them where you want them, embroider them, then rinse off the pattern with warm water!
PDF Patterns
Maybe you want a pattern and instructions, but you don’t need a embroidery floss or any other supplies you get in the hand embroidery kits. You can download just the pattern and instructions and get started with your creations right now! I love all the botanical designs available. Cacti are cools, and you’ll find plenty here!
Craft Supplies
If you need some lovely background cotton fabric, a dainty pair of scissors, a needle minder, or some other supplies for your needlework, you’ll find those in the Craft Supplies section of the online catalog. The fat quarters in the MCreativeJ craft supplies are modern and beautiful. I think I need a whole storage box full of them!
Modern Embroidery Kit – Look At What I Made!
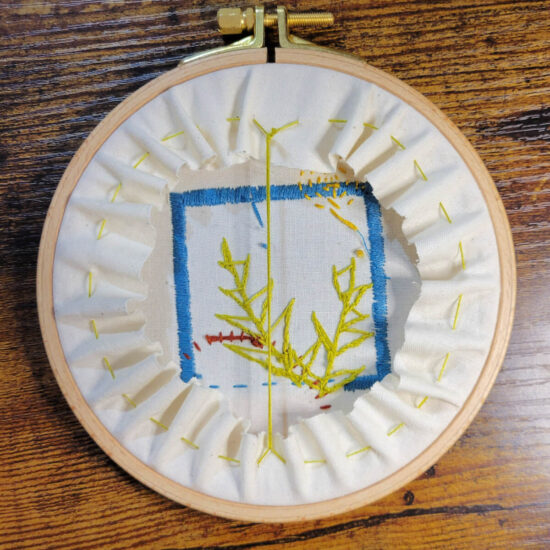
When my Plants + Shapes kit arrived in the mail, it was packaged quite well. All the supplies with beautifully wrapped in a small, sturdy box. The box was clearly labeled and protected from the elements in a padded shipping envelope. Even if it had gotten tossed in a snow drift, I’m pretty sure it would have been unscathed.
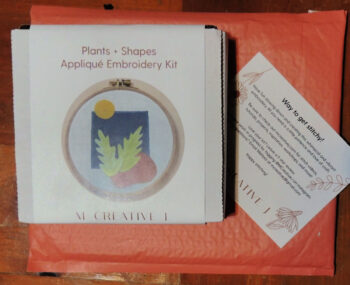

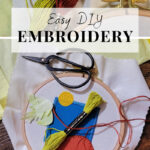
Upon opening the box, I found everything I would need. Just add scissors and me!
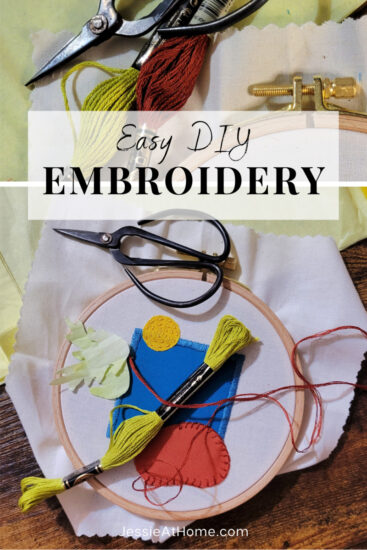
In The DIY Embroidery Kit
- Materials for one applique embroidery pattern design are included with each kit
- Kona cotton fabric in Neutral, Caribbean, Terracotta, Grellow, and Lime
- 5 inch beechwood embroidery hoop
- Full skeins of DMC embroidery floss
- Needle
- Sewing pins
- Felt
- Sawtooth hanger hook
- Printed directions on how to transfer, stitch pattern, color guide, and recommended stitches
- Directions on how to finish hoop back for display
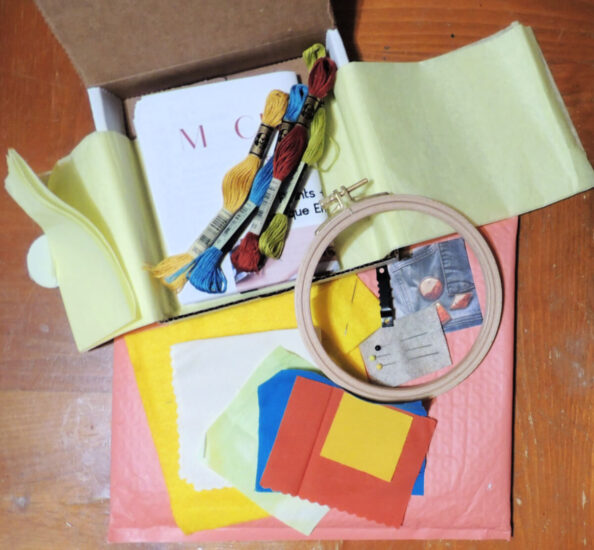
I mean, look at all that; how could you fail? The printed pattern is really more like an instruction booklet, it’s so comprehensive. What if it’s not enough? Well, then pop over to the MCreativeJ blog and you’ll find video tutorials for so many embroidery stitches and techniques.
Making My Piece
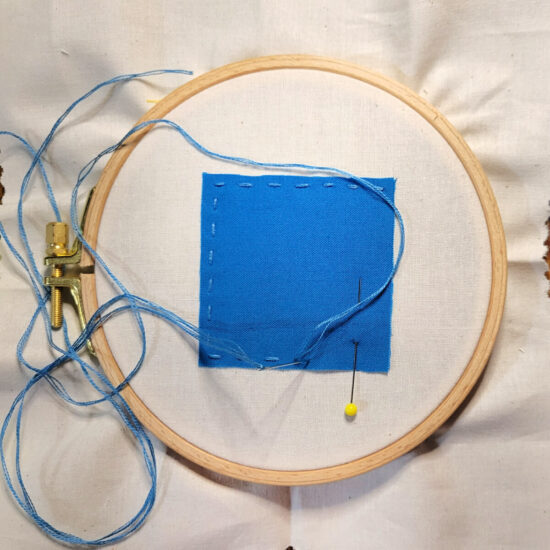
At first I thought I wouldn’t want any embroidery kits for beginners, after all, I’ve made plenty of embroidery creations in the past. Then I realized I’ve only made one or two with appliques. So, this starter kit was a great way for me to learn several techniques. The satin stitch around the blue square made me a little nervous, but once I got going it was so easy and much faster than I had thought. The fabric was dense enough that I could get the stitches close together for a nice, finished look.
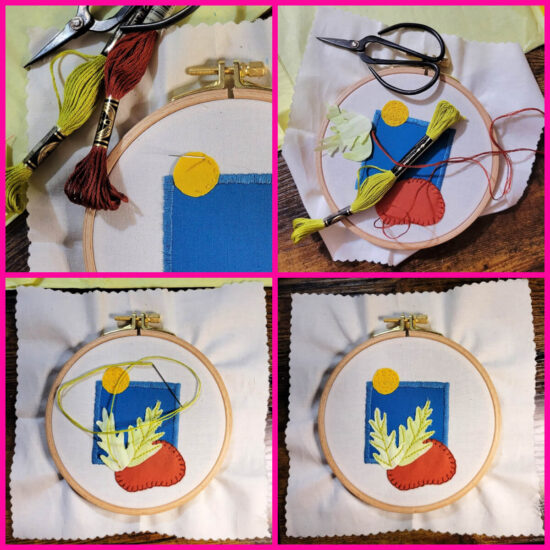
This kit also used a running stitch, buttonhole stitch, and back stitch to finish off the modern embroidery creation. The DMC embroidery threads provided were the perfect colors to go with the vibrant fabrics. The wooden embroidery hoop was one of the best I’ve ever used. I was so happy that the screw didn’t bend the brackets when it was tightened like so many do. All the supplies provided were such high quality.
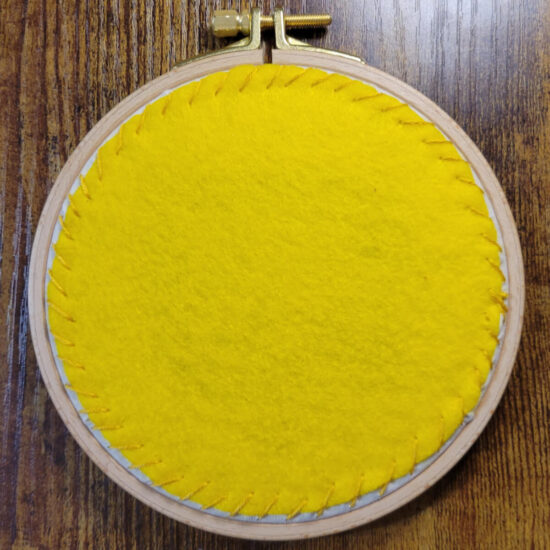
Once the embroidery is all done, this complete kit also walks you through finishing the back in a very clean and professional way. It’s so nice that you could hang this piece in a way that both sides are visible without worrying about what the back looks like.
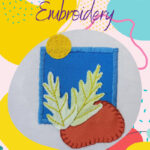
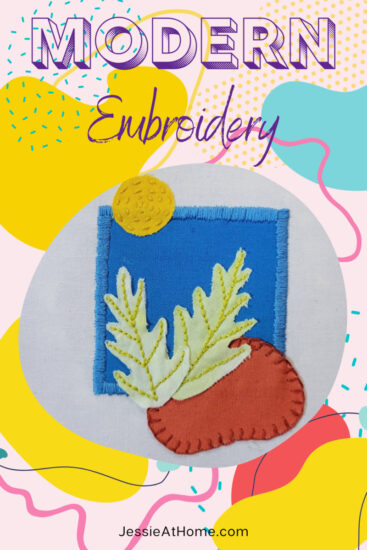
Look at this finished project! Isn’t it lovely? I learned so much completing this kit. It actually gave me some ideas for using fabric applique in other projects.
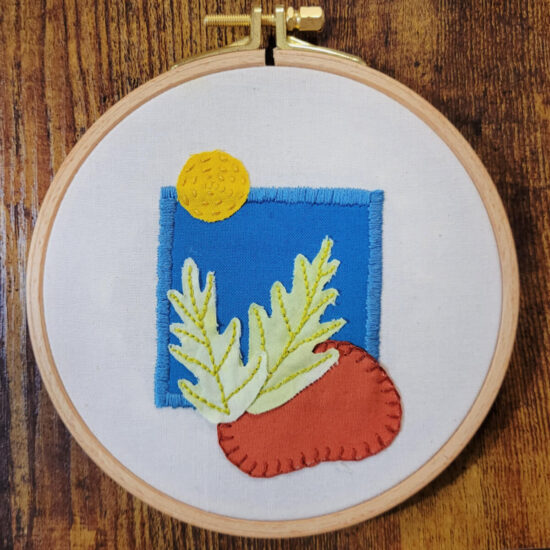
I think I need to find a way to add this to the other needle art creations on the side wall in my living room.
FAQs
What are the best embroidery kits for beginners?
Look for kits that include all the supplies you will need and comprehensive instructions. Make sure to check out reviews to see what others are saying. Check to see if the site that sells the kits has tutorials for the stitches and techniques used and then check out those tutorials. If they have easy to follow tutorials, they probably also have easy to follow kits. Plus the tutorials will help you with the kits.
What’s the difference between embroidery, cross stitch, and needlepoint?
Cross stitch refers to a specific stitch. Cross stitch creations are made using the cross stitch for the vast majority of the project. Sometimes a few other stitches, such a the back stitch and French knot, are used for finishing and accents.
Some will say that needlepoint refers to all embroidery that isn’t cross stitch. However, it is most commonly used to designate the decorative top stitching that is worked square by square and is not cross stitch. The most common needlepoint stitch is the tent stitch, which is one diagonal stitch per square. There is also a subset of this needle art made with plastic canvas.
Embroidery is the catch-all term that covers both cross stitch and needlepoint. That being said, it is often used for the needle arts that are not cross stitch and are not made in a square by square technique that is often referred to as needlepoint. Embroidery is often used for decorative top stitches that are made in more organic shapes.
How can I learn embroidery at home?
Kits, PDF Patterns, and online tutorials, often used in tandem, are a great way to lean from home. Once you’ve completed some kits and maybe made some creations from PDF patterns you’ll start to feel more confident. Then you can take those patterns and start using them on bases other than fabric stretched in a hoop. You may even find you want to start making your own designs.
Just take it step by step and you’ll be embroidering everything before you know it. Who knows, maybe you’ll open your own Etsy store and start selling your amazing finished masterpieces to others. Just make sure you have plenty of embroidery needles, those things love to disappear!
Did you enjoy what you found here at Jessie At Home? Then sign up for my newsletter and like my Facebook page, so you’ll get all the updates on new tutorials, other posts, sales, and coming events.
If you have any questions, want to share pictures of your work, or just want to chat with Jessie and other crafty individuals, than join one of our free Zoom Sit & Stitches. Find them on our Events Calendar.

© Copyright 2022 Jessie Rayot / Jessie At Home®, LLC All my videos, patterns, charts, photos and posts are my own work, so you may not copy them in any way. If you want to share this information with someone, then share the link to this post.


I absolutely love the variety of embroidery kits you shared! They’re perfect for beginners like me, and I appreciate the tips you included for expanding skills. Can’t wait to try some of these out!