This crochet slip stitch to join written and video tutorial will have you crocheting in rounds and surface crocheting in no time. With this easy to follow, step by step tutorial, you’ll master the slip stitch and increase your skills. Slip stitches are great for joining crochet in the round, moving over a few stitches and making top stitches or surface crochet. In addition to easy to follow written instructions with photos, there is also a right handed and left handed video tutorial.
Members of Showstopper Creations can find the ad-free version of this article HERE.
Supplies for this tutorial were provided by WeCrochet and Furls Fiberarts. All opinions are my own.
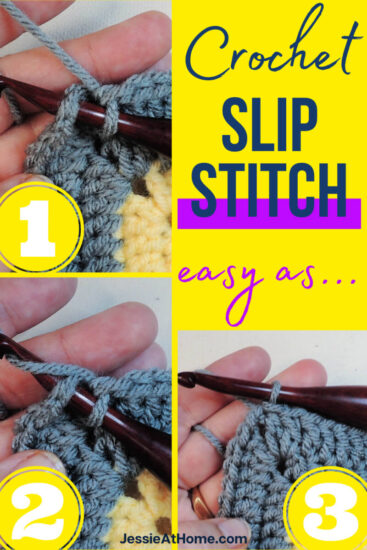
This tutorial was originally published on June 11, 2014. The most recent update was made on May 18, 2022.
This is NOT a tutorial on using slip stitch as a stitch of it’s own. You can find a tutorial for that here.
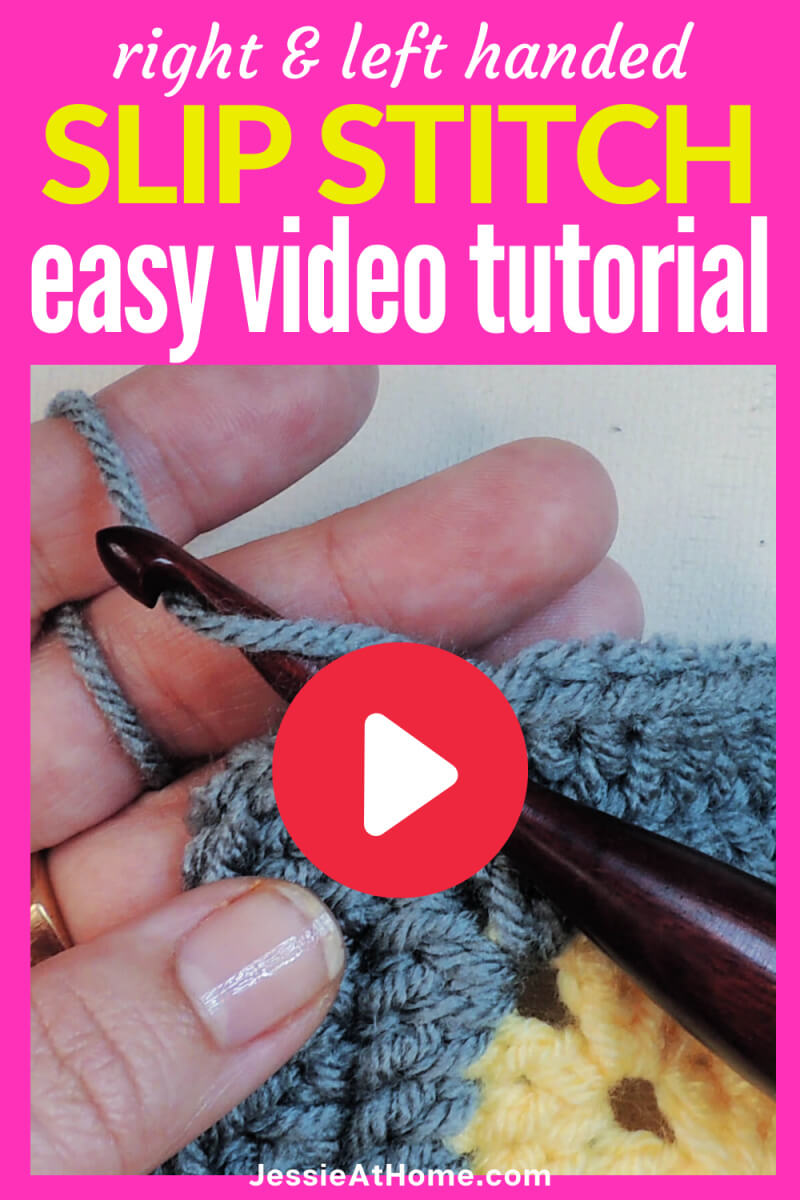
Crochet Slip Stitch Video Tutorials
These videos will show you how to use the slip st to:
- join a chain into a ring, as is needed to start most motifs worked from the center out
- join rounds
- move over several stitches
- top stitch or surface crochet
Left Handed Video
Please note that the left handed version is the right handed version mirror imaged.
If you can’t see this video, try watching it on YouTube HERE.
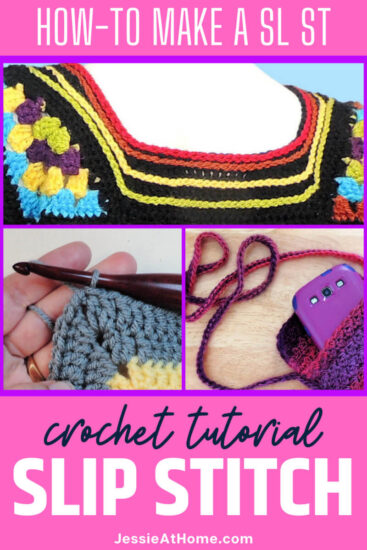
Crochet Slip Stitch Tutorial
Stitches and Abbreviations
click on highlighted sts for tutorials
sl st – slip stitch
st(s) – stitch(es)
yo – yarn over
Chart Symbol
The image below is the symbol used for crochet slip stitch in crochet charts.

Step by Step Tutorial With Photos
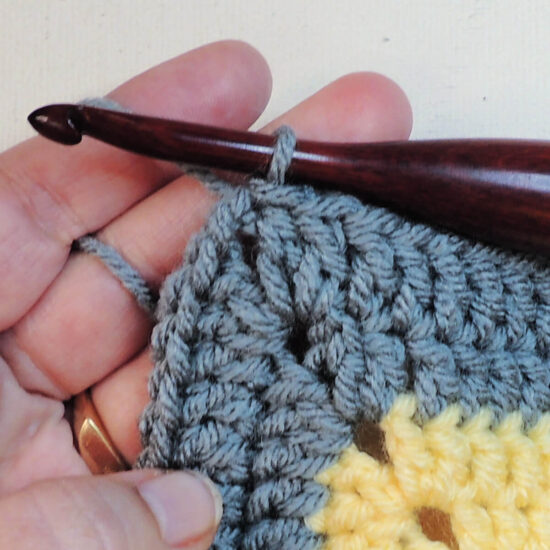
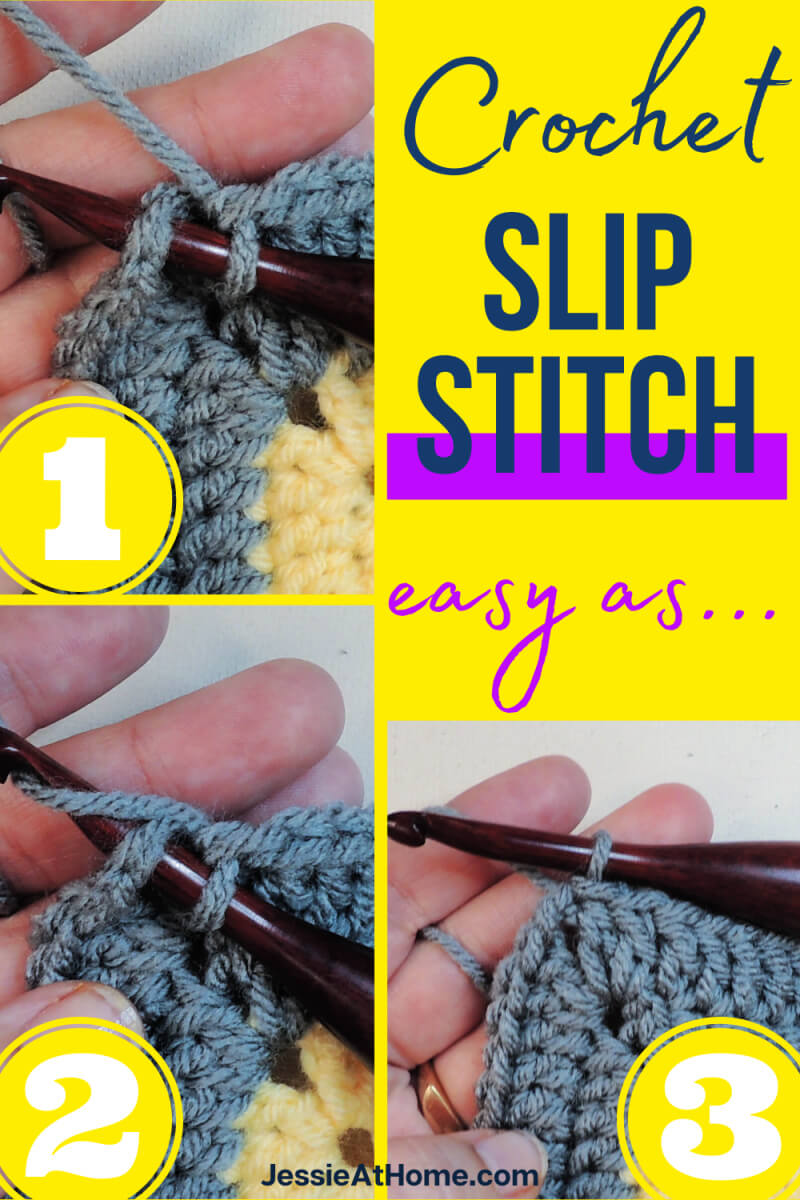
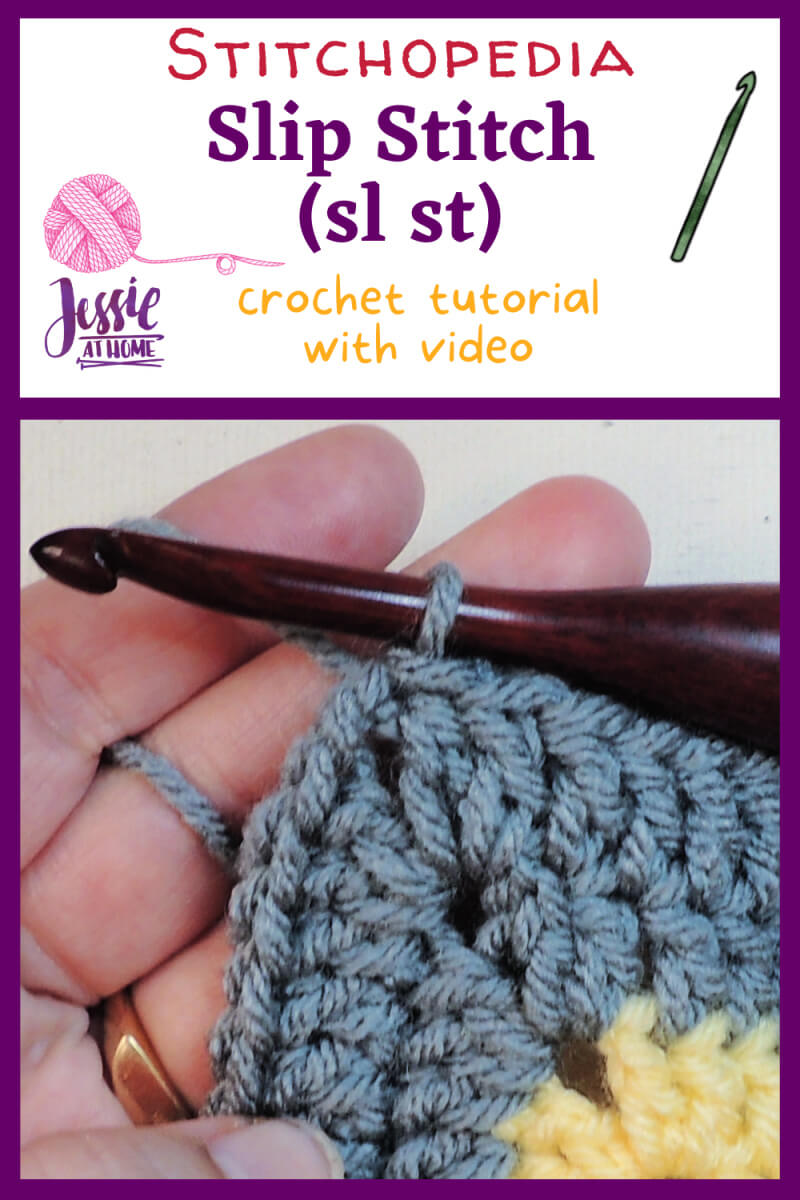
Slip Stitch (sl st): Insert hook in designated st, yo, pull through all loops on hook.
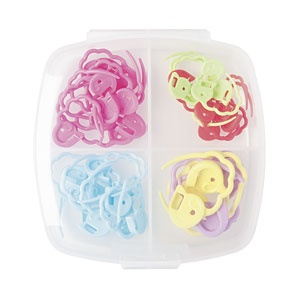
Tip: If you have a hard time knowing where to slip stitch to join a round, use a stitch marker. When you make the first stitch of the round, make it all the way up until the last yo & pull through, place the stitch marker around the loop on the hook, then finish the first stitch. When you join, sl st into the marked stitch. Note that while this keeps your seams from traveling as much, it also means the sl st does NOT count as a st, so don’t work into it on the next round.
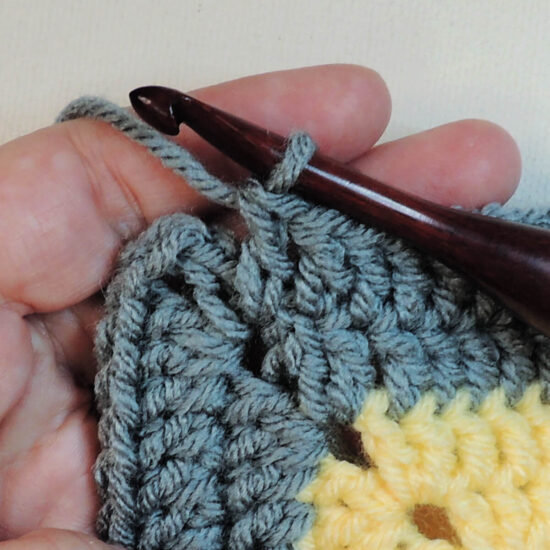
Insert hook into the stitch that you are joining into,
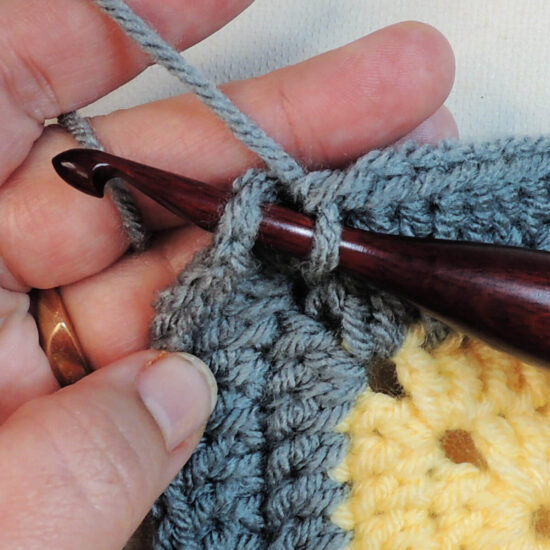
yo,
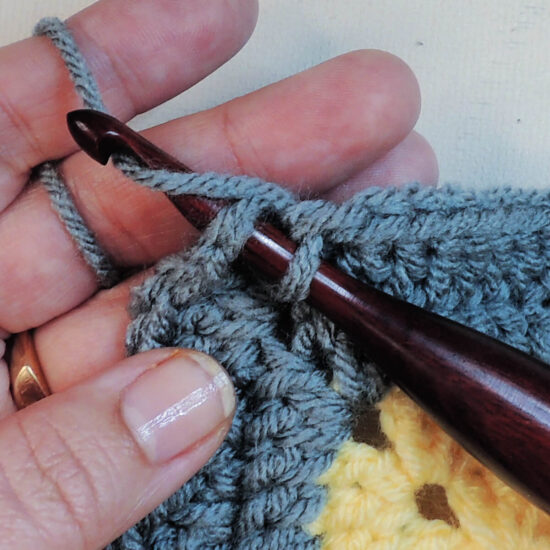
pull through all the loops on the hook.
Now you know how to use a slip stitch to seam or join your crochet stitches.
FAQs
What is a slip stitch used for in crochet?
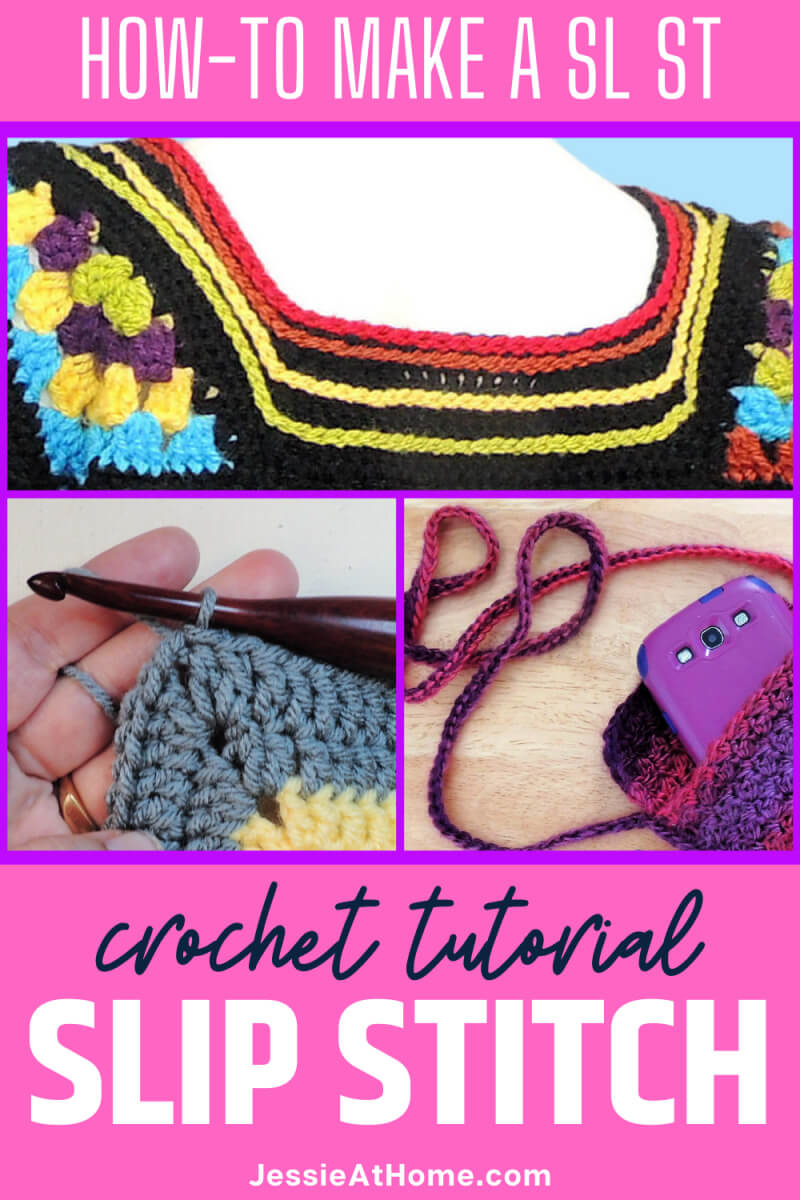
So many things! It’s most often thought of as a way to join granny squares or other crochet rounds. Of course, if you are working in spiral rounds you don’t need to join. No worries, there are other uses for the crochet slip stitch. They can be used as decorative elements along with practical purposes.
Sometimes, at the beginning of the round you need to move over a few stitches before starting the next round. This can be done by slip stitching in each st until the desired st is reached.
In some cases you need to join some chains or other stitches at places other then the end of a crochet round. If you don’t want to change the height of your work with a sc or taller stitch. This is often done when making a mesh, such as here and here.
A popular use for the slip stitch is to use it to join two separate pieces of crocheted fabric (or even knit) together. See the seaming power of the slip stitch here and here.
The sl st can be used as a stitch of its own, just like a sc or dc. You can see that use here and here.
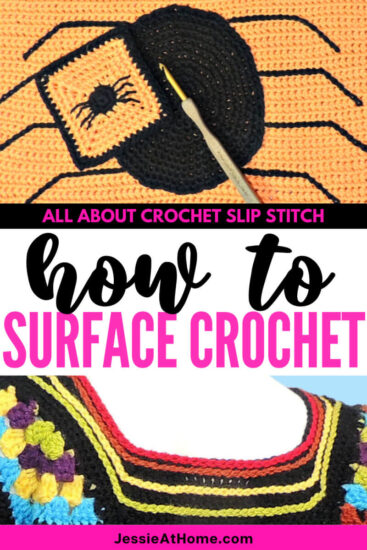
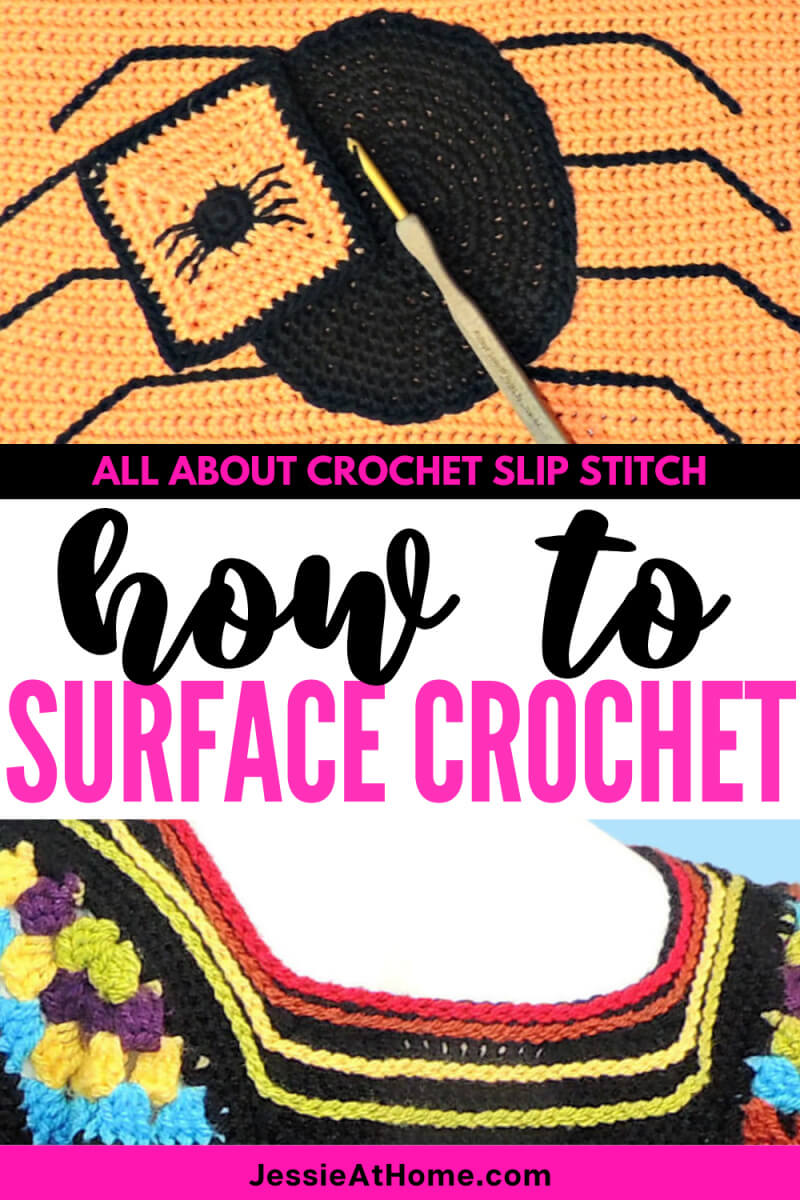
Another really nifty way to use the slip stitch is to hold the yarn on the wrong side or back of your work, while slip stitching on the right side of your work to create surface stitches often called surface crochet. This looks a lot like an embroidery chain stitch or lazy daisy stitch. You may find you want to go up a hook size when doing this. It also makes a lovely simple edging. Some examples are here and here.
Does a slip stitch count as a stitch in the row or round stitch count?
In most cases it does not. When a slip stitch is used as an actual stitch it usually does count as a stitch in the stitch count. The best way to know is to read all the notes at the start of the pattern, they will often let you know of slip stitches or chains count as stitches.
How to slip stitch into a chain, can you even do that?
You sure can! This is one of my favorite ways to make a simple cord. Start off by making chain stitches for as long as you want. Now skip the first chain stitch and slip stitch in just one loop the 2nd chain and all the rest. You can work into the front loop, back loop, or bottom bump. Try them each out and see what you like!
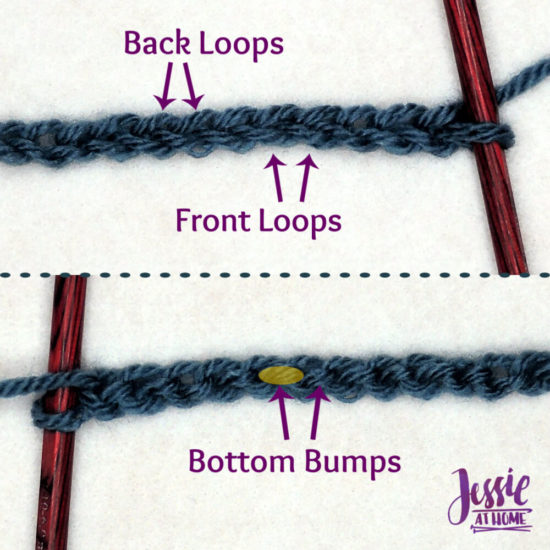
I like slip stitching in the bottom bump to make my crochet cords. Some examples are here and here.
Did you enjoy what you found here at Jessie At Home? Then sign up for my newsletter and like my Facebook page, so you’ll get all the updates on new tutorials, other posts, sales, and coming events.
If you have any questions, want to share pictures of your work, or just want to chat with Jessie and other crafty individuals, than join my Facebook group.

© Copyright 2022 Jessie Rayot / Jessie At Home All my videos, patterns, charts, photos and posts are my own work, so you may not copy them in any way. If you want to share this information with someone, then share the link to this post. If you want to share on your own blog / website, then you may use the first photo in this post and link back to this post. Also, you may not give away printed copies of this post.



Great post, sometimes we forget the basics!!!