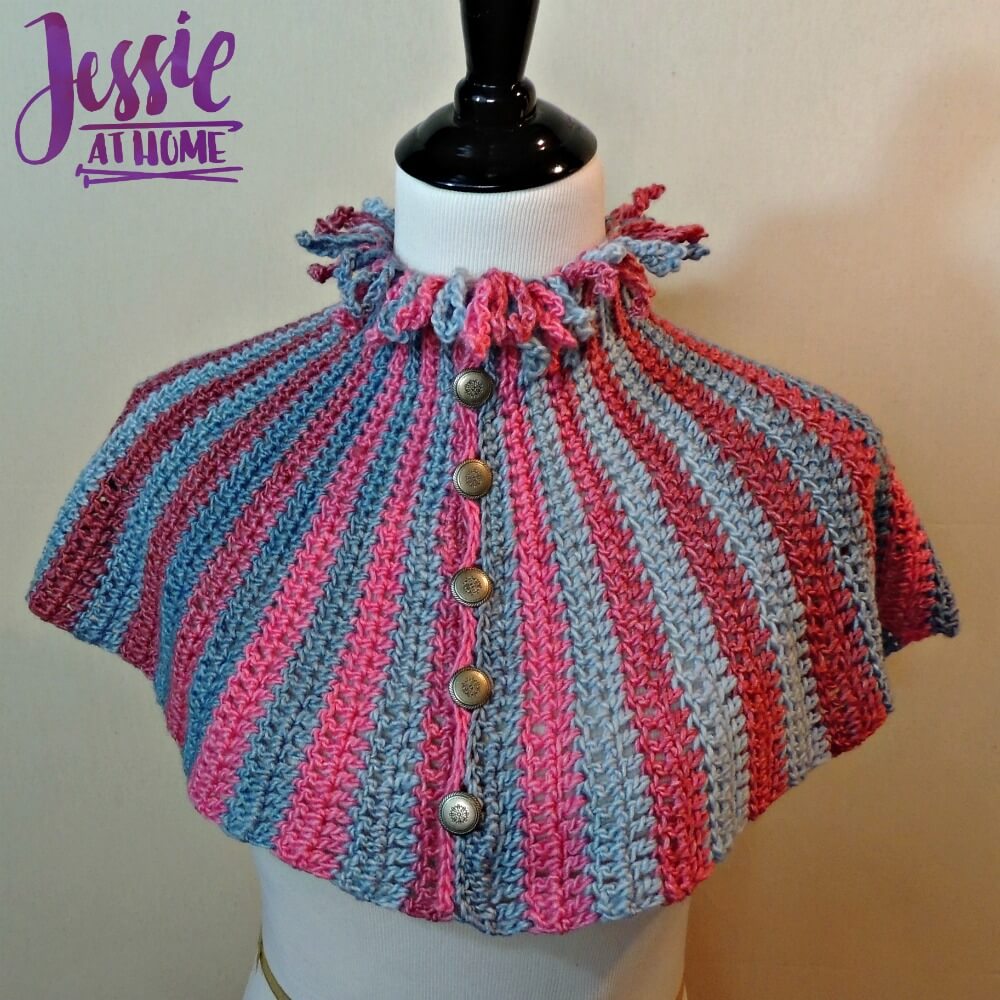
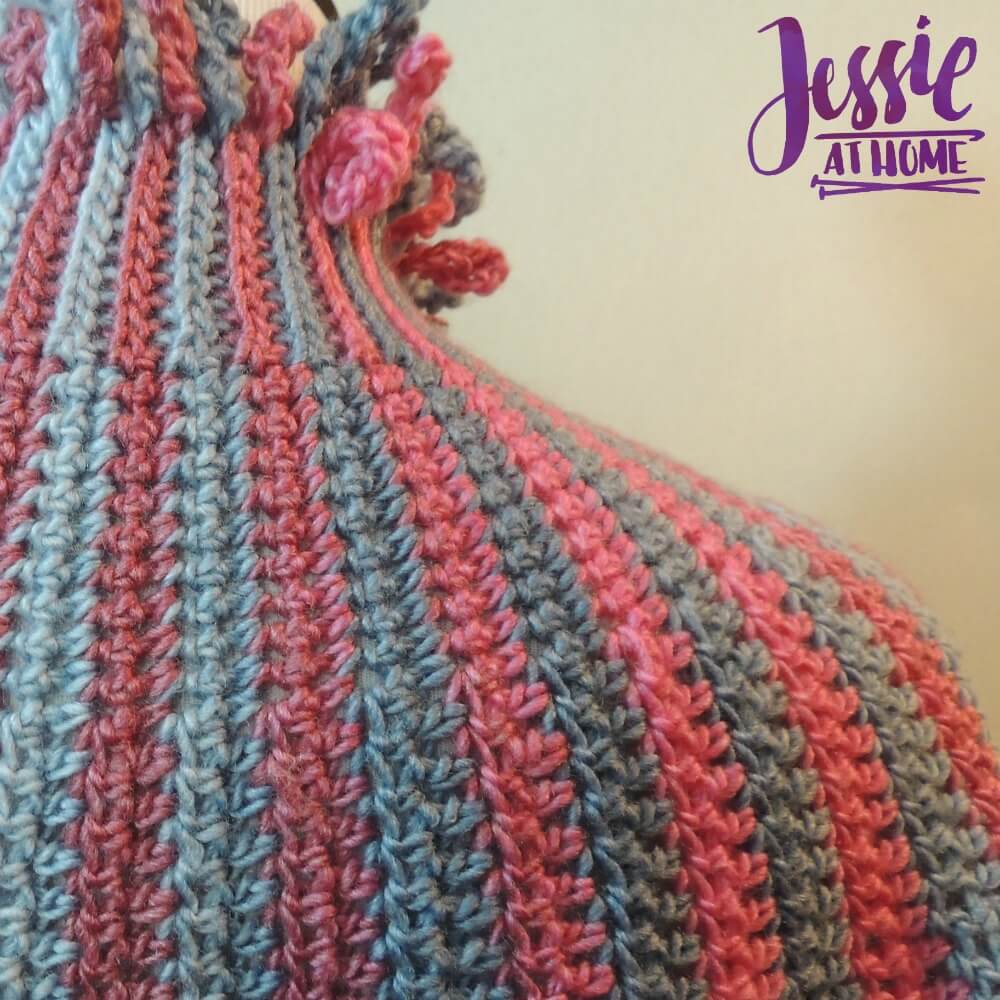
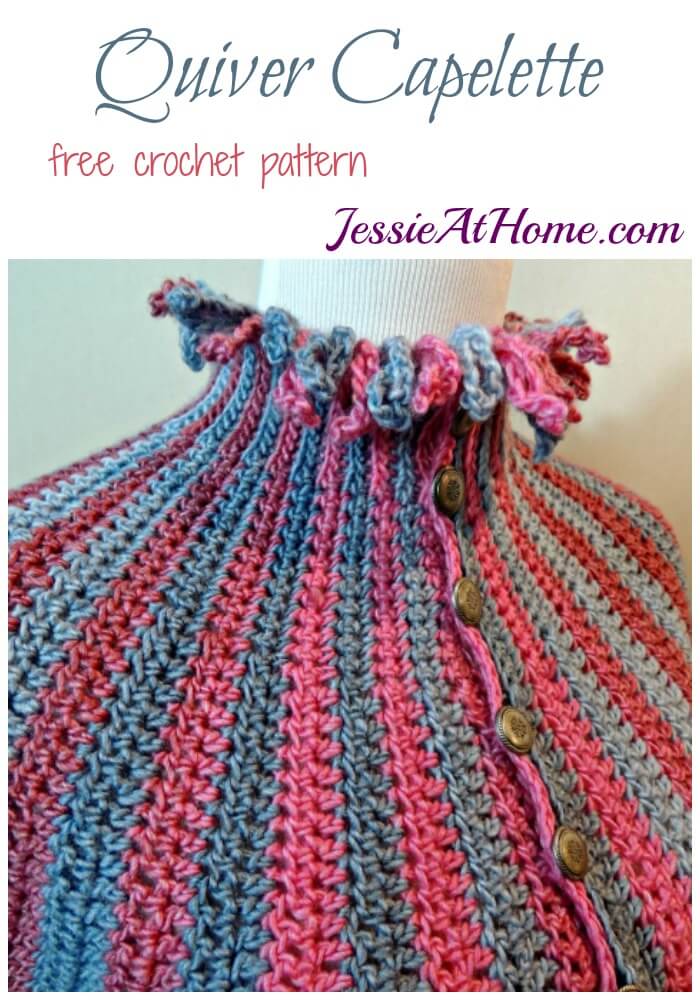
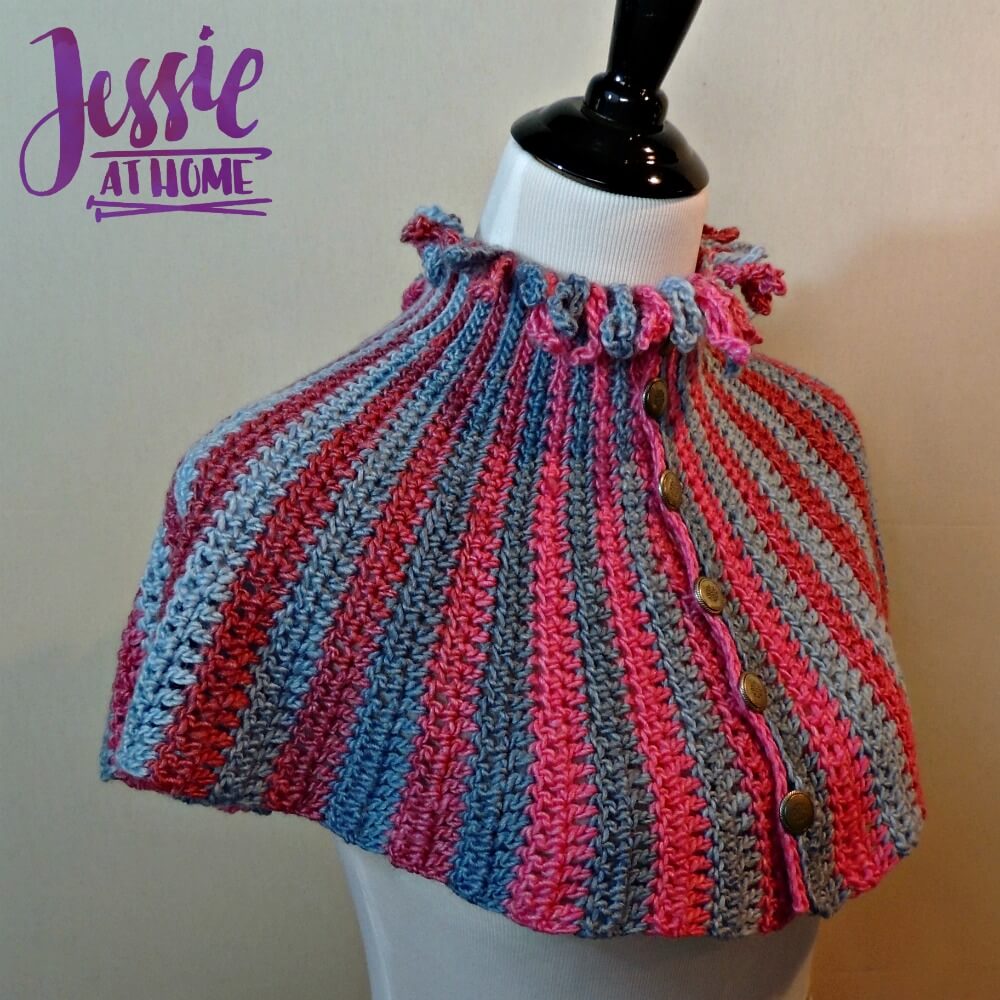
This design has been in my head for quite some time. I would go back and forth on how to make it, and then I held the Willow Quiver in my hands and it came to me! I am very pleased with the results. The Quiver Capelette uses different height stitches for shaping, and back loop slip stitches for the ribbing at the neck, plus some chain loops for a fun detail. Enjoy!
Quiver Capelette
Crochet Pattern
Intermediate Skill Level
Designed by Jessie Rayot
You can read my review of this yarn and find a coupon (if you act fast!) HERE.

Size:
Adult – adjustable circumference, 12″ long
Yarn:
Willow Quiver (worsted) – Ripe Raspberry 0006, Color A: 1 skein
Willow Quiver (worsted) – Fading Twilight 0003, Color B: 1 skein
Hook:
US-I/9, 5.50mm
Gauge:
15 sts x 18 rows = 4” [10 cm] in sc
Other supplies:
yarn needle
Six 5/8″ buttons
Stitches and Abbreviations:
ch – chain
blo – back loop only
dc – double crochet
hdc – half double crochet
sc – single crochet
sl st – slip stitch
sp(s) – space(s)
st(s) – stitch(es)
Getting Started:
With this pattern, you repeat until your desired size is reached. You may want to make the capelette snug or a little tight, as when you block it the ribbing will release a little bit. Be careful when blocking not to stretch out your cape.

Pattern:
Row 1: With color A, ch 55, sl st in 16th ch from hook, sl st in next 9 sts, sc in next 10 sts, hdc in next 10 sts, dc in last 10 sts.
Row 2: Turn, ch 3 (counts as first dc here and throughout), dc in next 9 dc, hdc in next 10 hdc, sc in next 10 sc, sl st in blo of next 10 sl sts.
Row 3: With Color B, ch 15, turn, sl st in blo of next 10 sl sts, sc in next 10 sc, hdc in next 10 hdc, dc in next 10 dc.
Row 4: Turn, ch 3 (counts as first dc here and throughout), dc in next 9 dc, hdc in next 10 hdc, sc in next 10 sc, sl st in blo of next 10 sl sts.
Row 5: With Color B, ch 15, turn, sl st in blo of next 10 sl sts, sc in next 10 sc, hdc in next 10 hdc, dc in next 10 dc.
Row 6: Turn, ch 3 (counts as first dc here and throughout), dc in next 9 dc, hdc in next 10 hdc, sc in next 10 sc, sl st in blo of next 10 sl sts.
Repeat rows 3-6 until piece is desired size to wrap around wearer’s neck, ending with row 6.
Buttonhole row 1: With Color A, ch 15, turn, sl st in blo of next 2 sl sts, [ch 2, skip 2, sl st in blo of next 4 sts] 6 times, sl st in last 2 sts.
Row 2: Turn, ch 1, sl st in blo of each st across. – (40 sts)
Fasten off and weave in all ends.
Block piece, either steam block or wet block. I wet blocked the sample using Unicorn Fibre Rinse. The finished piece is very soft and does not irritate my neck.
Add buttons opposite of the button holes, and close to the edge of piece.
Wear or give and enjoy!

If you enjoy what you have found here at JessieAtHome, please like my Facebook page to get all the updates on new tutorials, other posts, sales, and coming events.
If you have any questions or concerns, want to share pictures of your work, or just want to chat with Jessie and other crafty individuals, than join my Facebook group.
If you enjoy this free crochet pattern, please consider buying some of your supplies from one of these affiliate links. Thank you.
[signature]


Hi
I really love the Quiver Capelette. I was wondering if you have a video giving instructuion on how to make this pattern on youtube?
No, I don’t
This looks great but I would like it a little longer. How would you do this if it’s possible.
You can add 10 more stitches to each row and make them trebles, so it goes sl st, sc, hdc, dc, tr. It should work.
Can this be made to a hip length, and if so, please tell me how? I’d like to use three colours when I make this. Would that work?
Sure, but you’d have to do some math and such. I’d try by figuring out how much longer it needs to be and adding that many of the tallest stitches to each row. It won’t continue to get wider that way, but it will get longer.
I’m sorry that I’m such a question asker. I have only made furniture arm covers and foot rests as my first project. For my second project, I’ve made two hats for my sister-in-law with fourth stage cancer. This is only my third project. In the previous comments before my question, you say to add 10 stitches to each row. At each of the 5 stitch size levels, would it work to make it longer if each stitch type is 20 stitches long? Would that work to make the length lip level? and how can I widen it to full circle? Any ideas, Jessie? Thanks for your response.
What you’re asking for is a complete re-write for a new pattern. I can put it on my request list, as I do think it would be cool. If you want this level of help I suggest finding someone local who can sit with you and help you alter the pattern, or finding someone who will do it on zoom. This is not a type back and forth kind of alteration. Try calling your local yarn shop and seeing if they can help or know someone who can.
This is so pretty and I would like to make it. However I knit but do not crochet. Do you have this in a knit version?
I do not, but I agree that a knit version would be fun. I’ll put it on my requests list. 🙂
I’m completely captivated by this utterly unique project! Thanks a lot for sharing this adorable pattern, Jessie! Before I forget, I’d really like to add this capelette a big and wide Victorian-like hood.. Could you be so kind as to give me some piece of advice to do it..?
There are so many factors to that. That sort of pattern development aid is available to members of Showstopper Creations. https://www.jessieathome.com/showstopper-creations-sales-page/
Your patterns are so unique and beautiful. Thank you for being so generous in sharing them.