


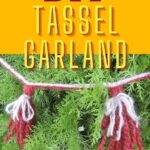
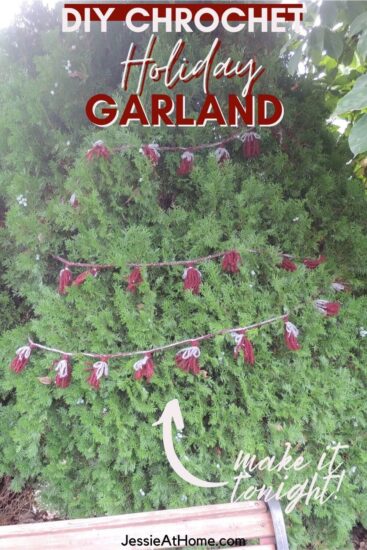
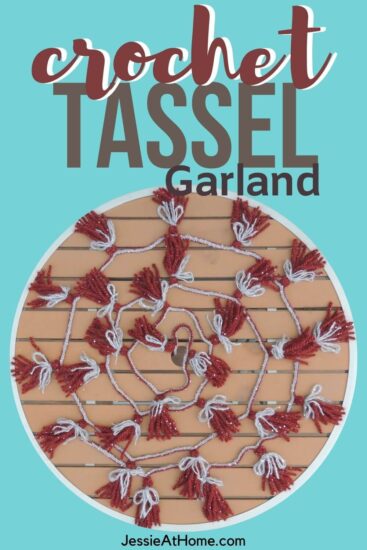
Learn to crochet this DIY tassel garland that can be hung on a tree, mantelpiece, entryway, or anywhere you need more holiday cheer.
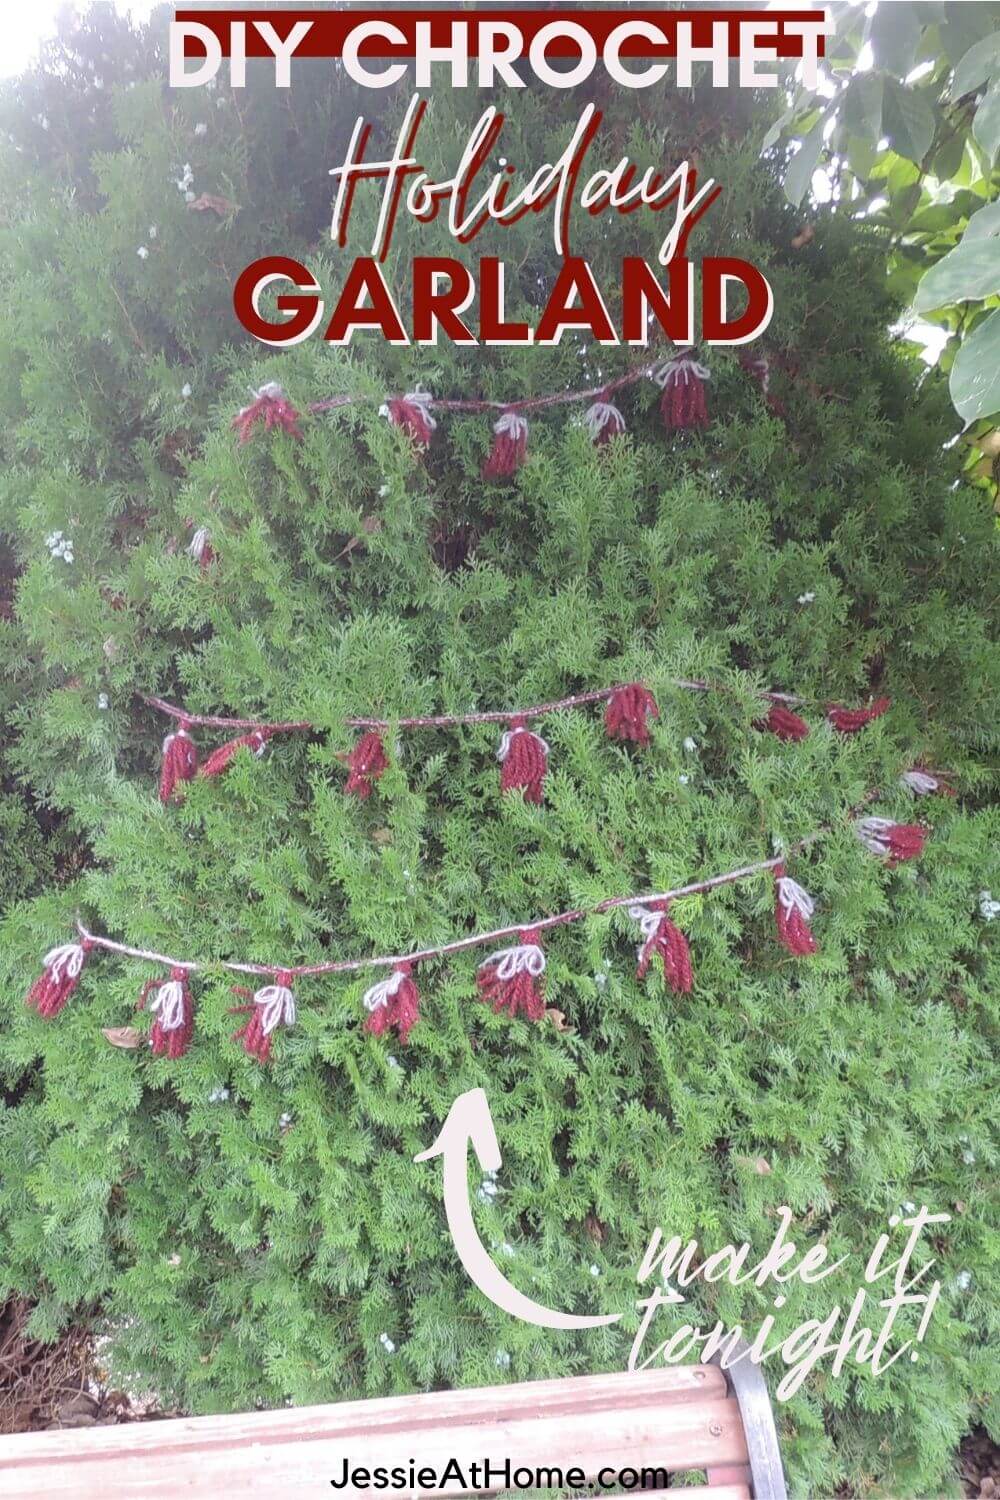

This free crochet pattern is full of helpful photos and even has a video tutorial. You’ll be surprised how easy and fun it is to make. The tassels are twisted so no worries about frayed fringe or tassels getting pulled apart when you pack it up between seasons. You may find your yarn tassel garland is so pretty you want to use it for year ’round home decor.
You can also get a free printable project page to help you keep track of your supplies and any changes you make HERE.

You’ll be crocheting twisted tassels in no time, and you won’t want to stop. Pop in your favorite holiday jams, grab some yarn in your favorite holiday colors and your favorite hook, and get going.
You can adjust the length of the tassels, the space between the tassels, and the length of the garland, I give you all the info you need! You can even add beads, ribbon, decorative buttons, or other fun accessories, time to raid your craft supplies!
Crochet Tassel Garland
DIY Tassel Garland Crochet Pattern
Easy Skill Level
Designed by Jessie Rayot
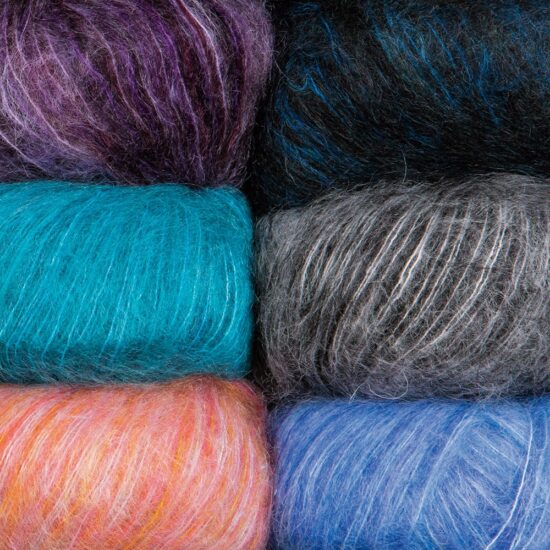
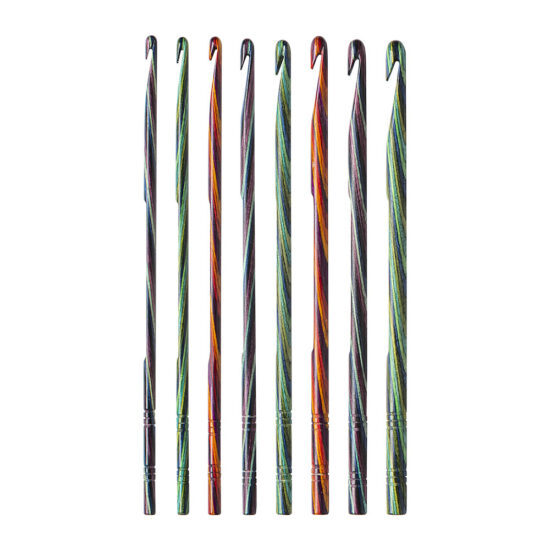
Supplies
Size
Whatever size you want.
Sample is 168” (14’) long with 5” long tassels.
Yarn
Nearly Any
Sample is made with a size 4 (worsted) novelty yarn.
Hook
1-2 sizes larger than you would normally use for your yarn.
Sample is made with a 6.5 mm (US K/10)
Gauge
Learn about gauge HERE
Not important for this pattern, just make sure your gauge isn’t tight.
Other supplies
Stitches and Abbreviations
click on underlined sts for tutorials
ch – chain
dch – double chain
sl st – slip stitch
st(s) – stitch(es)

Crochet DIY Tassel Garland Video Tutorial
If you can’t see this video, try watching it on YouTube HERE.
Special Stitches
Double Chain (dch) – Insert hook into designated st (usually the first st), yo, pull through (2 loops on hook), yo, pull through both loops (first st made), *insert hook in left vertical loop of st just made, yo, pull through (2 loops on hook), yo, pull through both loops (next st made); repeat from * for each additional dch needed.
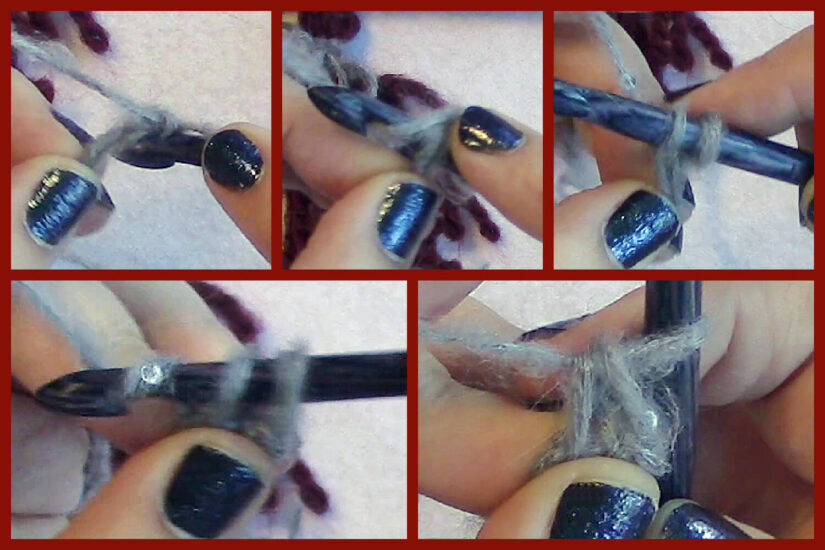
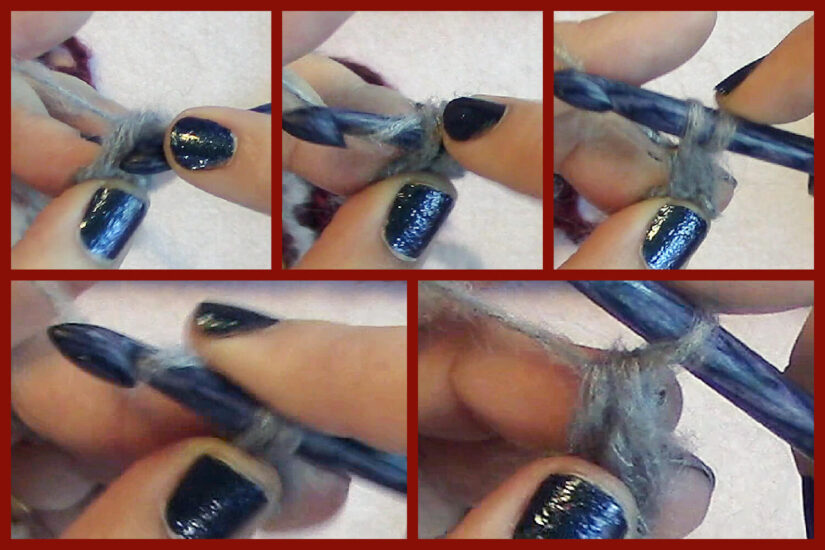
Tassel Double Chain (tdch) – Pull loop on hook to twice the desired length of tassel (sample was made pulling loop 10” long), spin hook counterclockwise causing loop to twist until loop is tightly twisted (sample was twisted 35 times), fold twisted section in half and twist it clockwise to make twisted tassel, insert hook in left vertical loop of st just made, yo, pull through (2 loops on hook), yo, pull through both loops.

Pattern Notes
- Read through all instructions before beginning.
- Watch the video in the online pattern, or on YouTube HERE if you get stuck.
DIY Tassel Garland Pattern
First I’ll write out the pattern step by step with explanations of how to alter the size of each section. This will be a good way to learn the pattern and make any adjustments to suit your style and needs. After that I’ll write the pattern in traditional row form.
Starting String
Dch 25. This is the beginning or end of the garland, so if you want to make it longer to tie around something or for some other reason, just keep going until it’s the length you need. Check the end of this pattern for a link to get a free printable project page where you can track all the numbers you use so you don’t forget!
Tassel
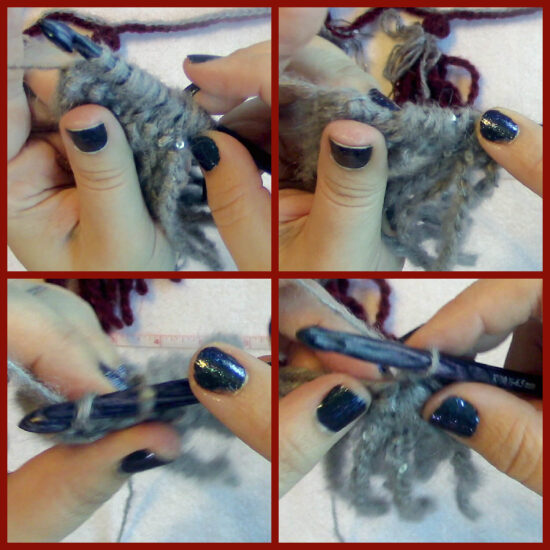
Tdch 12. This is for the actual tassel. If you want your tassels longer or shorter, adjust the length you pull the loop; the loop should be pulled to twice the desired length of the tassel. The first time you make this stitch you’ll want to see how well the tassel twists when you fold it in half. If the twist is too loose you’ll need to spin the hook more times, if the twist is too tight (which will make finishing the stitch very difficult), you’ll need to spin the hook less times. While you can just do this “by feel”, I recommend counting the spins and writing them down so everything is consistent.
Insert hook just before the last tassel stitch made, yo, pull through (2 loops on hook), *working from right to left (opposite if left handed) insert hook just before the next tassel, yo, pull through; repeat from * until a loop has been pulled before all but the last tassel (there will be the same number of loops on the hook as there are tassels), insert hook just before the first tassel made, yo, pull through everything.
Ch 1 to close the tassel off.
String Between Tassels
Dch 25, to make the first dch, insert hook into a top loop just before the tassel, yo, pull through, then finish from there.. This is the space between tassels. Make this space longer or shorter to suit your needs by making more or less double chains. Be sure to write down your number. You could even do just 2 or 3 to place the next tassel super close, then make a longer space. Do what makes you happy!
Keep Going
Continue making tassels and spaces to your desired length. End with the same number of dch stitches you started with.
Contrasting Color (Row 2)
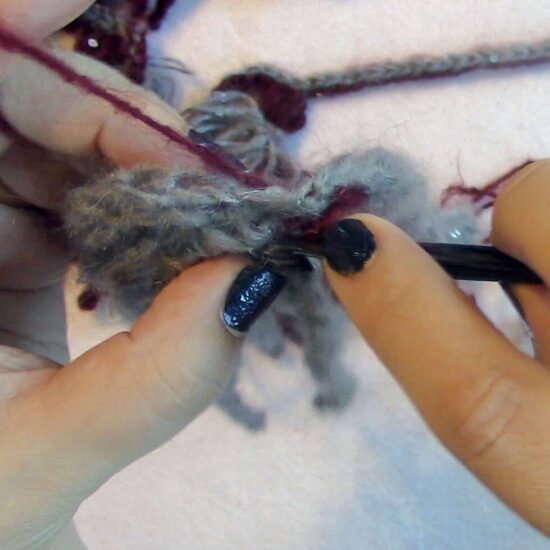
Go back to the first stitch you made and place your contrasting color on your hook with a slip knot. Insert your hook into the first dch made so that the 2 loops on the bottom of the stitch are under your hook and the rest of the loops are above it. Yo, pull through, making a sl st. Sl st in each dch until you reach a tassel.
Adjust the tassel so it’s hanging how you like it. Insert your hook through the top of the tassel and make a sl st.
Sl st in each dch to next tassel.
Continue sl stitching across to end of garland.
Finishing
Cut 2 pieces of contrasting color, each 12” long. Hold the pieces together and tie them tightly around the first tassel about ½ to 1” below the top of the tassel. Wrap them around one more time and tie a bow in the front of the tassel. Repeat with remaining tassels. You can cut more or less pieces of yarn and adjust the cut length to suit your style. You could also just tie a knot and then add beads to the ends of the tie strings. Or maybe tie the ties tight and cut them short, then sew a decorative button over top. Have fun with it and make it your own! Just be sure to post a project page on Ravely and link it to my pattern, or join my Facebook group and share photos on a Finished Friday post.
There you go my friends, you’re own DIY Tassel Garland. Happy creating!
Pattern (Traditional)
Row 1: Dch 25, *tdch 12, [insert hook in previous tdch, yo, pull through] 11 times (12 loops on hook), insert hook in previous tdch, yo, pull through all loops, ch 1, insert hook in top of last dch, yo, pull through (2 loops on hook), yo, pull through 2 (counts as first dch), dch 24; repeat from * to desired length.
Row 2: Do not turn, place contrasting color yarn on hook with a slip knot, sl st in first dch of Row 1, sl st in each of next 24 dch, *sl st through top of tassel catching the front and back, sl st in each of next 25 dch; repeat from * to end.
Finishing
- Cut 2 pieces of contrasting color, each 12” long.
- Hold the pieces together and tie them tightly around the first tassel about ½ to 1” below the top of the tassel.
- Wrap them around one more time and tie a bow in the front of the tassel.
- Repeat with remaining tassels.
Use or give and enjoy!
Here are some supplies that you may find useful. You pay the same price with these affiliate links, and I get a small referral fee.
Did you enjoy what you found here at Jessie At Home? Then sign up for my newsletter and like my Facebook page, so you’ll get all the updates on new tutorials, other posts, sales, and coming events.
If you have any questions, want to share pictures of your work, or just want to chat with Jessie and other crafty individuals, than join one of our free Zoom Sit & Stitches. Find them on our Events Calendar.

© Copyright 2021 Jessie Rayot / Jessie At Home®, LLC All my videos, patterns, charts, photos and posts are my own work, so you may not copy them in any way. If you want to share this information with someone, then share the link to this post.


