

The Crochet Holiday Star is the first in my series of holiday décor patterns this week. Hang it on a door knob, in place of a wreath, or anywhere you want a little extra festivity.

You can vary the colors to make stars for whatever holiday you want. Hanukkah, Christmas, Fourth of July, or whatever you want to celebrate! Have fun blinging out your Holiday Star with whatever awesomeness you have in your stash.
Products for this design were provided by Furls Crochet, Fairfield, and Clover. All opinions are my own.
Crochet Holiday Star
Crochet Pattern
Intermediate Skill Level
Designed by Jessie Rayot
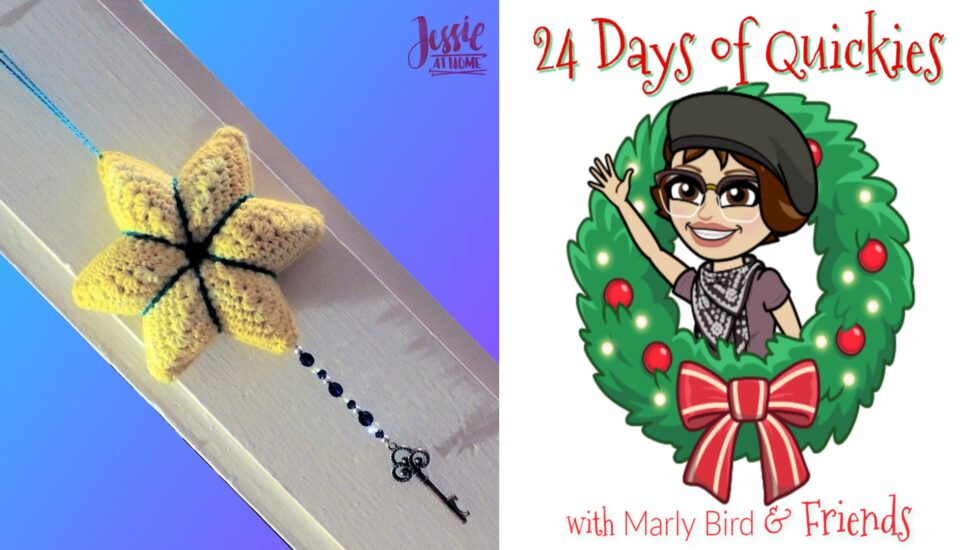
Guess what?! This pattern is the 12/10/2020 crochet pattern for Marly’s 24 Days of Quickies!
To get the PDF FOR FREE, use THIS LINK. No other link will get you the PDF for free, so if you use any other link, you will have to pay.
Supplies
Size
7” point to point
Yarn
Furls Whims Merino: (50% fine superwash merino wool, 50% nylon), Size 4 (11 wpi, worsted weight), 94 yds / 100 g (yds/g = 0.94)
Dyed Yellow Ombre (see HERE): 1 skein, (103 yds / 100 g)
Hook
4.5 mm (US 7): Streamline Swirl Hooks HERE
Gauge: Learn about gauge HERE
Not important for this pattern.
Other supplies
Yarn Needle
PolyFil
Embroidery Floss or Scrap Yarn
Various Beads
Sewing Thread and Needle
Clover Thread Twister
Stitches and Abbreviations: click on highlighted sts for tutorials
ch – chain
rnd – round
sc – single crochet
sc5tog – single crochet 5 together
sl st – slip stitch
st(s) – stitch(es)
yo – yarn over
( ) – work step in parentheses in indicated stitch
[ ] – work step in brackets number of times indicated
Special Stitches
Single Crochet Five Together (sc5tog): Insert hook into st, yo, pull through st, (2 loops on hook), [insert hook in next st, yo, pull through st] 4 times, (6 loops on hook), yo, pull through all loops.
Getting Started
- Read through all instructions before beginning.
- Rnd counts are at the end of each Rnd after the period, if the count has changed from the previous Rnd. {count here}
- Chs and sl sts are not included in Rnd counts unless specified.
Pattern
Holiday Star Front and Back (make 2)
Rnd 1: Ch 115, 2 sc in second ch from hook, sc in each of next 6 chs, sc5tog, sc in each of next 6 chs, [2 sc in each of next 2 chs, sc in each of next 6 chs, sc5tog, sc in each of next 6 chs] 5 times, 2 sc in last ch, sl st to top of first sc to join. {102 sts}
Rnd 2: Ch 1 (does not count as a st here or throughout), 2 sc in first st, sc in each of next 5 sts, sc5tog, sc in each of next 5 sts, [2 sc in each of next 2 sts, sc in each of next 5 sts, sc5tog, sc in each of next 5 sts] 5 times, 2 sc in last st, sl st to top of first sc to join. {90 sts}
Rnd 3: Ch 1, 2 sc in first st, sc in each of next 4 sts, sc5tog, sc in each of next 4 sts, [2 sc in each of next 2 sts, sc in each of next 4 sts, sc5tog, sc in each of next 4 sts] 5 times, 2 sc in last st, sl st to top of first sc to join. {78 sts}
Rnd 4: Ch 1, 2 sc in first st, sc in each of next 3 sts, sc5tog, sc in each of next 3 sts, [2 sc in each of next 2 sts, sc in each of next 3 sts, sc5tog, sc in each of next 3 sts] 5 times, 2 sc in last st, sl st to top of first sc to join. {66 sts}
Rnd 5: Ch 1, 2 sc in first st, sc in each of next 2 sts, sc5tog, sc in each of next 2 sts, [2 sc in each of next 2 sts, sc in each of next 2 sts, sc5tog, sc in each of next 2 sts] 5 times, 2 sc in last st, sl st to top of first sc to join. {54 sts}
Rnd 6: Ch 1, 2 sc in first st, sc in next st, sc5tog, sc in next st, [2 sc in each of next 2 sts, sc in next st, sc5tog, sc in next st] 5 times, 2 sc in last st, sl st to top of first sc to join. {42 sts}
Rnd 7: Ch 1, 2 sc in first st, sc5tog, [2 sc in each of next 2 sts, sc5tog] 5 times, 2 sc in last st, sl st to top of first sc to join. {30 sts}
Rnd 8: Ch 1, [sc5tog] 6 times, sl st to top of first st to join. {6 sts}
Fasten off leaving a long tail, then use the yarn needle to sew the tail through the tops of all 6 sts and pull tight to close hole.
Weave in ends.
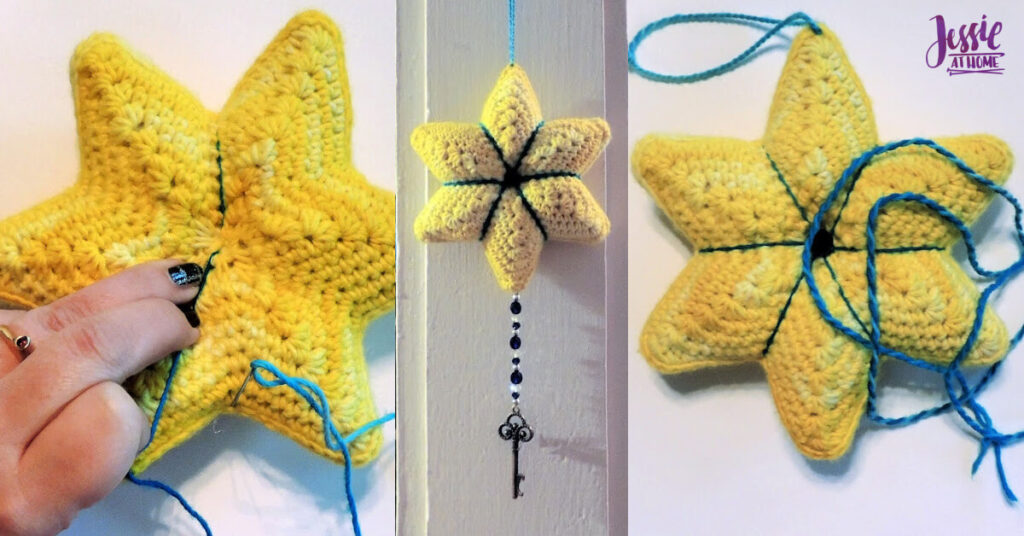
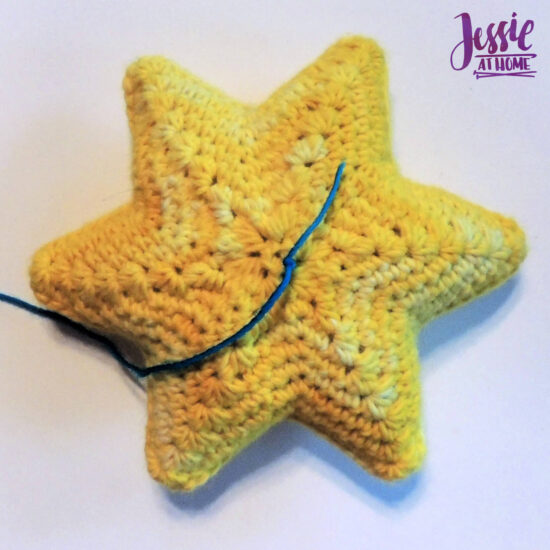
Joining and Stuffing Star
- Hold Holiday Star Front and Back together.
- Sc through both layers of starting chain to join the two pieces wrong side together, pausing with 2 inches left to join.
- Firmly stuff with PolyFil.
- Finish joining.
- Fasten off then weave in ends.
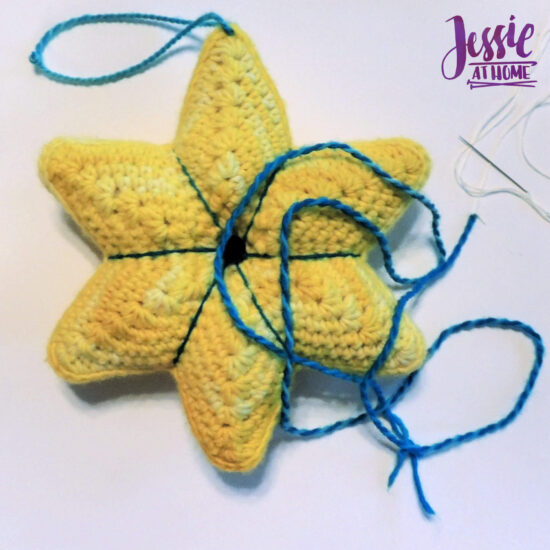
Finishing
- Thread a long piece of embroidery floss or scrap yarn into the yarn needle.
- Tie end of thread to center of Star.
- Sew down through the center of Star, up through one of the valleys of Star, then down through the center of Star again.
- Pull tight, then sew up through the next valley, then down through the center again.
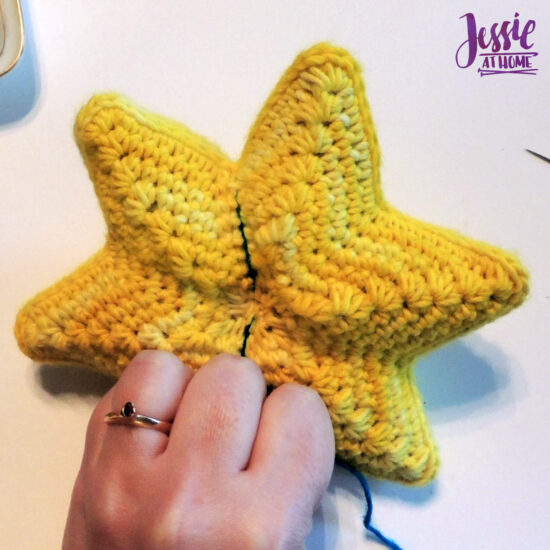
- Repeat last step until all valleys have been worked.
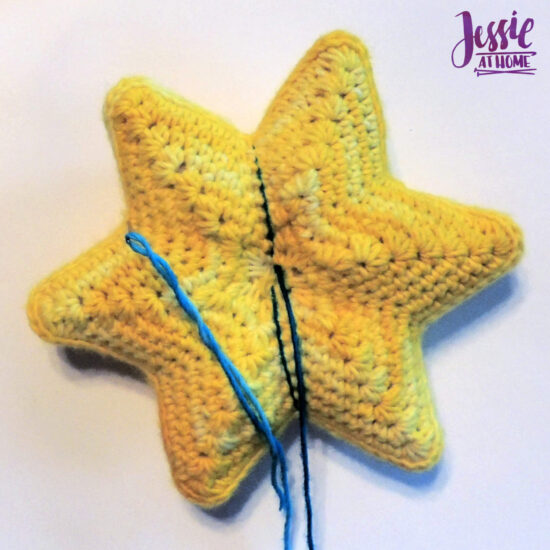
- Weave in ends.
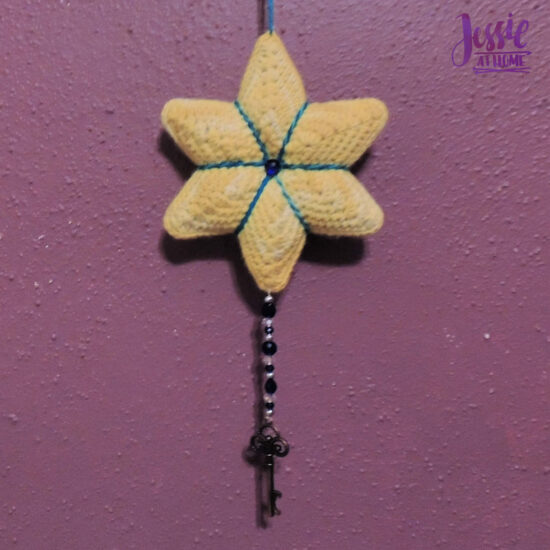
- Make 1 yard of cord with Clover Thread Twister and yarn or embroidery floss.
- Use sewing thread to sew one end of cord to the center of Star, then continue wrapping cord to cover the floss or yarn used to shape Star.
- Cut off extra cord and use it to make a hanging cord for Star.
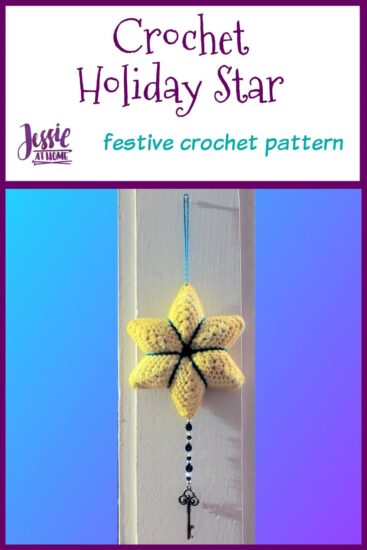
- Sew a bead to the center of the Star on both sides.
- Add additional decorations to Star as desired.
Hang or give and enjoy!

If you are going to make this creation, then get some supplies from these affiliate links. You pay the same price, and I get a small referral fee.
Did you enjoy what you found here at Jessie At Home? Then sign up for my newsletter and like my Facebook page, so you’ll get all the updates on new tutorials, other posts, sales, and coming events.
If you have any questions, want to share pictures of your work, or just want to chat with Jessie and other crafty individuals, than join one of our free Zoom Sit & Stitches. Find them on our Events Calendar.

© Copyright 2020 Jessie Rayot / Jessie At Home®, LLC All my videos, patterns, charts, photos and posts are my own work, so you may not copy them in any way. If you want to share this information with someone, then share the link to this post.


Hi Jessie. Thank you so much for your contribution to the 24 Days of Quickies with Marly Bird and Friends. Your star is going to be a great package decoration for Christmas and Hannukah packages!
That sounds like a great use for it! I made the star with 6 points so that it would work well for Hannukah in addition to many other holidays. 🙂
Thank you for creating the Crochet Holiday Star pattern for Marly Bird 24 Days of Quickies. I got it today the First Night of Hanukkah. Can’t wait to start it and hand it on my door. You have made my holiday.
Awesome!! I’m so glad to see people making it for Hanukkah, I really wanted to make something that would work for a variety of winter holidays!