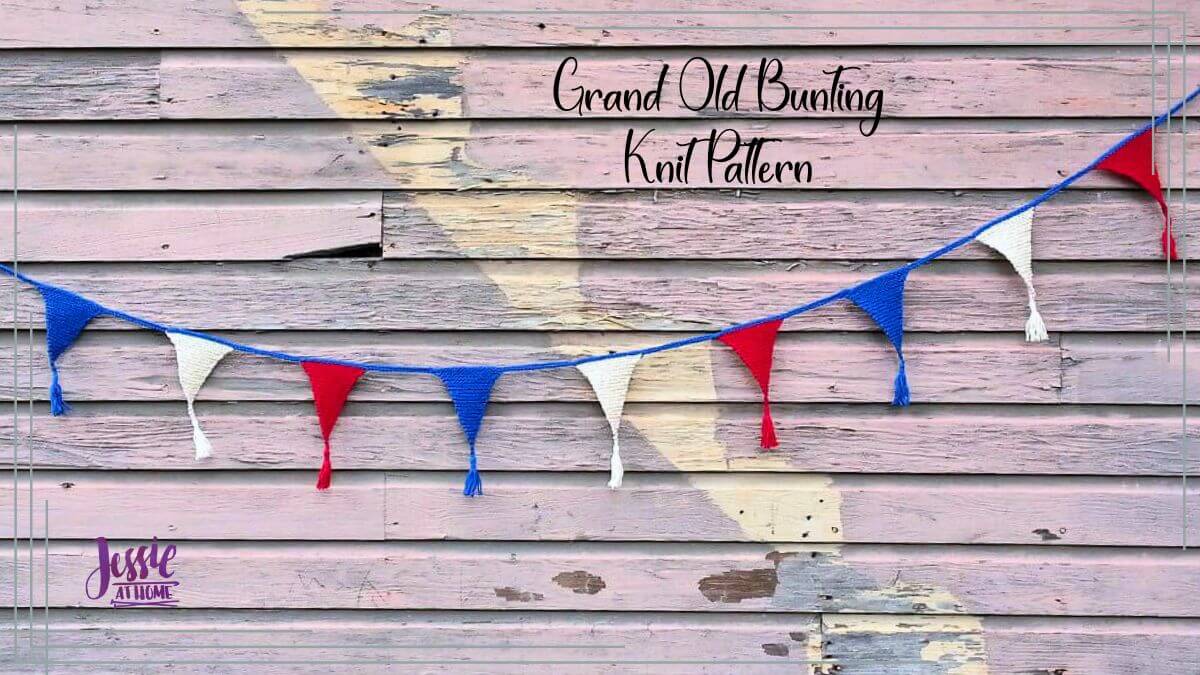
Inside: Transform your space with the Grand Old Bunting; a free bunting knit pattern. Easy to customize and perfect for outdoor or indoor decor.
The yarn for this design was provided by Lion Brand. All opinions are my own.
This pattern was originally published on 4/28/15. The most recent update was made on 6/10/25.
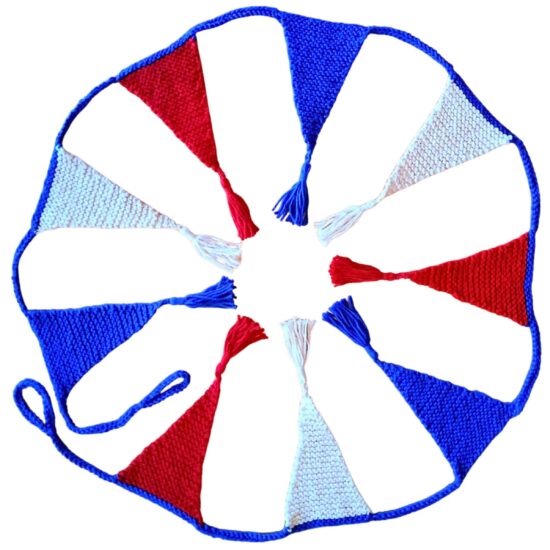
Grand Old Bunting is a great way to dress up your space. Make this pattern with 100% cotton yarn and it will be easy care, making it perfect for outdoor decorations. This bunting pattern includes instructions for 9, 11, or 13 flags of increasing size, plus customization notes to make any number of flags each any size you wish. This is a true “make it your way” pattern!
Rather crochet this? Find the Basic Bunting Crochet Pattern HERE.
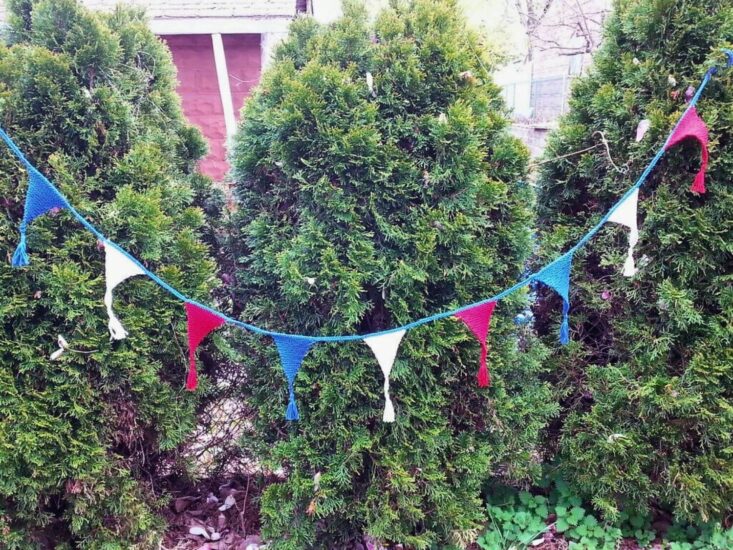
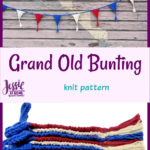
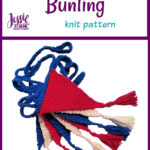
I made this sample in red white and blue as part of my Patriotic Party KAL (Summer 2015), but you can make it in any colors you want for any occasion. Try making Christmas bunting in red and green. It even is a great stash-buster if you use your leftover yarns from other projects to make the flags. Add some tassels to the bottoms of the flags to dress it up even more.
The Grand Old Bunting or garland pattern is knit with triangular flags attached to a hanging cord as it’s knit, so when you are done, there’s no assembly required! Plus, it’s created with a garter stitch so there are no wrong or right sides.
With it’s easy-to-follow directions, links for stitch tutorials, simple stitches, and customization suggestions, this free easy knit bunting pattern is a great pattern for beginners. No need to make a gauge swatch if you don’t want to, it’s not like this has to be the right size to fit anyone!
Adjusting your size is super easy with out customization suggestions, and with 4 sizes in the pattern. You just need to decide how wide you want your flags at the widest point and what you stitch gauge is, and you can go from there. OK, if you are modifying the pattern, you may need to make a gauge swatch.
Grand Old Bunting
Triangular Flag Free Bunting Knit Pattern
Easy Skill Level
Designed by Jessie Rayot
Supplies
Sizes
1 (2, 3)
Bunting has 9 (11, 13) flags
Finished Measurements
Flag Width 4 (5, 5.75) in / 10 (12.5, 14.5) cm
Flag Length 5.5 (6.5, 7.75) in / 17 (19.5, 20) cm
Bunting Length 83 (120, 163) in / 211 (305, 414) cm
Yarn
Village Yarn Craft Cotton: (100% Cotton), size 4 / worsted weight, 115 yds / 105 m, 71 g / 2.5 oz per skein
Yardage Needed (does not include tassels)
Bunting Cord Color: MC
- 25 (35, 50) yd / 25 (35, 45) m
- 15 (20, 30) g / 0.5 (0.75, 1) oz
Flag Color(s) (total for all 9 (11, 13) flags): CC
- 165 (320, 525) yds / 150 (295, 480) m
- 100 (200, 325) g / 3.5 (7, 11.5) oz
-OR-
Original (Red, White & Blue) bunting was made with the following yarn, which is now discontinued:
Lion Brand Kitchen Cotton: (100% Cotton), size 4 / worsted weight, 99 yds / 91 m, 57 g / 2 oz per skein
Knitting Needles
US 7/4.5 mm circular needles (at least 16-24” long)
Note: Double point knitting needles are not suggested for this pattern, nor are straight needles as there are too many stitches in the string/cord section which starts the pattern
Gauge
Learn about gauge HERE
18 sts x 40 rows = 4 in / 10 cm in garter st
Other Supplies
- Removable Stitch Markers (9 (11, 13)
- Tapestry/Yarn Needle
Stitches and Abbreviations
click on highlighted sts for tutorials
bo: bind off
CC: Contrast/Coordinating Color
co: cast on
k: knit
k2tog: knit 2 together
MC: Main Color
pm: place marker
rnd: round
st(s): stitch(es)
Get the Ad-Free Printable PDF at These Sites
- Jessie At Home – Buy directly from me, you can also get bonus printables!
- Ravelry
- Etsy
- LoveCrafts

Pattern Notes
- Read through all instructions before beginning.
- The stitch count is at the end of each rnd/row after the period, usually only if the count has changed from the previous rnd/row. [count here]
- Chs and sl sts are not included in stitch counts unless specified.
Grand Old Bunting: Triangular Flag Bunting knit Pattern
Start / Hanging Cord
With MC, co 66 (74, 82), pm, [co 36 (44, 52), pm] 8 (10, 12) times, co 48 (52, 56). [402 (566, 762) sts total]
Flags
First Flag
Row 1: Bind off to marker, remove marker, k 17 (21, 25), leave remaining sts unworked. [18 (22, 26) sts on dominant hand needle]
NOTE: Remaining Flag rows will be worked with only the 18 (22, 26) sts from Row 1.
Row 2: Do not cut main color, switch to CC (whichever one desired for this flag), k to end. [18 (22, 26) sts]
Row 3: K to end.
Row 4: K2tog, k to end. [17 (21, 25) sts]
Row 5-6: K to end.
Row 7: K2tog, k to end.
Repeat rows 5-7 until only 2 sts remain, then knit last 2 stitches together.
Fasten off CC, leaving 10” tail if adding tassel.
Remaining Flags
Pick up MC, repeat from Row 1 of First Flag.
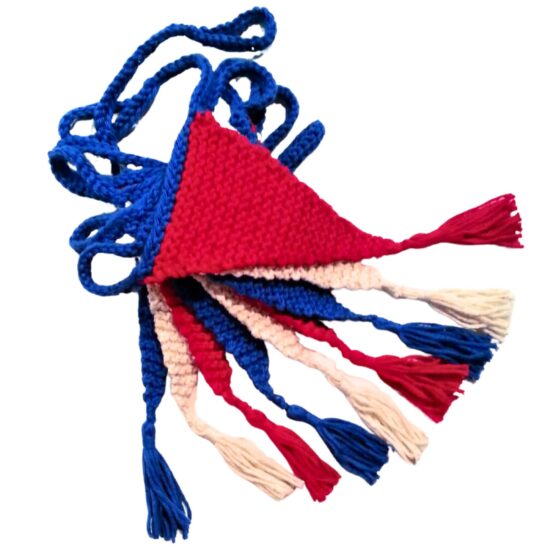
Tassels (optional)
- Cut 20 pieces of yarn 18” long for each tassel.
- Cut one 24” long piece of yarn for tie string for each tassel.
- Insert crochet hook through point of flag. Grab the center of the tie string and pull it through about 1 inch, this makes a loop on your hook. Use the crochet hook to pull the 2 ends of the tie string and the tail end from the flag through the loop on your hook. Tighten up the knot just made.
- Spread the 2 ends of the tie strings to the sides, and place the center of the tassel pieces across the attachment point. Knot the tie strings around the center of the tassel pieces tightly.
- Fold the tassel in half at the knot just made. Add one tie string end to the tassel and leave the other off to the side (do not clip any ends yet).
- Thread the remaining long tie string end onto the yarn needle. Pinch the tassel from the top, so the tip of your fingers are where you want the bottom of the wrapped section. Tightly wrap the long tie string around the tassel, working up for about 1/4-1/2 inch. Sew the end straight through the tassel at the top of the wrap. Move over 1 wrap of yarn and sew the end back through the center of the tassel, coming out at the top center of the tassel. Sew the yarn through the bottom stitch of the flag and then back through the center of the tassel.
- Clip tassel ends even.
Finishing
- Bind off all remaining sts.
- Use yarn tail at start of bunting to sew the first st to the 30th st to make hanging loop.
- Repeat previous step on other end of bunting.
- Weave in all ends.
- Block.
- Hang and enjoy your triangular flag bunting!
Customization Tips
Please note that customizations may change the yarn amounts used.
Add or Subtract Flags
To add or subtract flags from the bunting: add or subtract 1 repeat of [co 36 (44, 52), pm] to the cast on for each flag you want to add or subtract from the bunting. This will add or subtract 36 (44, 52) from the entire cast on count for each flag you add or subtract.
Space Between Flags
To change the length of the space between flags, first determine how many stitches you want to add or subtract to each space – there are 5 stitches in each inch. Next, add or subtract that amount to the number of sts at the start of the cast on section, to each repeat section of the cast on, and at the end of the cast on section.
Flag Width
To change the flag width, first determine how many stitches you want to add or subtract to each flag – there are 5 stitches in each inch. Next, add or subtract that amount to the number of sts at the start of the cast on section and to each repeat section of the cast on, do NOT change the number of sts at the end of the cast on section.
Next, add or subtract the same number of sts to the sts knit in Row 1 of each flag.
Flag Length
To make the flags longer, knit 4 rows between each decrease row instead of 2. For this pattern to work, there must be an even number of rows between the decrease rows, otherwise the decreases will only happen on one side.
Long Rectangular Banner Flags
To make a rectangular banner, repeat Row 2 of flag until the banner is the desired length.
To add a pointed end to the banner, make the rectangular banner then:
- K2tog, k until 2 sts remain, k2tog.
- Repeat until 4 sts remain.
- K2tog twice.
- K2tog.
We hope you’ve enjoyed this triangular flag bunting knit pattern. Reply to this post if you have any questions or comments.
Happy Stitching!
Did you enjoy what you found here at Jessie At Home? Then sign up for my newsletter and like my Facebook page, so you’ll get all the updates on new tutorials, other posts, sales, and coming events.
If you have any questions, want to share pictures of your work, or just want to chat with Jessie and other crafty individuals, than join one of our free Zoom Sit & Stitches. Find them on our Events Calendar.

© Copyright 2015 Jessie Rayot / Jessie At Home®, LLC All my videos, patterns, charts, photos and posts are my own work, so you may not copy them in any way. If you want to share this information with someone, then share the link to this post.


