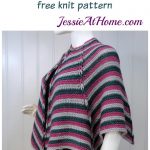
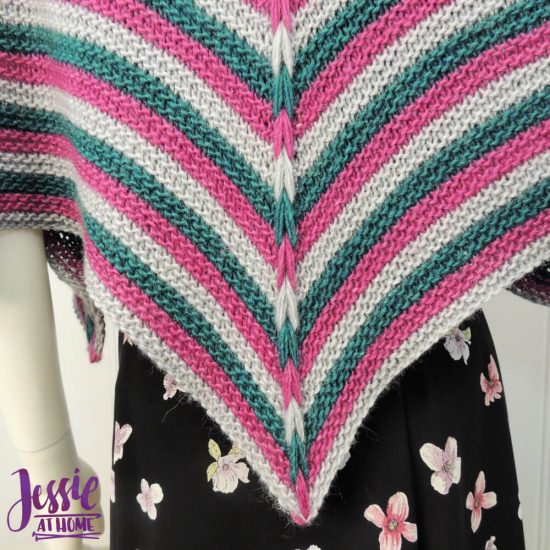
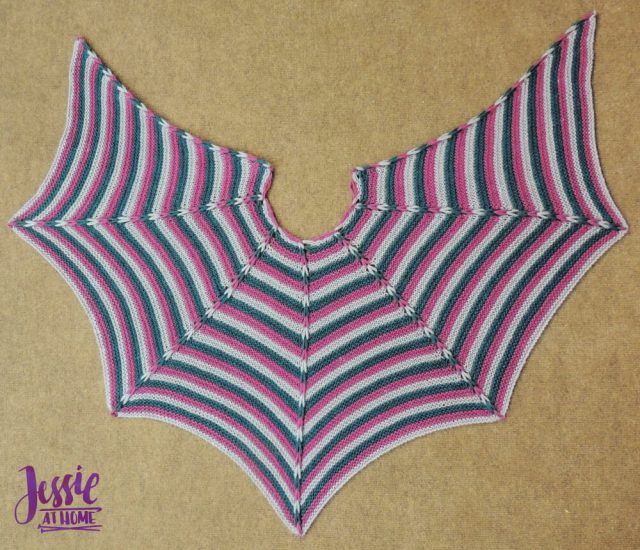
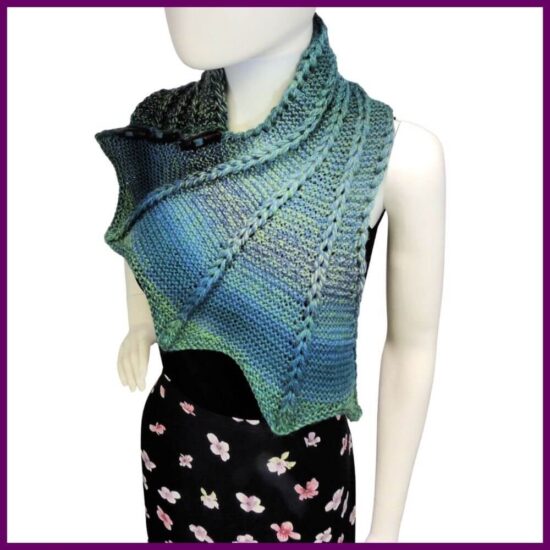
The Dragon Wing Cape features horizontal stripes and raised vertical spines which come to points creating a wing-like look. The raised spines are made from a technique similar to the crochet Jacob’s ladder stitch. With three skeins of Juniper Moon Farm Moonshine yarn this cape is a joy to make. Just pay attention to your stitch markers and it’s pretty easy, too!
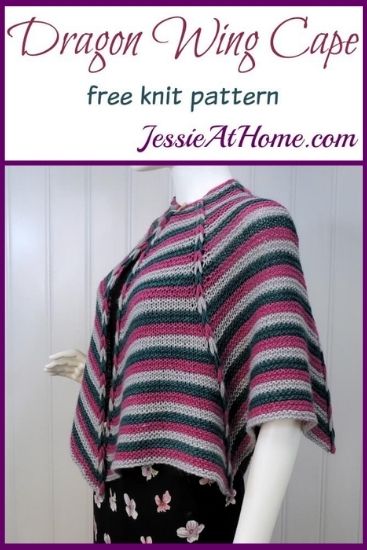

Knit Dragon Wing Cape
Knit Pattern
Easy Skill Level
Designed by Jessie Rayot
Size:
21″ long
Yarn:
Juniper Moon Farm, Moonshine, 40% alpaca / 40% wool / 20% silk, worsted weight, size 4, 100 g / 197 yds
Azalea 18: Color A – 1 Skein
Dew 01: Color B – 1 Skein
June Bug 13: Color C – 1 Skein
Needles:
US-9, 5.5mm
Gauge:
14 sts x 24 rows = 4” [10 cm] in garter st after blocking
Other supplies:
yarn needle
4-6mm crochet hook for picking up ladders
12 stitch markers (6 each of two colors will help)
Stitches and Abbreviations:
co – cast on
k – knit
kfb – knit front and back
pm – place marker
sm – slip marker
st(s) – stitch(es)
Getting Started:
When placing markers in Row 1, alternate colors. This way you will increase after one color on even increase rows and after the other color on odd increase rows.
Find a written and video tutorial for the long tail cast on here: https://jessieathome.com/stitchopedia-long-tail-cast-on/
Pattern:
With Color A, CO 31 using a long tail cast on.
Row 1: K5, [pm, kfb, pm, k3] 6 times, k to end. – {37 sts}
Row 2: [K to marker, sm, kfb, k1, sm] 6 times, k to end. – {43 sts}
Rows 3 & 4: With Color B, k all, slipping markers as they are reached.
Rows 5 & 6: [K to marker, sm, kfb, k to marker, sm] 6 times, k to end. – {55 sts after Row 6}
Rows 7 & 8: With Color C, k all, slipping markers as they are reached.
Rows 9 & 10: [K to marker, sm, kfb, k to marker, sm] 6 times, k to end. – {67 sts after Row 10}
Rows 11 & 12: With Color A, k all, slipping markers as they are reached.
Rows 13 & 14: [K to marker, sm, kfb, k to marker, sm] 6 times, k to end. – {79 sts after Row 14}
Repeat Rows 3 – 14 nine times.
Finishing:
Row 1: With Color B, k2, drop 3 sts, yo, slip marker, [k to marker, remove marker, drop 3 sts, yo, slip marker] 5 times, k to marker, remove marker, drop 3 sts, yo, k2.
Rows 2 & 3: K to end, slipping markers as they are reached, ignoring dropped sts, and working into the back loops of the yos. Do not cut yarn.
Chains, Step 1: Pull the dropped stitches all the way to the bottom.
Step 2: Take the bottom 4 strands from the dropped sts, hold them together, and twist them half a turn to make a loop, * grab the next 4 strands together and pull them through the loop (do not twist), repeat from * until all the dropped strands have been turned into a chain. This can be done with your fingers, or with a large crochet hook. Leave the last loop free, it will be worked into the bind off. Repeat for each set of dropped sts.

Bind Off: Bind off 2, slip the set of loops from the looped section onto the right needle, k1, pass all remaining sts on the right needle over the st just made (1 st left on right needle) [bind off to marker, slip the set of loops from the looped section onto the right needle, k1, pass all remaining sts on the right needle over the st just made (1 st left on right needle)] 6 times, bind off remaining sts.
Clip yarn, fasten off, and weave in all ends.
Block cape. Sample in photos was wet blocked with Unicorn Clean Fiber Rinse and laid flat to dry.
Wear or give and enjoy!

If you enjoy this free crochet pattern, please consider buying some of your supplies from one of these affiliate links. Thank you.
Did you enjoy what you found here at Jessie At Home? Then sign up for my newsletter and like my Facebook page, so you’ll get all the updates on new tutorials, other posts, sales, and coming events.
If you have any questions, want to share pictures of your work, or just want to chat with Jessie and other crafty individuals, than join one of our free Zoom Sit & Stitches. Find them on our Events Calendar.

© Copyright 2019 Jessie Rayot / Jessie At Home®, LLC All my videos, patterns, charts, photos and posts are my own work, so you may not copy them in any way. If you want to share this information with someone, then share the link to this post.


Hello, I just made the Dragon Wing Cowl (which turned out great!)and then I happened on this, which is now my next project. I want to use the yarn I used for the cowl but it really needed the short rows to get the points. Blocking made it a bit more pointy, but not a lot. So I’m wondering how I could add short rows to this, cape pattern to ensure I get the desired points. Thanks
Did you use the short rows I designed in the updated pattern? Those seem to be more pointy then the old short rows I had on there. You should be able to adjust them for the cape, and just be sure to block to get the most pointy points you can. 🙂