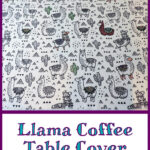
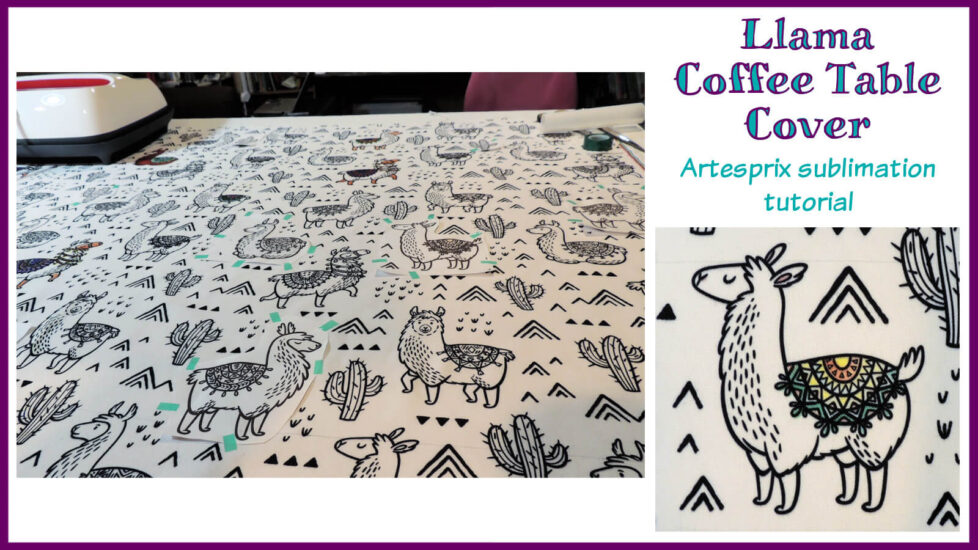
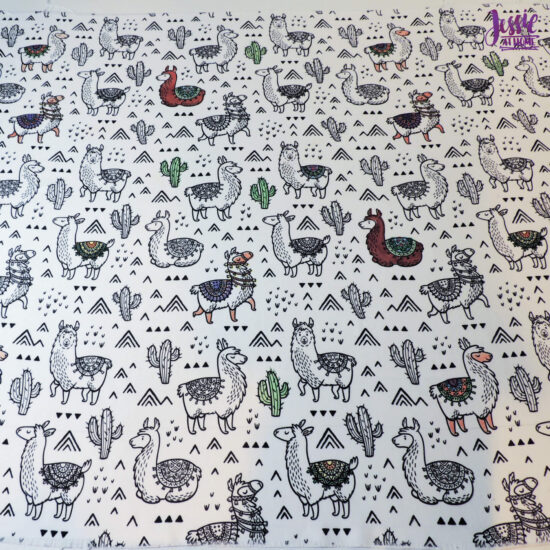
This Llama Coffee Table Cover has some of its Llamas colored in using Artesprix sublimation markers in order to create a cute accent.
Some products used in this tutorial were provided by Artesprix and Cricut. All opinions are my own.
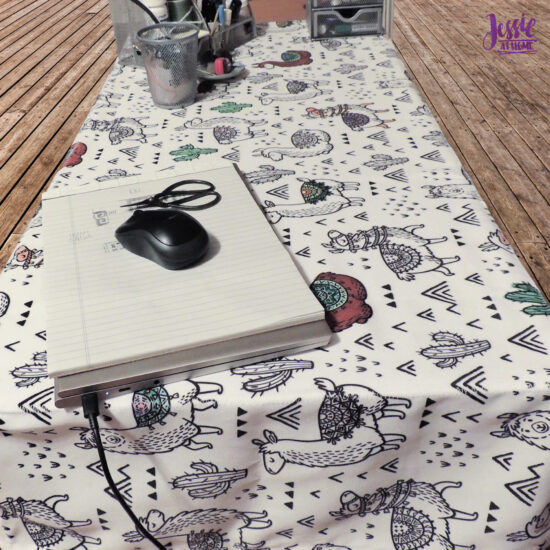
I’ve been having so much fun using my Artesprix sublimation markers and I had to try them out to color in images on fabric. I found several awesome polyester prints that would work, including this Southwestern Llama print. My coffee table where I work in the evenings was in need of a tablecloth, so I had the perfect place for the Llamas to play!
Llama Coffee Table Cover Supplies
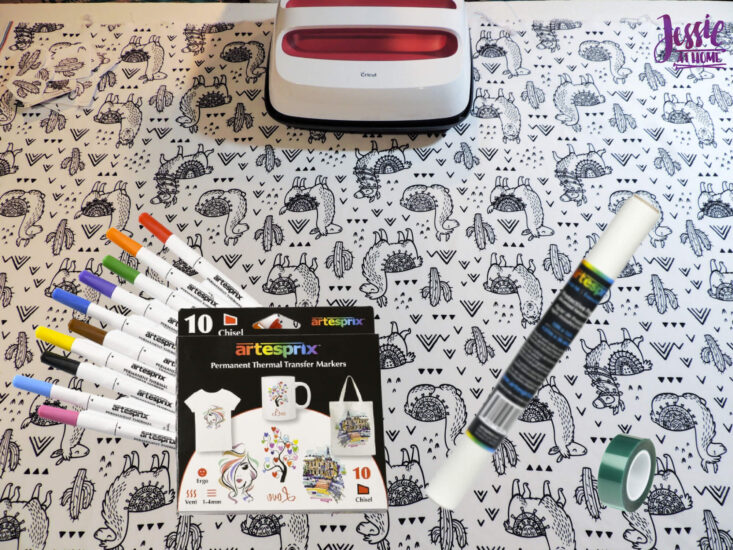
- Artesprix Sublimation Markers
- Heat Tape
- Artesprix Protective Paper (Siliconized Release Paper)
- 1 yard White Fabric with Black Coloring-Book-Style Print
- Copy Paper and Copier
- Cricut EasyPress
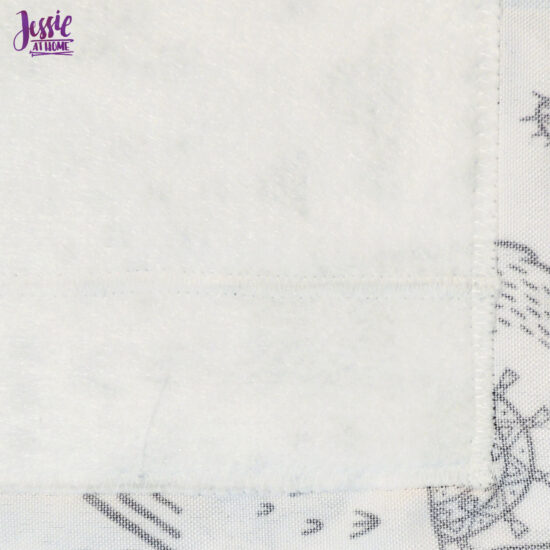
- 1 yard White Felt
- White Sewing Thread
- Sewing Machine
Llama Coffee Table Cover Video Tutorial
If you can’t see this video, than try watching it on YouTube HERE.
Llama Coffee Table Cover Sublimation
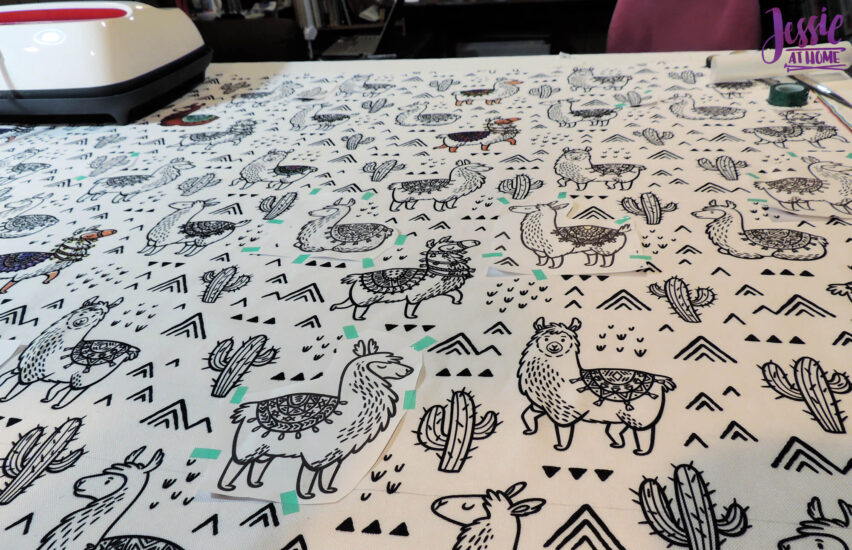
First, you’ll need to prewash your fabric. Once it’s been washed and dried, use the copier to copy any parts you want to color in. Most fabrics have a repeat, so you can copy a section once and then print it out multiple times for repeats.
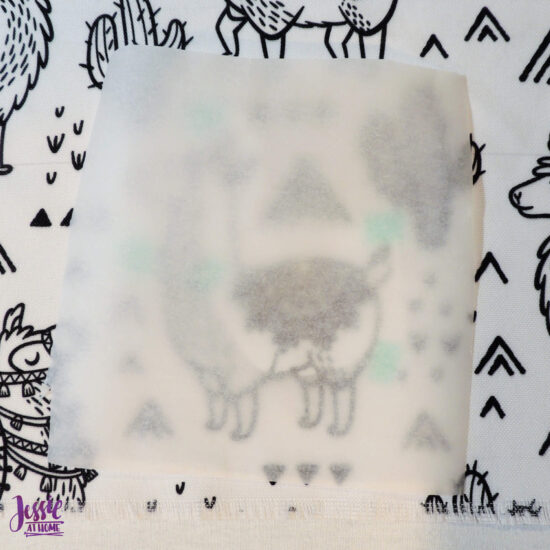
Now it’s time to color with your Artesprix sublimation markers! Remember the color on the cap of the markers is the actual color. What shows up on the paper is usually a bit different then the final color. Color the copy on the back of the paper so you’re coloring the reverse of the image. I found that the image showed through the paper just fine, but if you can’t see the image on the reverse side of your paper, try a lightbox.
Once you’re done coloring, it’s time to sublimate! Place a piece of protective paper down on your pressing surface. Then place the fabric on top of the paper, right side up. Run a lint roller over the section of fabric you’re working with, then preheat it for 15 seconds.
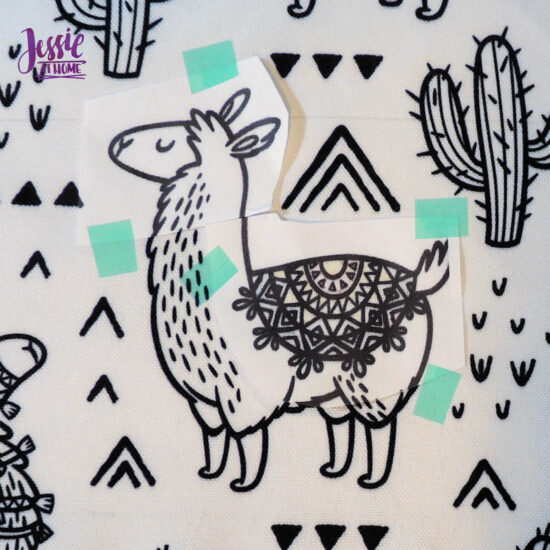
Place the colored image, color side down, on the fabric. Line everything up as best you can.
I found that I sometimes had to cut apart images with multiple areas colored. You can see in the image below how I cut the paper between the colored blanket and the colored ears and nose. Finally tape the paper down with heat tape, taking care not to cover any of the colored section with tape.
Place another sheet of protective paper on top of your image. Time to press! I used my Cricut EasyPress at 400° for 60 seconds. Once it’s cool enough, carefully peal up a corner to see if the color fully transferred. Re-press if needed.
Different fabrics may require different times and temps, so you may have to do some experimenting on scrap fabric to find the right combo. I always suggest starting by finding the suggested time and temp for whichever Artesprix blank seems closet to what you’re using, then adjusting from there.
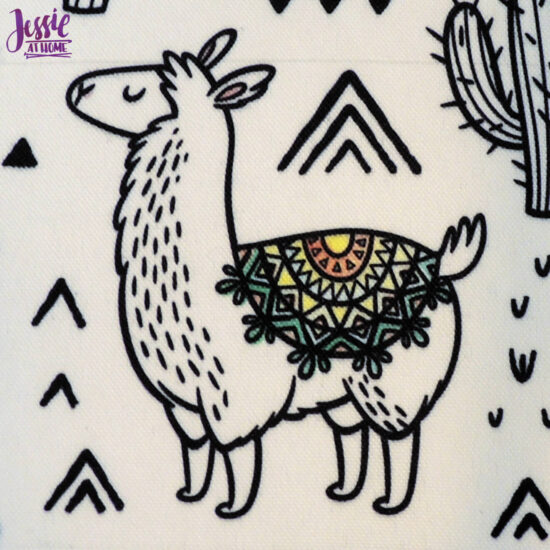
Now keep on adding color to various sections of your fabric. You get to decide how much or little you want to color in. Make it your own!
Sewing Instructions
Once I finished I got to making my coffee table cover. My coffee table was covered with water damage, so it was really rough. This meant I needed a little bit of padding.
I measured out my table top and cut a rectangle the same size as my table top out of felt. It turned out my felt wasn’t quite long enough, so I had to piece several inches on one end. Felt is so easy to work with. I just butted the 2 pieces against each other, then sewed a wide zig-zag stitch across the seam.
Next center the felt on the wrong side of the fabric, pin it down, and zig-zag around the felt. Extend the lines of the felt lining to the edge of the fabric making squares in the corners, as seen below. Sew the 2 sides of each square that were just drawn together, with right sides facing. This will pinch the corners of the hanging section of the coffee table cover. Hem the bottom by folding it up 1/4″ and pressing, then folding up again 1/2″ and pressing, and then sew.
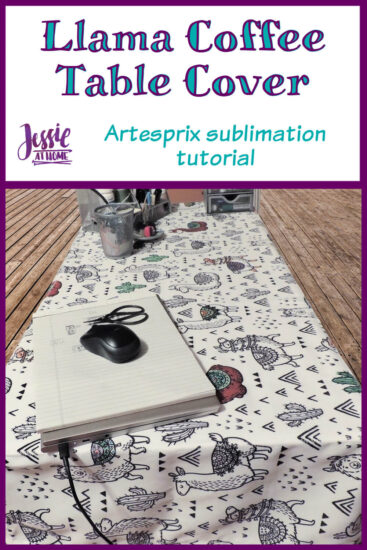
Now toss it on your table and enjoy!
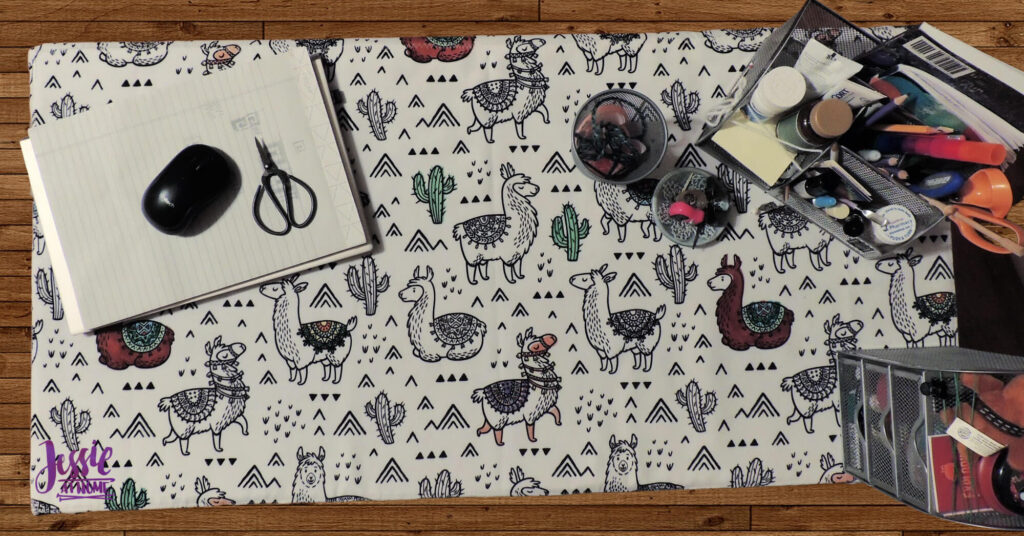
I LOVE my new llama coffee table cover. It’s pretty and functional. The padding fixes the rough and bumpy issues from the table tap in addition to creating a nice feel. Plus, it’s polyester so it’s easy to wash, which is always a bonus!
Here are some other fabrics I found that I think would be fun to sublimate.
Did you enjoy what you found here at Jessie At Home? Then sign up for my newsletter and like my Facebook page, so you’ll get all the updates on new tutorials, other posts, sales, and coming events.
If you have any questions, want to share pictures of your work, or just want to chat with Jessie and other crafty individuals, than join one of our free Zoom Sit & Stitches. Find them on our Events Calendar.

© Copyright 2021 Jessie Rayot / Jessie At Home®, LLC All my videos, patterns, charts, photos and posts are my own work, so you may not copy them in any way. If you want to share this information with someone, then share the link to this post.