The origami iris is such a lovely flower that will show off your paper-folding skills. Pair it with the stem and leaf pattern I shared last week, or make it one it’s own in various sizes. Origami iris is an intermediate pattern, but take it one step at a time and you will be making fields of these beauties!

Be sure to crease well after each fold. Only one side of the paper will show, so the color of the other side is not important.
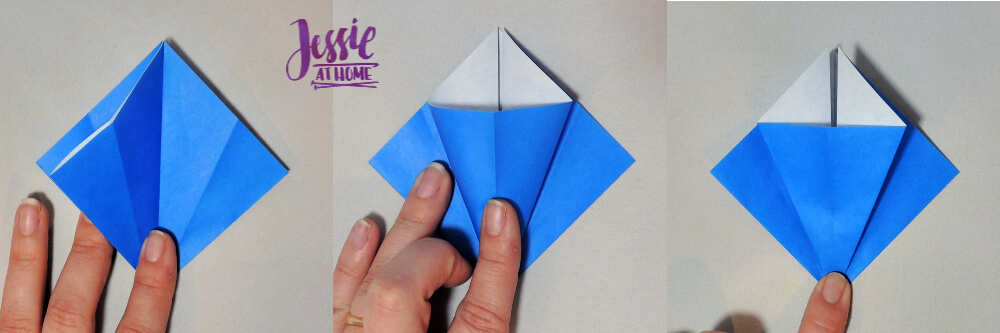
Start the origami iris with the square base, place it down with the open corner at the top

Fold both bottom sides in to the middle.
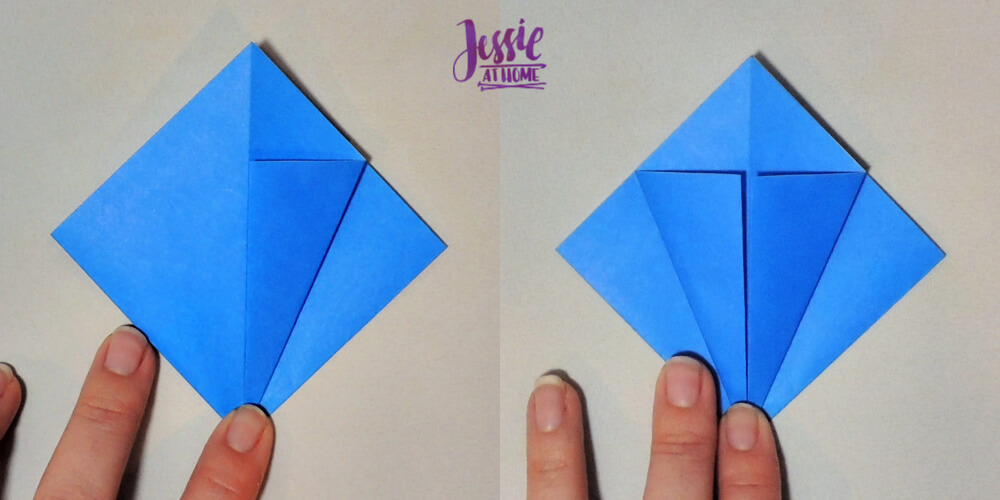
Turn over and repeat last step.
Open the folds from the last two steps. Flip one of the flaps up and the open it and make a smush fold along the fold lines.
Turn over and repeat last step. Then repeat with the remaining two sides.
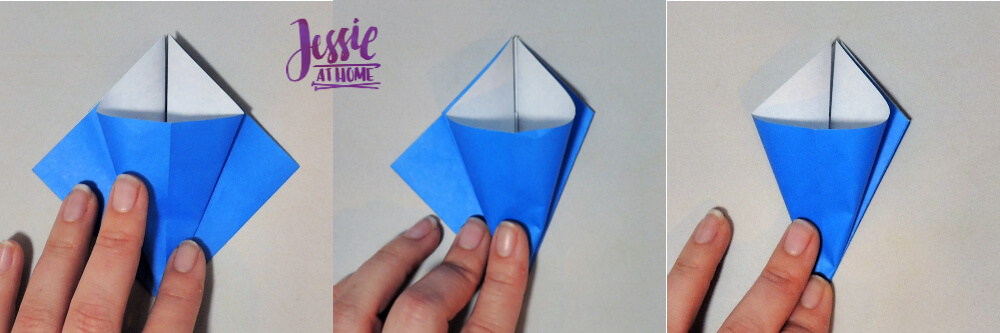
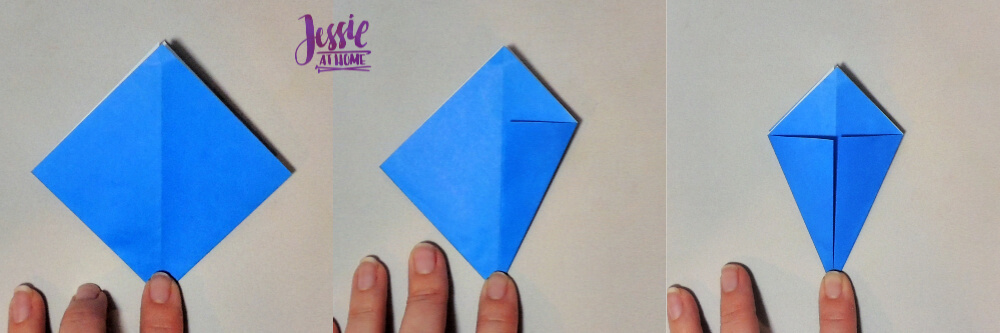
Fold both top sides in to the middle.

Open the folds from the last step. Pull down the top layer of paper and make a smush fold on the fold lines from the last step.

Fold the flap just made up.
Turn over, then repeat the last 3 steps. Next repeat the last 3 steps with the other 2 sides.

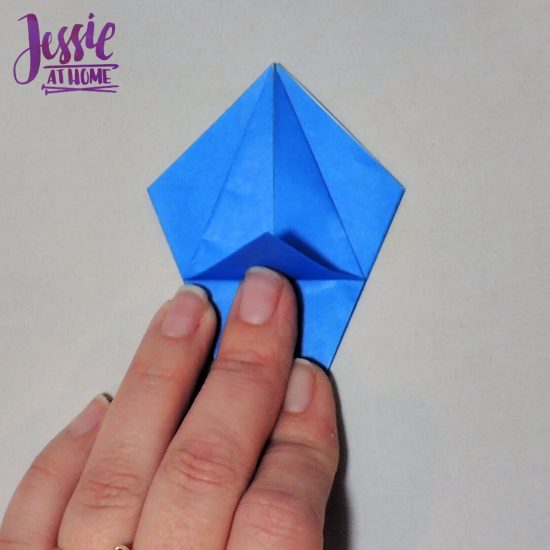
Fold the left flap over to the right. Fold both bottom sides in to the middle.

Repeat the last step with remaining 3 sides.

Fold down the top point. Turn over and repeat. Then repeat with remaining 2 sides. These points are the 4 petals.

Fold all 4 petals half way up, opening the flower.
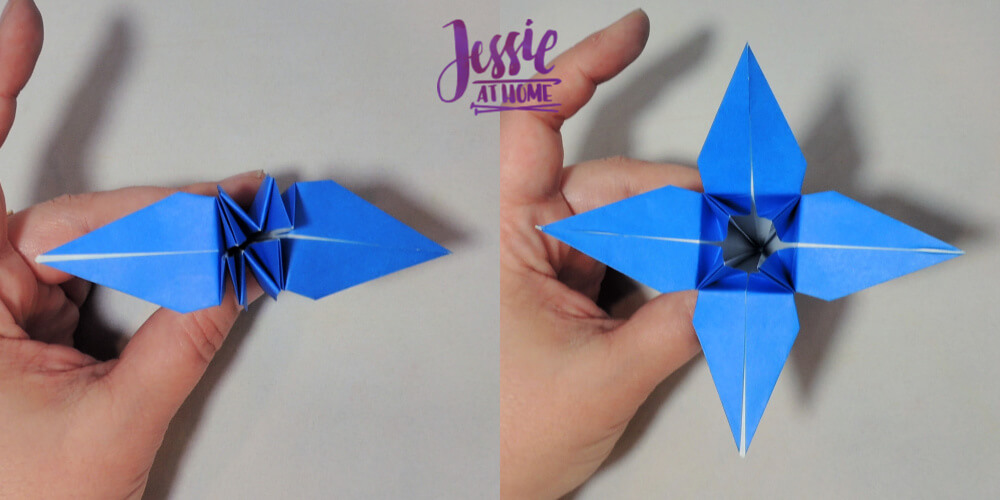
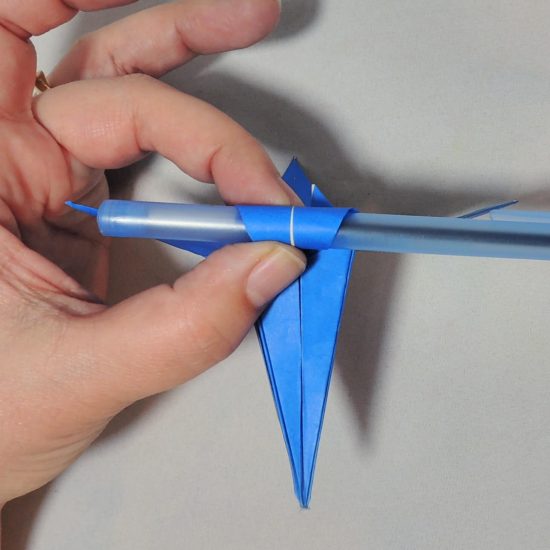
Use a pen, pencil, straw, or chopstick to roll the petals.
That’s it, the origami iris is done!

Now put in on a stem if you would like!