


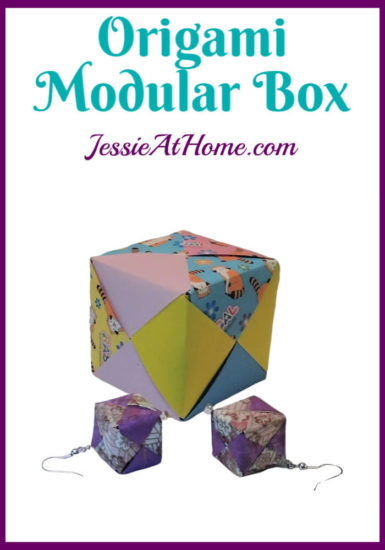
The Origami Modular Cube is made with 6 identical pieces joined together. You could hide something inside and use it as a gift box. I made two small boxes and turned them into earrings. Use all the same color paper, or various colors, just have fun! You will find the written and pictorial pattern for the Origami Modular Cube below. There is also a video tutorial at the end of this post.
Origami has been one of my hobbies since I was 8 years old. My grandmother introduced me to origami and it remains something that keeps her close to my heart. I’m pleased to be able to share this ancient art form with you! You can find more Origami Pattern Tutorials here: https://www.jessieathome.com/origami-patterns/
Origami Modular Cube Tutorial
In the finished creation, only one side each piece of paper will be visible.
The finished cube will be a bit bigger then 1/3 the size of the starting pieces of paper. I stared with 6″ pieces of paper and ended with a cube that’s a bit bigger then 2″.
Be sure to crease well after each fold.
Step 1: Start by laying paper down with the front side facing down. Fold the paper in half then unfold.

Step 2: Fold right side to the center then unfold. Fold left side to the center then unfold.
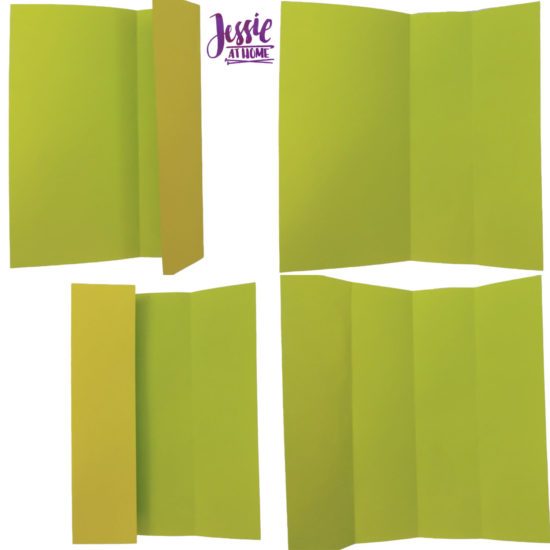
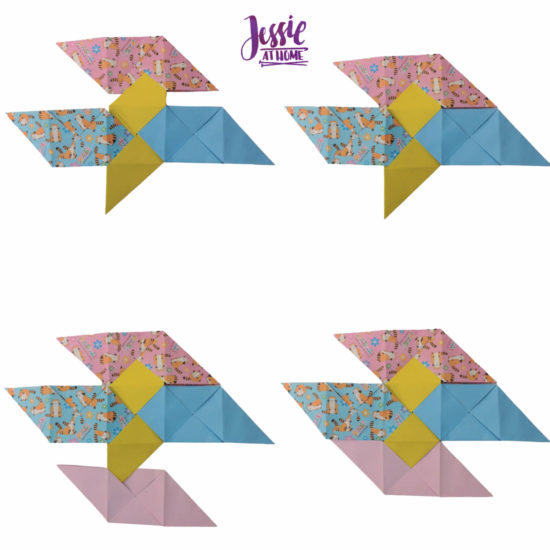
Step 3: Fold the bottom right and top left corners in to the closest fold line.
Step 4: Fold both sides back into the center.
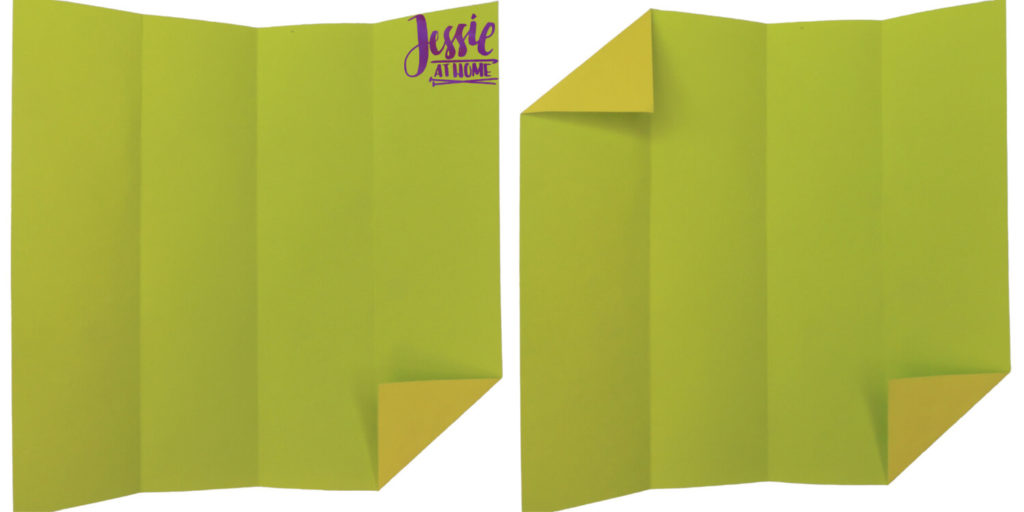
Step 5: Fold the bottom left up to the center, then tuck it under the right flap.
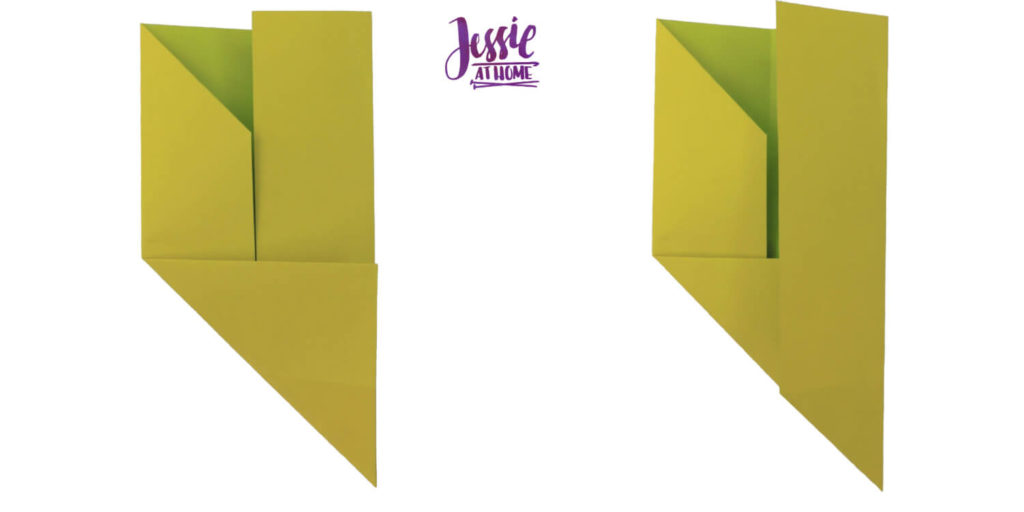
Step 6: Fold the top right corner down to the center, then tuck it under the left flap.
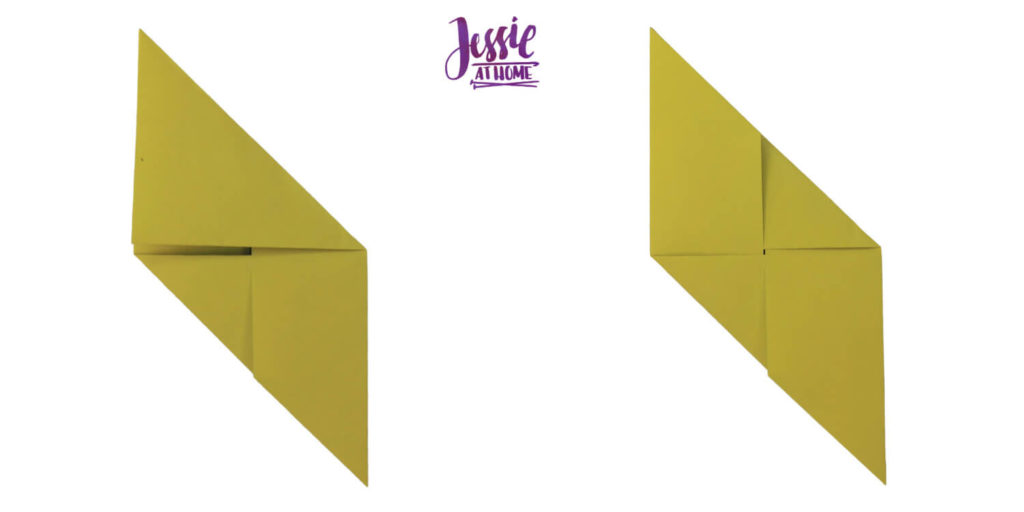
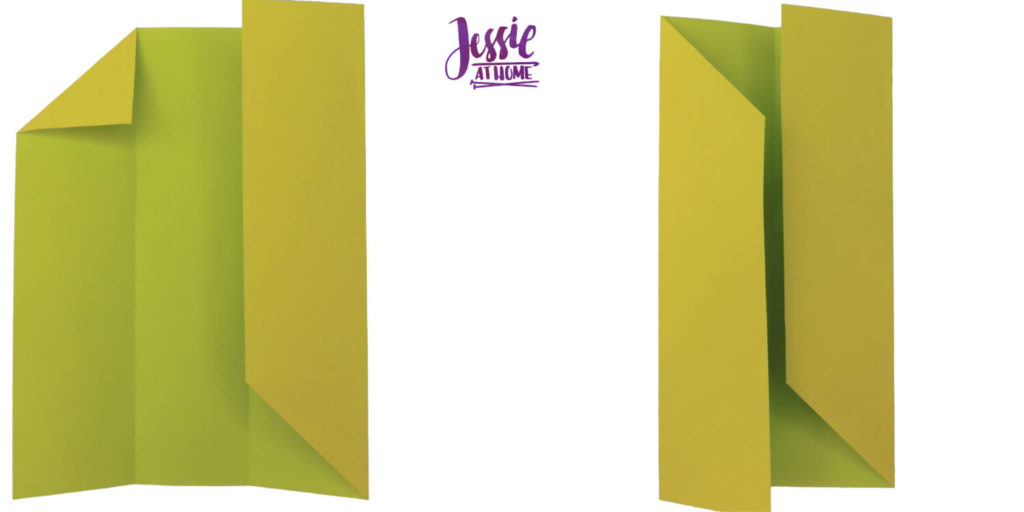
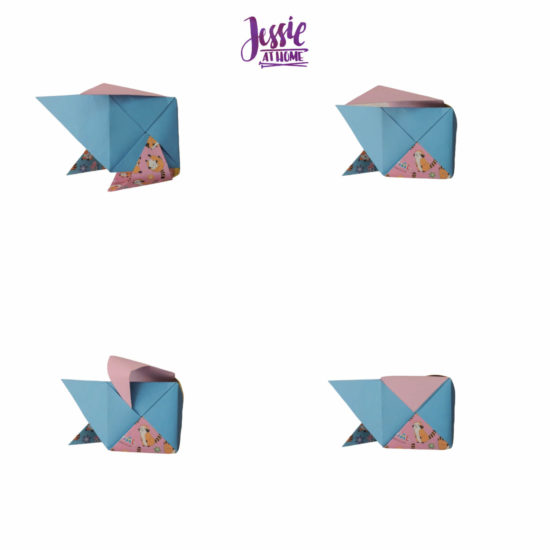
Step 7: Flip over and fold both points to center then unfold.

Step 7: Flip piece over. Now make 5 more.
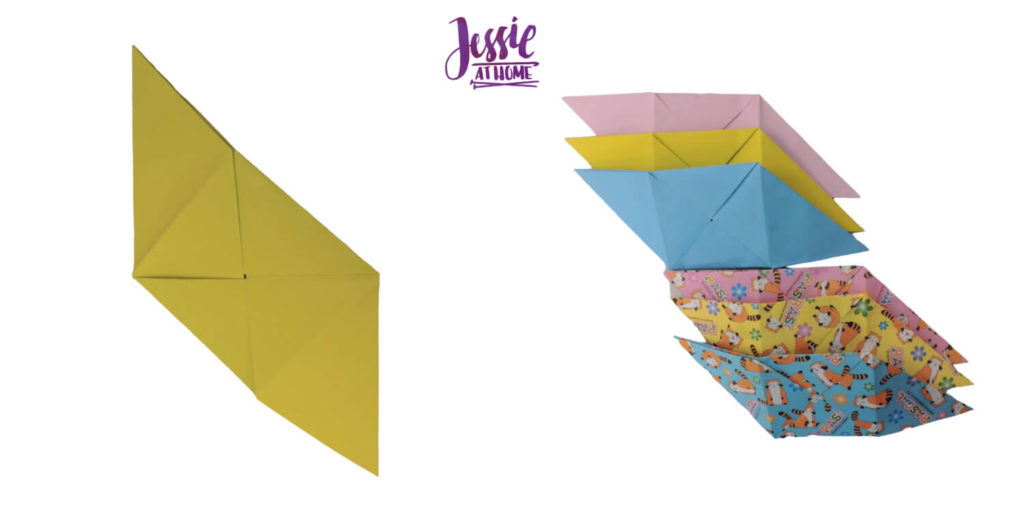
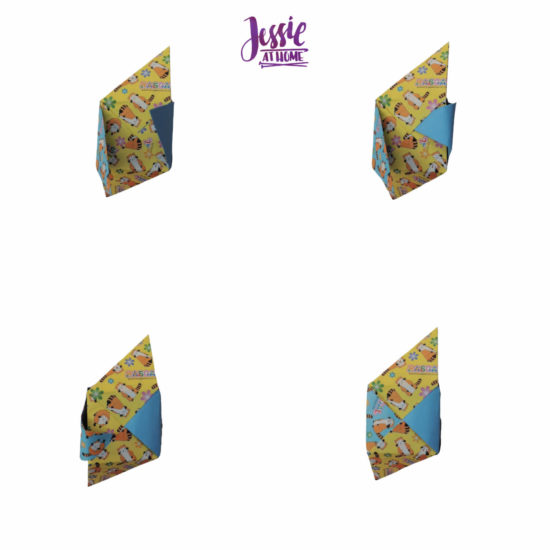
Step 8: Place one piece vertical and slide another in from the right, tucking in the point of the new piece. Then repeat on the left.
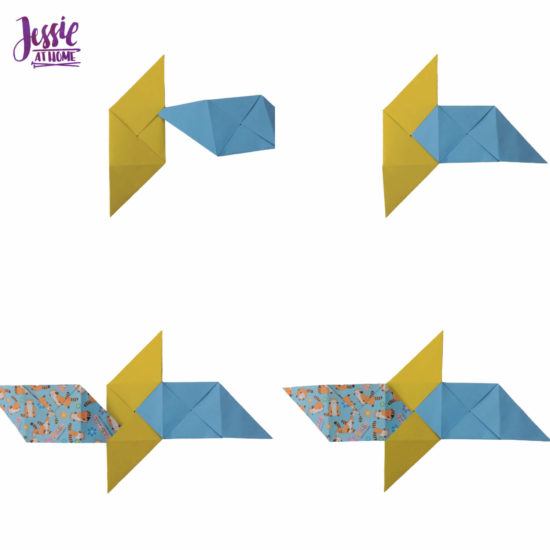
Step 9: Slide next piece in on top, tucking in point of first piece, then repeat on bottom.
Step 10: Flip over, fold the left and top pieces up then tuck the point from the top piece into the left piece. Fold the bottom piece up then tuck its point into the left piece.

Step 11: Rotate piece to the left, fold the right-most piece up then tuck in the points from the the top and bottom pieces.
Step 12: Rotate the piece back to the right, then place the last piece on top. Tuck the points from the left and right pieces into the top piece.
Step 13: Last, tuck the points from the top piece into the back and front pieces.
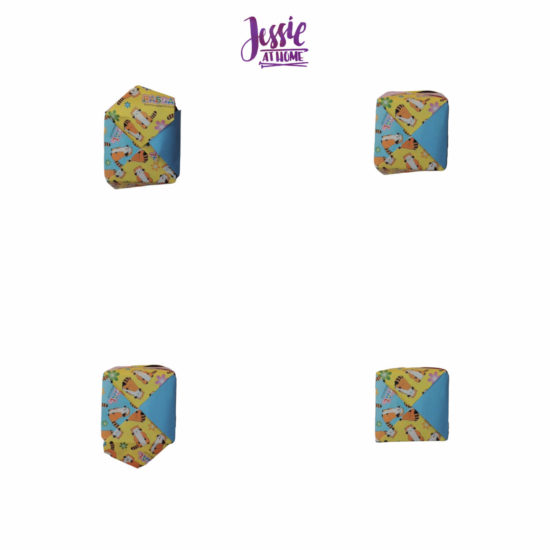
Your Origami Modular Cube is done! What will you do with it?

Here is a video tutorial for you.
If you’re having a hard time viewing this video tutorial, view it on YouTube HERE.
How about seeing it in under a minute?
For more Origami Pattern Tutorials, click HERE.
Find some Origami Supplies that I like HERE.
[signature]


Hi. Luv them. Well presented with folds being precise. And makes it look easy. With practice I imagine it is. Zann
Thank you. Yes, it’s a matter of practice. 🙂