This simple Chain Wrap Bracelet is great for beginners all the way to experts. You only need to know how to crochet a chain, and sew on a button.
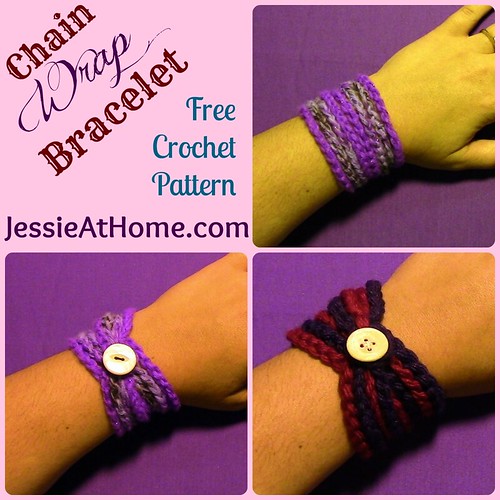
There is also a link to a video tutorial that shows how to make this bracelet from beginning to end. Even a new crocheter can show off a pretty finished project with this chain wrap bracelet!

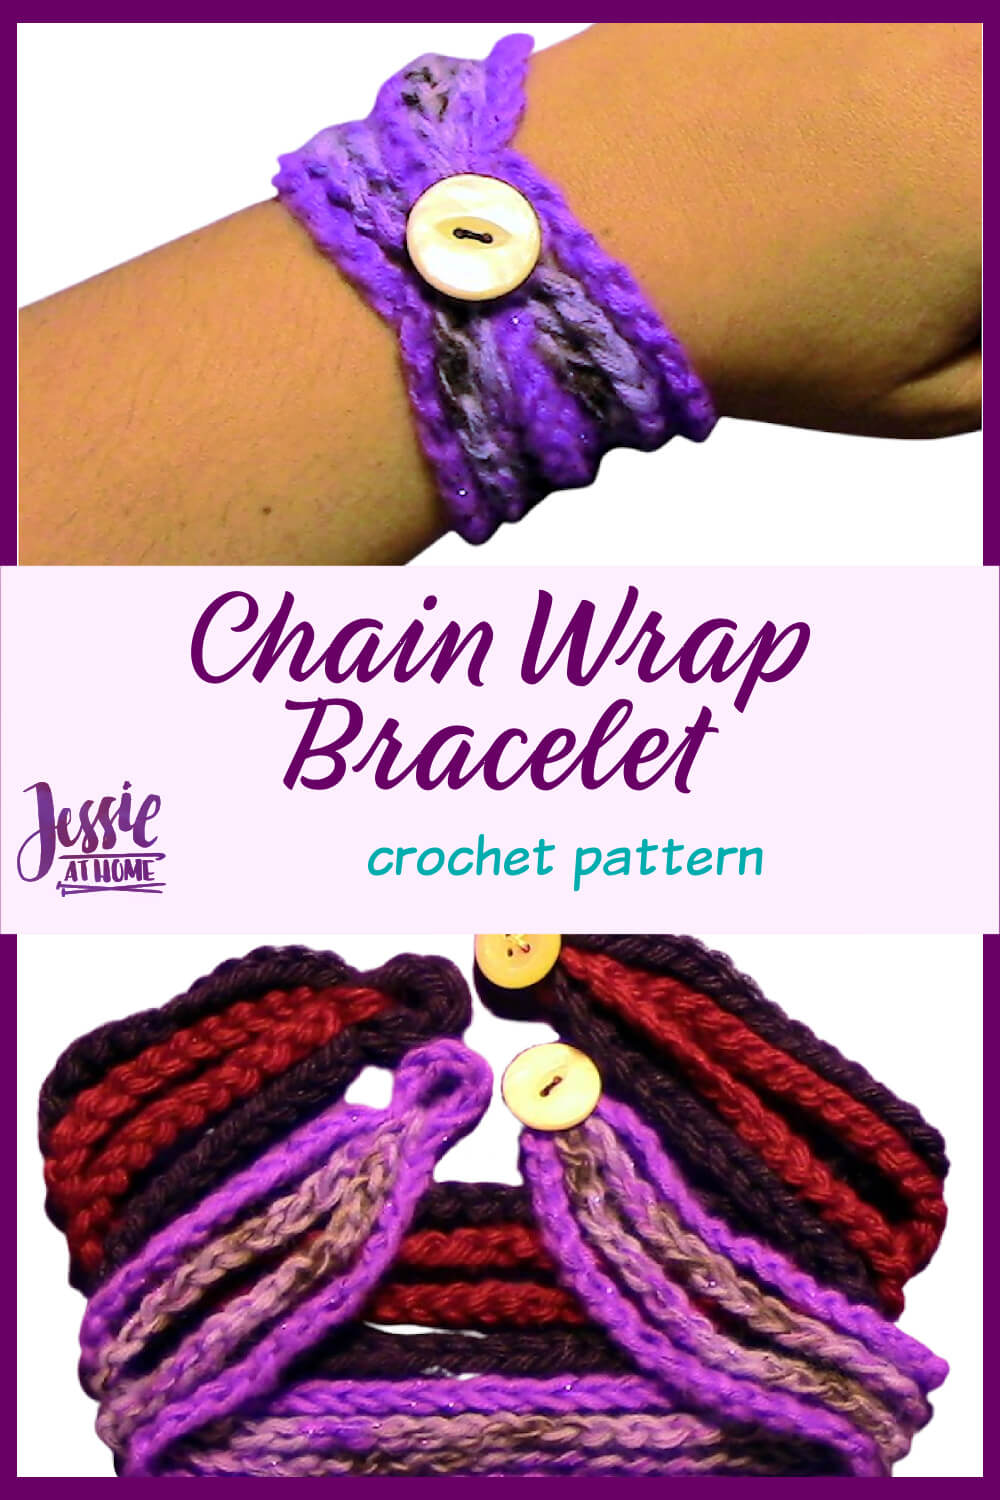
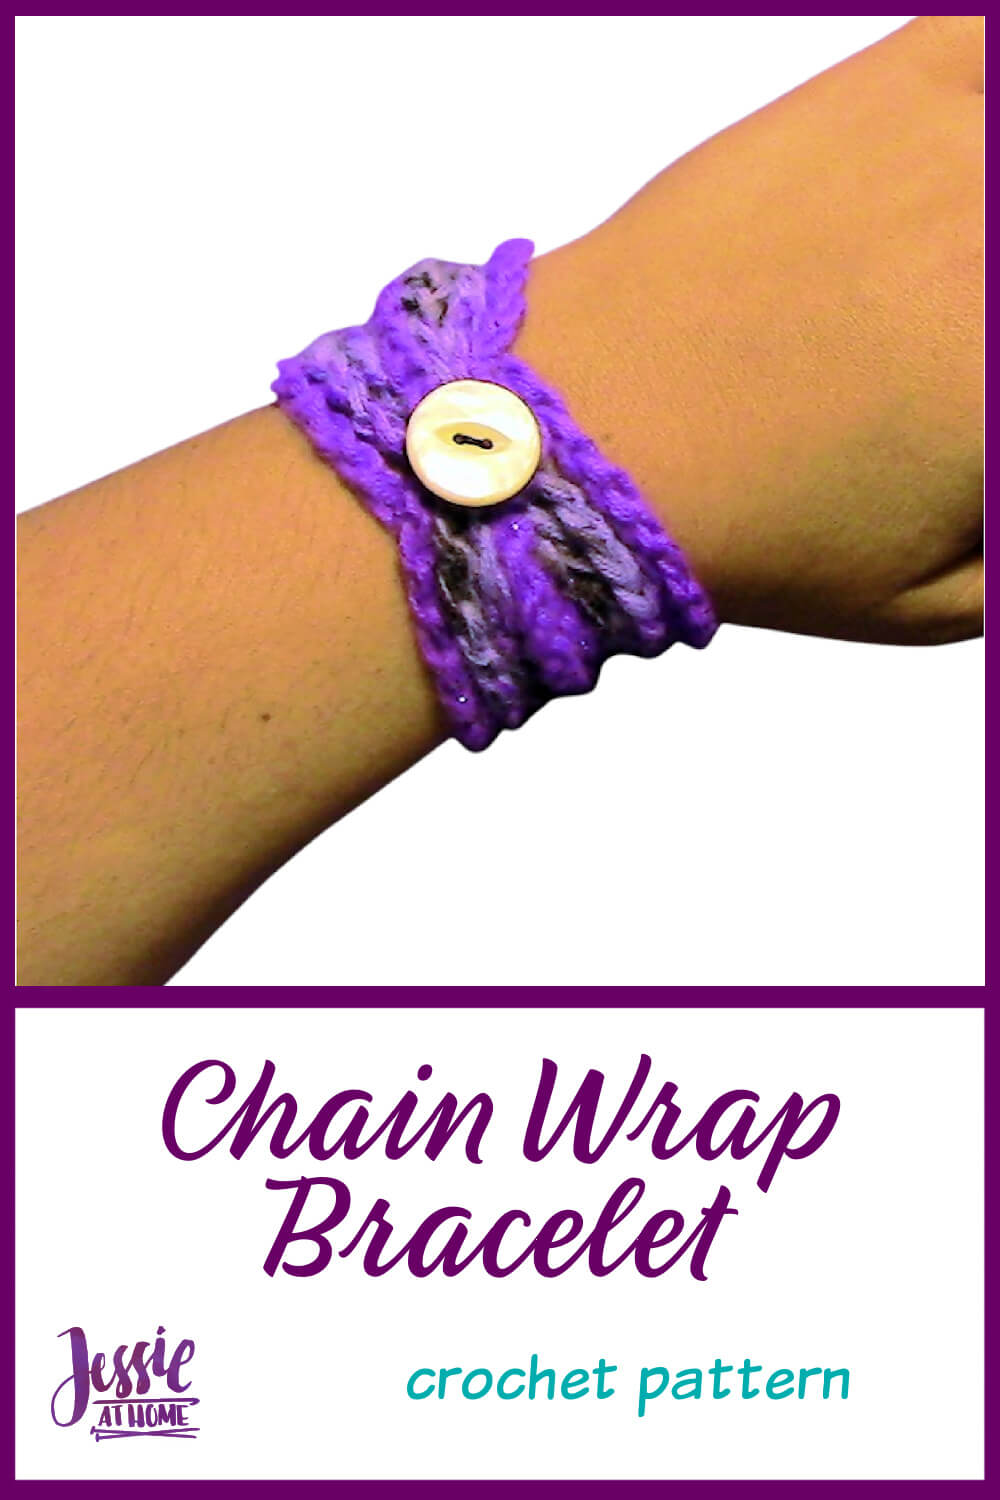
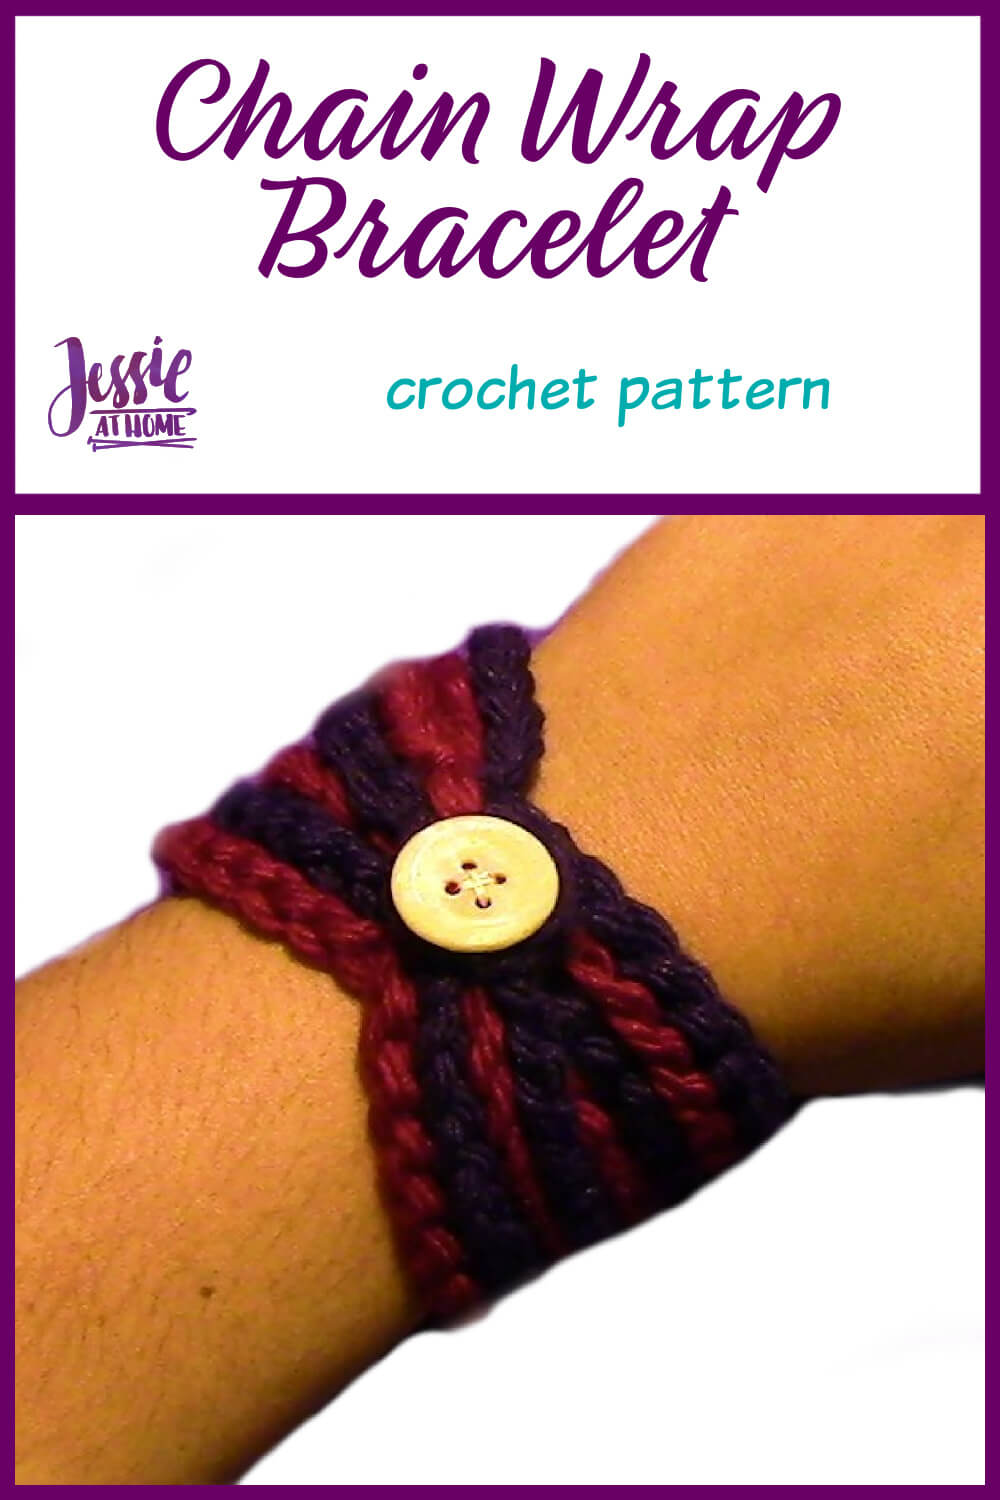
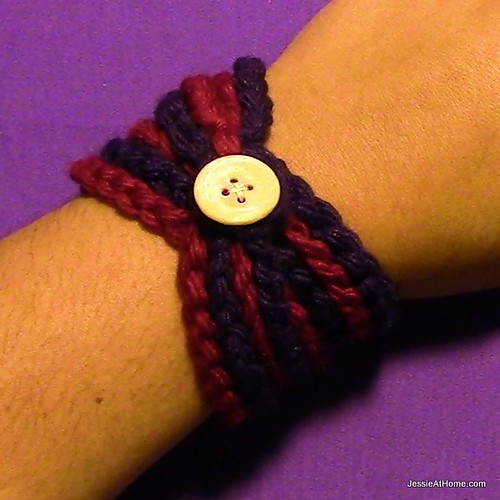
Chain Wrap Bracelet
Crochet Pattern
Easy Skill Level
Designed by Jessie Rayot
Supplies
Size
Any size you want
Yarn
Any sport, DK, worsted, or even a slightly chunky yarn will do.
Hook
Whatever hook gives you the look you like with your yarn.
Gauge: Learn about gauge HERE
Not important
Other supplies
yarn needle
(1) 1/2″ – 1″ button
3” scrap of yarn, or a stitch marker
sewing needle
sewing thread
Stitches and Abbreviations: click on highlighted sts for tutorials
ch – chain
sl st – slip stitch
Getting Started
Choose your yarn(s). Try making a chain that is about 6” long with the hook you think might be the right size. If your chain is too loose, switch to a smaller hook, if your chain is too tight, switch to a larger hook. Once you have found the hook that makes a chain you like, then get started!
Find a video showing how to make the bracelet start to finish HERE.
Chain Wrap Bracelet Pattern
Chain: Make chains until your piece wraps around your wrist twice (or as many times as you want your bracelet to wrap).
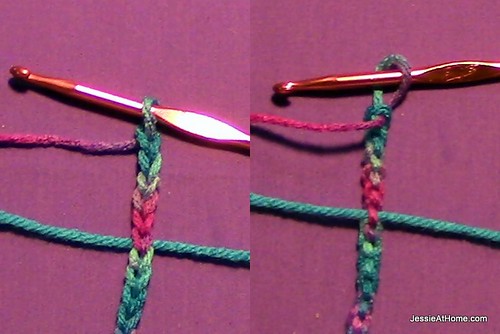
Place a marker: If you have a marker, attach it now. If you do not, grab a scrap of yarn. Place the yarn against the hook and make a chain, catching the yarn as make the chain. This will mark the start of your button loop.
Button Loop: Chain until the part of your chain after the marker can make a loop the correct size for your button to go through. Start with about 6 chains for a worsted weight yarn and check the size. You can take chains out or add more to get the correct size loop. Once you have the right size, sl st into the marked stitch, remove marker. This will make the button loop.
Chain: Keep on making your chain. Make the chain so that it is the same length as the chain that leads up to the button hole. Once it is the same length, chain one more, clip the yarn, and pull the cut end through the last chain. Give the cut end a tug to tighten up the end.
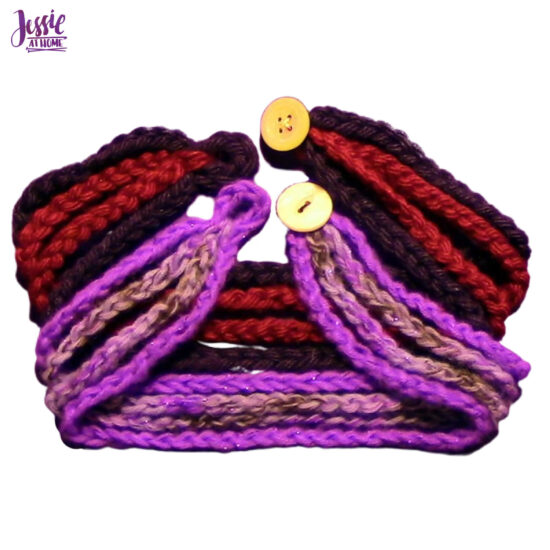
Second Color: With the second color, chain until you have a piece that is the same length as the other 2 lengths of chain leading up to the button loop. Sl st into the bottom of the button loop, in between the 2 lengths of chain. Chain again until the last length of chain is as long as the rest, chain one more, clip the yarn, and pull the cut end through the last chain. Give the cut end a tug to tighten up the end. You will now have 4 chains, all the same length, hanging off the button loop.
Button: Thread your needle and sew the 4 chains together at the opposite end from the button loop, just where the chains all start/end. Fold the tails over and stitch them together, then clip them. Place the button over the cut ends and sew it on.
Wear or give and enjoy!

If you are going to make this creation then get some supplies from these affiliate links.
[signature]


I love this pattern! It is so simple. Thank you so much.
love it and did make some of them wow
I’m glad! Thank you. 🙂
Simple yet versatile…I love it !!
Thank You for sharing! I love the Chain Wrap Bracelet. Will be making a few to give to my granddaughters.
These are perfect for my LOs who are only making chains right now! They haven’t quite made it to actual crochet yet.
awesome pattern! thanks for sharing 🙂 love the step by step tutoiral 🙂
thanks for y easy pattern. when i saw this pattern i made it with brown & blue yarn. i realy love that. thanks again
Is there any way I can print the pattern for the Chain-Bracelet for my own use only? I’d love to make a couple for Christmas Gifts.
Yes, you can print them for your own use, I just ask you don’t print them and give them to others, as I loose money that way.