The purl stitch is essentially a reversed knit stitch, so the front of a purl looks like the back of a knit, and visa versa.
Members of Showstopper Creations will find the ad-free version of this article HERE.
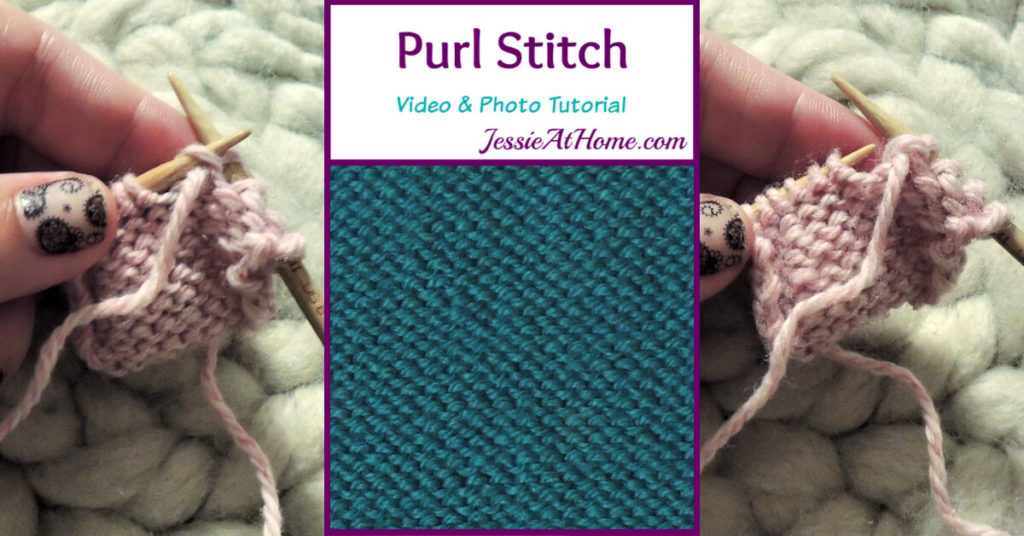
As with the knit stitch, it’s not hard to learn when it’s broken down into parts. Once you know how to both knit and purl, a whole world of yarnie creations opens up!
Purl StitchVideo
If you can’t see this video, try watching it on YouTube HERE.
Written instructions with photos
Abbreviations:
p – purl
If you are left handed, reverse the left and right in the directions.
Begin with the working yarn in the front.
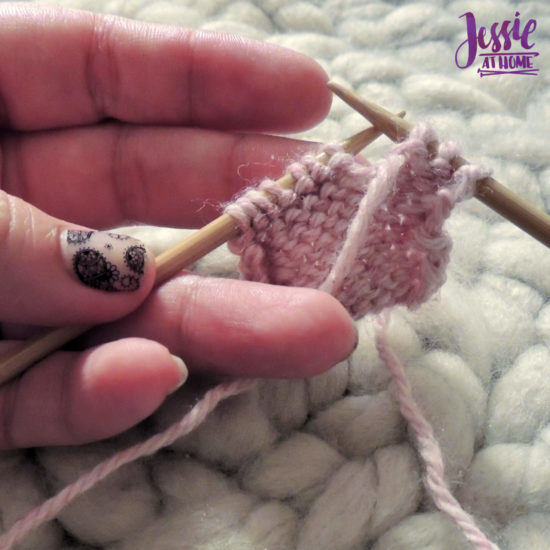
Insert the right needle from back to front AND right to left through the first stitch on the left needle.
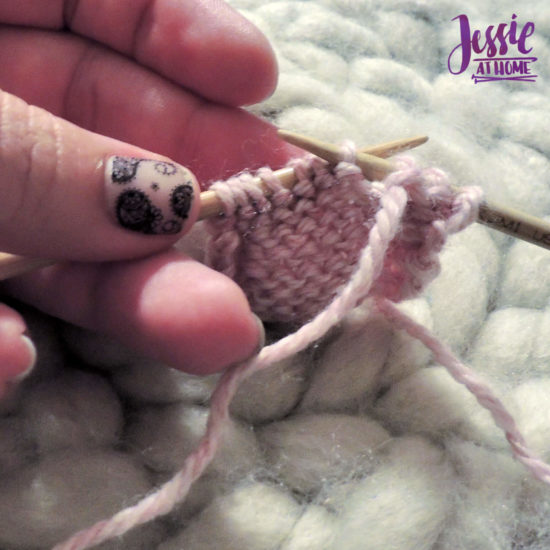
Wrap the working yarn over and then under the right needle, creating a yarn over.
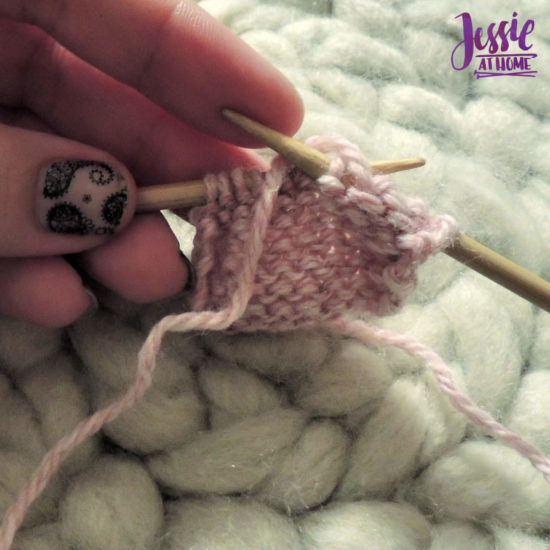
Use the tip of the right needle to pull the yarn over through the stitch on the left needle.
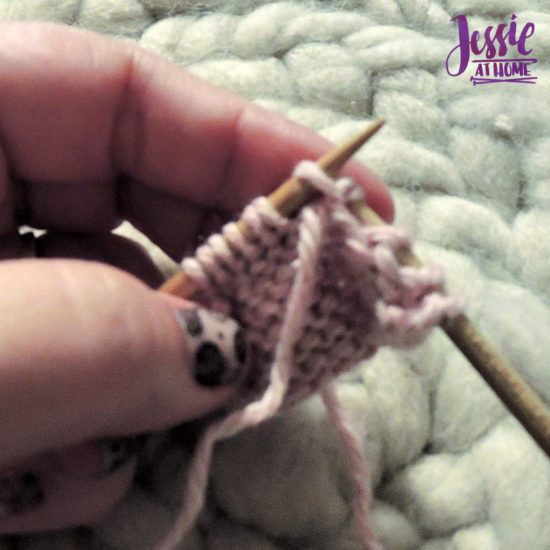
Slide the right needle up a bit so the new stitch isn’t too close to the tip.
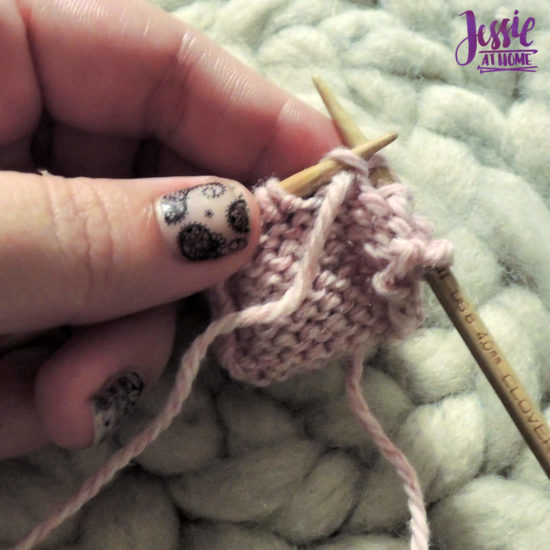
Slide the old stitch off the left needle, and you now have a new purl stitch on the right needle.
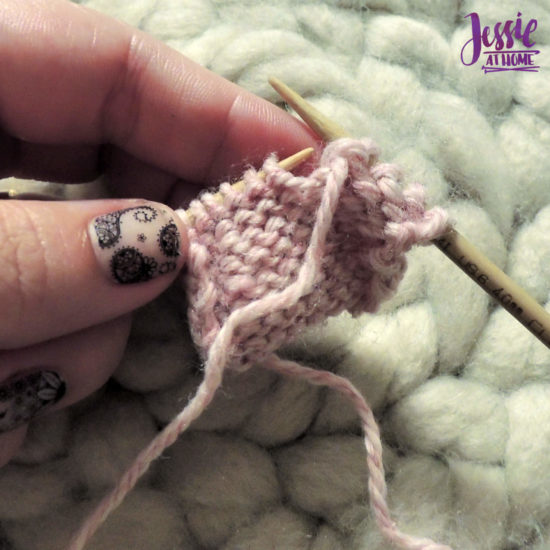
Congratulations, you’ve now made a purl stitch! Now keep going and make something awesome.
Here are some supplies you may find useful.
Happy stitching my friends.
Did you enjoy what you found here at Jessie At Home? Then sign up for my newsletter and like my Facebook page, so you’ll get all the updates on new tutorials, other posts, sales, and coming events.
If you have any questions, want to share pictures of your work, or just want to chat with Jessie and other crafty individuals, than join my Facebook group.

© Copyright 2020 Jessie Rayot / Jessie At Home All my videos, patterns, charts, photos and posts are my own work, so you may not copy them in any way. If you want to share this information with someone, then share the link to this post. If you want to share on your own blog / website, then you may use the first photo in this post and link back to this post. Also, you may not give away printed copies of this post.

