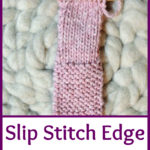
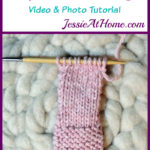
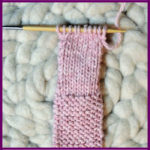
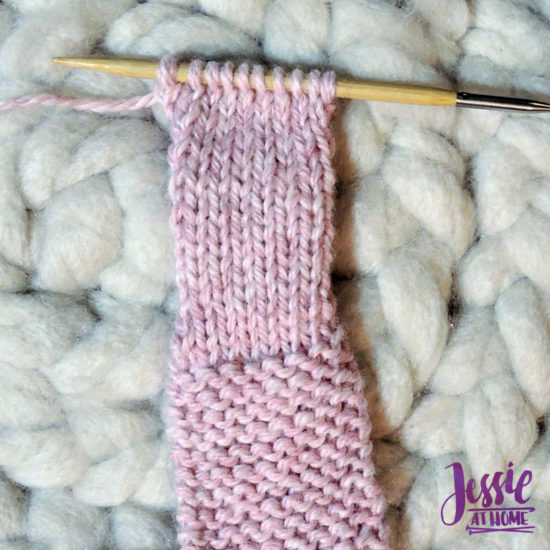
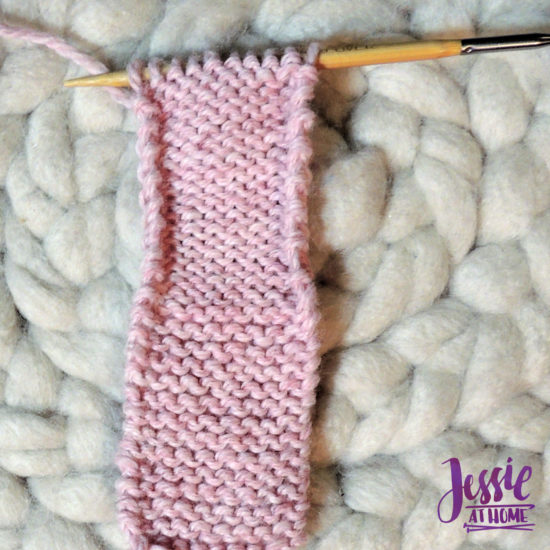
The slip stitch edge creates little nubs on the edge of your work, one nub for every other row. It’s a sturdy edge that is easy to seam together. It’s also a super easy edge to make, as it is worked the same way on every row.
Members of Showstopper Creations will find the ad-free version of this article HERE.
Video
If you can’t see this video, try watching it on YouTube HERE.
Written instructions with photos
Stitches and Abbreviations:
k – knit
p – purl
st(s) – stitch(es)
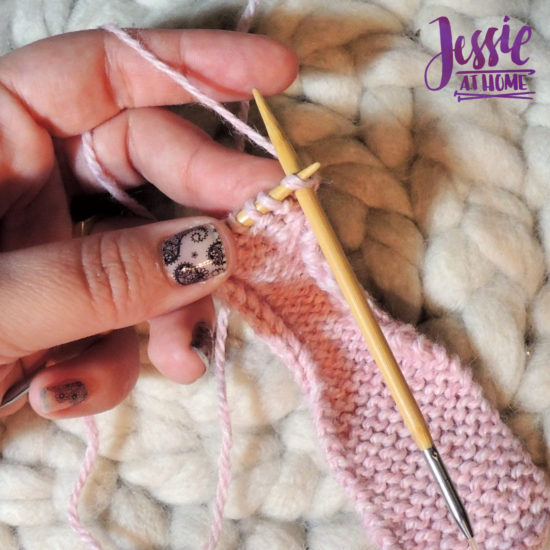
The slip stitch edge affects the first and last stitch of each row. This means you will either want to change the first and last stitch in your pattern accordingly, or add a stitch on either end of your pattern for the edging.
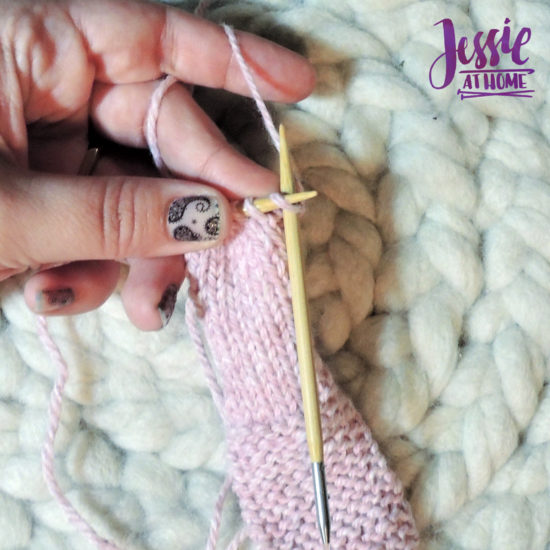
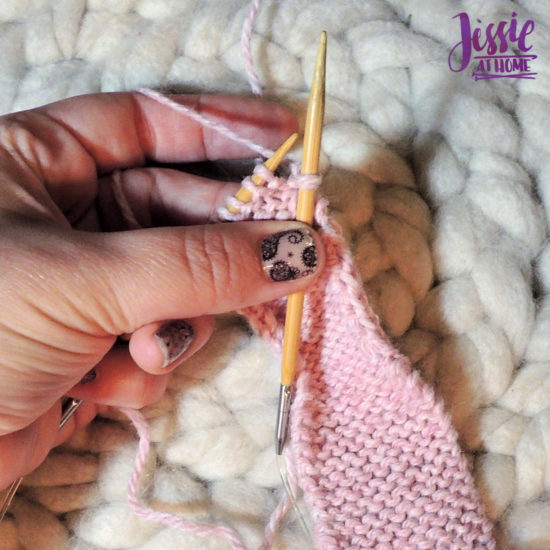
On the right (front) side rows, slip the first stitch knit wise. This means insert your needle into the first stitch as if you were going to knit it, and then slip it off the left needle.
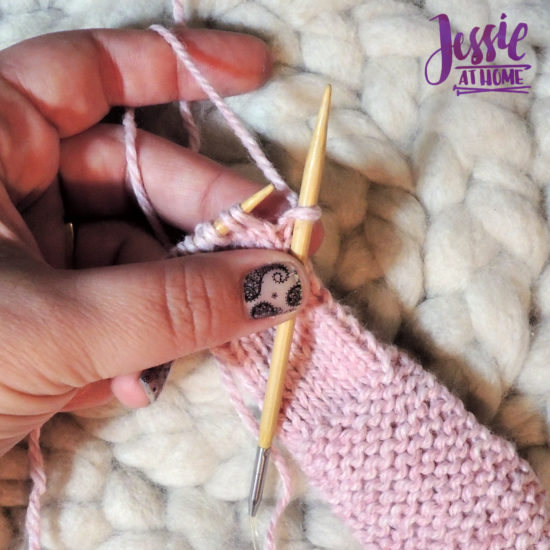
Now work your row as desired until there is only one stitch left.
Knit the last stitch.
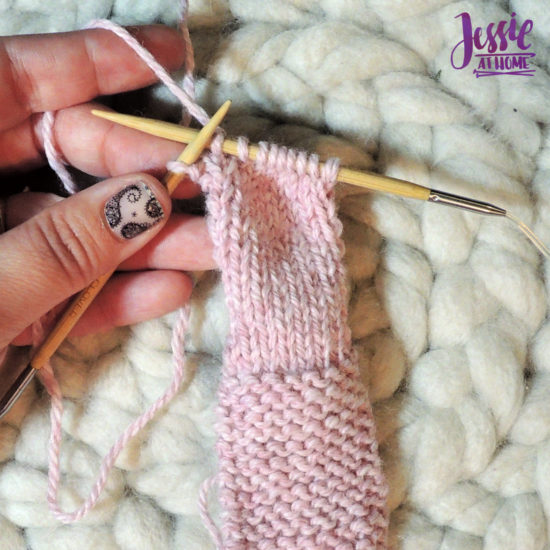
Work the wrong side rows in the same manner as the right side rows.
Slip the first stitch knit wise.
Work the rest of the row as desired until there is only one stitch left.
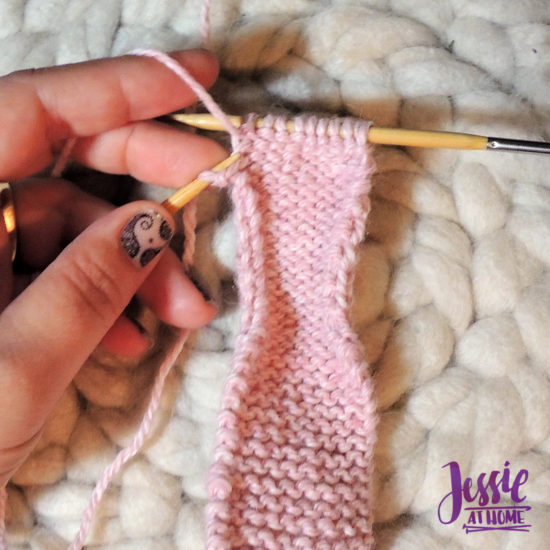
knit the last stitch
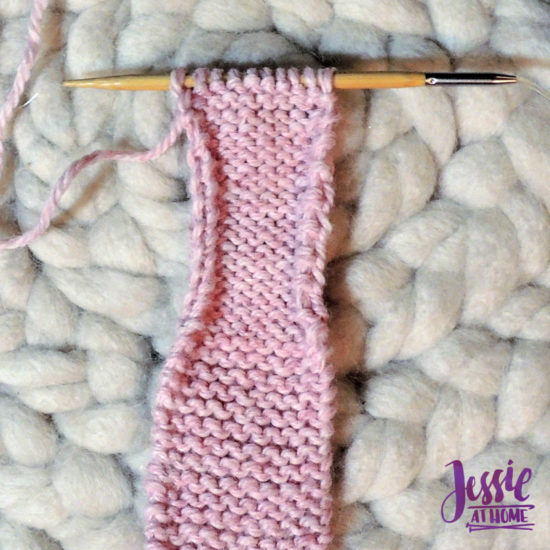
That’s all it takes. The first stitch of every row is slipped knit wise and the last stitch of every row is knitted. Easy-peasy.
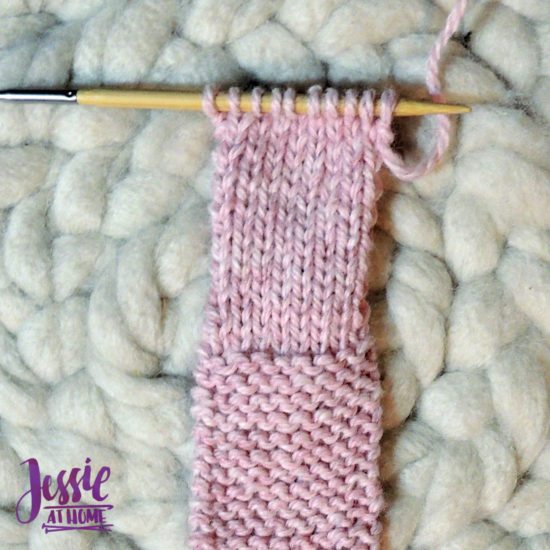
The slip stitch edge creates a little nub or bump on the edge of every other row, so counting rows and seaming rows are both simple.
Here are some supplies you may find useful.
Happy stitching my friends.
Did you enjoy what you found here at Jessie At Home? Then sign up for my newsletter and like my Facebook page, so you’ll get all the updates on new tutorials, other posts, sales, and coming events.
If you have any questions, want to share pictures of your work, or just want to chat with Jessie and other crafty individuals, than join one of our free Zoom Sit & Stitches. Find them on our Events Calendar.

© Copyright 2020 Jessie Rayot / Jessie At Home®, LLC All my videos, patterns, charts, photos and posts are my own work, so you may not copy them in any way. If you want to share this information with someone, then share the link to this post.