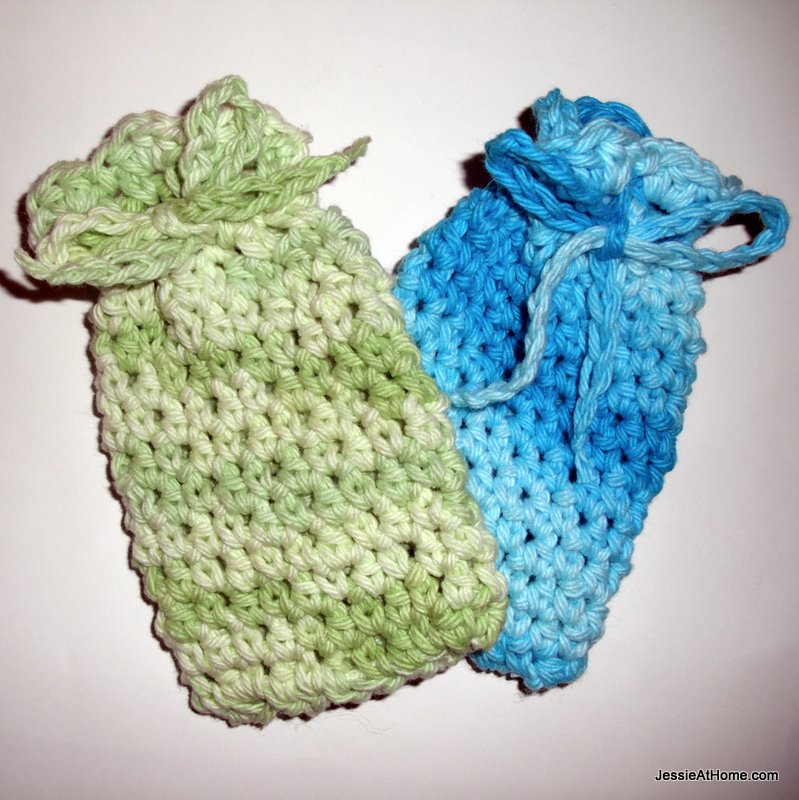
If liquid soap and a bath pouf is not your thing, then this soap bag is the spa accessory for you! Just slip your bar soap inside and tie it shut, then enjoy the scrubby bubbles. This bag can be reused when your soap is gone, and it can even be tossed in the washing machine. Just be sure to give it a good rinse before, so you do not over sud your machine with all the soap still in the bag.
Yarn:
100% cotton worsted weight yarn, (samples were made with Lily Sugar ‘n Cream)
Hook:
US H (5.0 mm)
Other Notions:
Yarn needle for weaving in ends
Stitches and Abbreviations used:
sl st ~ slip stitch
ch ~ chain
hdc ~ half double crochet
sc ~ single crochet
rnd ~ round
beg ~ beginning
st(s) ~ stitch(es)
ch 11
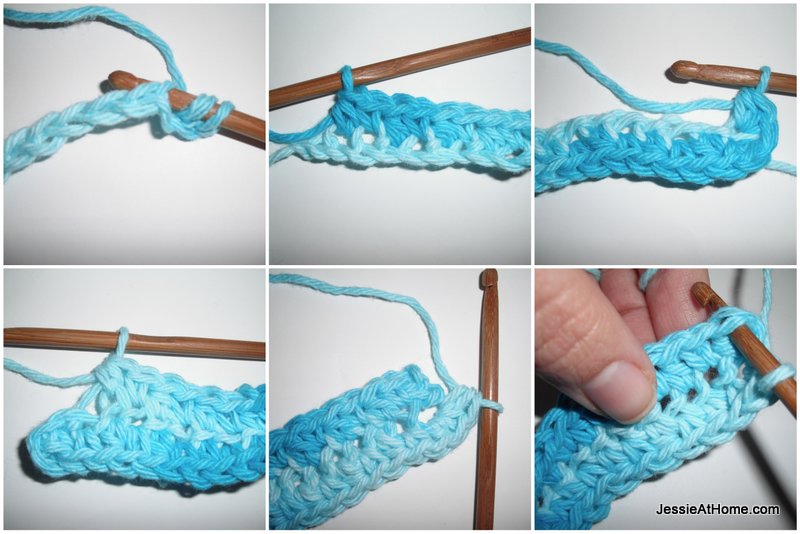
working in front loops only: hdc in second ch from hook
(sc in next st, hdc in next st) 4 times, there should be one ch left
(sc, hdc) in front loop of last ch, turn, the unworked back loops are now the front loops, (sc, hdc) in the front loop of first st
(sc in next st, hdc in next st) 4 times, there should be one ch left
(sc, hdc) all in last ch
do not join, you will be working in a spiral; hdc in top of ch just before the first hdc
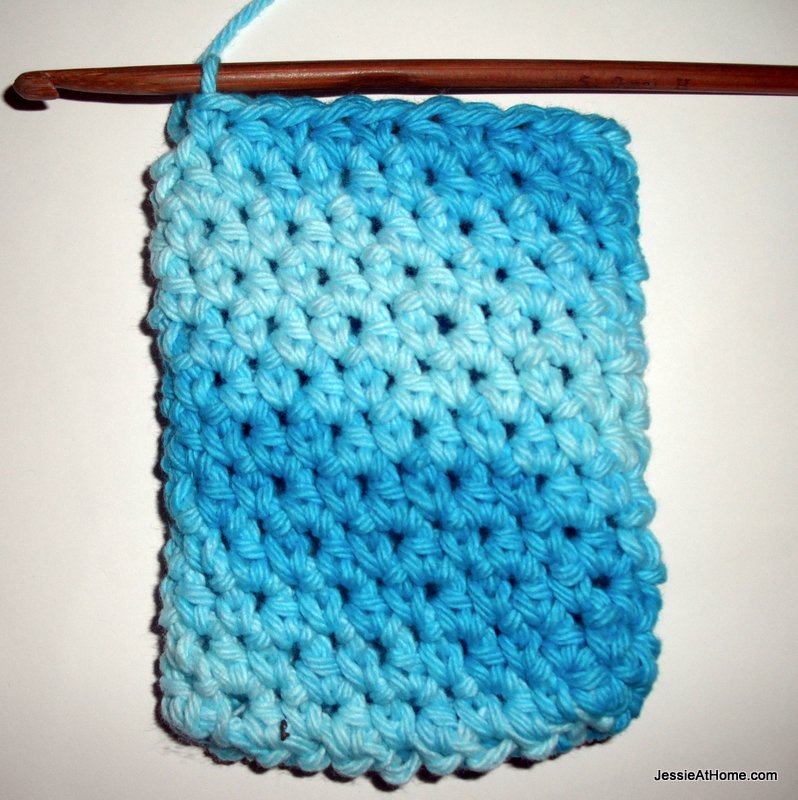
(sc in next st, hdc in next st) around in a spiral until bag is 4″ high (or the height you want before the tie string)
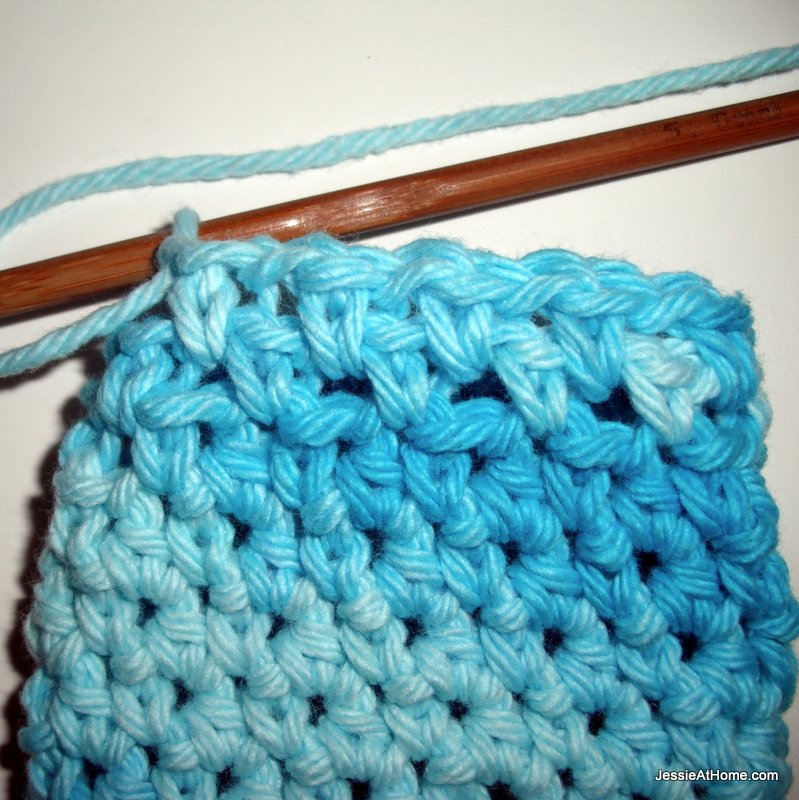
Eyelets: (ch1, skip a st, sc in next st) around 2 times ~ on second round the sc will go in the ch spaces
Boarder: (sl st in next ch sp, 3hdc in next ch sp) around, ending with a sl st in the first sl st. Clip yarn and weave in ends.
Tie String: ch45, clip yarn and pull end through last ch. Pull ends tight and clip them to 1/4″ then weave tie string through bottom row of eyelets
Toss in some soap and make some suds!
©Copyright 2013 Jessie Rayot / Jessie At Home All my videos, patterns and posts are my own work. Do not copy them in any way. If you want to share this information with someone, share the link to this post. If you want to share on your own blog / website, then you may use the first photo in this post and link back to this post. You may not give away printed copies of this post. Thank you.


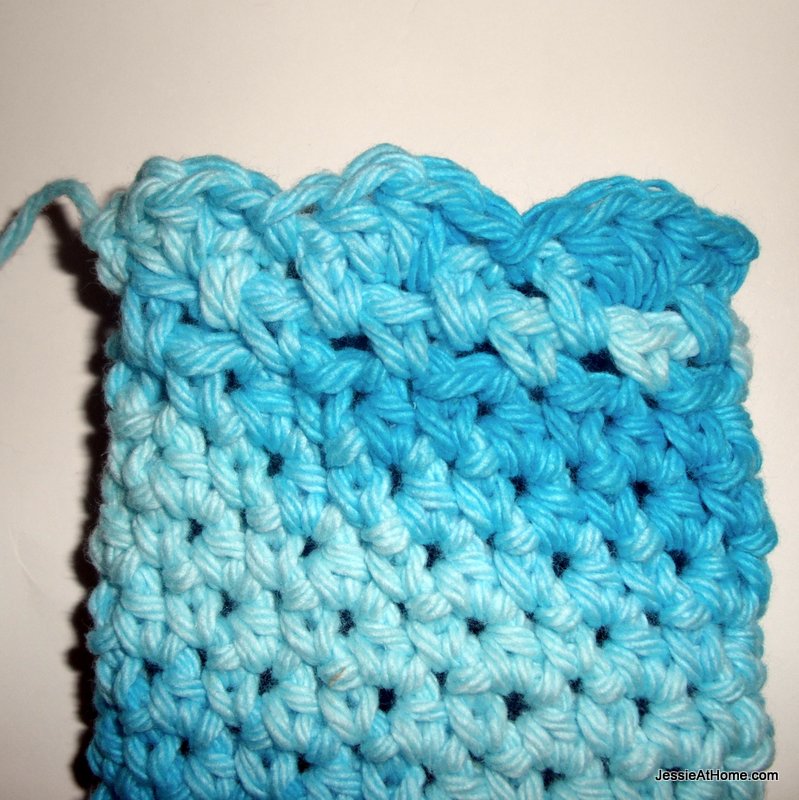
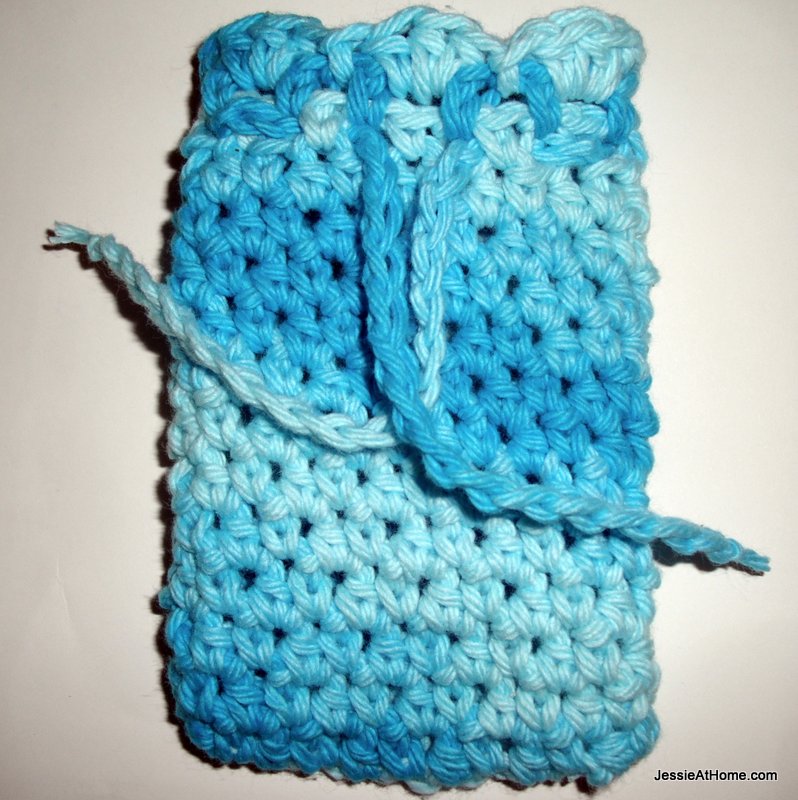


Hi Jesse! I’m a bit confused. You say to chain 11, but I don’t know how the whole bag of perhaps 25 stitches is achieved. It seems that I’m only crocheting one side of it. HELP! Thanks! Carol
(I must be brain dead on patterns. You aren’t the first designer I’ve contacted.)
You need to just keep going with the pattern. You work in each side of the chain, with extra stitches on the ends, this way the bottom of the bag is closed. If you chained 25, you would have to go back and sew the bottom shut.
That was quick! THANKS!
I love your patterns, however, I have had to take two apart so far, I am not understanding your counts on the bath mitten, got stuck on row 3 and also on this soap mitt I can’t understand how you can crochet in a front loop of a chain stitch, any help is appreciated Thank you
There are 3 loops on a chain. The two on top (front and back) and the one on the bottom. You would have to tell me what you don’t understand on the bath mitt for me to help with that one.
I am so stuck on the soap bag also, I can not figure how you get 3 loops in a chain 🙁
Are you talking about at the beginning? Make a chain, there are 3 “loops” on each chain. On the top (the part that looks like connected tear drops) there is a front loop and a back loop, then when you flip it over there is a ridge of loops on the bottom. Thus 3 loops you can work into. For the first round of the soap bag you are using the top, or tear drop, loops. First you work just in the half of the tear drop that is facing you, then you turn and work in the other half.
So you go back to the original chained row into the back ( now the
front loops) to start the other side of the bag?
You’ve got it!