Inside: If you are looking for an easy knit shawl pattern that is perfect for beginners, the Sally Super Simple Knit Shawl is it!
This pattern was originally published on 8/10/2020. The most recent update was made on 12/21/2022.
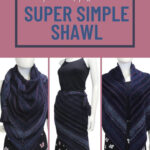
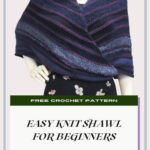
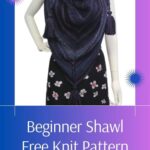
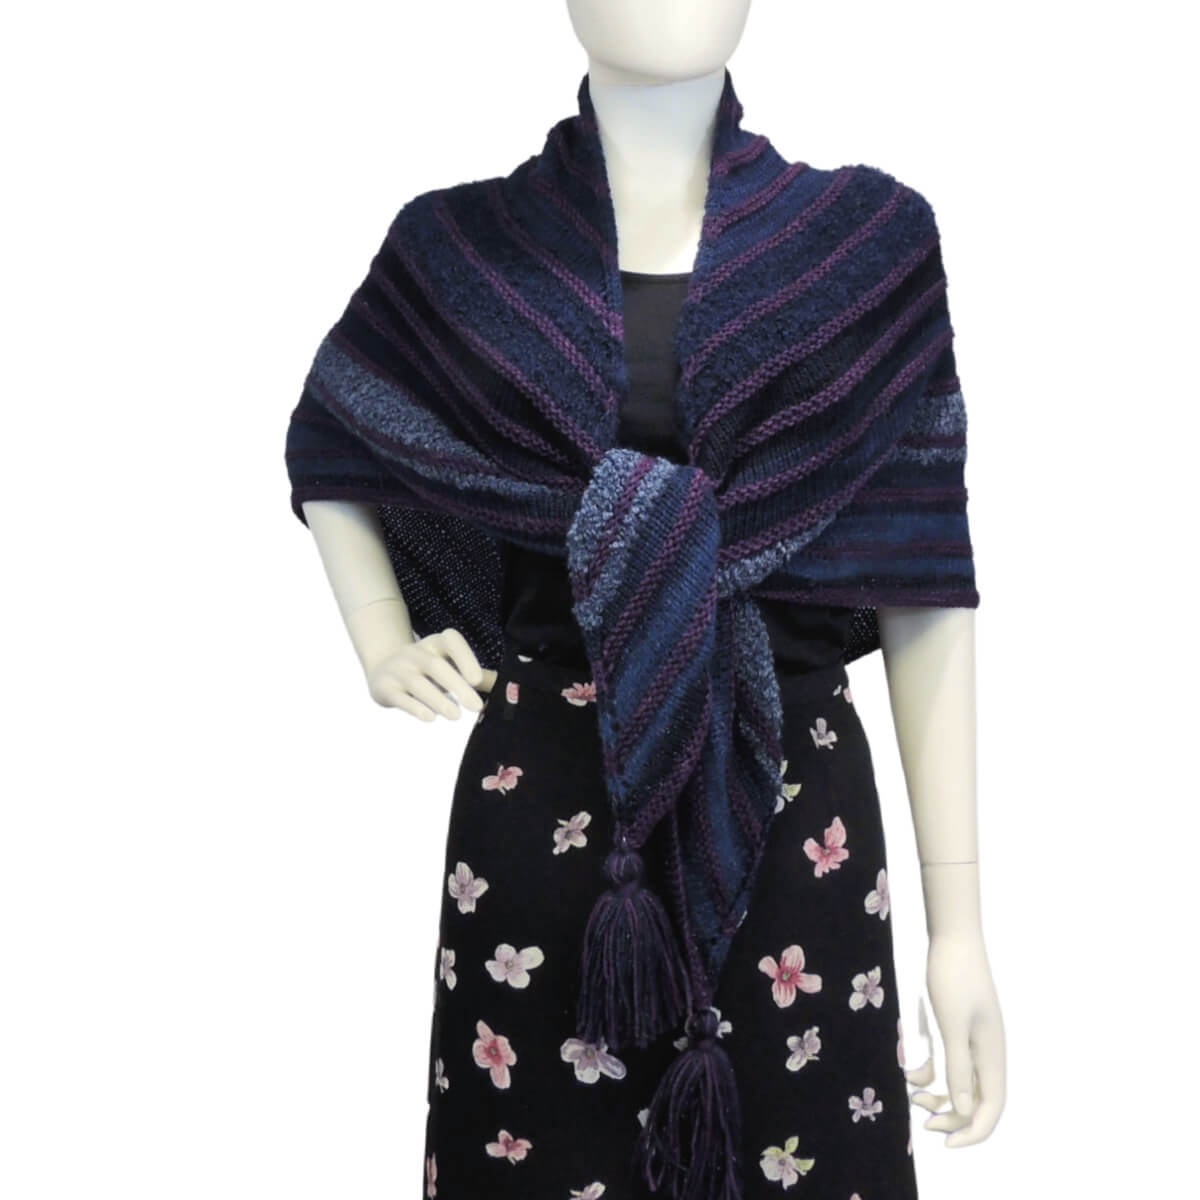
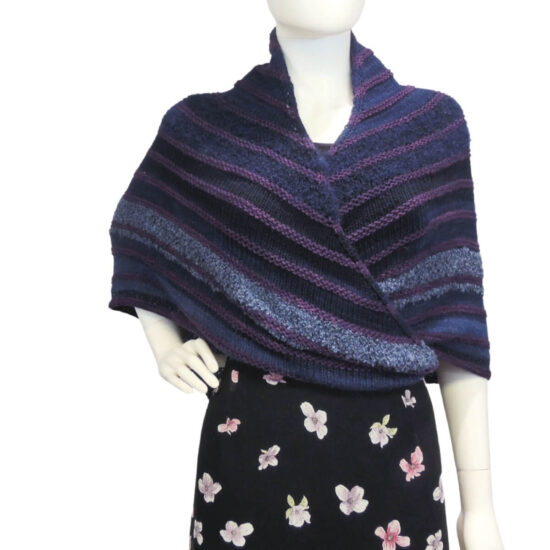
If you are looking for an easy knit shawl pattern that is perfect for beginners, the Sally Super Simple Knit Shawl is it! This project is made up of just a few basic stitches and features an oversized tassel ending. With its soft and cozy, bulky feel, this shawl is perfect for snuggling up on chilly winter evenings. The pattern is easy to follow, and you’ll be able to show off your finished work with pride.
Table of contents
This super simple knit shawl is exactly that – simple! It’s great for a first big project because the only stitches used are knit, purl, and yarn over.
So, if you can make those and cast on and bind off, you’re set. This shawl is also a great way to use small amounts of coordinating yarn.
I used size 2 (sport weight) yarn, but you can use another weight if that’s what you have. Make yours whatever size you want, just bind off when you’re happy.
Sally Super Simple Knit Shawl
Knit Pattern
Easy Skill Level
Designed by Jessie Rayot
Supplies
Size
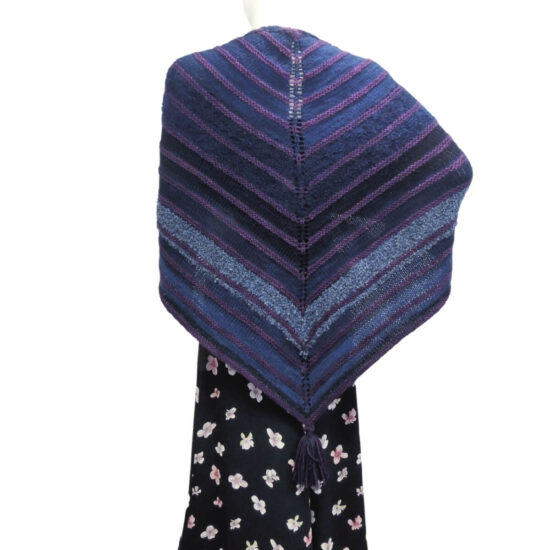
64” x 32”
Yarn
Knit Picks Wool of the Andes: (100% Peruvian Highland Wool), Size 2 (13 wpi, sport weight), 274 yds / 100 g (yds/g = 2.74)
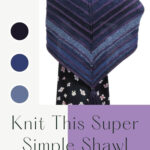
Hand Dyed: Color A – 1 skein, (274 yds / 100 g used in sample)
Various Size 3 (DK weight) yarns equaling a total of 500 yards: Color B
Used in sample: Cat Mountain Fiber Arts Fusion Cobalt: Approximately 62.5 yds each of 8 DK weight yarns for a total of 500 yds
Knitting Needles
US 8, (5.0 mm)
Gauge
Learn about gauge HERE
17 sts x 24 rows = 4” [10 cm] in Stockinette – but not critical for this pattern
Other Supplies
Yarn Needle
Stitch Marker
Large Rya-Tie Tool *optional
Stitches and Abbreviations
click on highlighted sts for tutorials
bo – bind off
co – cast on
k – knit
p – purl
pm – place marker
rs – right side
sm – slip marker
st(s) – stitch(es)
ws – wrong side
yo – yarn over
[ ] – work step in brackets number of times indicated
Get the Ad-Free Printable PDF at These Sites
- Jessie At Home – Buy directly from me, you can also get bonus printables!
- Crochet Foundry – You can get bonus printables here as well.
- Ravelry
- Etsy
- LoveCrafts
Pattern Notes
- Read through all instructions before beginning.
- Row counts are at the end of each row after the period, but only if the count has changed from the previous row. {count here}
- If marker is not mentioned in a row, then slip marker when it is reached.
- This shawl can be made whatever size you like, just stop repeating when you get the length you want.
Easy Knit Shawl for Beginners Pattern
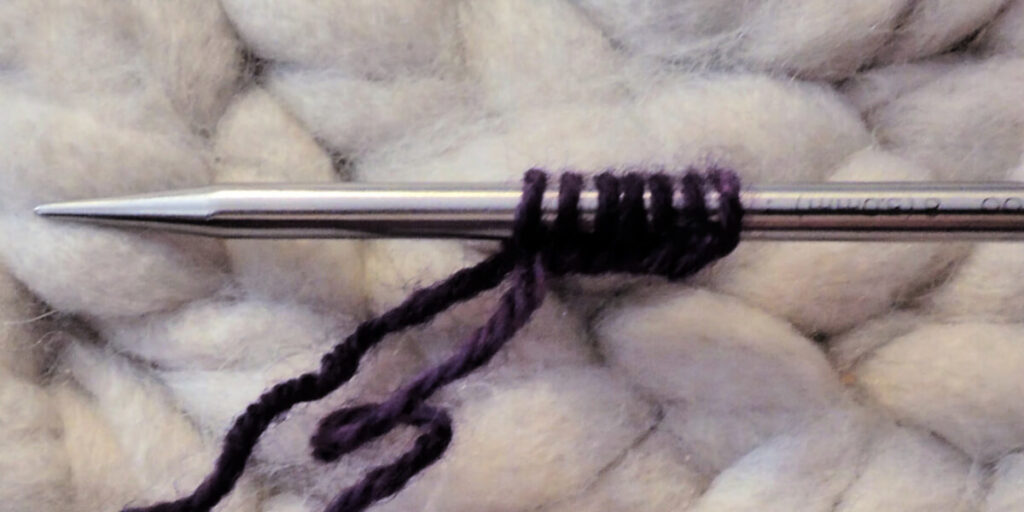
With Color A, co 7
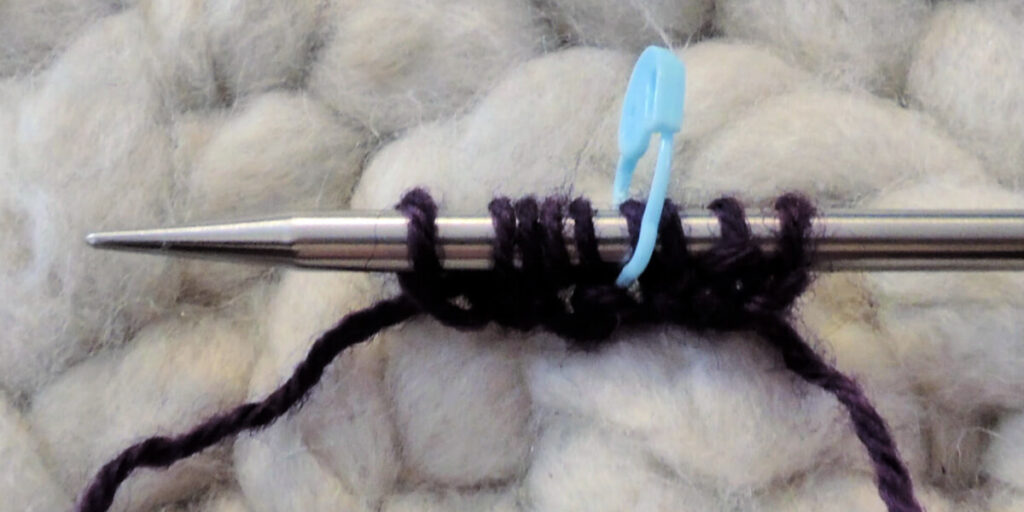
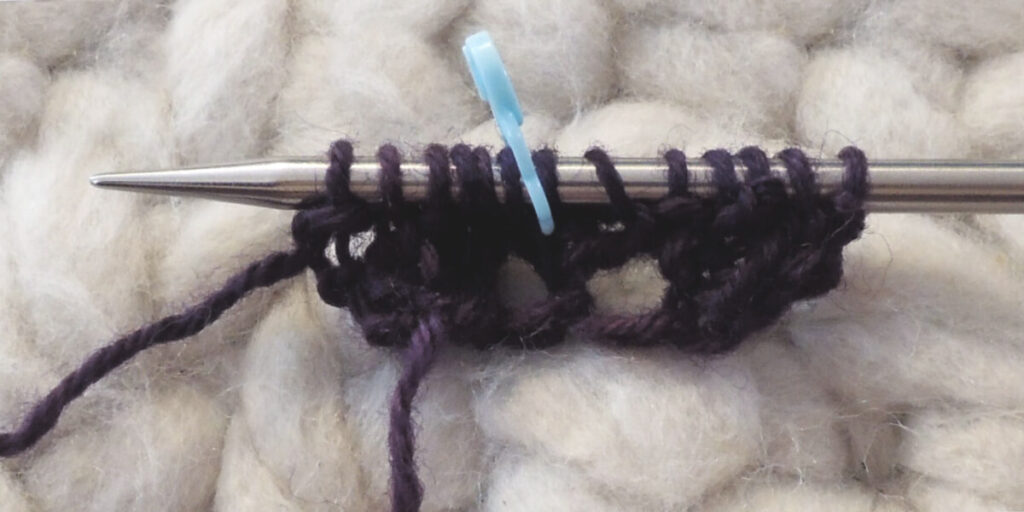
Row 1 (RS): K1, p1, k1, yo, pm, k1, yo, k1, p1, k1. {9 sts}
Row 2 (WS): P1, [k1, p1] to end.
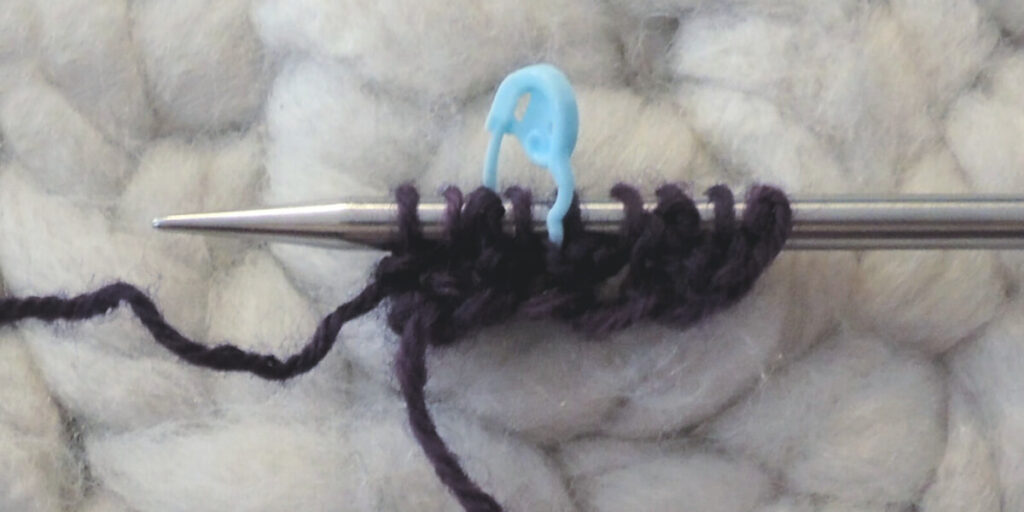
Row 3: K1, p1, k1, yo, k1, yo, sm, [k1, yo] 2 times, k1, p1, k1. (13 sts)
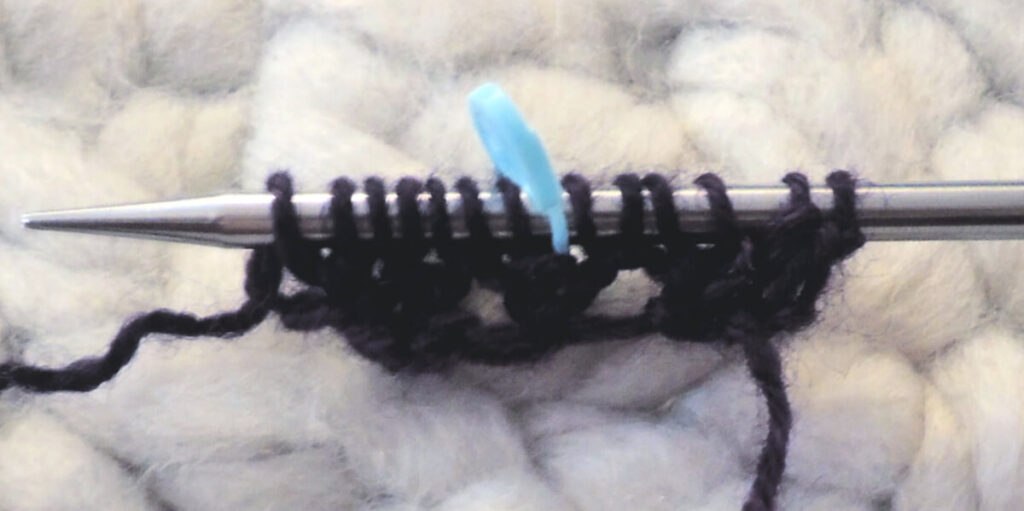
Row 4: P1, k1, p1, k to 1 st before marker, p1, sm, k until 3 sts remain, p1, k1, p1.
Row 5: With Color B, k1, p1, k1, yo, k to marker, yo, sm, k1, yo, k until 3 sts remain, yo, k1, p1, k1. {17 sts}
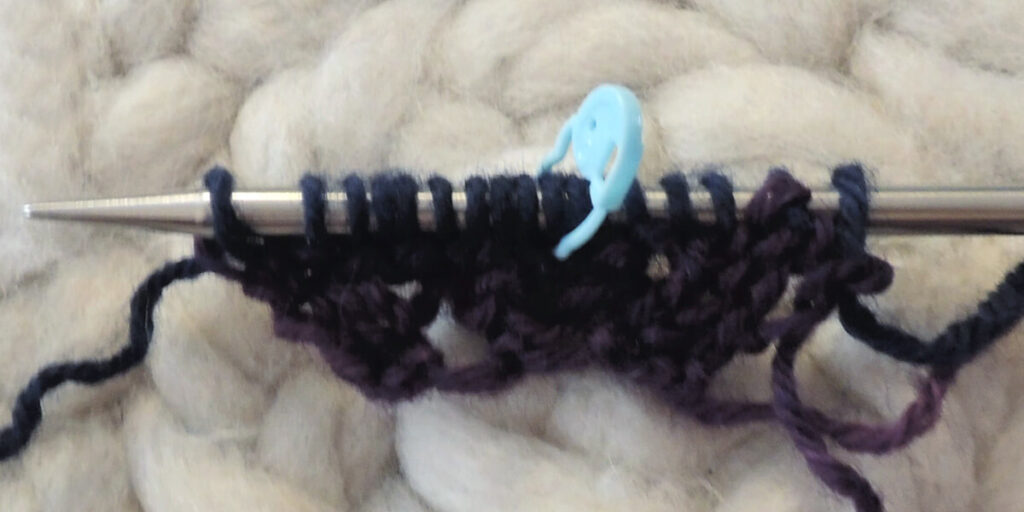
Row 6: P1, k1, p until 2 sts remain, k1, p1.
Rows 7-12: Repeat Rows 5&6 three times. {29 sts after Row 12}
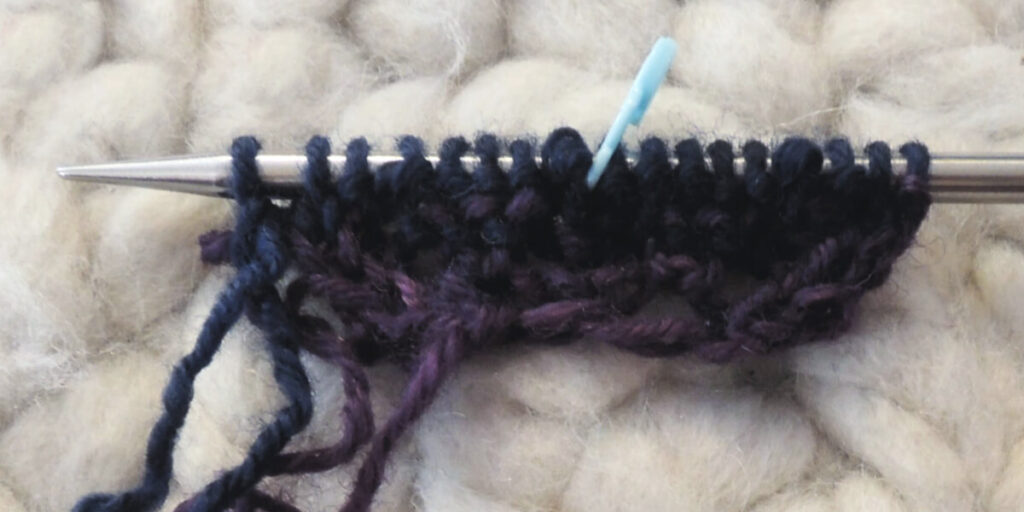
Row 13: With Color A, k1, p1, k1, yo, k to marker, yo, sm, k1, yo, k until 3 sts remain, yo, k1, p1, k1. {33 sts}
Row 14: P1, k1, p, k to 1 st before marker, p1, sm, k until 3 sts remain, p1, k1, p1.
Rows 15&16: Repeat Rows 13&14. {37 sts after Row 16}
Repeat Rows 5-16 until desired length.
Finishing
- Bind off all sts knit wise.
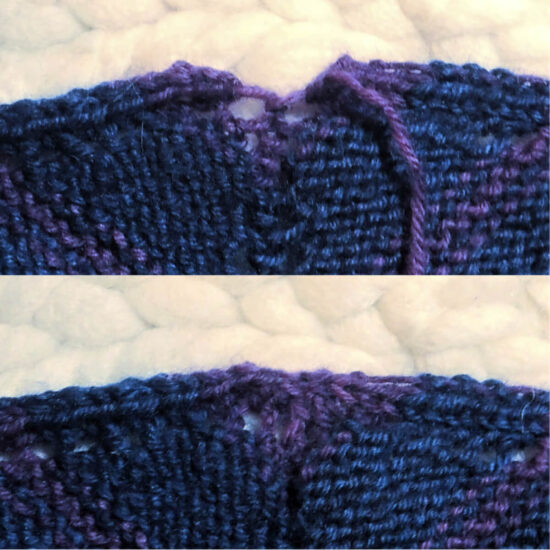
- Fold Row 1 in half, then use the starting tail from Color A to sew the first 3 sts to the last 3 sts.
- Weave in all ends then steam block.
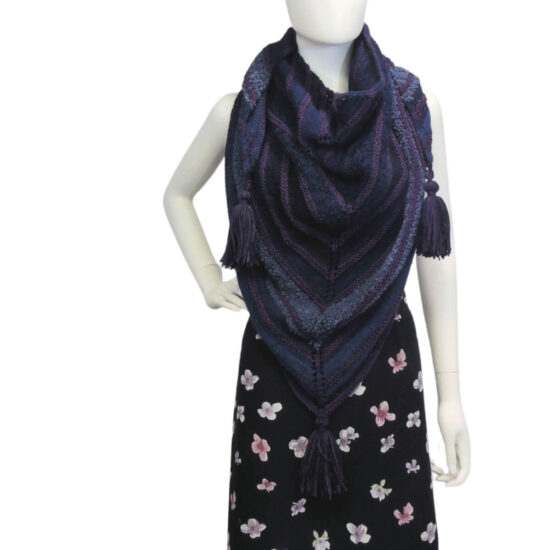
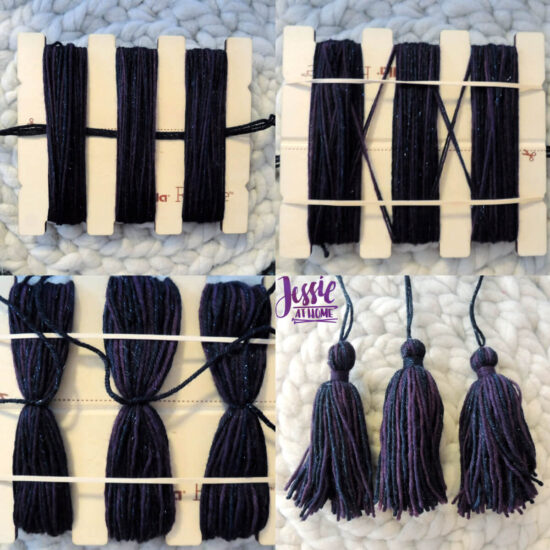
Tassels – make 3
- Cut 30 strands 10” long of each Color then pile them in a bundle. I used a large Rya-Tie tool from Bucilla.
- Cut one strand of either Color 15” long then tie it tightly around the center of the bundle.
Do not cut, use this to attach the tassel to the scarf when the tassel is done. - Fold bundle in half.
- Cut one 20” strand of either color then use it to wrap the tassel top.
- Attach one tassel to each of the 3 points of the scarf.
Happy Stitching!
FAQs
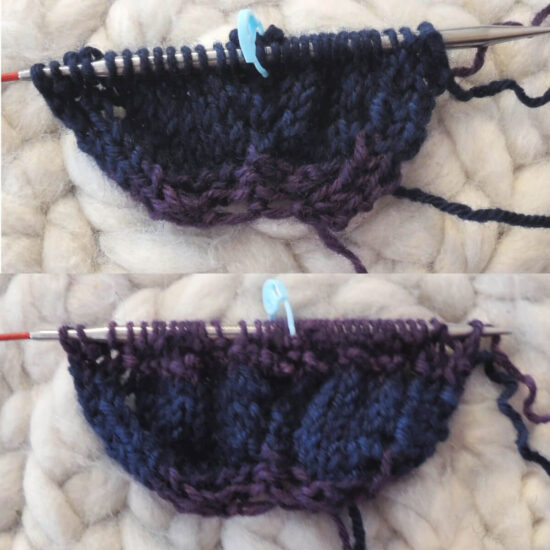
The thin stripes are all the “Color A” sections, and the thick stripes are all the “Color B” sections. The reason the thick stripes are all different shades and textures is because the yarn used for Color B in the sample was a selection of smaller skeins.
Did you enjoy what you found here at Jessie At Home? Then sign up for my newsletter and like my Facebook page, so you’ll get all the updates on new tutorials, other posts, sales, and coming events.
If you have any questions, want to share pictures of your work, or just want to chat with Jessie and other crafty individuals, than join one of our free Zoom Sit & Stitches. Find them on our Events Calendar.

© Copyright 2020 Jessie Rayot / Jessie At Home®, LLC All my videos, patterns, charts, photos and posts are my own work, so you may not copy them in any way. If you want to share this information with someone, then share the link to this post.


Sorry am stuck right at the beginning, row 6 you have 17 stitches and then repeat row 5 and 6 3 times to make 25 stitches , so you have increased by 8 stitches , how can 6 rows amount to 8 extra stitches?
Paula – you are so right! I added 8 instead of 12. I just fixed the pattern, so all the st counts from Row 12 on went up by 4. Thank you so much for letting me know so I could fix it.