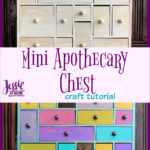

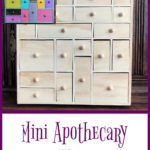
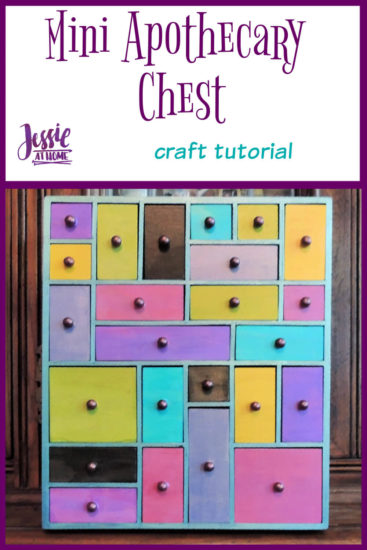
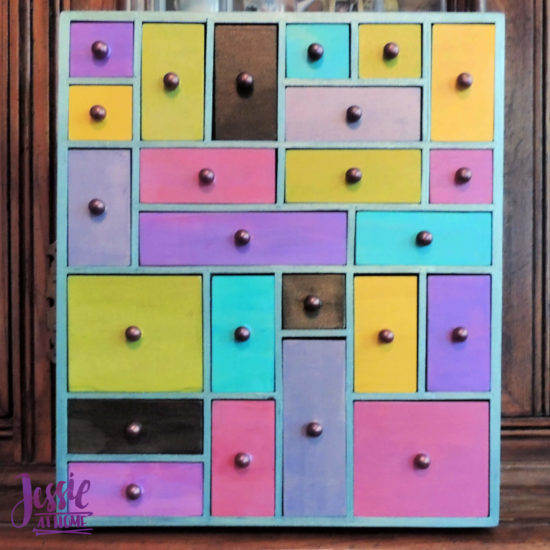
My new mini apothecary chest is so awesome and something I’ve been wanting forever! I love all the various size drawers and the fun colors. I’ve always wanted a buffet style apothecary chest, but those are super expensive. This little guy is so useful and fun and won’t break the bank. You can use more or less colors when you paint it, and choose colors that fit your style if mine aren’t so “you”. However, my version is VERY “me”!
Some products used in this tutorial were provided by Plaid. All opinions are my own.
Let’s start off with a supply list. These are the supplies I used, you may want to change things up to fit your style. Click on the supplies to see more about them.
- Unpainted Apothecary Cabinet
- FolkArt Treasure Gold (Brilliant) Metallic Paint in:
Aquamarine
Antique Copper - FolkArt Color Shift Acrylic Paints in:
Yellow Flash
Pink Flash
Green Flash
Aqua Flash
Black Flash
Purple Flash
Blue Violet Flash - Paint Brushes – I used a 1/8″ flat for the knobs and 1/2″ flat for the rest.
- Small Paper Cups – or something else to hold your paint.
- Sand Paper – 120 or 220 grit
- Something to protect your work surface (old sheet, packing paper, side of a box)
- Mug/Cup of water (don’t use the same mug as your coffee/tea – ask me why)
- Paper Towels in case of spills or other oops.
Get your work space all set up. I have an old fitted sheet that I fold in half and wrap around the front of my table – so the two sets of pockets wrap around the front two corners of the table, then I clamp the end of the sheet where I folded it in half to the sides of the table.
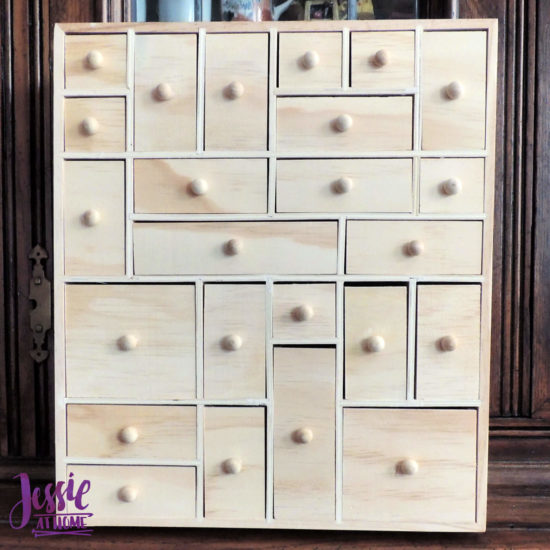
Get out your paints, your water cup, your brushes, and your paint cups if your using them. Pull out all the drawers from your apothecary chest. Give all the edges/corners a sand so they aren’t sharp. Sand any other areas that need it. Wipe the wood down so there’s no dust on it before painting.
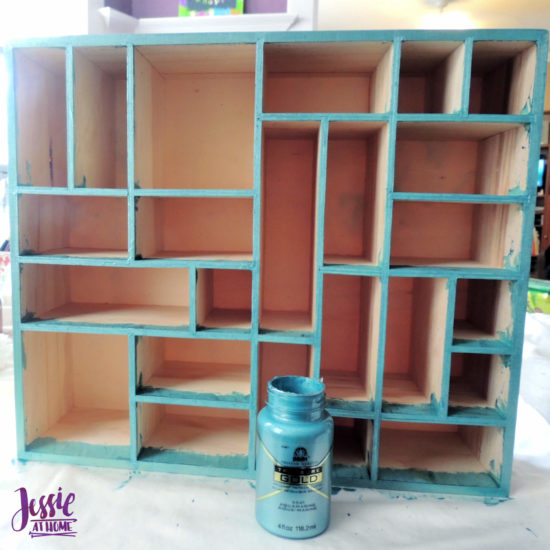
Now it’s finally time to paint! I painted the case with one of the Treasure Gold paints. I didn’t pour the paint into anything, I just took off the lid and dipped my brush into the container.
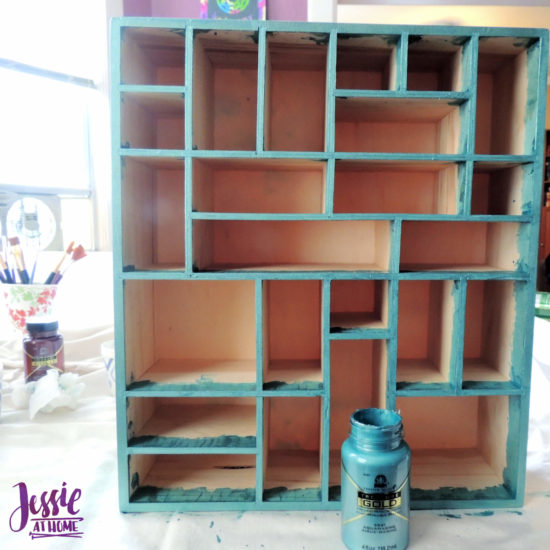
First lay the case on its back and paint the front where it will be seen between each of the drawers. Next stand the case up so it’s upside down. Paint the bottom of the case – which is currently on the top as it’s upside down. Paint the rest of the surfaces that are facing up just about 1/2 to 1″ in, so if the drawers don’t fit perfectly you won’t see bare wood.
Flip the case 90 degrees and paint the part that is on the top, and in about 1/2 to 1″ on all the other surfaces facing up. Repeat this 2 more times until all 4 sides are done.
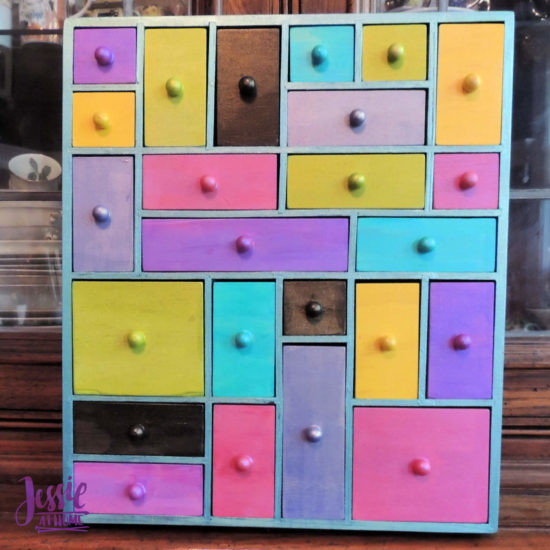
Now we paint the drawers. First place your bottles of paint in a line across in front of you. I had 7 colors. Now start placing the drawers behind each color until you’re happy with the color distribution. Or, you may have some other system to figure out colors, you do you!
Now, one color at a time, paint your drawers. I painted the tops, the edges of the bottoms, and the front, back and sides. I did NOT paint the full bottoms or the insides of the drawers. Again, you do you. Some of the drawers will be really hard to paint inside of, and I didn’t see the point of painting the bottoms. I painted the sides and backs because I know me, I will take out a drawer with something I’m using (like safety pins) and put it on my table where I need it. So I wanted the sides and back painted as well as the front.
Let everything dry for at least 24 hours. Don’t get over excited and put the drawers in too soon. They may feel dry very quickly, but if you put them in too soon they may stick. I actually gave mine 48 hours to be super safe.
Once I put all the drawers in my earlier suspicions were right, it needed something to pull it all together.
I had the second color of Treasure Gold just for this purpose. I thought the knobs may need to all be one color, but I wanted to see first. So now I started painting all the knobs the same color. If you use different colors then me, I would suggest finding a color that stands out well with your colors for the knobs.
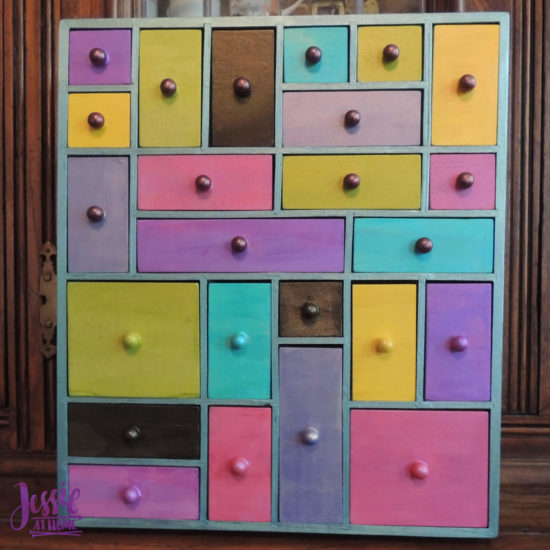
I love the picture above, it really shows how much different the uniform knobs make. Pretty cool, isn’t it? They really anchor everything down and pull the whole piece together!
There you go, your own mini apothecary chest for all your little bits. I’m using mine for sewing supplies and maybe a few other little things. I only just finished this, so I haven’t had the change to fill it up yet.
Did you enjoy what you found here at Jessie At Home? Then sign up for my newsletter and like my Facebook page, so you’ll get all the updates on new tutorials, other posts, sales, and coming events.
If you have any questions, want to share pictures of your work, or just want to chat with Jessie and other crafty individuals, than join one of our free Zoom Sit & Stitches. Find them on our Events Calendar.

© Copyright 2020 Jessie Rayot / Jessie At Home®, LLC All my videos, patterns, charts, photos and posts are my own work, so you may not copy them in any way. If you want to share this information with someone, then share the link to this post.


I love your multi-colored apothecary cabinet! Well done!
Michelle
https://mybijoulifeonline.com
Thank you! It makes me smile whenever I look at it, and it’s already proving useful. 🙂
I love the apothecary cabinet unpainted