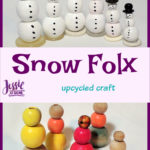
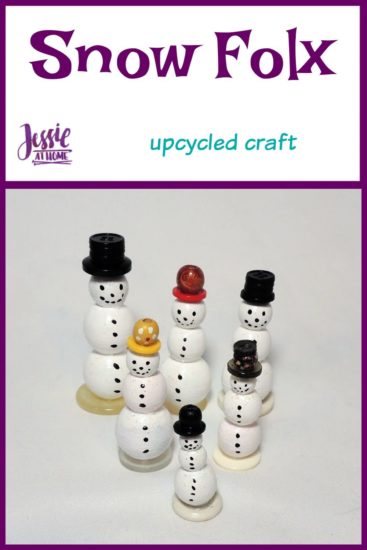
Upcycled Snow Folx can be made from crafty items you most likely already have in your stash. See what you have and then get creative! Maybe you don’t have as many buttons for hats, but you have pipe cleaners or little ribbon flowers. You could even use some clay to make hats, or yarn to make scarves. Just poke through your stash and have fun!
Some products used in this tutorial were provided by Plaid. All opinions are my own.
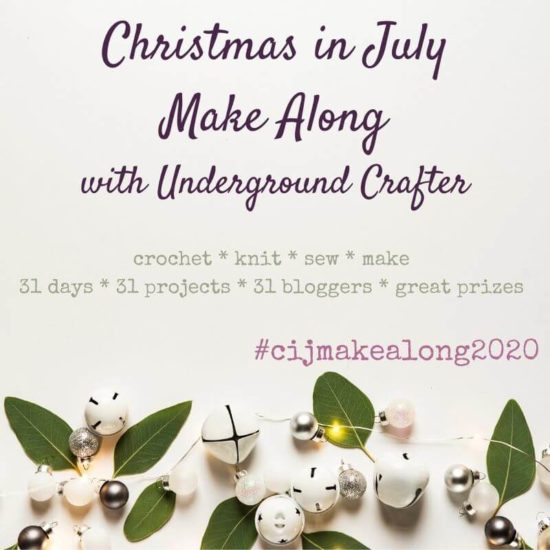
I’m participating in the Christmas in July Make Along with Underground Crafter. 31 bloggers have teamed up in order to bring you a month full of free patterns to kick start the handmade holiday season — including crochet, knitting, sewing, and crafting projects.
We’ve also partnered with some of our favorite companies to get some great prizes for you. Find out more information about participating designers, the schedule, and how to enter to win the prizes on Underground Crafter. The deadline for entering the giveaway is Tuesday, August 4, 2020 at 11:59 p.m. Eastern.
As mentioned in the intro, you can get creative with your craft stash to make these fun little decor items. Below is a list of products I suggest for making your Snow Folx.
- Various size wood beads or other round items to make up the main body parts.
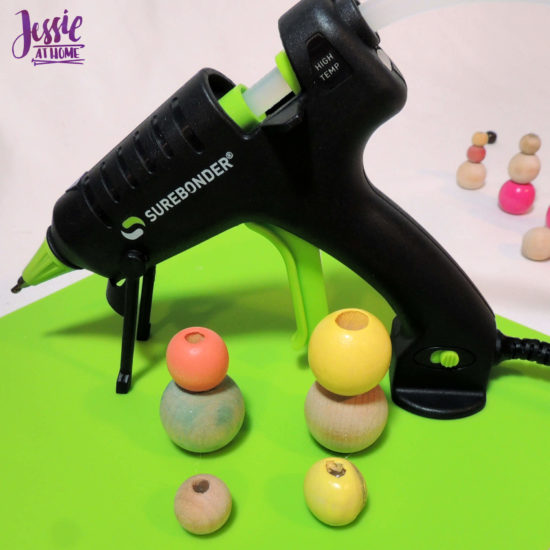
- Glue – I used hot glue with a hot glue gun and a silicon pad.
- White paint – I used Folk Art.
- Paint brushes – medium for white and sealer, fine point for black.
- Sealer – I used Sparkle Mod Podge.
- Black paint – I used Folk Art.
- Various buttons and barrel beads for bases and hats.
- Whatever else makes you happy!
To start, collect all your round bits. In my case that was a pile of wooden beads.
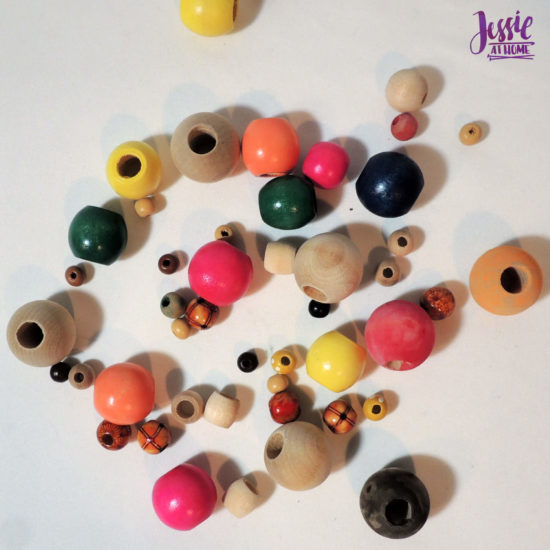
Now plan out Snow Folx body parts. Because I used beads I was able to stack them while planning by using the holes as flat sections. Plan out various sizes to keep things interesting.

Now it’s time to glue your little guys together. I first put the top bead pieces down on the silicon pad and filled the hole with hot glue so I could paint over the top. It turned out not to be necessary as I added hats. I thought I’d tell you anyway because it’s a nifty tip.
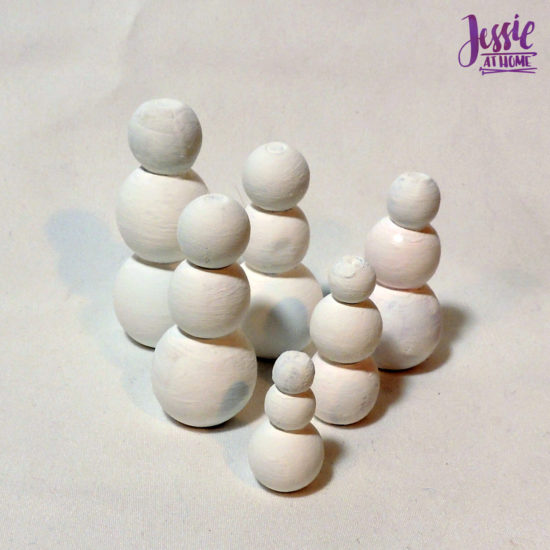
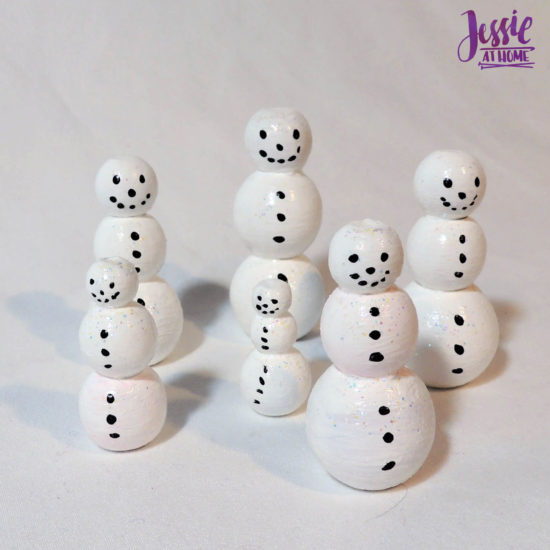
Paint your Snow Folx white. I had to do multiple layers. Several for the the beads that were smoother because they didn’t like to hold the first coat of paint, and several for some of the darker/brighter colors.
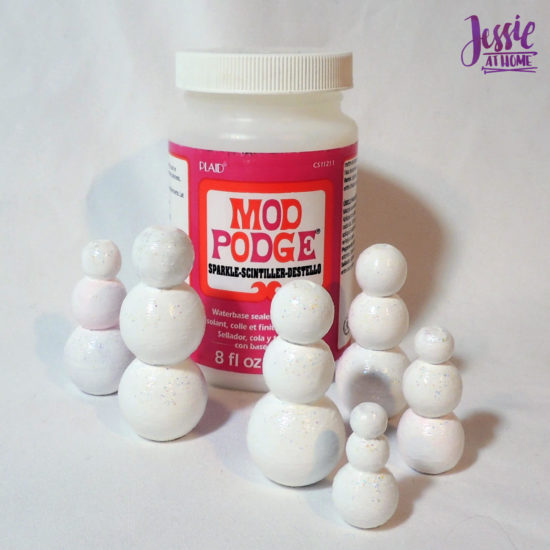
Now a glossy sealer is great as snow is wet. I went with the sparkle Mod Podge because I like how snow sparkles in the sun. In addition, it created a little bit of texture like snow has.
I made all my faces and buttons with black paint. You could also make little carrot noses with orange paint, or by gluing on felt or clay noses.
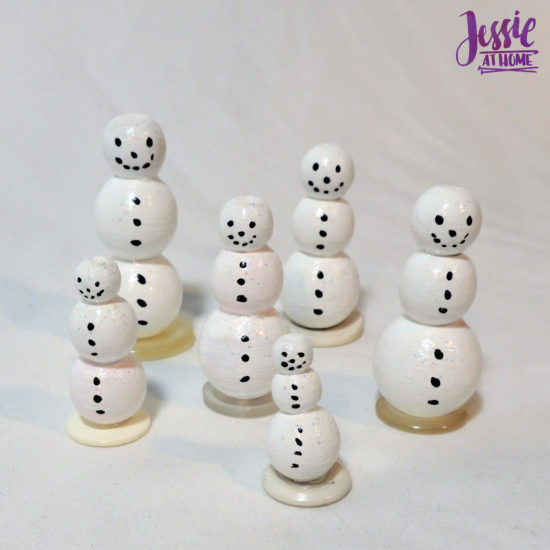
I found my folx stood OK on their own, but a breeze or shaking table did make them topple. So I found some larger white buttons to use as stands. You could also paint some wood disks, or even poker chips!
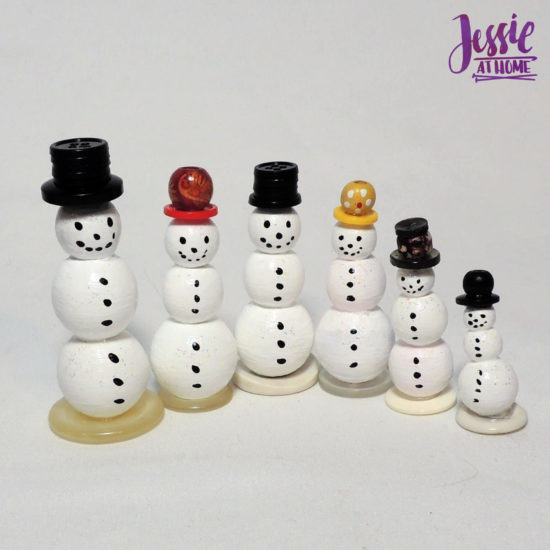
Now time for some personality! I made hats with buttons as the bases, and then beads or stacks of smaller buttons for the main hat section. I called my Snow Folx done at this point, but you could keep going.
You could collect tiny twigs for arms, make scarves with felt or yarn, even cute little fabric aprons. Imagine how fun this could be with piles of crafty left overs and kids. These would make super cute ornaments by adding a hanging loop through the hats.
Happy crafting my friends.
If you are going to make this crafty creation then get some supplies from these affiliate links.
Did you enjoy what you found here at Jessie At Home? Then sign up for my newsletter and like my Facebook page, so you’ll get all the updates on new tutorials, other posts, sales, and coming events.
If you have any questions, want to share pictures of your work, or just want to chat with Jessie and other crafty individuals, than join one of our free Zoom Sit & Stitches. Find them on our Events Calendar.

© Copyright 2020 Jessie Rayot / Jessie At Home®, LLC All my videos, patterns, charts, photos and posts are my own work, so you may not copy them in any way. If you want to share this information with someone, then share the link to this post.