Yarn dyeing with indigo was way cooler than I imagined. It started out green! Really, green, I’m not kidding. I never knew indigo had an oxidation process, and it was really neat to watch. Plus, I had a blast coming up with ways to “tie” the yarn with rubber bands to get all sorts of cool designs.
This is our third installation of Adventures in Yarn Dying with Jessie At Home. There are two more still this year, so the fun will continue!
This post was sponsored by WeCrochet. All opinions are my own.
You can find all the details about Adventures in Yarn Dying with Jessie At Home HERE. You’ll find dates and links to the other posts in this series. You’ll also find links for the various supplies you may need.
Supplies from WeCrochet
- Swift and Yarn Winder – Sometimes you’ll need to wind your yarn, sometimes you’ll need to unwind it!
- Bare Yarn – Well, this is obvious. 🙂
- Dye – There are many options here. We’ll explore them through the year.
- Book – This book is awesome!
Other useful supplies can be found in the intro post.
Getting the dye ready
So I had completely missed the first supply needed for yarn dyeing with indigo: a 5 gallon bucket! Not sure how I didn’t notice that…
Thankfully, we had a few in the garage and Doug found the cleanest one which I then cleaned out even more. It worked just fine. I really should have read the indigo dye kit instructions earlier!
To begin, I mixed the dye in the bucket as instructed. Then stirred one way and then slowly the other (I guess this is to help center the “flower” that will form). I didn’t have a cover for the bucket, but I did have a flat lid for a large pan I own. I wrapped the lid in plastic wrap, then wrapped a tea towel around it and pined it at the handle.
That reminds me of an important bit of safety. As with the acid dyes, this dye is NOT food safe. Therefor, any tools you use with it will no longer be food safe. I listed several tools that I bought just for dyeing in the intro post.
Getting the yarn ready for yarn dyeing with indigo
While the dye was doing it’s think in the bucket, I got all the yarn ready. First, I untwisted each hank and made sure they were tied in at least 4 spots. I didn’t want to have to untangle huge messes!
Next I tied up each hank in various ways to try different tie-dye type effects. I took a bunch of photos, only to later discover that somehow the settings on my camera had been messed with and all of the photos were just stark white. I should have figured this out before it was too late, but I think I was just having too much fun.
Thankfully the settings worked for the most part outside, so I do have those photos for you. I’ll explain how I tied each one in the post-dye-bath and untying photos.
As you can see below, to soak the yarn I tossed all the tied hanks into a tub and covered them with water. I squeezed them until the bubbles were gone, then put a porcelain baking pan on top and a pot of water on top of that to hold them all down. As this was all just yarn and water, the supplies were not made unsafe for food from this step.

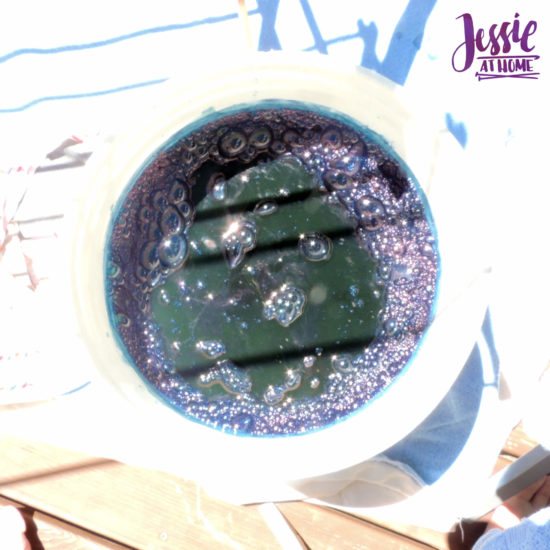
I think my dye sat for over an hour as I had a lot to get done while it sat. When I opened the bucket, there was more of a skin then a flower. I guess sometimes you get one, sometimes the other.
Do you know what’s under that skin or flower? Yellow or yellow-green dye. That’s right, it’s not blue! I had no idea that indigo oxidizes to turn indigo. It was so fun and neat to watch. I even had a little science lesson with the twins to show them the awesomeness.
Dyeing the yarn with indigo
I took the wood stirring stick and pushed the skin to the side while I immersed a tied hank of yarn. I wore the gloves from the kit, but I would suggest getting longer gloves, as some dye managed to seep over the top of the gloves and into them. We’re supposed to be yarn dyeing with indigo, but I managed to do some hand dyeing as well!
I held the yarn under the dye, but above the bottom of the bucket, and gently squeezed it. This is why it’s important to get all the air bubbles out in the water bath, you don’t want those air bubble introduced to the dye, as indigo dyeing includes an oxidation process. I removed the yarn taking care to not drip tons of dye from the yarn back into the bucket causing air bubbles.
After removing a hank of yarn, I put the cover back on the dye bucket. Then I set the yarn on top of my rack to dry and grabbed the next hank. I kept doing this until all the yarn was dyed.
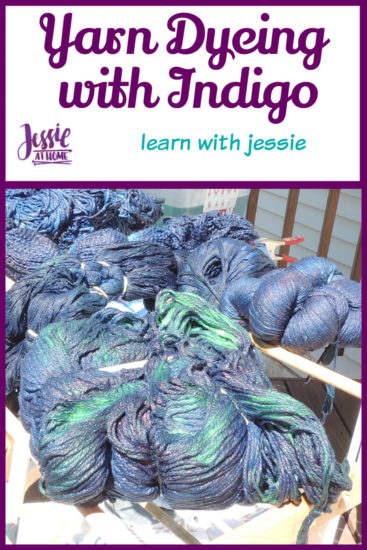
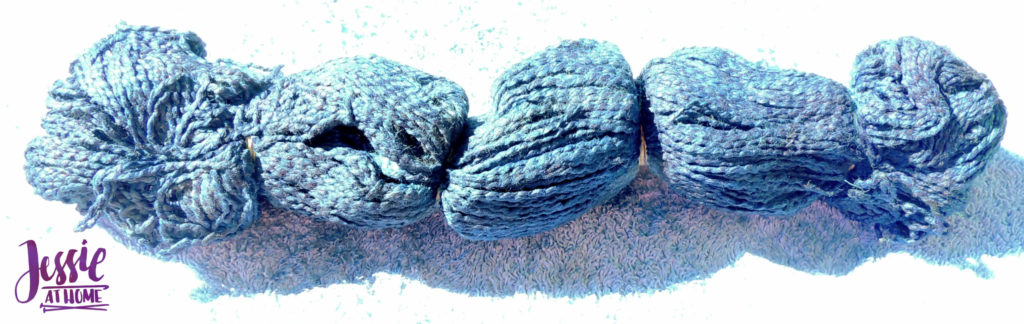
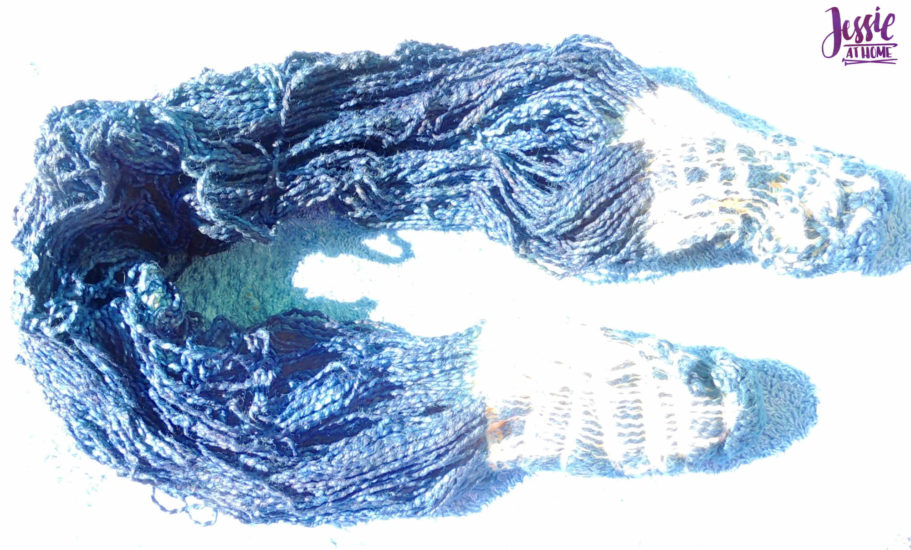
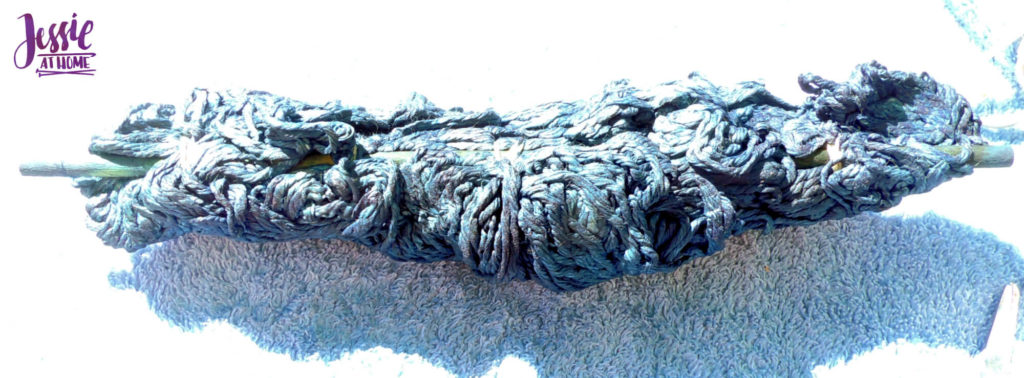
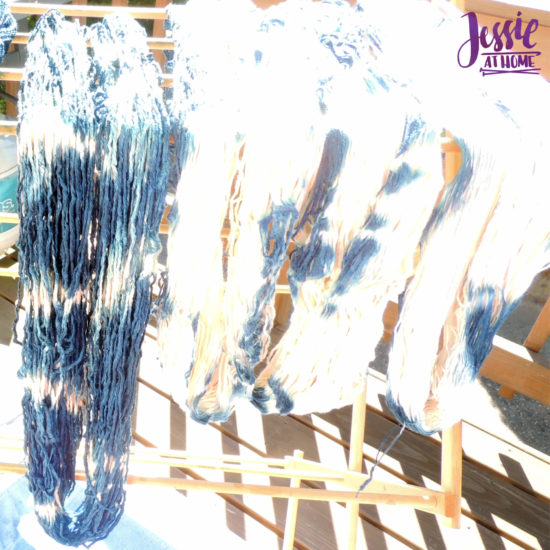
In the photo below I had just dyed the front bundle of yarn and you can see parts that have not oxidized yet. Look at that bright yellow-green color! Science is so nifty!
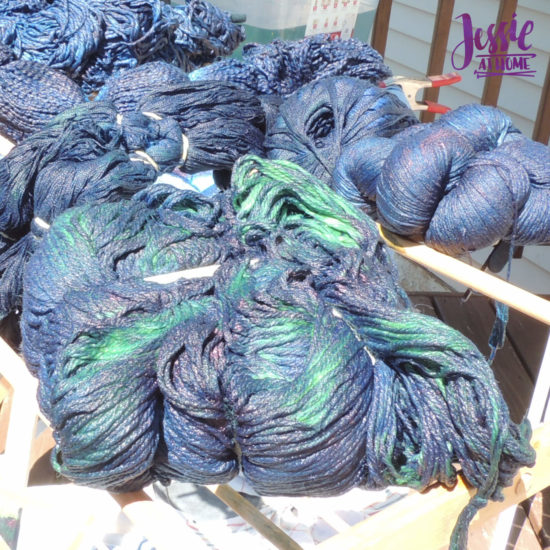
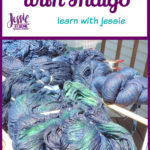
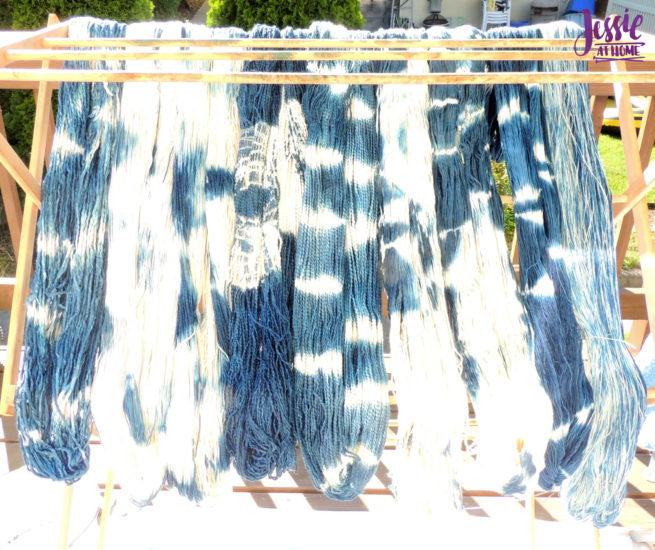
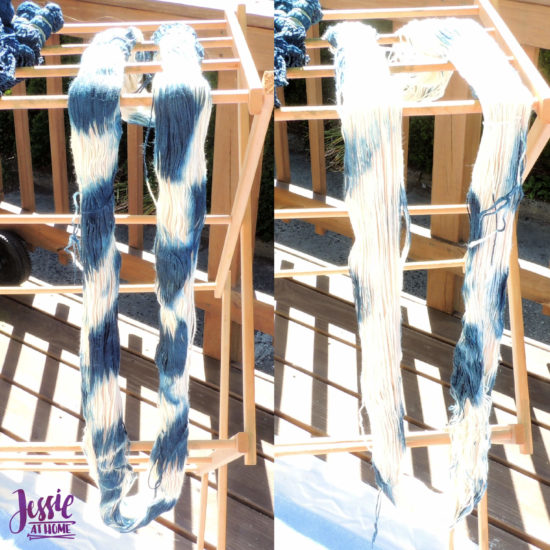
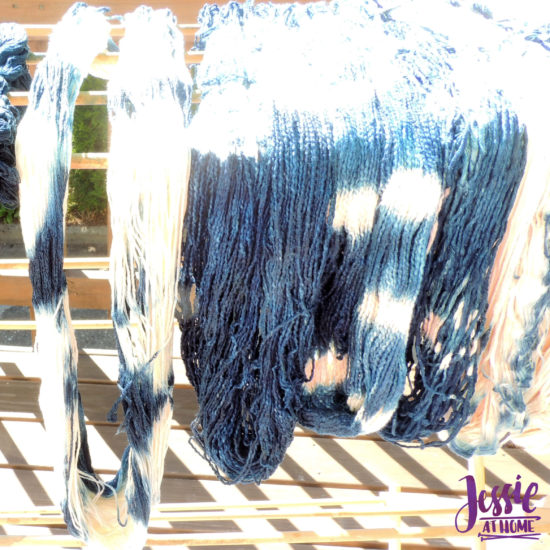
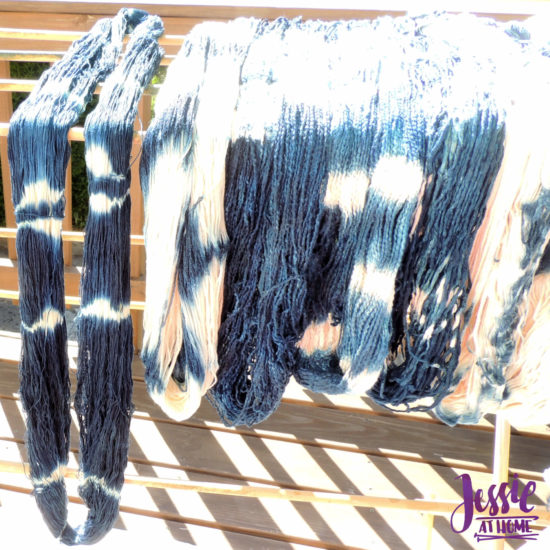
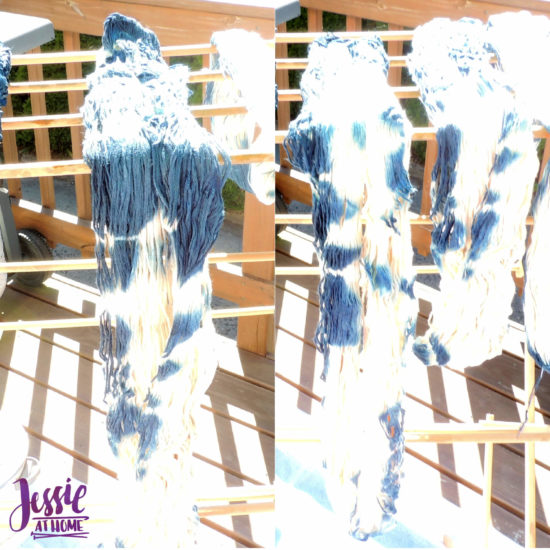
Here are all the yarns drying and oxidizing in the sun. I let them sit there for several hours before opening them all up to let them dry flat. So now I’ll go through each one, tell you about how I tied them, and show you the finished yarn. The last photo for each will be the finished yarn.
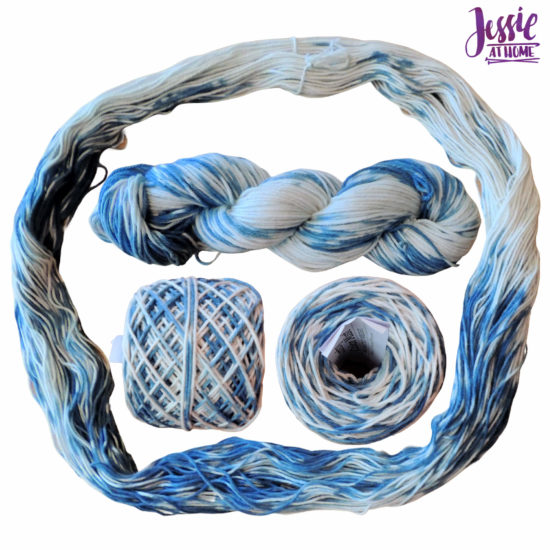
Simply Cotton

I call this one the telephone cord! First I layed the hank out flat. Then I twisted and twisted until I could twist no more. I grabbed a clothes pin and pinned the two ends together to get this tightly wrapped bundle.
As you can see above, I had to used some rubber bands to hold the ends onto the clothes pin. Untwisting the hand showed a neat pattern of blue dots.
Above you see both sides of the hank. The dots are mainly on one side. I think I could have squeezed and dyed this one longer.
Lindy Chain
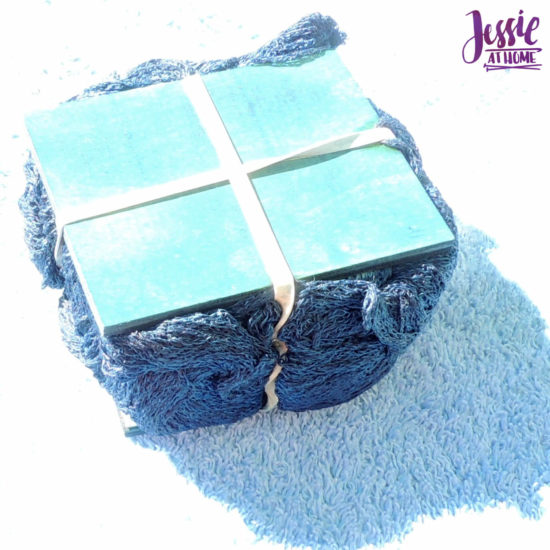
This one was fun, and I want to try this with fabric. I smoothed the hank out flat so it was the same width as one of the squares of wood that came in the kit. Then I accordion folded the hank on top of one of the squares. Finally I covered the top with the other square of wood and wrapped to rubber bands around the whole sandwich to keep it together.
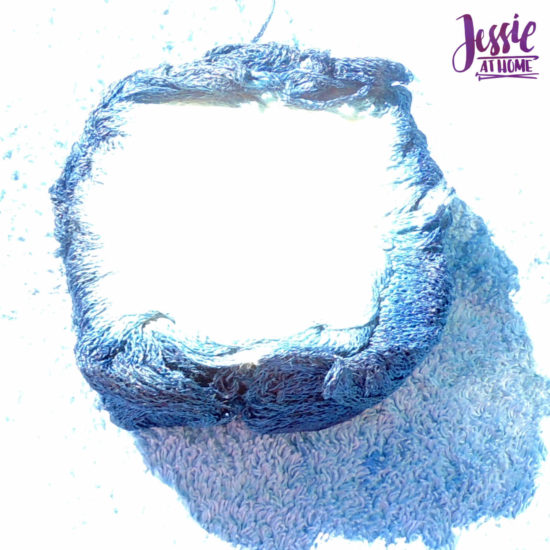
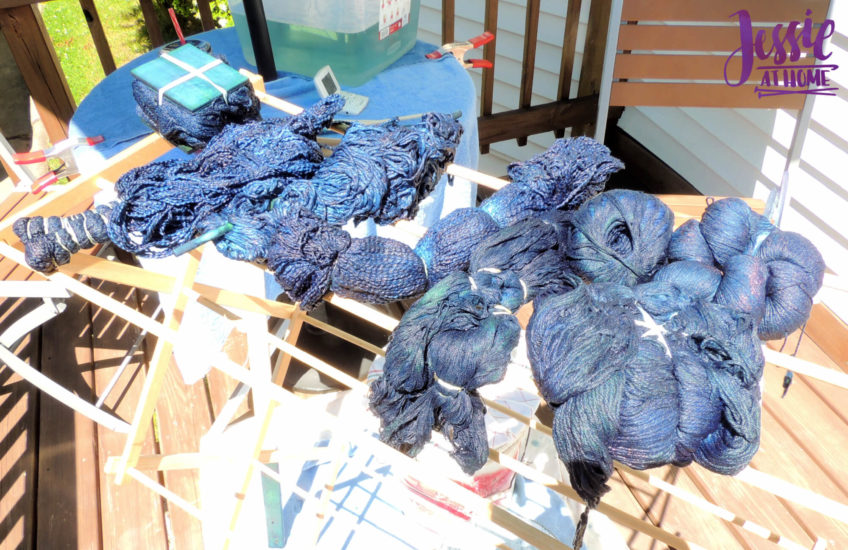
Again, I could have squeezed and soaked more. Like I said when we started this journey together, it’s a learning experience. The hank drying on the left of the photo below is the Lindy Chain.
This one has a lot of light parts, but the indigo parts are really dark and bright, so I think it will be super cool when turned into something.
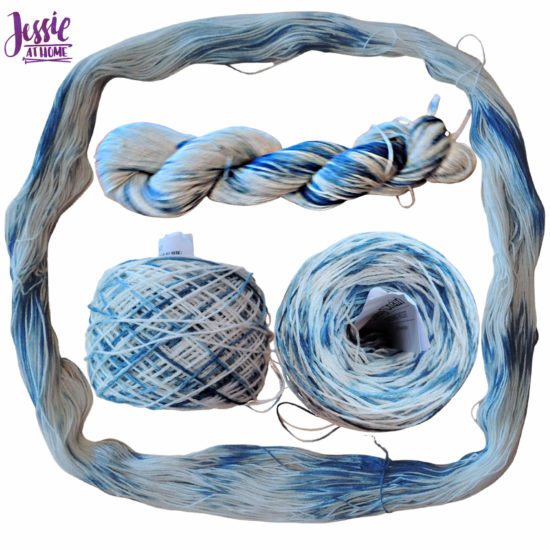
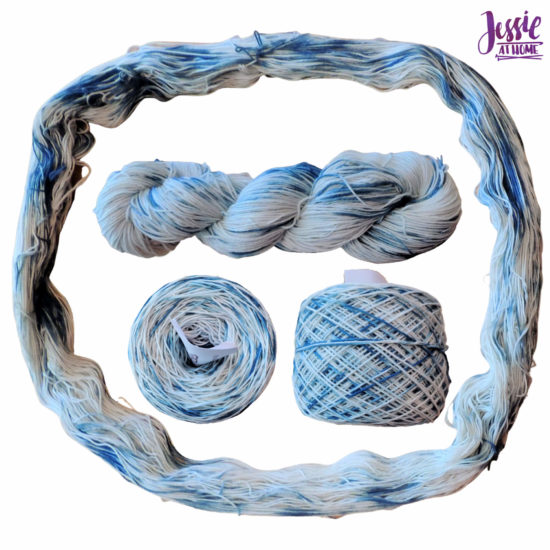
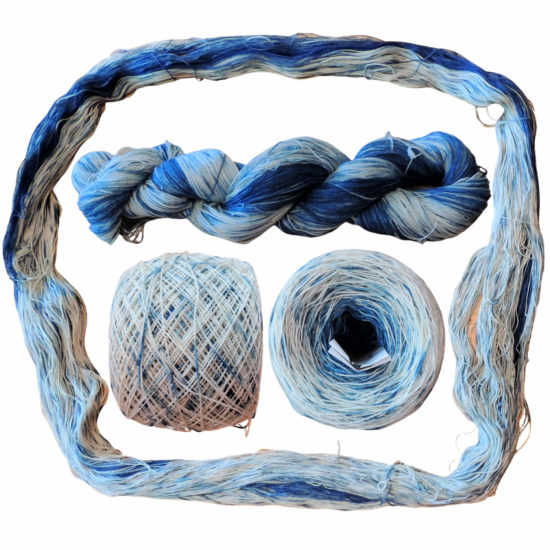
Curio – 2 of these were dyed
Curio comes in a ball that is wrapped around a small tube, so first I had to wind it into a hank on a swift. I set my swift to the widest it could go so I would get a really long hank.
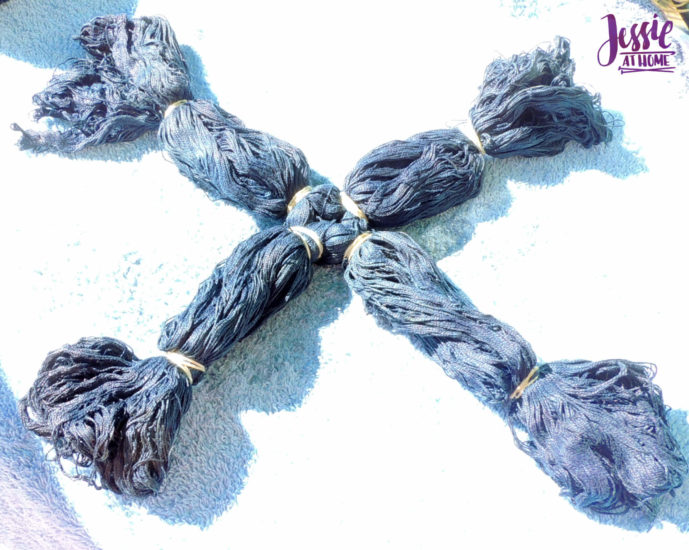
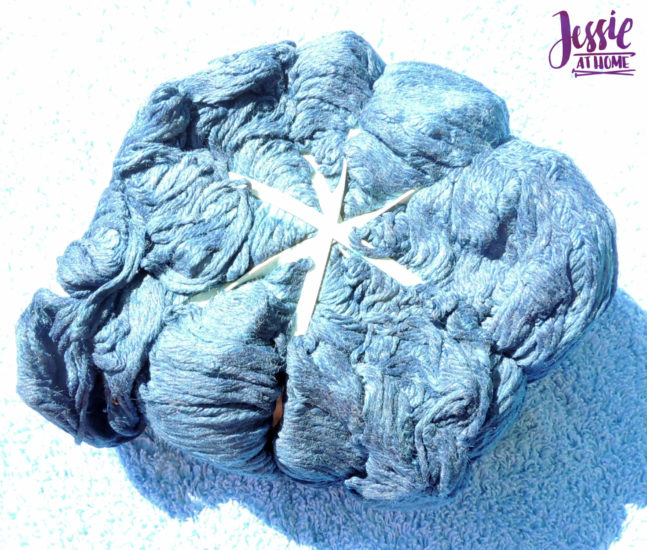
Then I layed the hank out in a circle and marked it in quarters. I pulled each of those spots in to the center to make a plus sign, then wrapped them at the center and about 2/3 of the way up each branch.
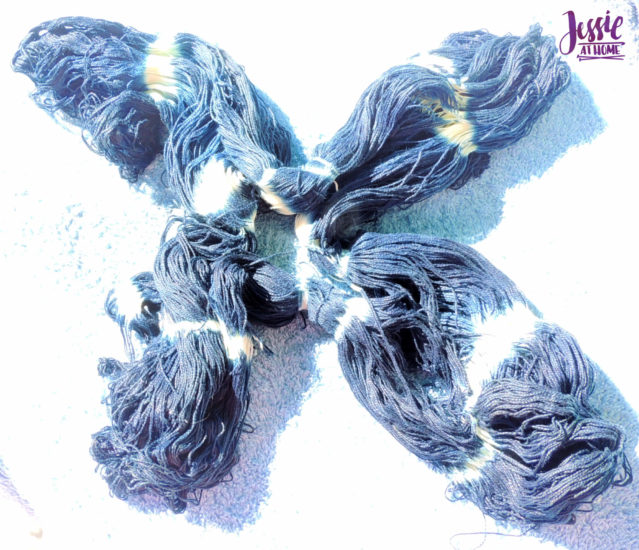
This came out really cool. The hank all the way to the left on the drying rack is the Curio.
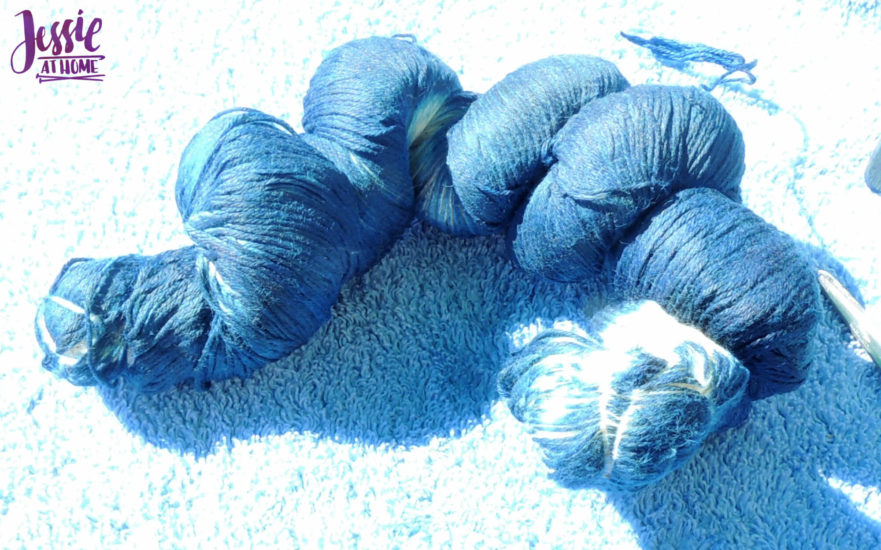
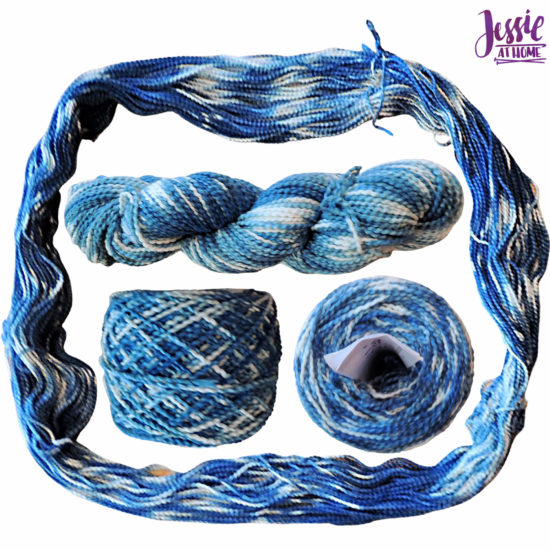
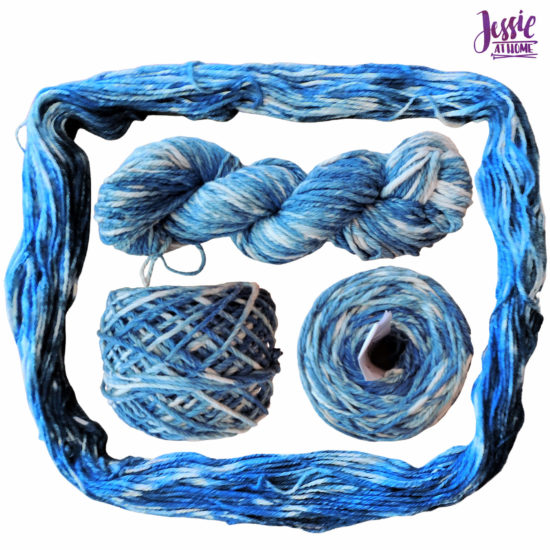
For the second Curio, I just left it wound as it came. I was curious what would happen. There was a LOT of squeezing with this one, both in the water and in the dye.
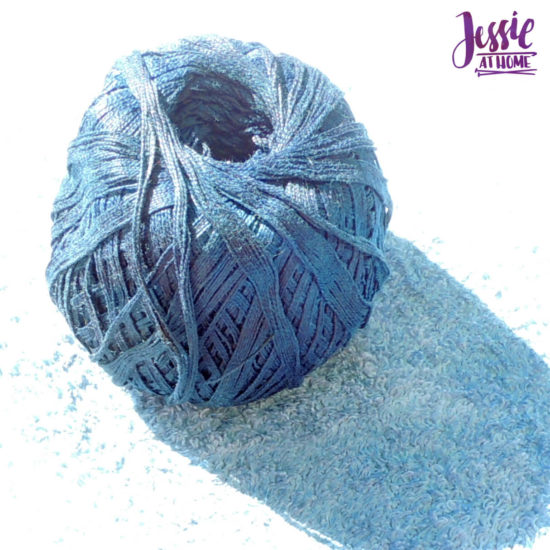
After letting it dry like that for most of the day, I opened up my swift, wrapped it in plastic wrap so I didn’t dye it, and slowly wrapped the Curio into a hank. This was really cool to watch. First it was all indigo, then just the parts that were at the top and the bottom of the yarn ball were dyed indigo. Those parts got smaller and smaller until it was almost all undyed. This one is going to be so cool to work up. It should have an ombre effect!
Boucle – 2 of this one
I went pretty simple with the first of these. First I layed the hank out flat, then I folded it in half. All I did at that point was toss on a few rubber bands to make some stripes.
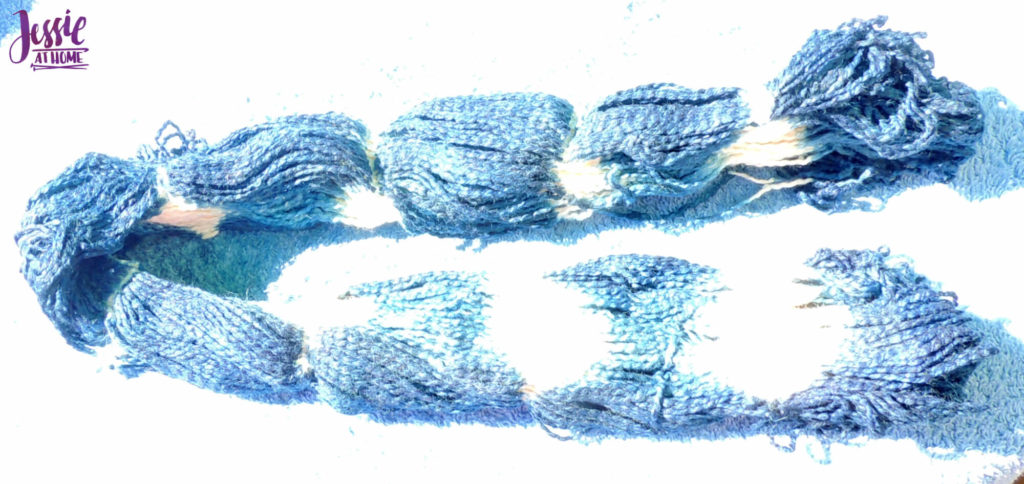
Stripes, just like I thought. It’s nice when it goes to plan. As usually, we are looking at the hank on the left of the drying rack.

Nice and bright, I think this will make just 2 or 3 stitches of indigo followed by 1 stitch of white if knit. Kind of like a polka dot.
The first inspired the second. I layed it flat and tightly bound each end together with several rubber bands. Then I folded it in half and bound the two ends together just to make it easier to handle.
Taking off the rubber bands on this one was very satisfying. It amazes me how stark the difference in color can be.
Look at that! It’s like a tie dye bull’s eye. I felt pretty cool about that.

Basically this ended up with sections of solid indigo separated by sections of white spotted with indigo. Neat!
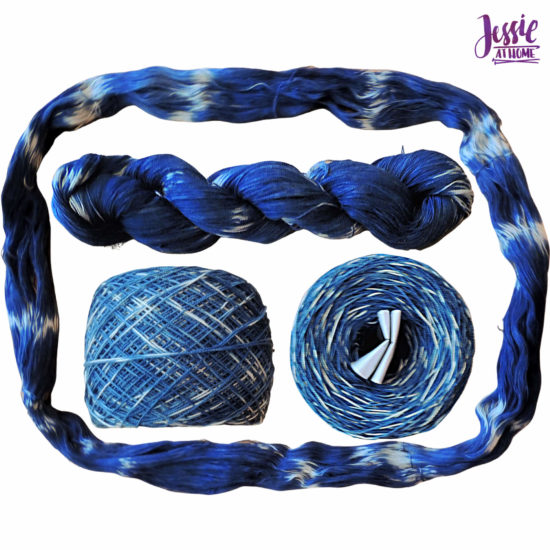
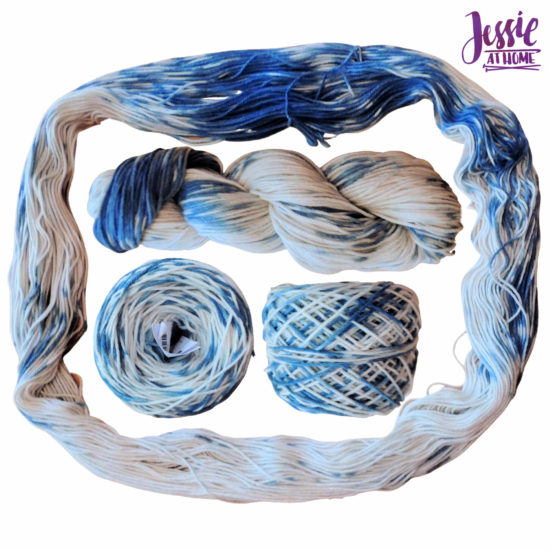
Comfy Color Mist – 2 of these but dyed as one
For the Comfy Color Mist, I had 2 hanks. I layed them flat, then pushed them up against one another and rolled them together into a pie shape. Next I wrapped the bundle with some rubber bands.
My hope with this is that I would get 2 very similar hanks. I think it worked out OK. They are similar, but not identical. If I wanted to use them seamlessly, I might switch hanks every other round or every 2 rows, so that they mix well. If I used one for one half of something and one for the other, it would still look similar, but not really symmetrical.
I do like the look this created. I think if I wanted 2 similar again, I would just tie them both separately, but the same way. Then I would dye them at the same time or at least time it so I don’t do one longer then the other.
Billow
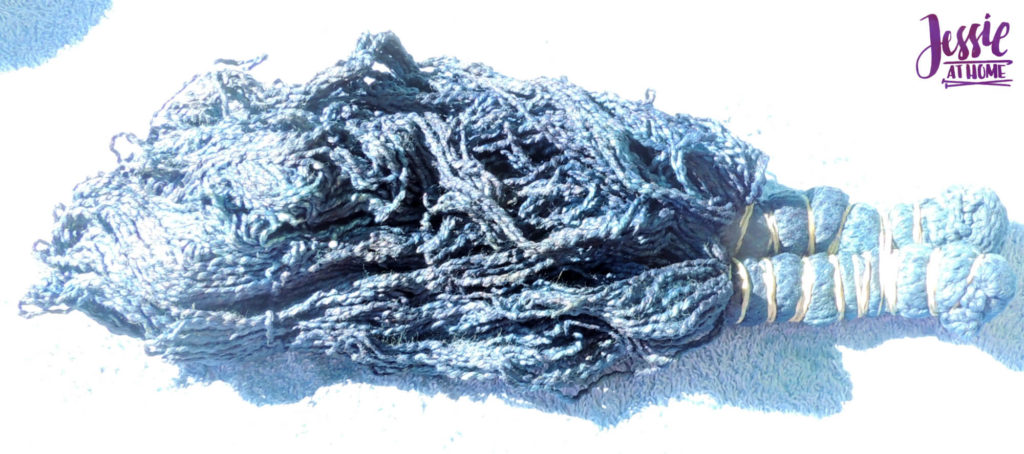
The tying of this one was inspired by the way I tied the hanks for ombre dyeing with the acid dyes. I knew it wouldn’t end up ombre, but I just wanted to see what would happen. Basically I layed the hank out flat, then rubber band tied it to a dowel in 5 places and smooshed it all together.
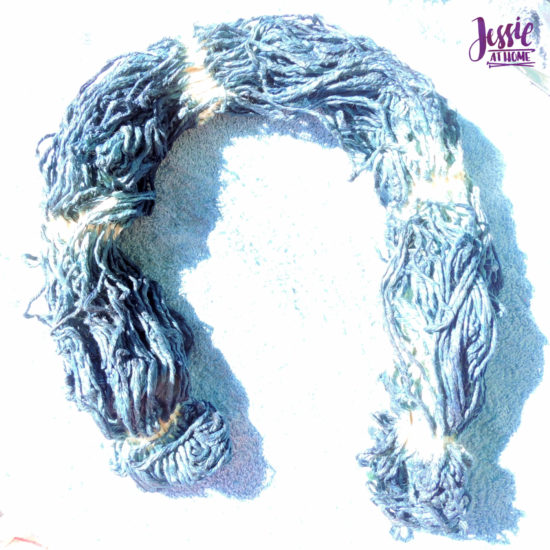
It came out striped again, similar to the first Boucle that I dyed, but with longer indigo sections.
This one should really give a polka dot look, even in crochet. I can’t wait to try!
There you have it. Nine hanks of plant-fiber yarns, tied 8 different ways and dyed in indigo. Indigo dyeing is really nifty. I want to give it another go with some fabric.
The tying experiments were cool as well. I think they could be a great way to do multi-color dying both in a tie-dye manner and as over-dyes.
Did you enjoy what you found here at Jessie At Home? Then sign up for my newsletter and like my Facebook page, so you’ll get all the updates on new tutorials, other posts, sales, and coming events.
If you have any questions, want to share pictures of your work, or just want to chat with Jessie and other crafty individuals, than join one of our free Zoom Sit & Stitches. Find them on our Events Calendar.

© Copyright 2020 Jessie Rayot / Jessie At Home®, LLC All my videos, patterns, charts, photos and posts are my own work, so you may not copy them in any way. If you want to share this information with someone, then share the link to this post.