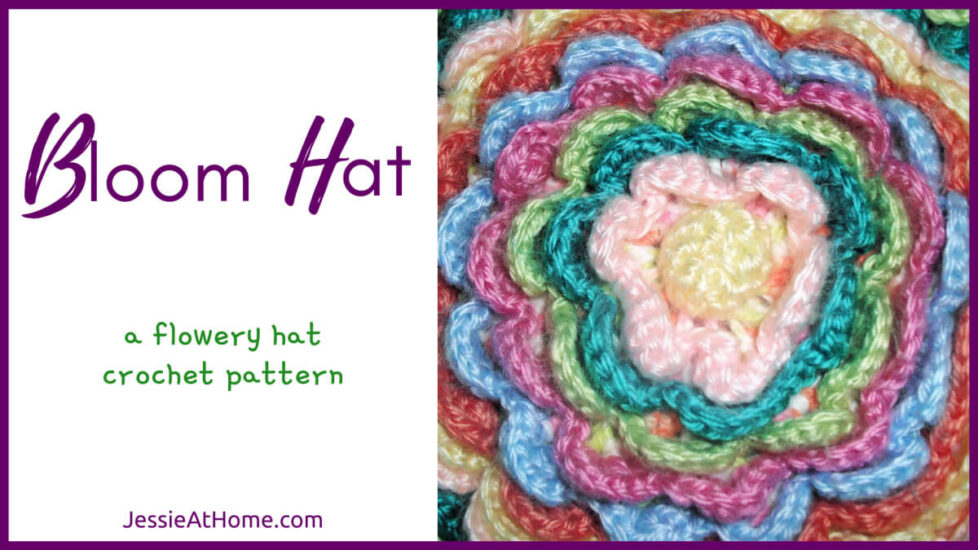
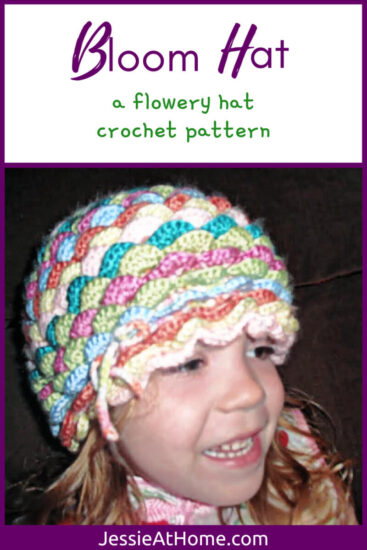
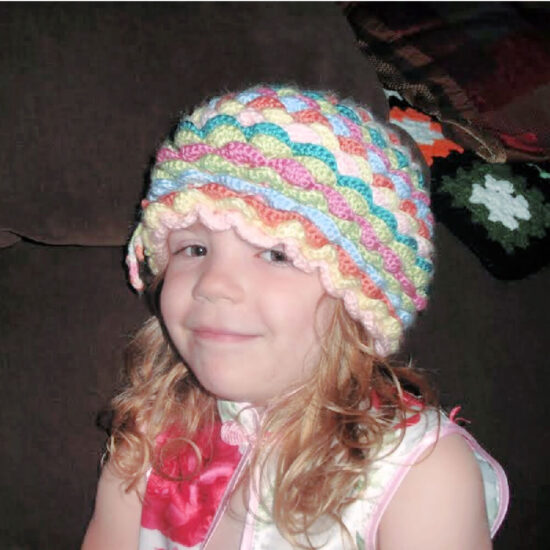
Bloom is a slightly loose fitting hat with a tie string that tightens it to fit. It creates an adorable flower bloom look. Make it from all one color, or change colors for each row of petals. The sample of Bloom was made with Bernat Softee Baby yarn in various colors and a 3.5mm hook.
This hat was inspired by an old potholder pattern that can be found here.

Bloom Hat Supplies
Size
Toddler (Child, Adult)
Yarn
Bernat Softee Baby: (100% Acrylic), Size 3 – Light/DK, (11 wpi), 362 yds / 140 g, (2.59 yds/g)
Crochet Hook
3.5mm (US E/4)
Gauge
Learn about gauge HERE
20 sts x 14 rows = 4″ [10 cm] in hdc
Other Supplies
Stitches and Abbreviations
click on highlighted sts for tutorials
ch – chain
dc – double crochet
dc2tog – double crochet 2 together
hdc – half double crochet
rnd – round
sc – single crochet
sl st – slip stitch
st(s) – stitch(es)
[ ] – work step in brackets number of times indicated
Pattern Notes
- Read through all instructions before beginning.
- The stitch count is at the end of each rnd/row after the period, usually only if the count has changed from the previous rnd/row. {count here}
- Chs and sl sts are not included in stitch counts unless specified.
Pattern
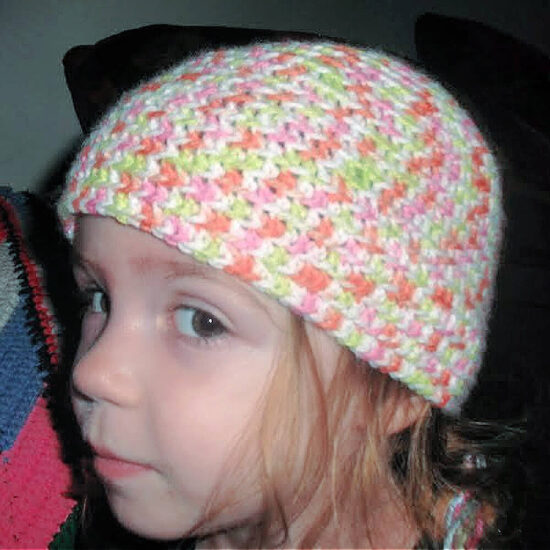
Hat Base Shaping – make in one color
Rnd 1: Ch 3, sl st in first ch to form a loop, ch 1 loosely, 14 hdc into loop, sl st to top of first hdc. {15 sts}
*from this point forward the rest of the hat base will be worked in back loops only.
Rnd 2: Ch 1 loosely, 2 hdc in first st, 2 hdc in each st around, sl st to top of first hdc. {30 sts}
Rnd 3: Ch 1 loosely, 2 hdc in first st, [hdc in each of next 5 sts, 2 hdc in next st] 4 times, hdc in each of next 5 sts, sl st to top of first hdc. {35 sts}
Rnd 4: Ch 1 loosely, 2 hdc in first st, [hdc in each of next 3 sts, 2 hdc in next st] 9 times, hdc in next st, 2 hdc in next st, sl st to top of first hdc. {50 sts}
Rnd 5: Ch 1 loosely, 2 hdc in first st, [hdc in each of next 4 sts, 2 hdc in next st] 9 times, hdc in each of next 4 sts, sl st to top of first hdc. {60 sts}
Rnd 6: Ch 1 loosely, 2 hdc in first st, [hdc in each of next 5 sts, 2 hdc in next st] 9 times, hdc in each of next 5 sts, sl st to top of first hdc. {70 sts}
Toddler size move on to Hat Base Sides.
Rnd 7: Ch 1 loosely, 2 hdc in first st, [hdc in each of next 6 sts, 2 hdc in next st] 9 times, hdc in each of next 6 sts, sl st to top of first hdc. {80 sts}
Rnd 8: Ch 1 loosely, 2 hdc in first st, [hdc in each of next 7 sts, 2 hdc in next st] 9 times, hdc in each of next 7 sts, sl st to top of first hdc. {90 sts}
Child size move on to Hat Base Sides.
Rnd 9: Ch 1 loosely, 2 hdc in first st, [hdc in each of next 8 sts, 2 hdc in next st] 9 times, hdc in each of next 8 sts, sl st to top of first hdc. {100 sts}
Rnd 10: Ch 1 loosely, 2 hdc in first st, [hdc in each of next 9 sts, 2 hdc in next st] 9 times, hdc in each of next 9 sts, sl st to top of first hdc. {110 sts}
Hat Base Sides – continue in same color
Rnd 11: Ch 1 loosely, hdc in first st, hdc in each stitch around, sl st to top of first hdc.
Repeat round 11 until hat base measures desired length.
Cut yarn, bind off, then weave in ends. I like this hat to be very long, so it covers from the base of the head, around the ears and over the forehead. Of course, I created this pattern for a Halloween costume, so I wanted it to be warm; you may want it to be shorter. Have fun with it!

Bloom Overlay
*From this point forward the petals will be worked in the front loops left unworked on the hat base.
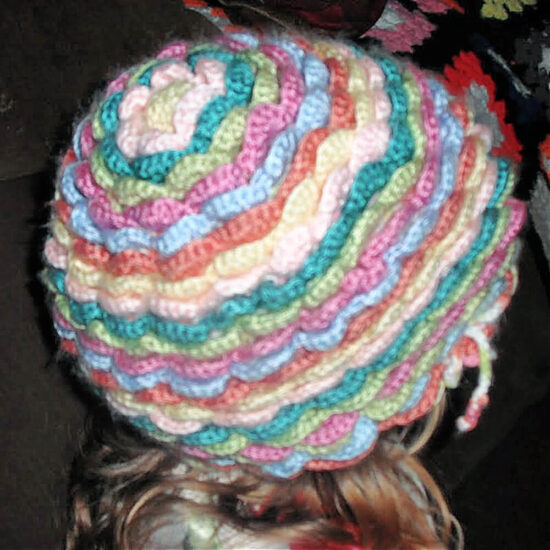
Petal Rounds – Change Color each round
Connect yarn to one of the front loops left unworked from round 1. You will now be making the flower center.
Rnd 1: Ch 3, 7 dc2tog across the next 14 sts, sl st to top of 3rd ch, clip yarn leaving a 12” tail. Stuff with a bit of stuffing or some scrap yarn. Thread tail into a yarn needle and stitch center closed.
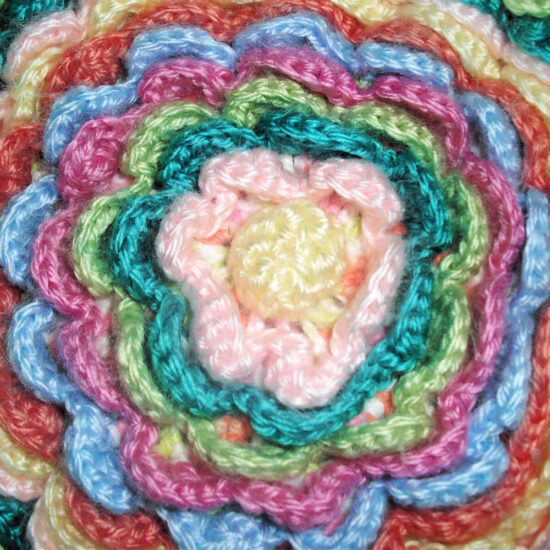
Rnd 2: Connect yarn to one of the front loops left unworked in the next round, ch 1 (does not count as a st), sc in same st, [hdc in next st, 5 dc in next st, hdc in next st, sc in each of next 2 sts] until there are only 4 sts left (if you have made a mistake in the base, you may find you have to fudge a bit here), hdc in next st, 5 dc in next st, hdc in next st, sc in next st, sl st to first sc. Clip yarn and fasten off.
Repeat Rnd 2 in front loops of the rest of the hat base.
For the last round of the hat base repeat the Rnd 2 on the front loops, and then again on the back loops, creating two rows of petals.
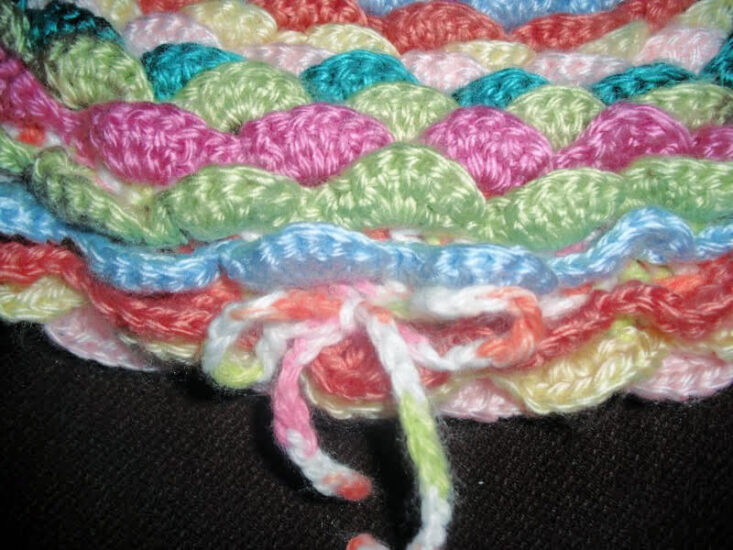
Tie string
Chain stitch a string to your desired length. It should be long enough to wrap around the head and tie in a bow.
Weave the tie string through the hat base 2 rows up from the bottom of the hat.
Get the ad-free, printer-friendly PDF pattern from the link below.


Did you enjoy what you found here at Jessie At Home? Then sign up for my newsletter and like my Facebook page, so you’ll get all the updates on new tutorials, other posts, sales, and coming events.
If you have any questions, want to share pictures of your work, or just want to chat with Jessie and other crafty individuals, than join one of our free Zoom Sit & Stitches. Find them on our Events Calendar.

© Copyright 2011 Jessie Rayot / Jessie At Home®, LLC All my videos, patterns, charts, photos and posts are my own work, so you may not copy them in any way. If you want to share this information with someone, then share the link to this post.


I was so excited to find the Puff stitch Dress! It is adorable! I plan to join your site, right away! I’m a Crochet Freak, since age 7 and always looking for patterns of all types.
Wonderful! Please share photos, I love to see them. You can share them over on my Facebook page.
this hat its just amazing , i will make it for my cousins little girl !!!
Love the Bllom Hat.
Is there a video for this pattern? Do we have to make two hats -one plain and the other of petals on top of it. I didn’t understand the petals part. Can you please help me if there is a video?
There is no video, the hat base is made first and the petals are attached second.