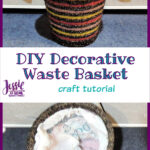
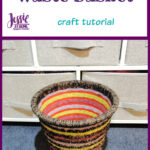
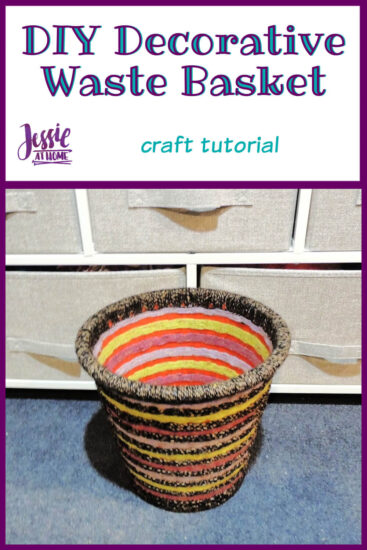
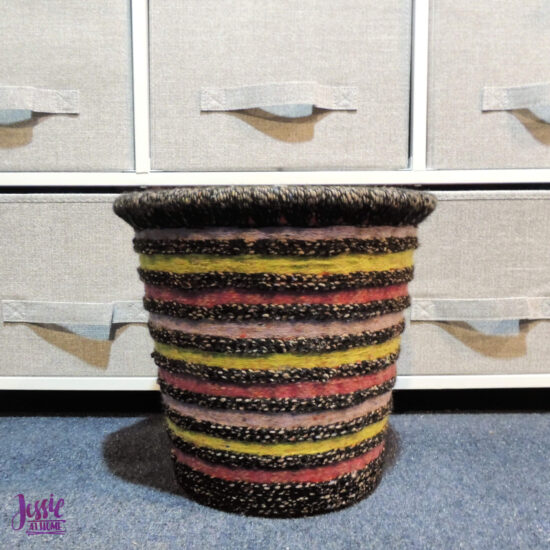
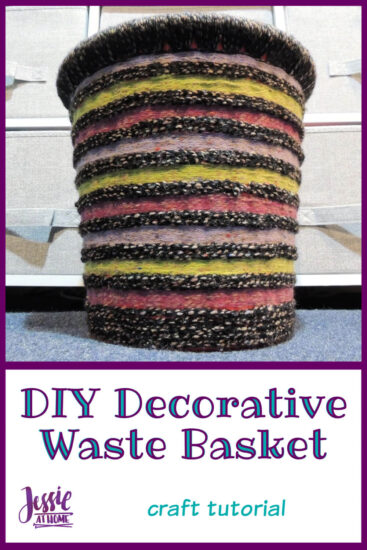
This DIY Decorative Waste Basket is covered in one of my favorite things! No, not raindrops on roses or Bernie in mittens…YARN – now go raid your stash!
I needed a small waste basket for my studio, but I wanted it to be pretty. There was a plastic faux woven little trash bin in our storage area, so I decided to give it a little TLC. I used supplies I had on hand, but I’ve put together a supply list for similar items so you can make your own.
DIY Decorative Waste Basket Supplies
- woven waste basket:
- yarn
- crochet hook (optional)
- hot glue gun
- hot glue
- yarn needle
- 2 safety pins
Decorating the Waste Basket
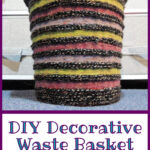
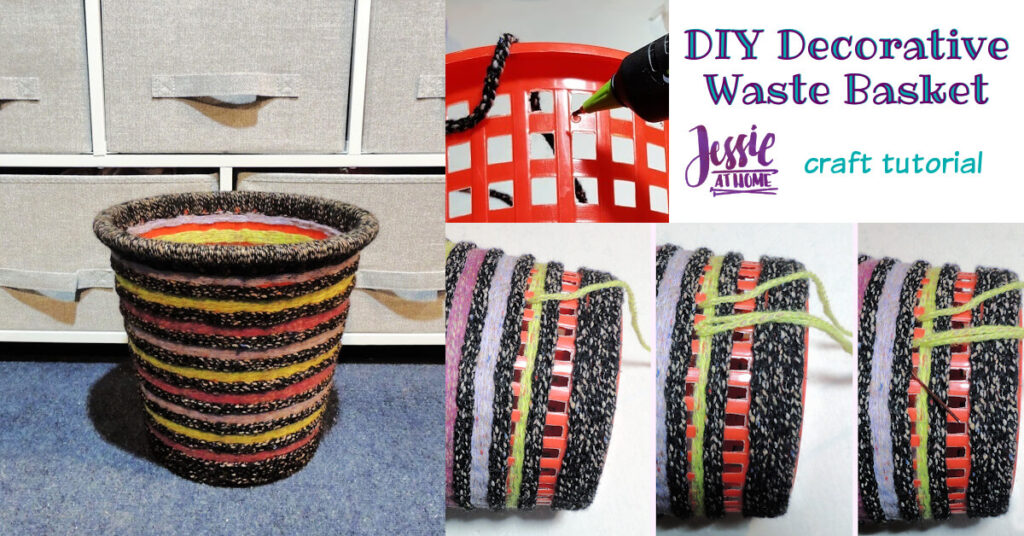
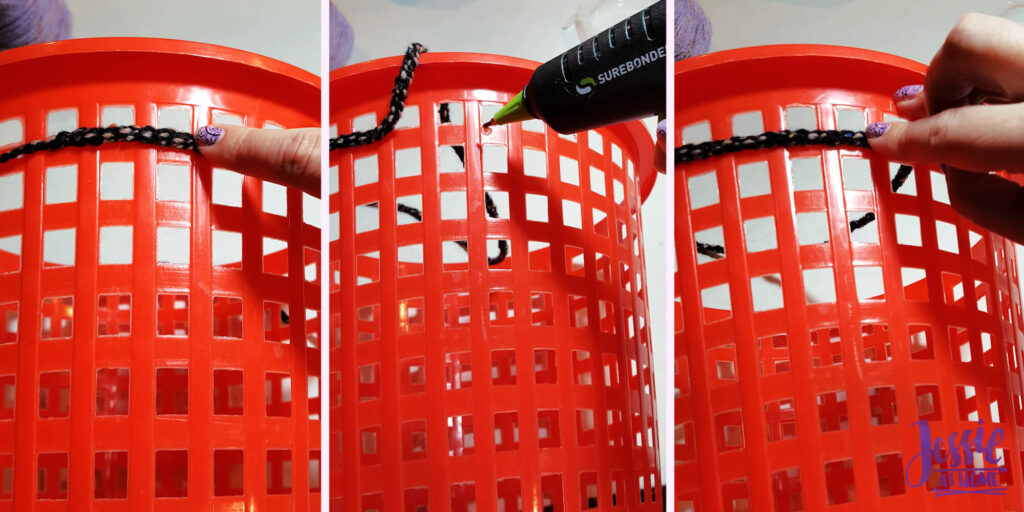
To begin, you’ll need to cover any horizontal stripes around the waste basket. I made a crochet chain with some of my yarn to make it thicker. Once you have your yarn picked out, hot glue it around the horizontal sections. Cover all of the horizontal sections with the exception of the very top.
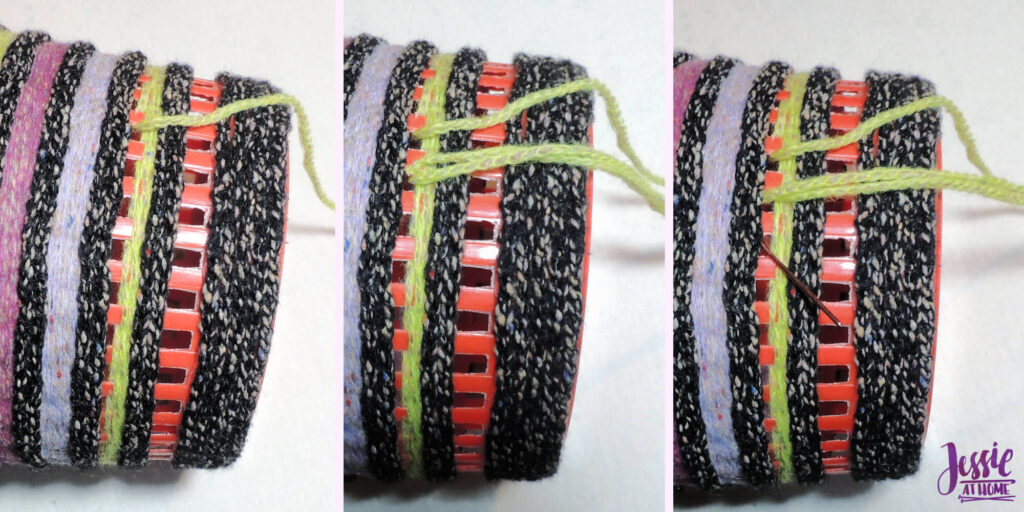
Now it’s time to start weaving! Thread up a long piece of yarn into the yarn needle, then begin weaving it up and down through the vertical sections of the waste basket. If there are an uneven number of vertical sections, all is good. However, if there are an even number, then every time you make a complete circle around the basket, your weaving will stack instead of alternating. No worries, we can fix that. Once you’ve gone all the way around, just go over 2 vertical sections once to get your weaving alternating again.
After all the weaving is done, it’s time to wrap the top. Load up a long piece of yarn on the yarn needle, then push it front to back through one of the holes at the top of the waste basket over and over. Be sure to wrap enough so that the yarn around the top will spread to cover the gap between the holes. Move on to the next hole and repeat.
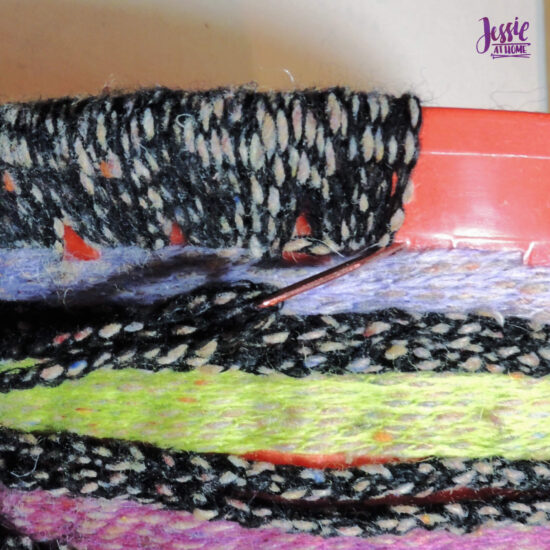
Every time I got to about 6-8 inches of yarn left, I would weave bury the end of the yarn through all the wraps of yarn inside the basket. Easy peasy!
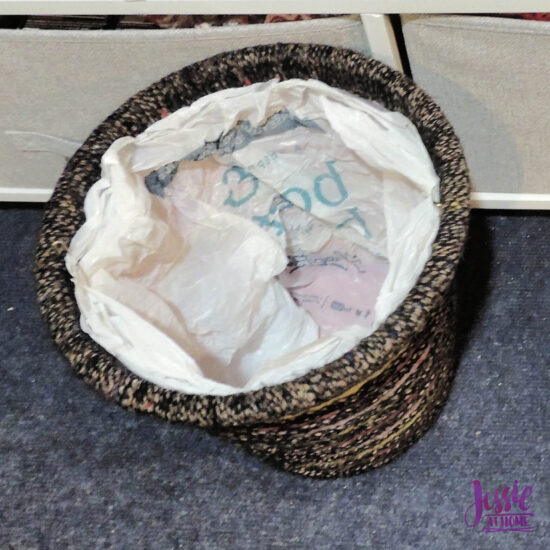
Putting a bag your DIY Decorative Waste Basket is easy as well. Use 2 safety pins and pin it inside so it can’t be seen from the outside. We have a huge stash of plastic grocery bags from getting grocery deliveries during quarantine. They didn’t give us a choice for anything else. So I kept them all and use them for trash bags now.
I’m thinking of getting some vinyl fabric and making a liner for it. Then I can toss trash directly into it, and empty it into our garbage bins. If it gets dirty, I can just whip it down with some soap and a damp cloth. I’m trying to be nice to the planet. 🙂
There you go, if you use this idea to decorate a waste basket or something else, share some images in my Facebook group. Happy crafting my friends.
Did you enjoy what you found here at Jessie At Home? Then sign up for my newsletter and like my Facebook page, so you’ll get all the updates on new tutorials, other posts, sales, and coming events.
If you have any questions, want to share pictures of your work, or just want to chat with Jessie and other crafty individuals, than join one of our free Zoom Sit & Stitches. Find them on our Events Calendar.

© Copyright 2021 Jessie Rayot / Jessie At Home®, LLC All my videos, patterns, charts, photos and posts are my own work, so you may not copy them in any way. If you want to share this information with someone, then share the link to this post.


This is great Jess, I really like it, it’s much prettier then those plastic things.
Thanks Mom! It makes me happy. Once you move back to The States we can have fun decorating your stuff too! I still need to make you one of those welcome signs with Scrabble tiles.