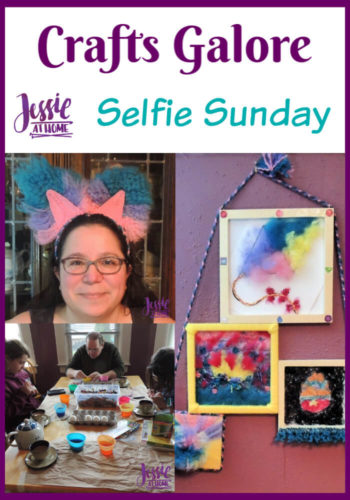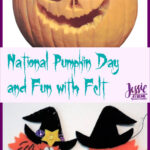
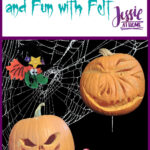
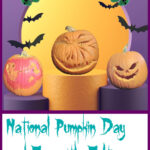
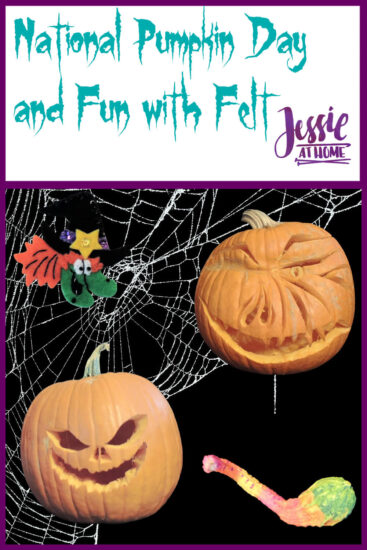
It’s National Pumpkin Day!! So it seemed fitting to share the pumpkins the kiddos and I decorated, along with some other Halloween crafty fun.
Some products used in this post were provided by Plaid. All opinions are my own.
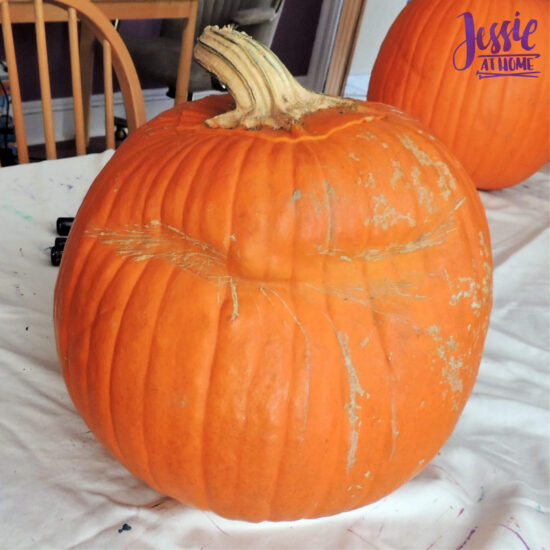
Yesterday we stopped at the local farmers market and picked out a few pumpkins and a funky winter squash. It was a nice morning to be out in the fresh air (with masks on). I even found a grumpy pumpkin who really wanted to come home with me.
Pumpkin Carving Time
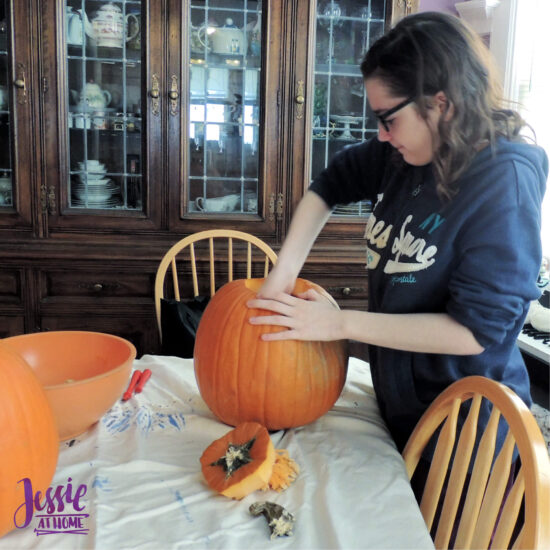
Once we got home I pulled out my trusty crafting fitted twin sheet to cover the table, and got to stabbing things. I cut the tops off the 3 large pumpkins so we could gut and carve them. As I was removing the top of Vada’s pumpkin, I accidentally broke the stem. Vada fixed it with some Mod Podge, because that stuff is awesome.
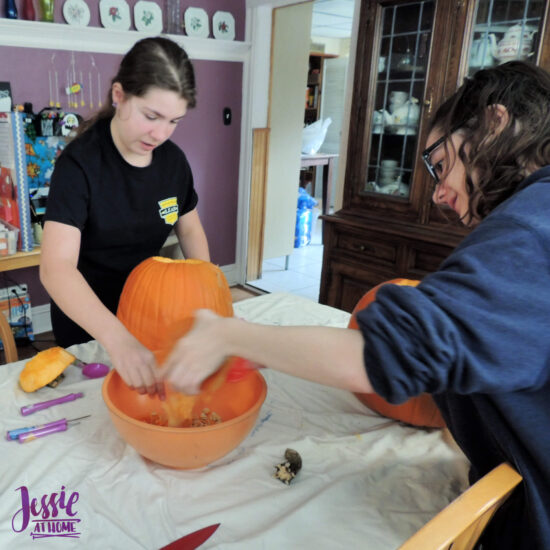
We cleaned out our pumpkins and while we chatted about what they were going to become. I love having crafty time with the kids.
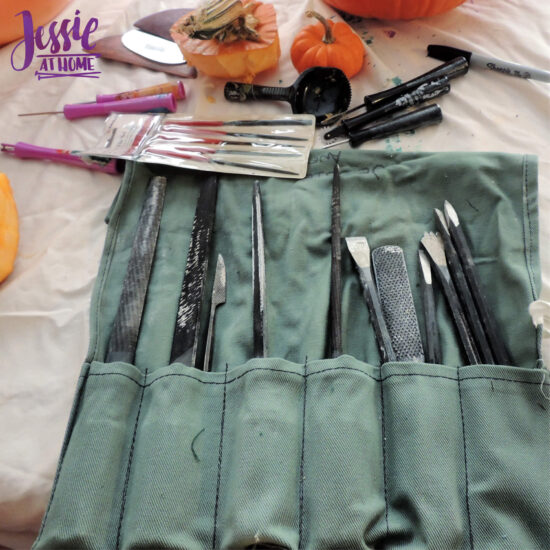
OK, I may have gotten a bit excited and brought out my sculpting tools. Are marble sculpting tools over-kill for pumpkins? I think it’s just the right amount of kill, but I can be a little twisted. We had the grocery store tools as well.
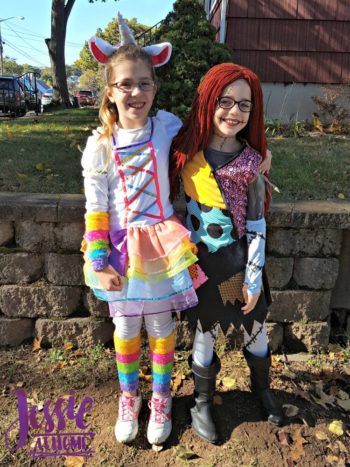
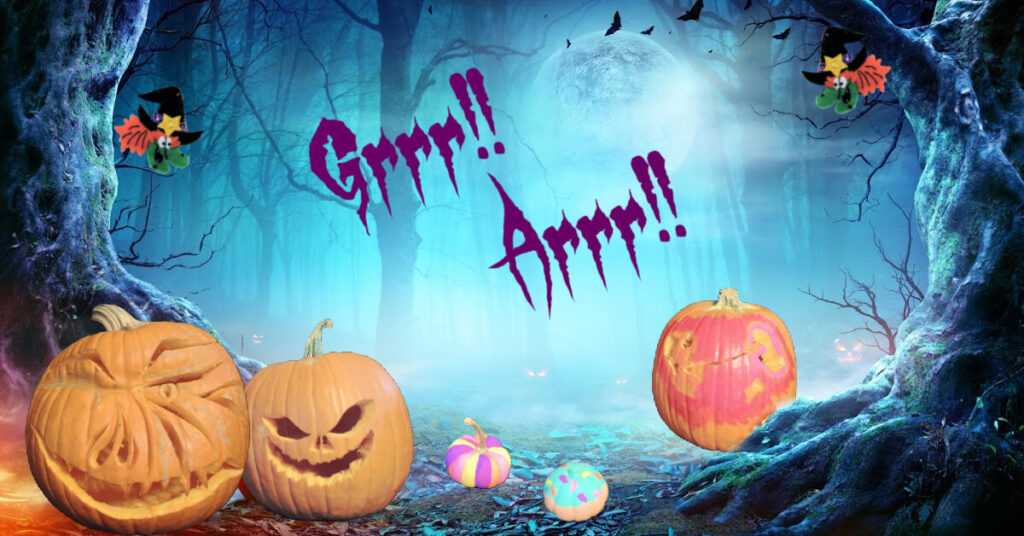
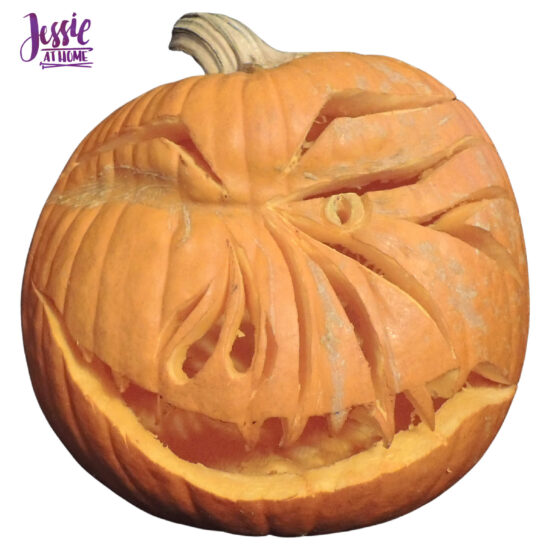
A few weeks ago Vada drew a scary face. So when we went to the farmers marker, Vada brought it along to find a pumpkin just the right size for the face. I think it’s pretty awesome, don’t you?
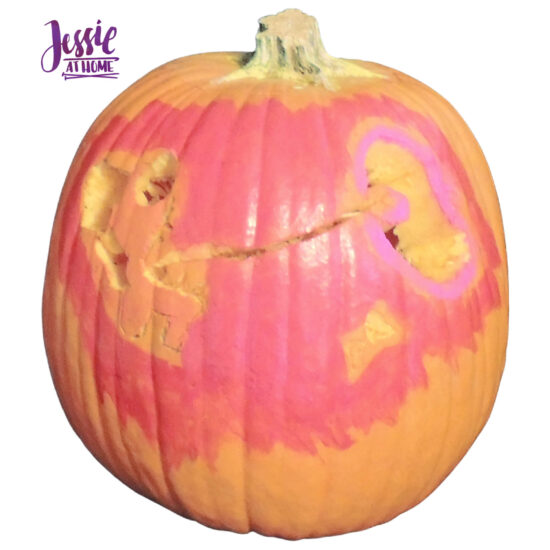
Kyla carved out an imposter killing a crewmate – from Among Us. Just like most households in America (and I’m sure beyond) we seem to have a lot of Among Us playing going on At Home.
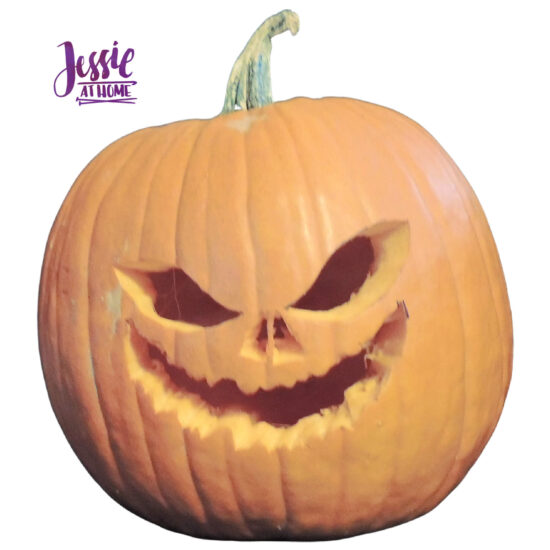
My angry pumpkin became One Eyed Joe. I like him. He makes me happy and got a lot of my stress out. There’s something very therapeutic about carving a pumpkin. I feel so much calmer now.
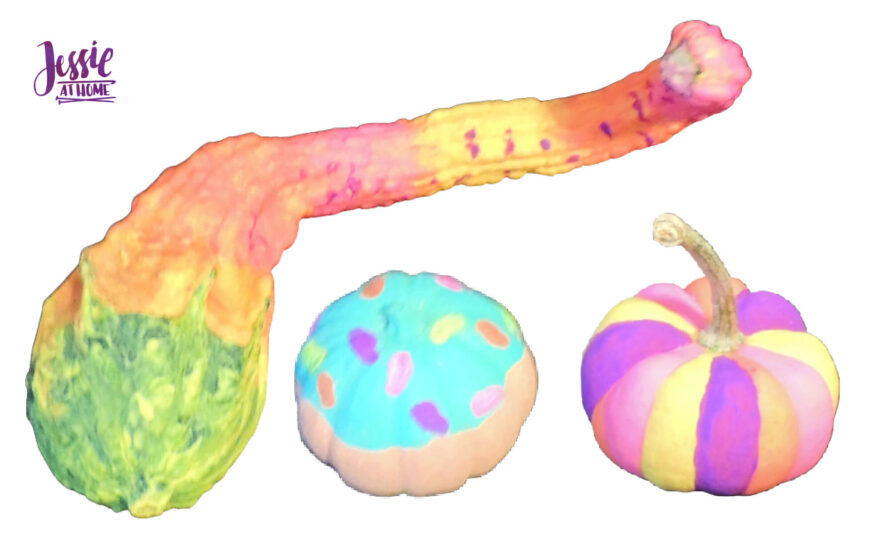
Here are the little guys that we painted. The middle one is a donut. The outer two are painted with Folk Art Glow. I really love how Kyla painted her funky winter squash!
Felt Craft Fun!
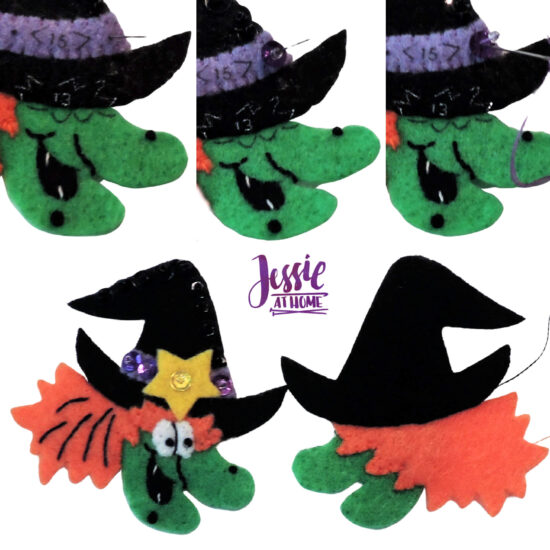
In addition to pumpkin carving, I’ve been getting in the spirit with a Bucilla Halloween kit. I love these kits. All the felt pieces are labeled so you can cut them out as you need them. Just follow the directions and have some peaceful sewing and embroidery time.
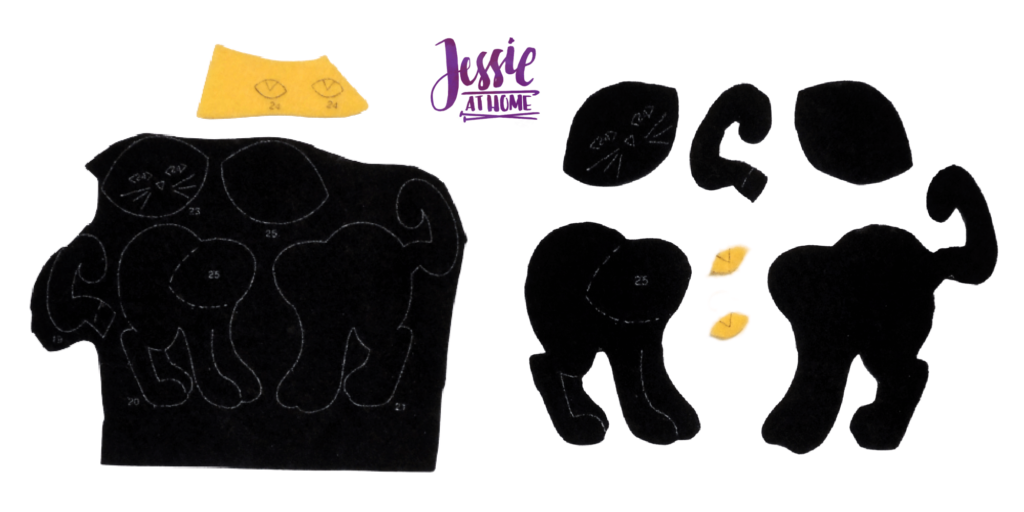
I’ve always enjoyed the technique of sewing on a sequin by sewing through the sequin and a bead, and then back threw the sequin so the bead holds it on. The kit came with 2 needles, one of which goes through the beads with no problem. The other is little bigger, so it’s nice when you aren’t sewing on beads as the eye is easier to thread.
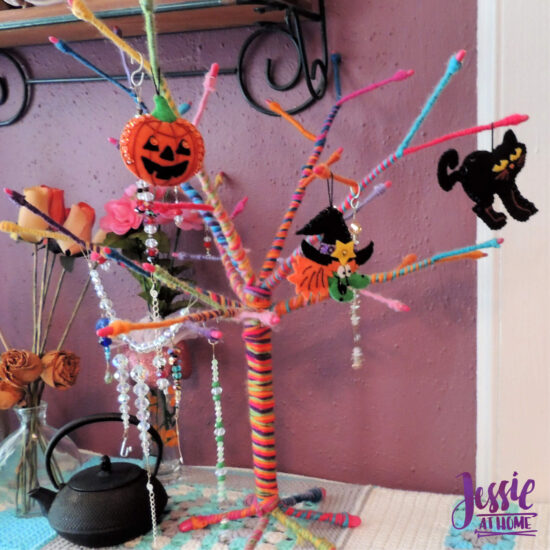
So far I only have 3 of the 12 ornaments done, but I should be able to finish up the rest this week. Then I’ll have them every year! We always enjoy decorating our little yarn tree.
I have the Ugly Christmas Sweater kit as well. I’m going to need to get going with that one if I want it for this year. I’m not sure if I’ll keep the ornaments from that one, or give them as gifts. The finished creations from these Bucilla ornament kits do make AWESOME gifts!
Here are some Folk Art and Bucilla goodies you may want. Enjoy!
Did you enjoy what you found here at Jessie At Home? Then sign up for my newsletter and like my Facebook page, so you’ll get all the updates on new tutorials, other posts, sales, and coming events.
If you have any questions, want to share pictures of your work, or just want to chat with Jessie and other crafty individuals, than join one of our free Zoom Sit & Stitches. Find them on our Events Calendar.

© Copyright 2020 Jessie Rayot / Jessie At Home®, LLC All my videos, patterns, charts, photos and posts are my own work, so you may not copy them in any way. If you want to share this information with someone, then share the link to this post.